Woodland Animal Wall Art
I was a crafting machine yesterday- turns out my blog post about nursery inspiration truly did inspire me (hah).
I decided to tackle some wall art because it seemed to be one of the easier projects, and it really was.
Here’s the tutorial in case you decide you want to try it too!
Materials Needed:
- 4- 8×10″ canvases (I went with the flat ones just because they were cheaper)
- mounting hardware (optional, but at only $1.97 for about 18 brackets you can’t go wrong)
- acrylic paint
- foam brushes
- glue stick
- cardstock and other paper
- Cricut and “Give a Hoot” Cartridge
- mounting tape
- spray mod podge-gloss finish
Directions:
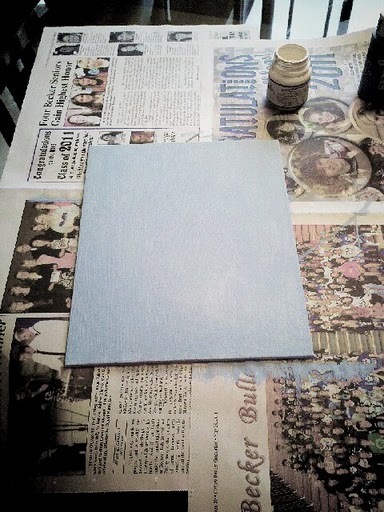
Apply 2 coats of the acrylic paint to the canvas in color of your choice (in this case, baby blue).
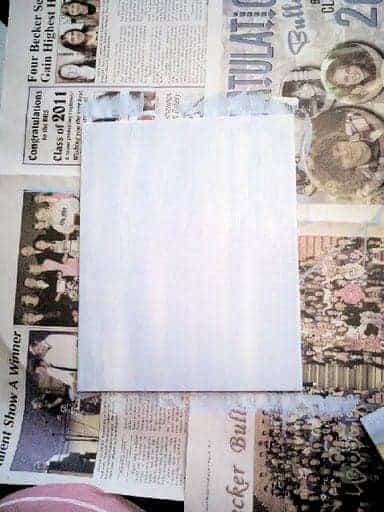
Lightly brush on a 2nd color of your choice randomly (in this case, white).
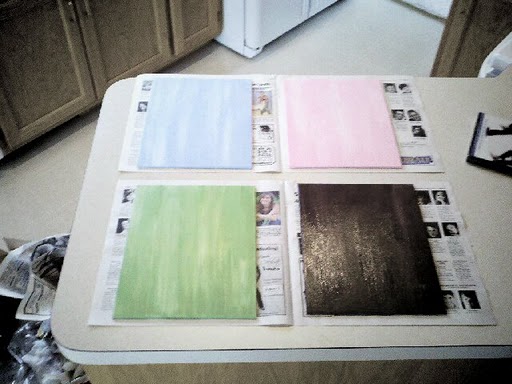
Repeat with other canvases.
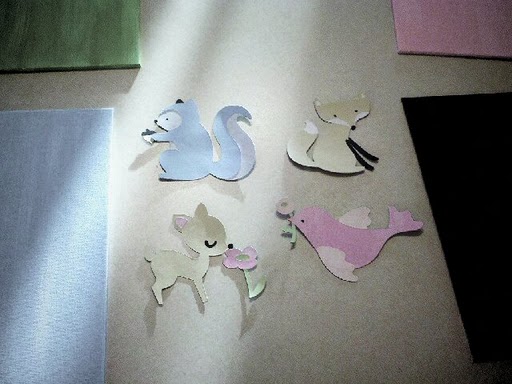
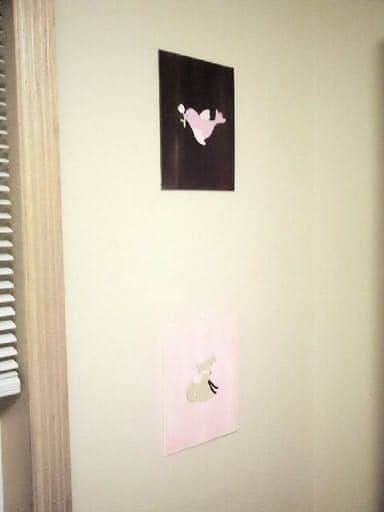
Using the Cricut and “Give a Hoot” cartridge, cut out the animals of your choice, assemble with glue stick.
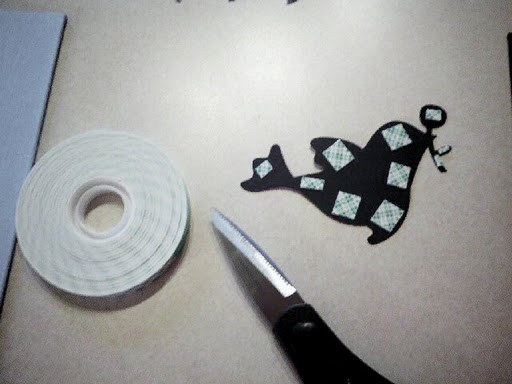
Apply pieces of mounting tape to the back of each character, making sure to get each part that sticks out.
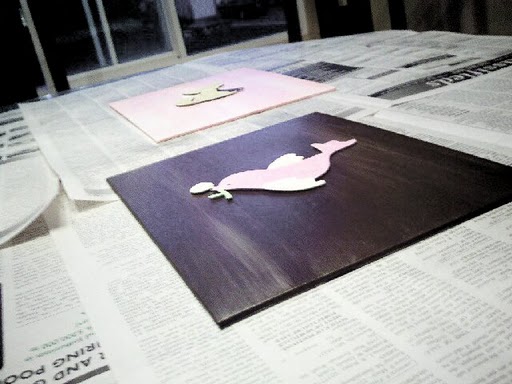
Press each character onto its corresponding canvas, spray with Mod Podge until glossy.
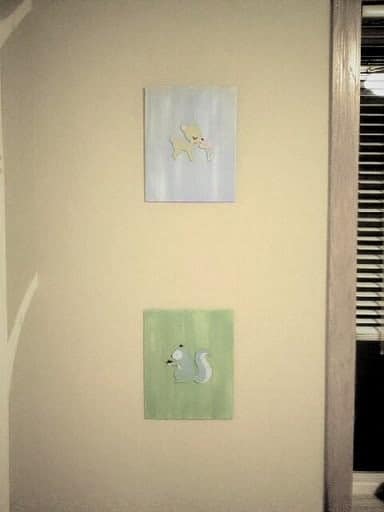
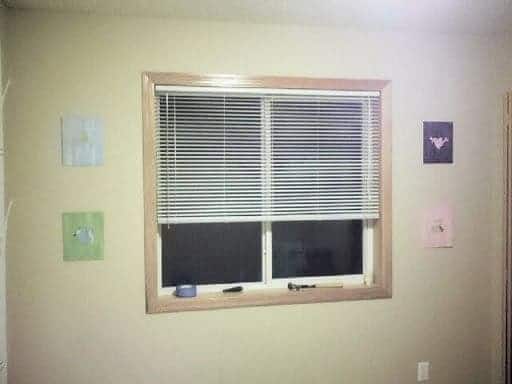
Attach hook to the back of each canvas for easy hanging. All finished!
![Rustic & chic wedding decor details [tutorial]](https://www.brepea.com/wp-content/uploads/2013/03/71dec-dt5.jpg)