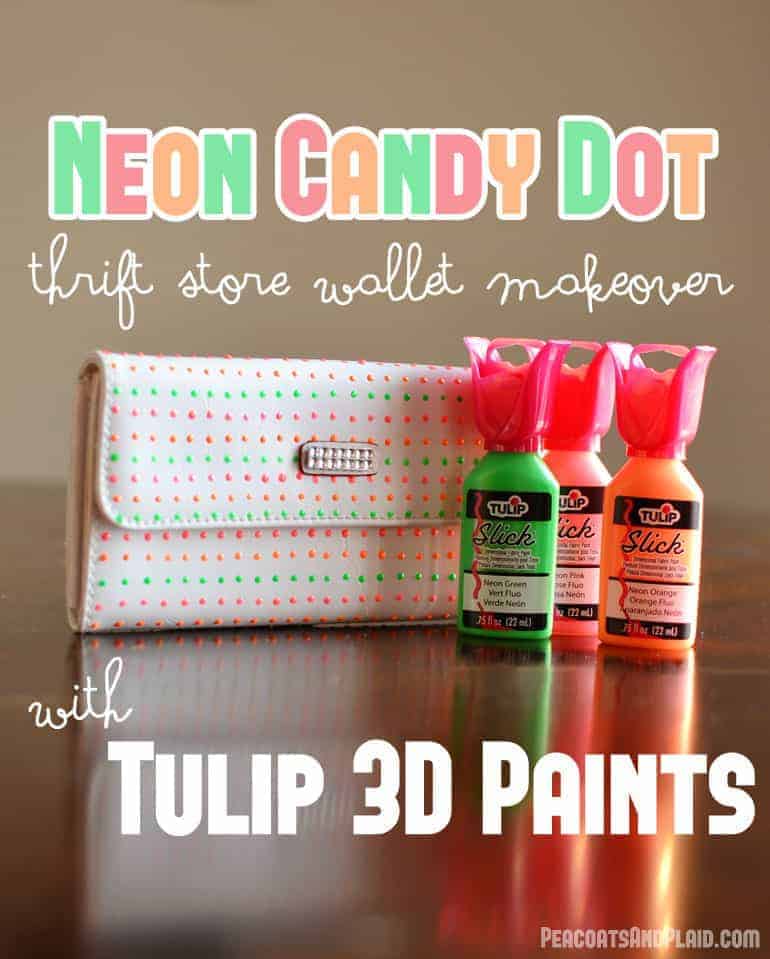
Neon Candy Button Thrift Store Wallet Makeover
I was inspired and sponsored to create this fun DIY project by the folks at Tulip.
I don’t know about you guys, but this winter weather is starting to grind my gears. It’s a little depressing when you hear the forecast is going to be 10 degrees, and you think, “Oh, good. That’s doable.” Luckily, i Love to Create and I are here to provide a little “winter blah” relief with a warm and bright craft project to help you ring in the return of spring.
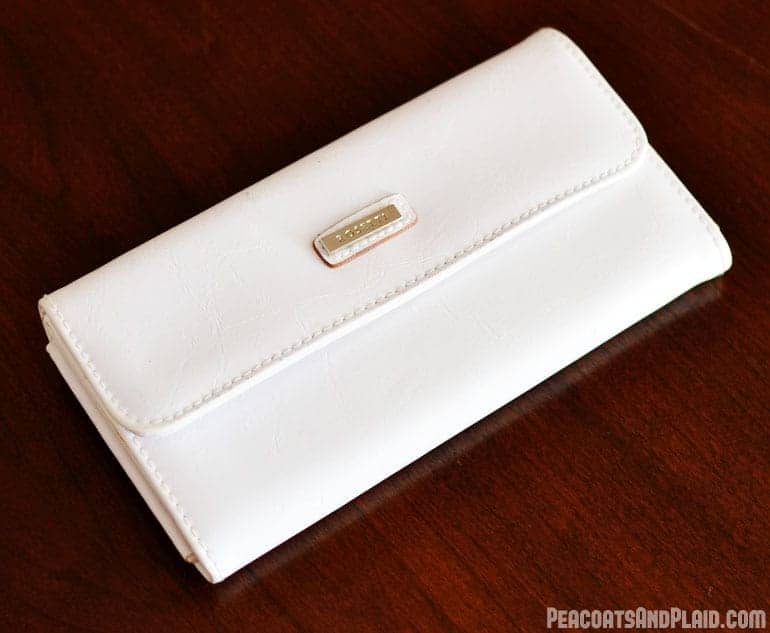
If you know anything about me, you will know that I am as budget friendly and frugal as they come. I love to give new life to thrift store purchases. I spotted this wallet at Goodwill for $2.99 (it happened to also be 50% off at the time), and I knew that it had a ton of potential. All it took was the wallet and one other supply…
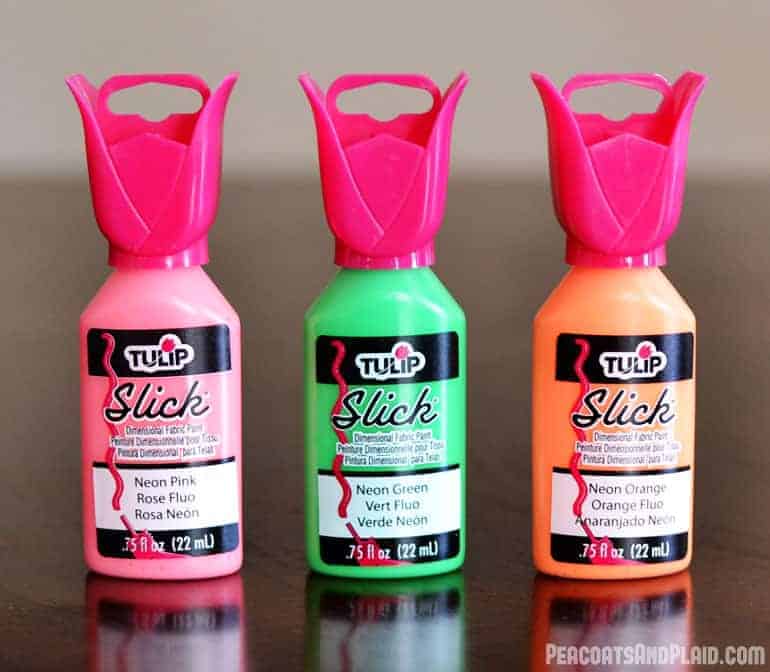
Supplies:
This is the wallet before. I didn’t like the generic logo in the center, so I decided to cover it with a little adhesive bling (this step is optional). Trust me, I tried to force it off and it wouldn’t budge. If you can’t remove it, camouflage it.
I have plenty of experiences with “puffy paint”, as we called it. Many dance team shirts were made in my high school days with this stuff. This brand is definitely the best and easiest to use. These awesome neon paints are found exclusively at Michaels, your one-stop shop for neon DIY fashion essentials.
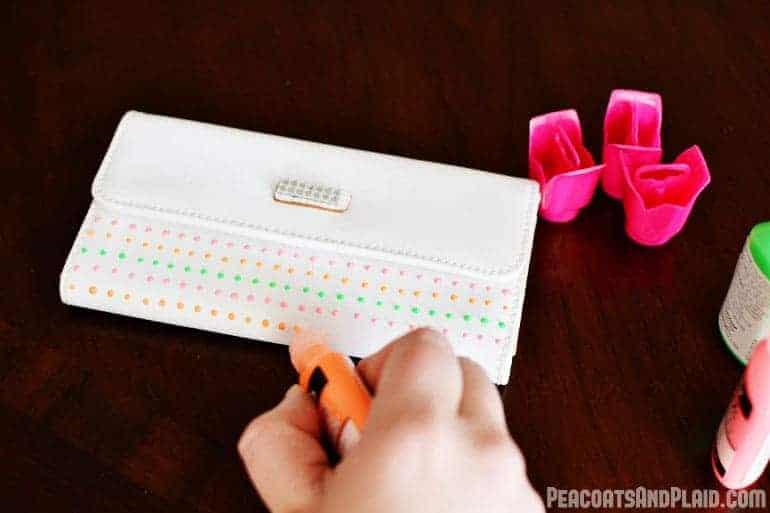
I was inspired by the look of candy buttons. Do you remember those from your childhood? I always thought they looked so yummy but when you ate them all you could taste was the paper that stuck to the bottom of each one. Anyway, squeeze a small dot of each Tulip Slick Neon Fabric Paint color in a row. I decided to go row by row with each color. If you mess up, don’t worry. Just use a q-tip to brush off the mistake and start over.
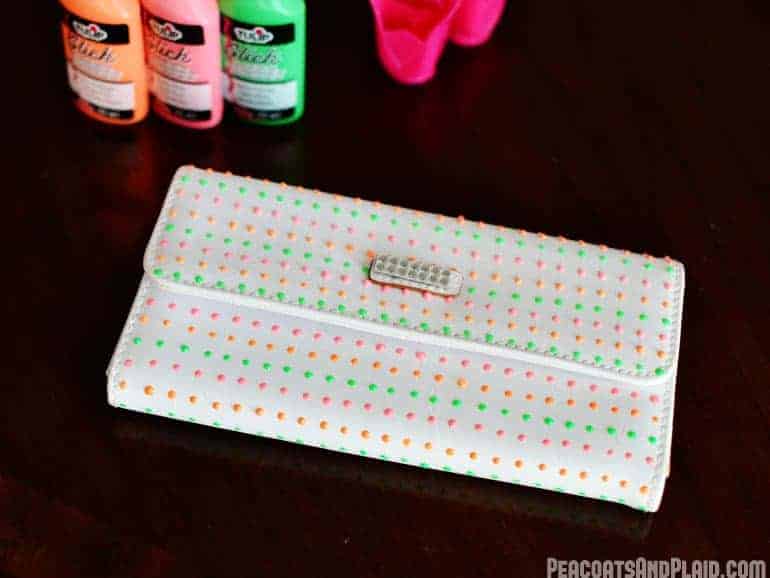
This is the front side done. Make sure you let one side dry thoroughly before proceeding to the back. I didn’t map anything out beforehand, I just did my best to stay as straight and even as I could in each row.
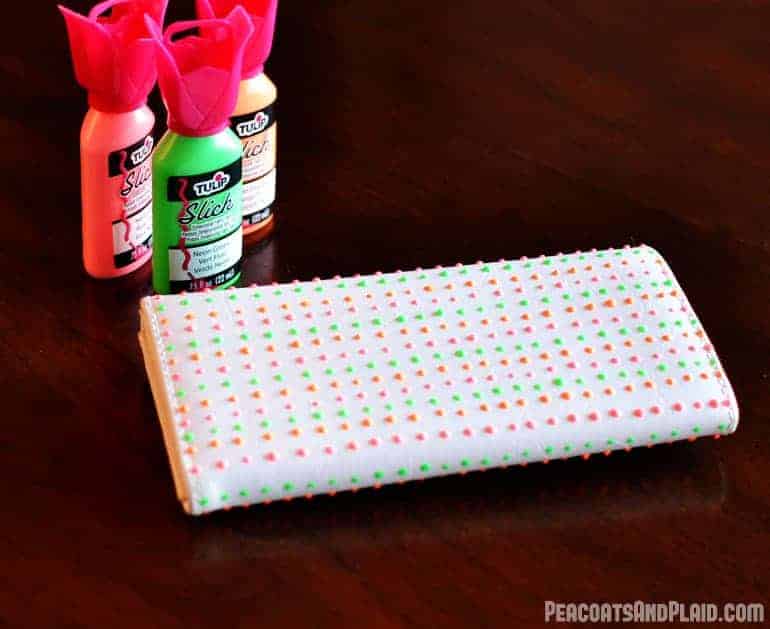
This is the back completed. Again, don’t worry about getting your rows perfect.
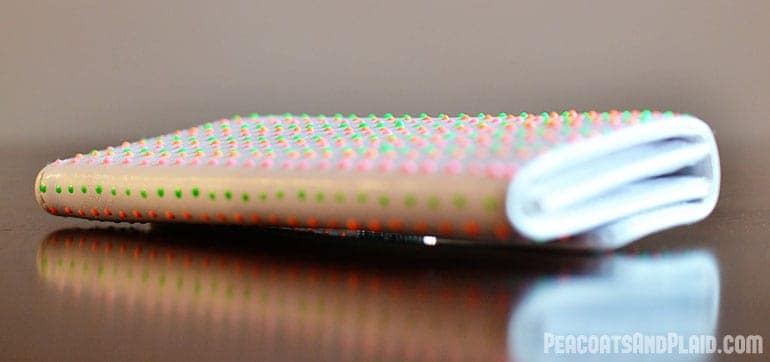
Just look at those delicious, tiny candy buttons! 🙂
To make your own, pick up these exclusive products (and more awesome ones like these Tulip One-Step Mini Tie-Dye Kits and these Tulip Fabric Markers) at your local Michaels Arts & Crafts store. For those folks without a Michaels store in their area, you can order the products at iLoveToCreate.com. iLoveToCreate.com is currently offering free shipping on any neon Tulip product for the month of February when you use coupon code NeonFEB (ends February 28th)!
If you liked my creation, be sure to visit i Love To Create for more crafty goodness on their social media outlets:
Facebook // Twitter // Pinterest // Blog

What a cool way to repurpose an old wallet!
I love this wallet. What a great idea. plus, I have paint all around the house.
Oh I can't stand it…this is TOO cute!! Such a great idea for an old wallet. Now I want to put dots all over purses and shoes. Hee hee! Thanks for the inspiration!
Super cute! I love the idea of candy buttons on a purse! 🙂
Seriously, how cute and fun is this?!