Quick and Easy Makeup Contouring Tutorial
This shop has been compensated by Collective Bias, Inc. and its advertiser. All opinions are mine alone. #MNYLooksToLove #CollectiveBias

I know what you’re thinking. “I’m a busy mom/career lady/overall busy person, I barely have time to wear makeup let alone do any contouring!”
Oh my dear, you just haven’t been taught the wonders of contouring. I do it every day, no lie. It takes me about a minute and it makes a HUGE difference. If you’re a fan of RuPaul’s Drag Race like I am, you know how true this is.

I had been contouring with three separate products until I found this affordable and convenient Maybelline Master Contour Palette at Walmart. It’s got all three contouring products in one: bronzer, blush, and highlighter.
Want to learn my contouring ways? Let me teach you…


STEP ONE | Apply Maybelline Dream Velvet Foundation to your entire face with your Dream Velvet Blender. I have to resist touching my face after I apply this foundation because it leaves my skin feeling SO SOFT and velvety smooth. The blender makes the application go on smooth and easy.

STEP TWO | I’m a rebel, so I like to start the contouring process with the highlighter. Using the brush that’s provided, apply highlighter to the following areas:
- bridge of your nose
- center of your forehead
- cupid’s bow of your lip
- center of your chin
- both of your cheekbones.
Apply it to basically any area that you want to draw the eye or call attention to.

STEP THREE | Continue contouring with the bronzer. Apply with the brush to the following areas:
- along the sides of the bridge of your nose
- in a “3” shape on either side of your face starting along the hairline of your forehead, in the hollow of your cheek, and along the jaw line
You could get more detailed with this, but this is how I prefer to contour. After I’ve applied both the highlighter and bronzer, I blend it together with a kabuki brush.


STEP FOUR | Here’s a trick I learned working in the salon: keep approximately a finger width from the corner of your nose and underneath your eye, apply the blush concentrating on the apple of your cheek and blending up/out.

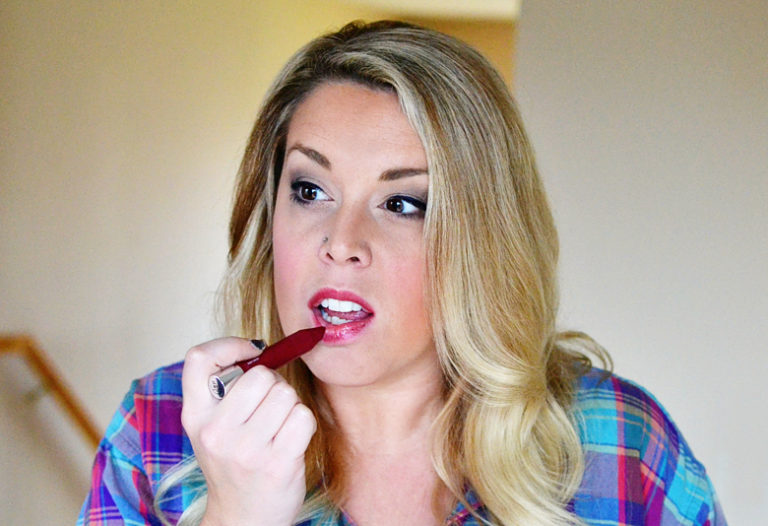
Apply your eye makeup, lipstick, don’t forget to fill in those brows, and voila! This look is a perfect way to spiff up your daily makeup for your upcoming Valentine’s Day date 🙂
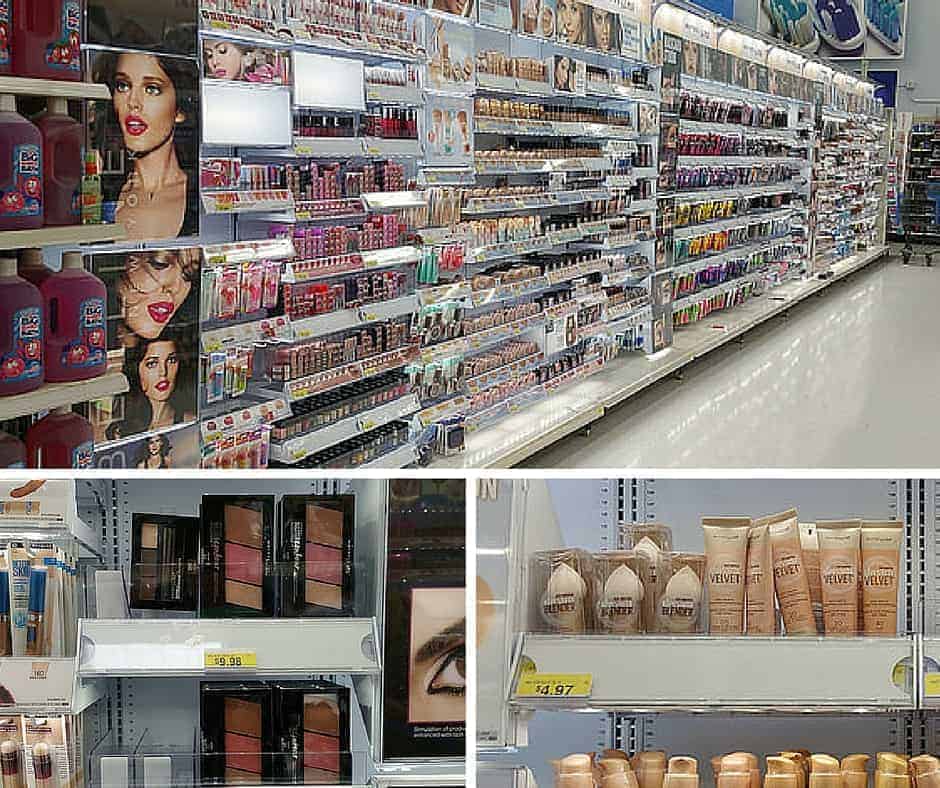
Make a stop at your local Walmart and pick up your Master Contouring Palette, Dream Velvet Foundation, and Dream Velvet Blender. Follow my quick and easy makeup contouring tutorial for your “look to love” for this Valentine’s Day!