Life Jacket Organization & Drying Rack Tutorial
This shop has been compensated by Collective Bias, Inc. and its advertiser. All opinions are mine alone. #JumpIntoSummer #CollectiveBias

We are lucky enough to live in the Land of 10,000 Lakes otherwise known as… Minnesota. We are also lucky enough to live just 5 minutes from Grandma & Grandpa’s house where there’s a nice, refreshing pool to swim in during the summer months.
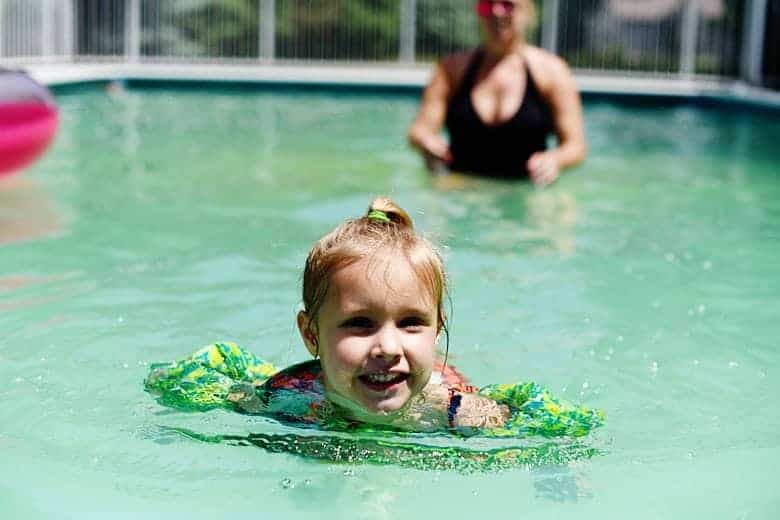
This means that Bean is around water ALL THE TIME in the summer. She hasn’t had official swimming lessons yet, but she sure can swim like a fish.
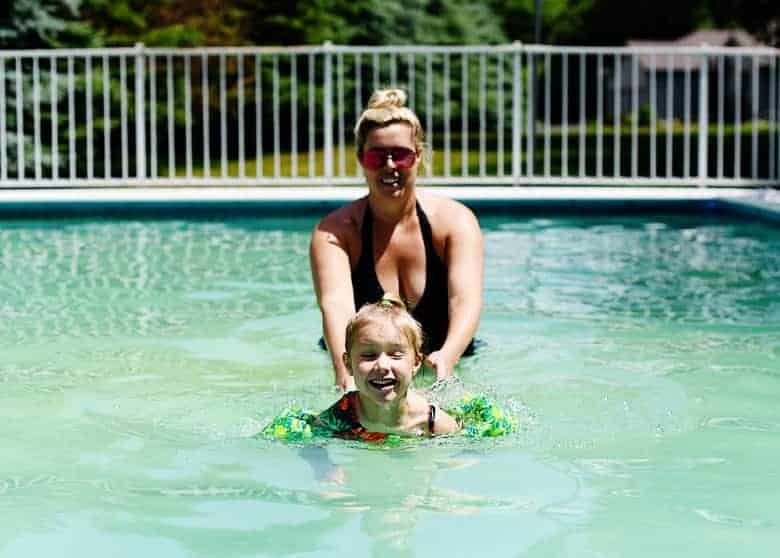
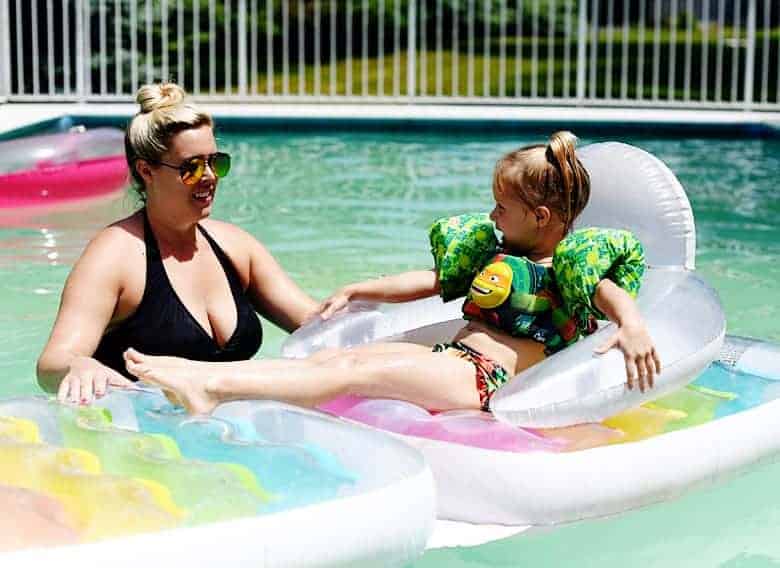
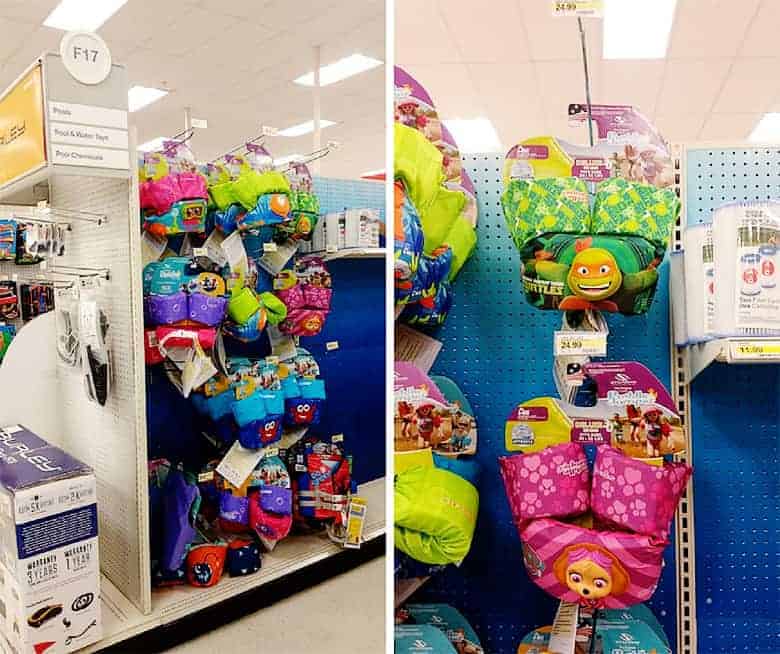
Because we are around water all the time, water safety is foremost on my mind. The first thing we do when we’re by water: strap on a life jacket. I love our Stearns® Puddle Jumper® 3D Life Jacket because it gives Bean a little more freedom to swim and play than a traditional life jacket. It has an adjustable buckle that snaps in the back and Bean loves the 3D Teenage Mutant Ninja Turtle head on the front 🙂 Plus, it’s got antimicrobial properties that keep it from getting stinky as it gets wet.
But I digress… because we’re around water a lot, and own a boat, we have a LOT of life jackets. When they’re not in our boat, they’re haphazardly thrown on a shelf in the boat house. That is, until now! I made a life jacket organization and drying rack out of PVC pipe and it has been a life saver. Here’s how you can make your own as well (it’s super easy and cheap!)
Life Jacket Organization & Drying Rack
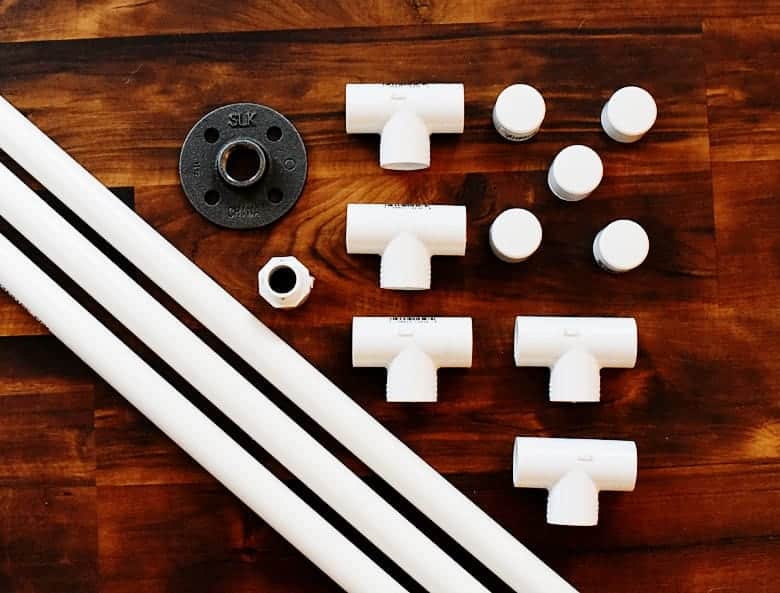
SUPPLIES
- 5- 3/4″ end caps
- 5- 3/4″ t- joints
- 2-3 lengths 5′ by 3/4″ plastic PVC (I bought 3 in case I somehow messed some up)
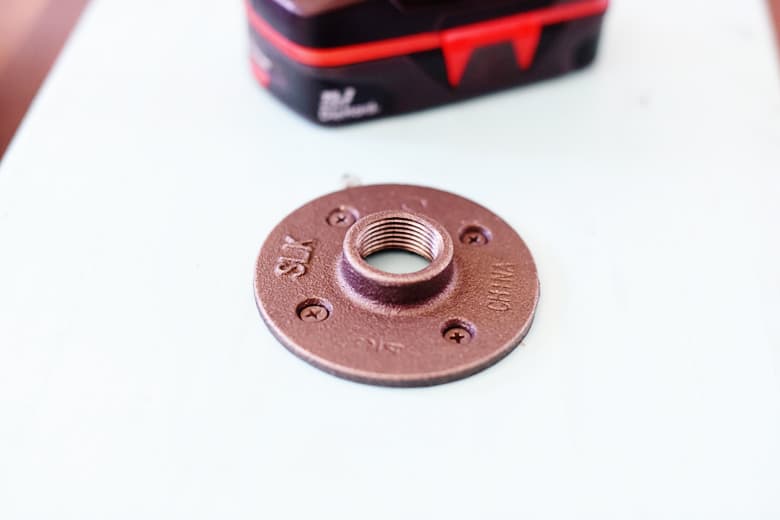
- 1- 3/4″ threaded steel flange
- 1- 3/4″ Male transition part (one end is threaded, the other is smooth)
- 4- 1 1/2″ long screws
- Hacksaw
- 12″ x 36″ x 2″ Wood board
- Sandpaper
- Power Drill
- Measuring Tape/Pencil
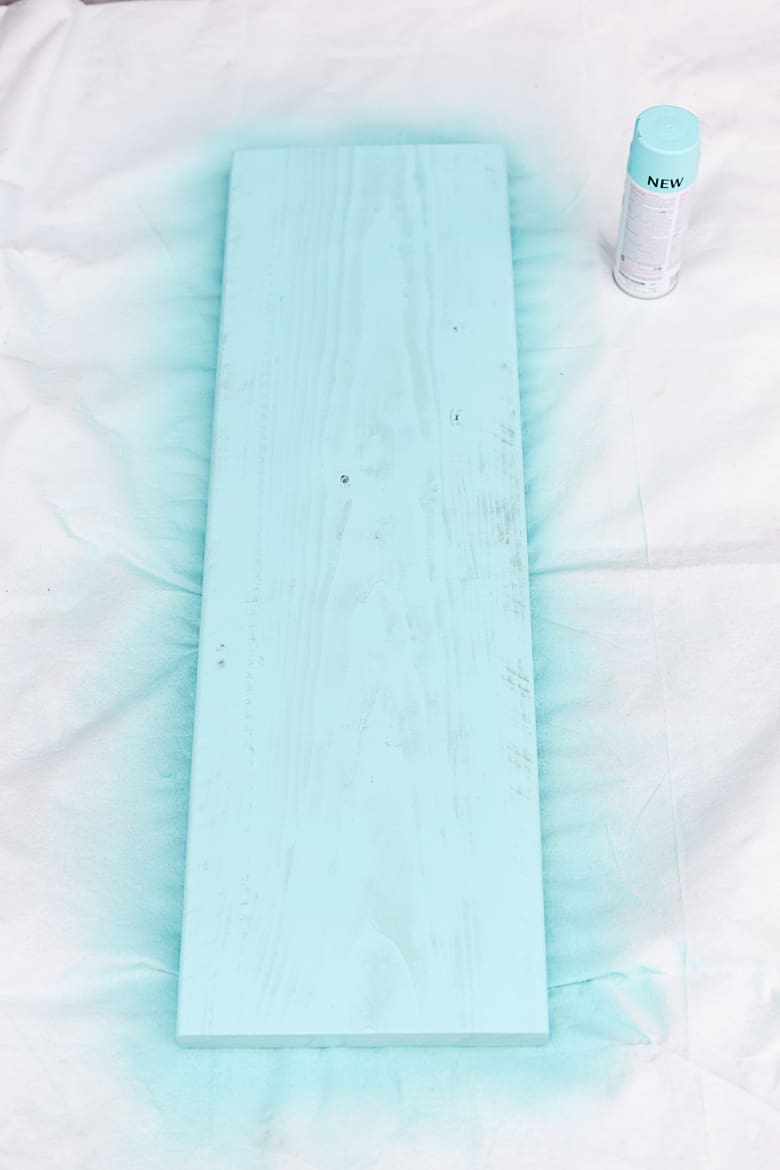
STEP ONE
Sand the edges of your board. If, like me, you want to make your life jacket rack “cute”, you can give the board a few coats of spray paint.
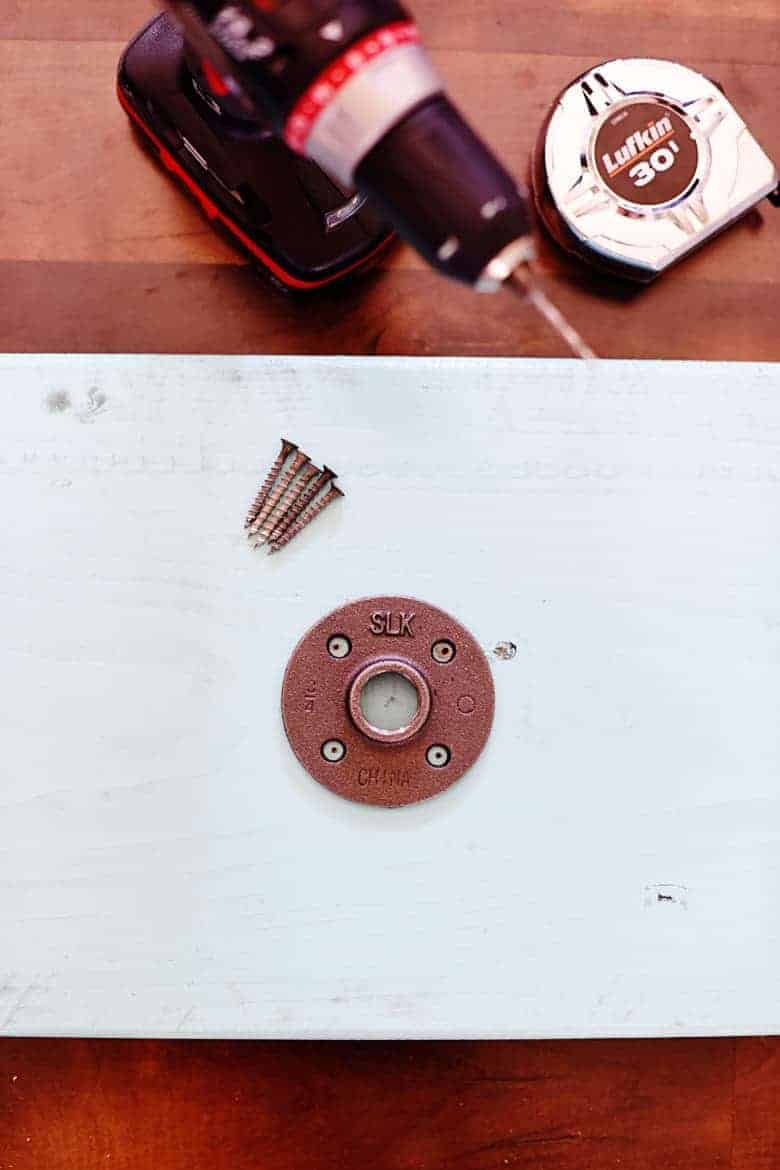
STEP TWO
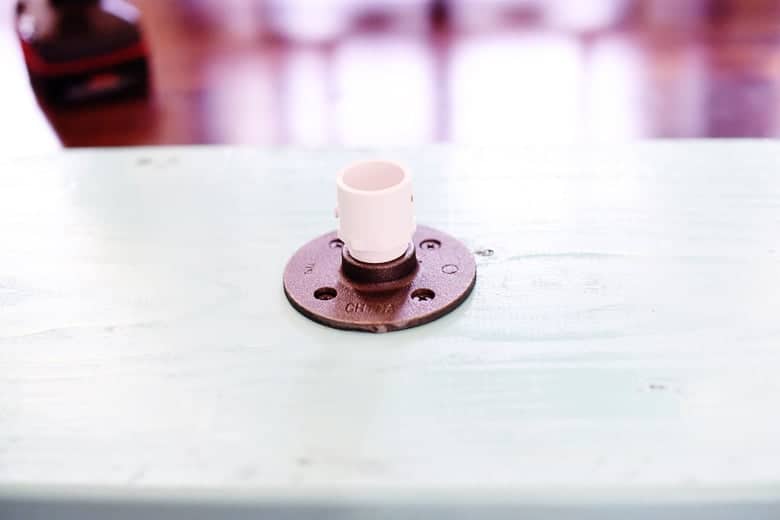
Find the center of the board using a measuring tape. Place the metal flange directly in the center and secure with the screws. I found that pre-drilling the holes helped the screws go in easier. Screw in the male adaptor to the metal flange.
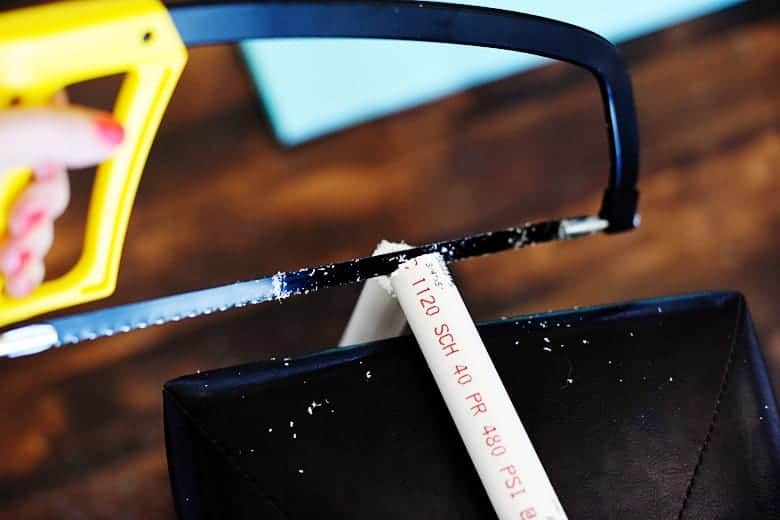
STEP THREE
Using the hacksaw (or power saw if you’re lucky enough to have one), cut the following lengths out of the long 5′ by 3/4″ PVC pipe:
- 5- 4″ pieces
- 1- 20″ piece
- 5- 16″ pieces
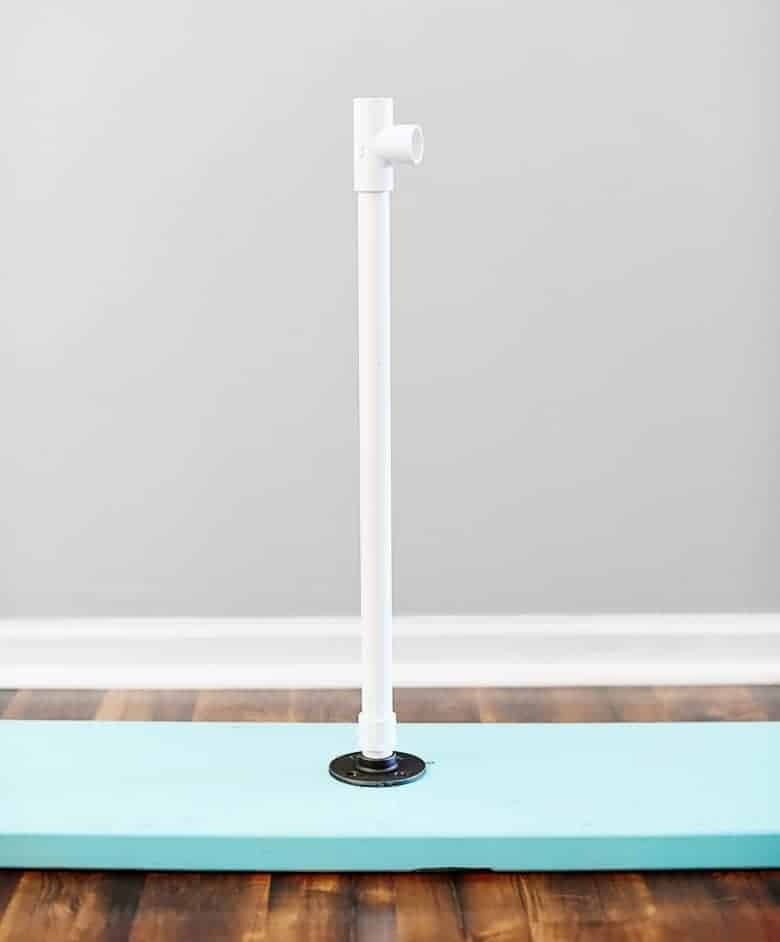
STEP FOUR
Attach the 20″ length piece to the male adapter. Make sure you press down with lots of pressure to make sure it’s fully in.
STEP FIVE
Attach a t-joint to the top and then a 16″ length piece to the end of the t-joint. Use a cap to close the open end.
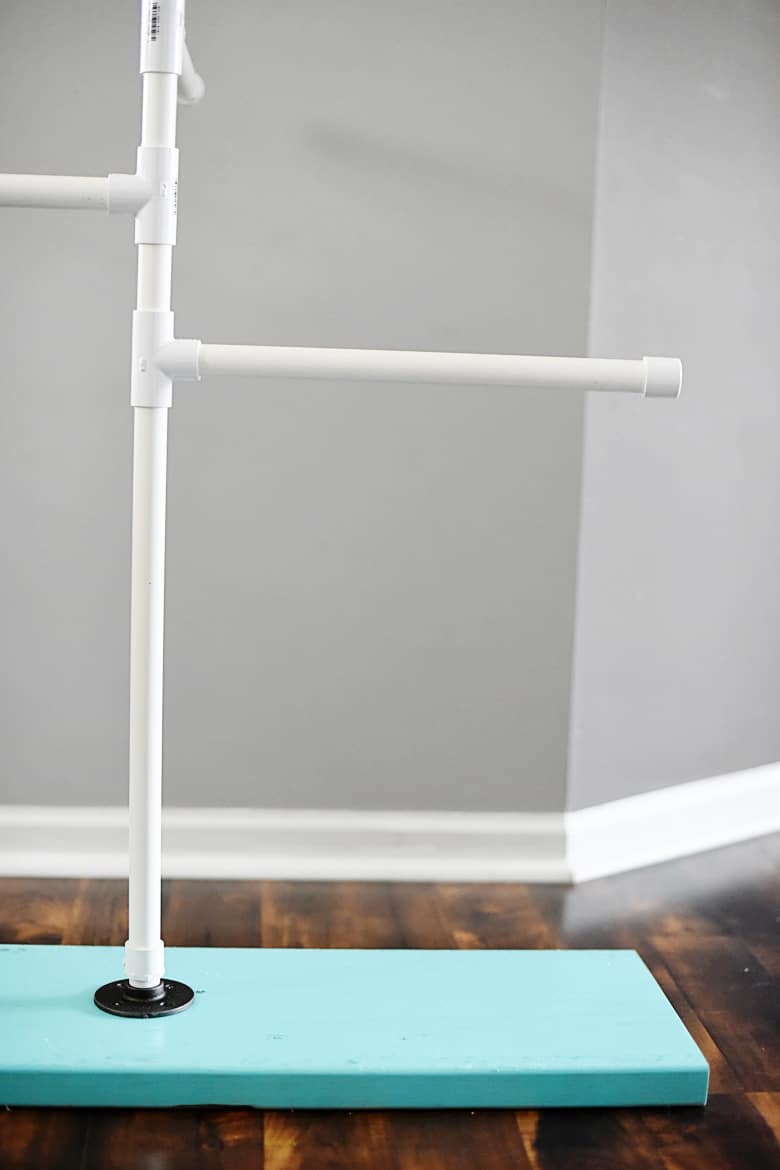
STEP SIX
Attach a 4″ length piece to the top of the t-joint, and then repeat STEP FIVE. Continue to do this until you have used all 5 t-joints. After your 5th t-joint, you’re done!
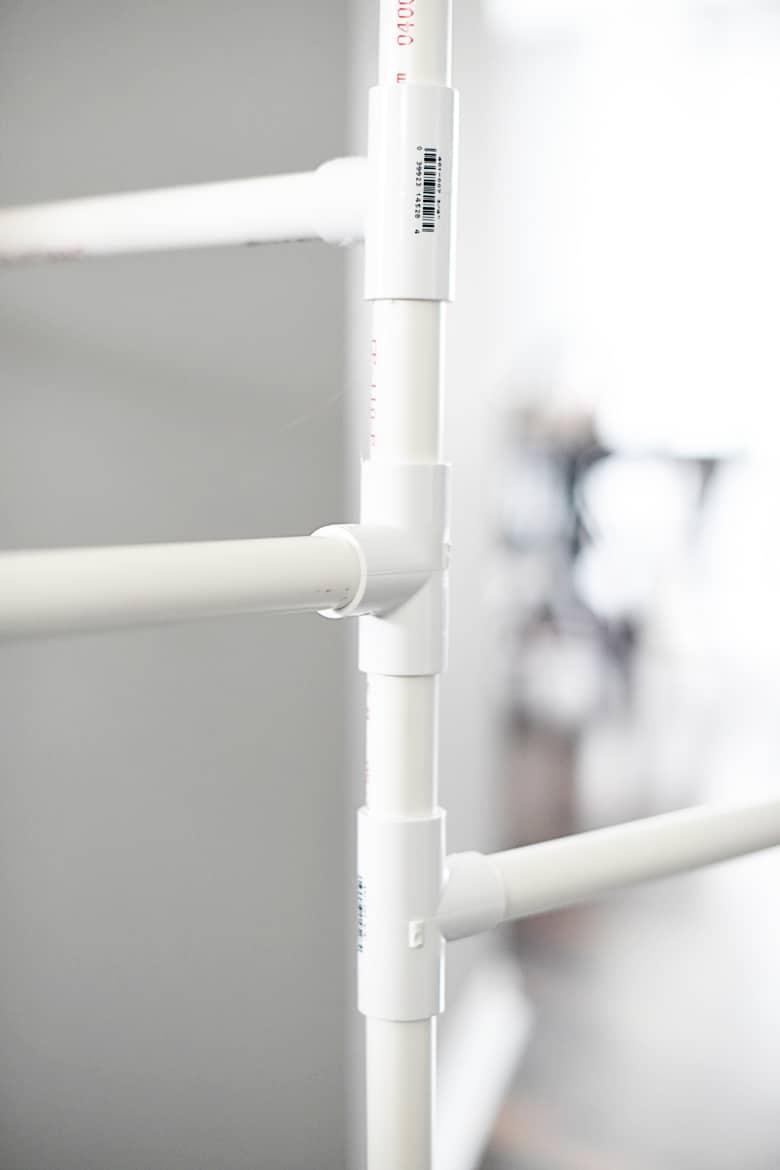
Because we didn’t use any glue, you will be able to twist and move the ends of the rack around to suit your needs.


Summer is HERE and if you’ve got a young one (30-50 pounds) at home, I can’t recommend Puddle Jumper® life jackets enough. We stayed at a water park resort a few summers ago when Bean was 3 and they required a life jacket at all times. She lived in her Puddle Jumper® life jacket our whole stay and never complained, it was that comfortable for her (it’s made of woven polyester so it’s softer and doesn’t chafe like other life jackets).

Needless to say, we’ve been longtime fans in our house. The next time you’re at Target (c’mon, you know you’ll be making at least one trip this week right?) pick up a Stearns® Puddle Jumper® 3D Life Jacket! Of course my daughter would pick out the least girly one… 😉
Have you heard of/used Puddle Jumper® life jacket before? What character would your kiddo chose for their Puddle Jumper® life jacket? Let me know in the comments below!


![Rustic & chic wedding decor details [tutorial]](https://www.brepea.com/wp-content/uploads/2013/03/71dec-dt5.jpg)
This is such an awesome idea! We need one for our garage!
Paige
http://thehappyflammily.com
Such a great DIY!! I love the photos and it seems super helpful when trying to dry lifejackets.
What a cool and useful DIY! I like how simple it is. No one likes a smelly life jacket ?
This is awesome!! I love this! So perfect for summer too!
XOXO
http://fromunderapalmtree.com/
This is a genius idea! Thank you for breaking it down so even a non-crafty person, like me, could do it!
What a perfect idea! This is so smart!
This is genius! I need to share this with my mom to build one for her pool!
This is genius! And so cute too!
Wow. I love this rack and it really looks awesome absolutely looks perfect for summer
Ok. I’m sharing this to my hubby and it’s our weekend project. Our kids wear life jackets, both with swimming in the pool, and on the boat. I always have difficulty with where to put them when they are still wet. Perfect solution. Love it!
Hello! How did you know how much I needed this. We had a lake house and I’m constantly picking up scattered, muddy lifejackets and swim vests and trying to find places to lay them to dry out. It’s the worst! This is so brilliant. Thanks!
Such a great idea! I am all about DIY projects! My parents live by a lake and could really use this!
Wow! Very informative and awesome directions. Nice job!
That is a great and amazing. Great job.