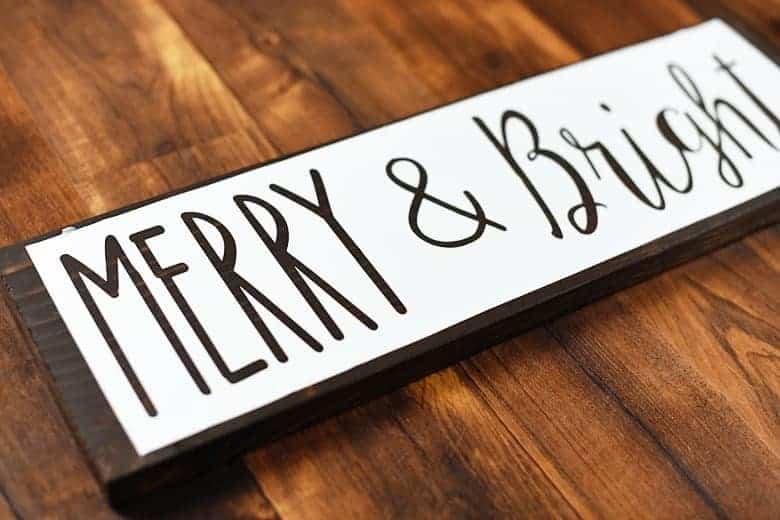
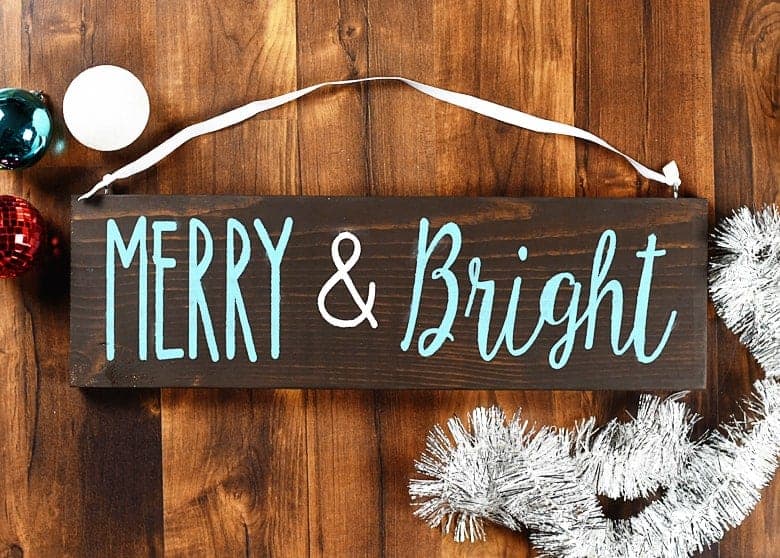
Fast and Easy “Merry & Bright” Christmas Wood Sign DIY
I’m sure you’re thinking right about now, “Oh how original, Bre. ANOTHER Christmas wood sign DIY. Aren’t there a million of these tutorials hanging around Pinterest?”
But they aren’t as fast and easy and SIMPLE as this one! Why? Because Sawdust Savvy took all of the guess work and planning out of the project for me!
Fast and Easy “Merry & Bright” Christmas Wood Sign DIY
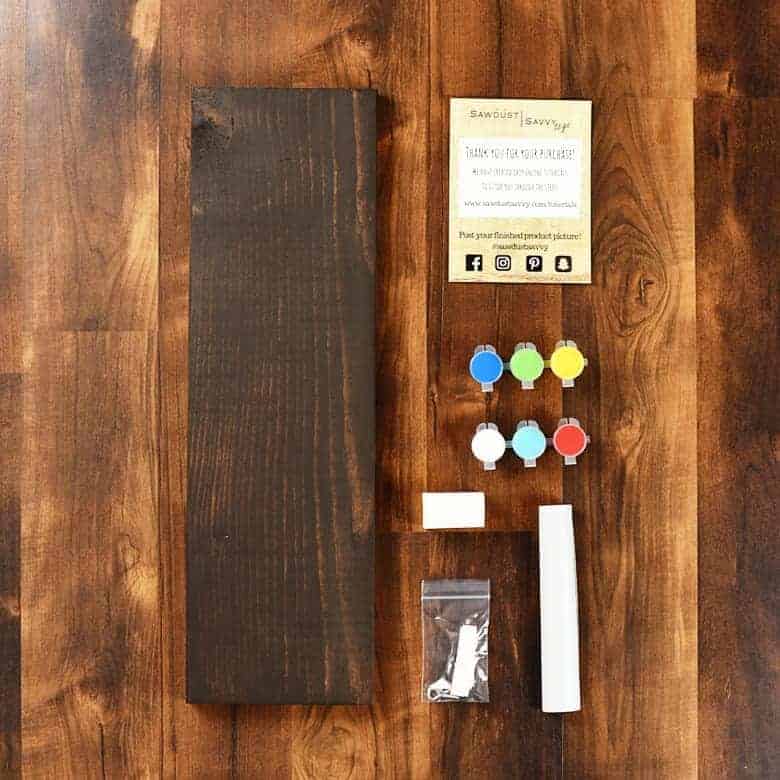
Kit includes:
- pre-stained wood plank
- “Merry & Bright” stencil
- pre-selected acrylic paint
- foam applicator sponges
- ribbon
- hanging hardware
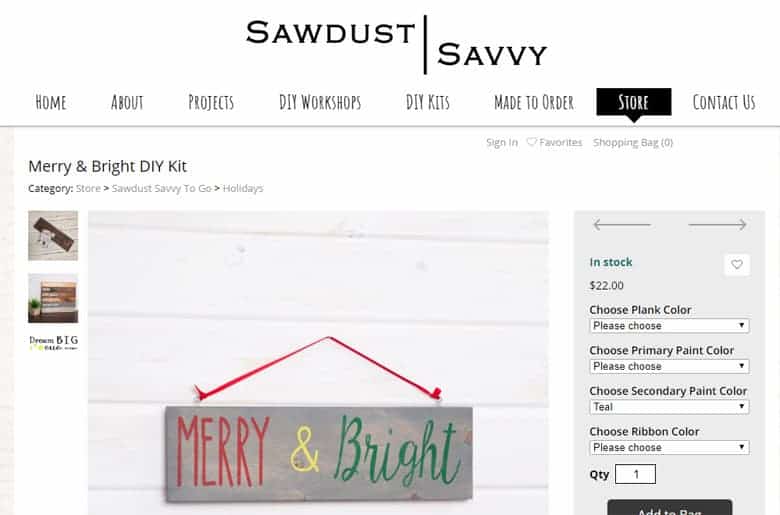
STEP ONE
Ordering a Sawdust Savvy to go kit is super simple. Select your stain color (of course I liked the deepest, darkest one best- Kona), paint colors (you get to pick 3), and ribbon color.
STEP TWO
“Weed” your stencil. This basically means to remove the parts of the stencil that you want painted. Sawdust Savvy has convenient how-to videos to help guide you each step of the way if you need any extra guidance.
STEP THREE
Peel your stencil from the backing. Make sure you place it face down and remove the backing from the stencil or it may get tangled and stuck together.
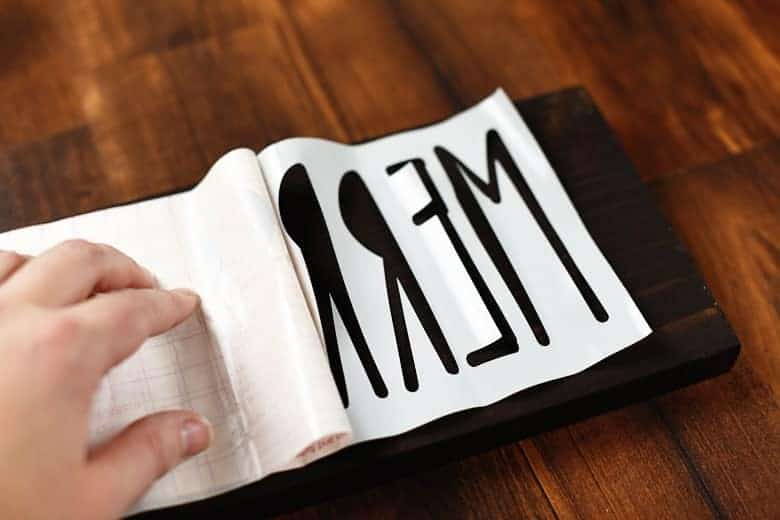
STEP FOUR
Line up and center the stencil on the wood plank. Working from one end to the other, press down firmly. Once the big stencil is in place, fill in with any of the little center pieces that might be left.
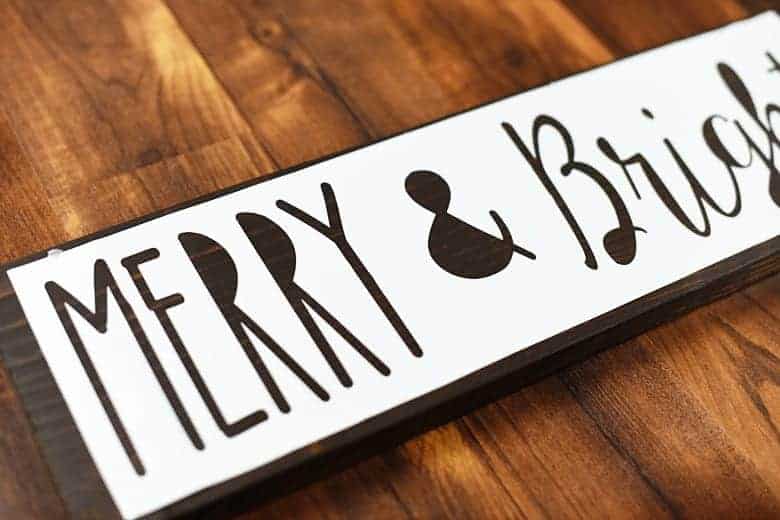
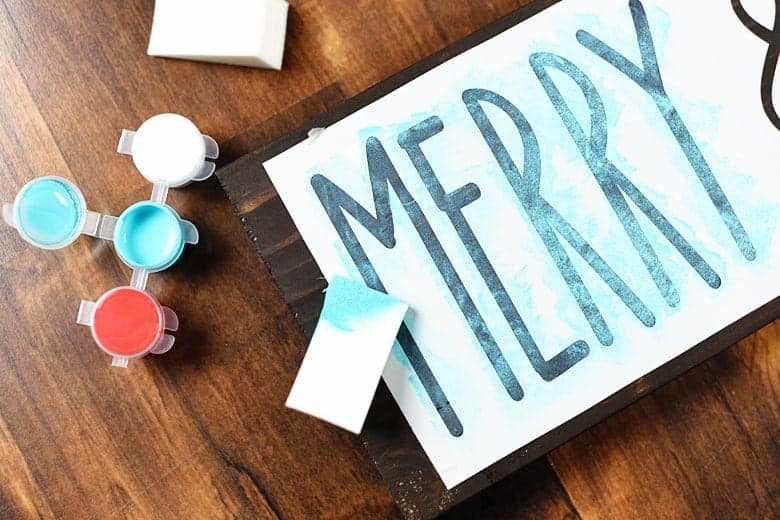
STEP FIVE
Using the foam sponge applicator, apply the paint to the stencil. I used a “dabbing” motion (no, not THAT kind of dabbing) to prevent as much paint seepage as possible. The kit comes with 3 color options, but I liked the look of just the 2. Because the stain was so dark, it took about 3 coats of paint.
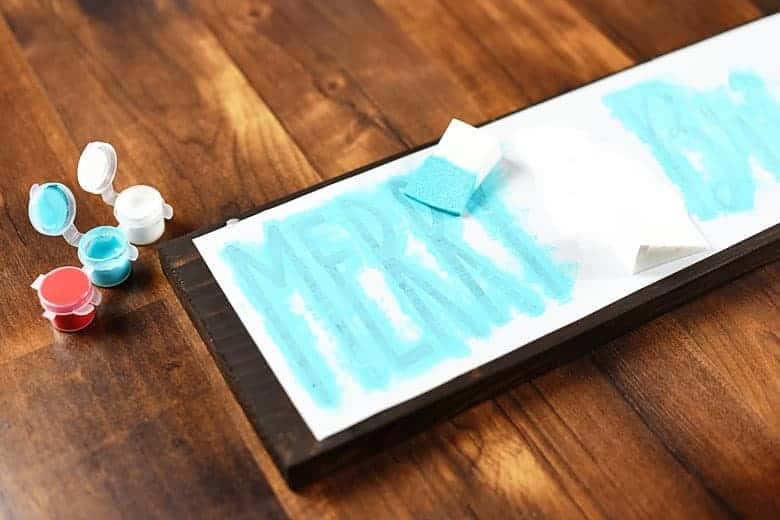
Once it’s completely dry, then you can remove the stencil.

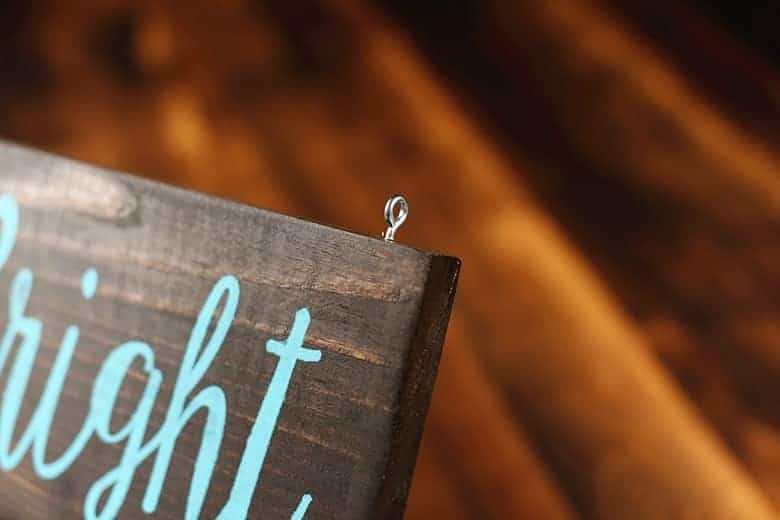
STEP SIX
The plank came with 2 handy dandy pre-drilled holes for the hanging hardware. I did not see this ahead of time and put my stencil on upside down haha Luckily, I was able to muscle the hooks by hand very easily into the wood.
STEP SEVEN
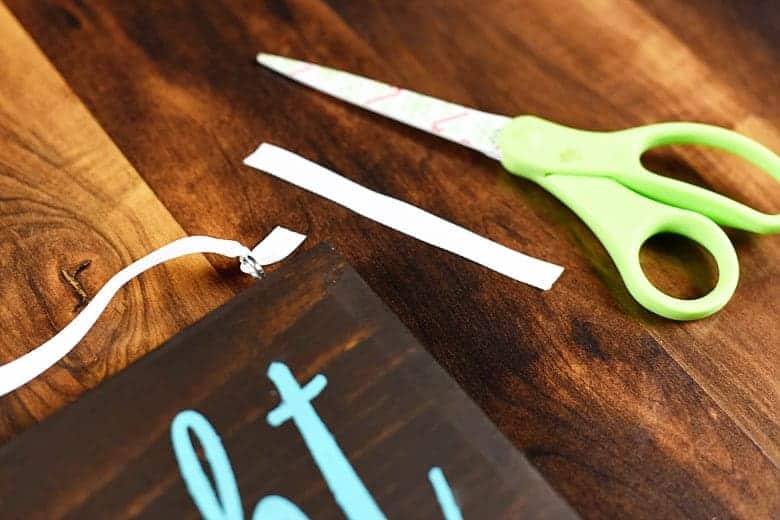
Tie one end of the ribbon to a hook. Decide how low you want the sign to hang and tie the other end to the opposite hook. Trim off any excess ribbon. To prevent fraying, run a flame over the end of the ribbon.
This was, by far, the EASIEST DIY I have ever done. And I love how it turned out!
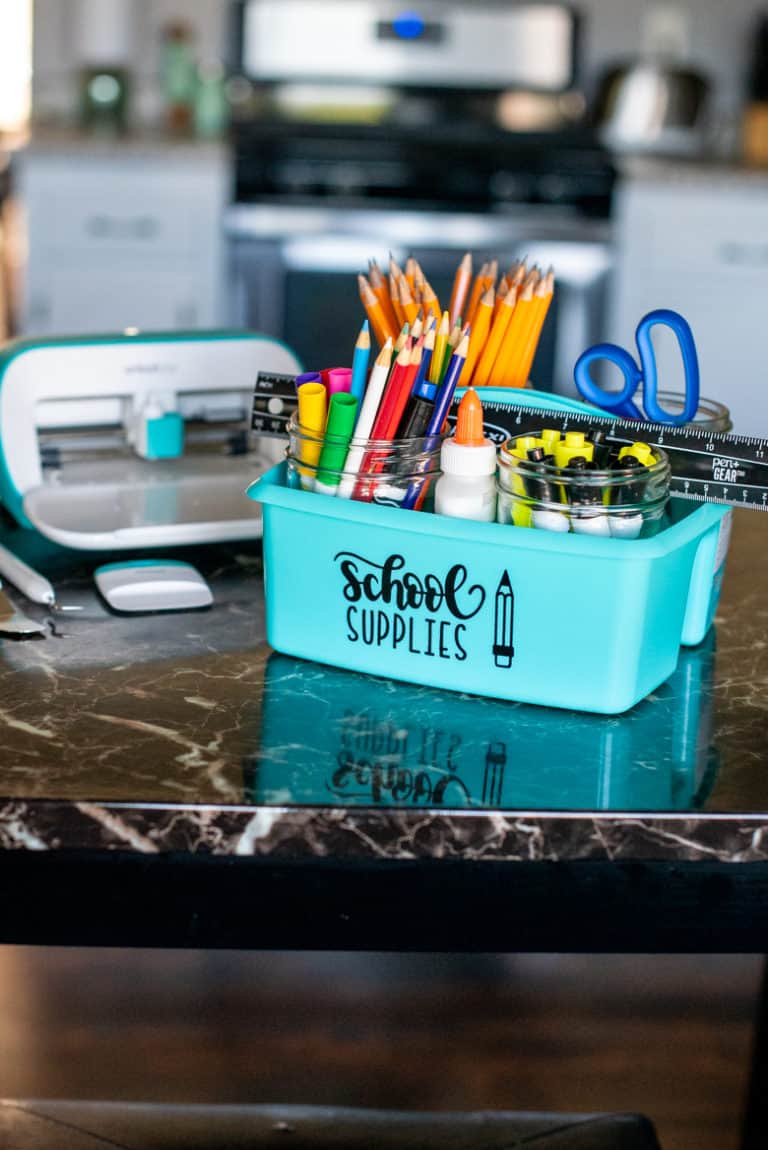
Sawdust Savvy is a Minnesota company located in Stillwater, MN that offers in-house workshops, made-to-order products, and (my personal favorite) convenient DIY kits to-go. Their to-go kits cover a range of projects from holiday decor, bottle opener signs, photo and kids art holders, and much more.

Sawdust Savvy is running an awesome holiday sale: use the code SAVEON3 and purchase 3 to-go kits for $60! What a great gift idea for the crafty DIYer in your life 😉 Visit Sawdust Savvy’s online shop today!

I was given a complimentary DIY to go kit from Sawdust Savvy. All opinions are my own.

I love this! Cute, festive and easy. I am adding this to the Holiday to do list.
This is so cute and easy to use. I love it, will add to my gift list.
http://www.momentswithchelsea.com
So cute!! I’ve always wanted to try one of their classes or kits!
So cute and so easy! My kind of project 😊
This a beautiful diy, I have all the equipment I need definitely trying this one.
I really like the final result. The project is so simple, but the possibilities of what a person can make are endless.