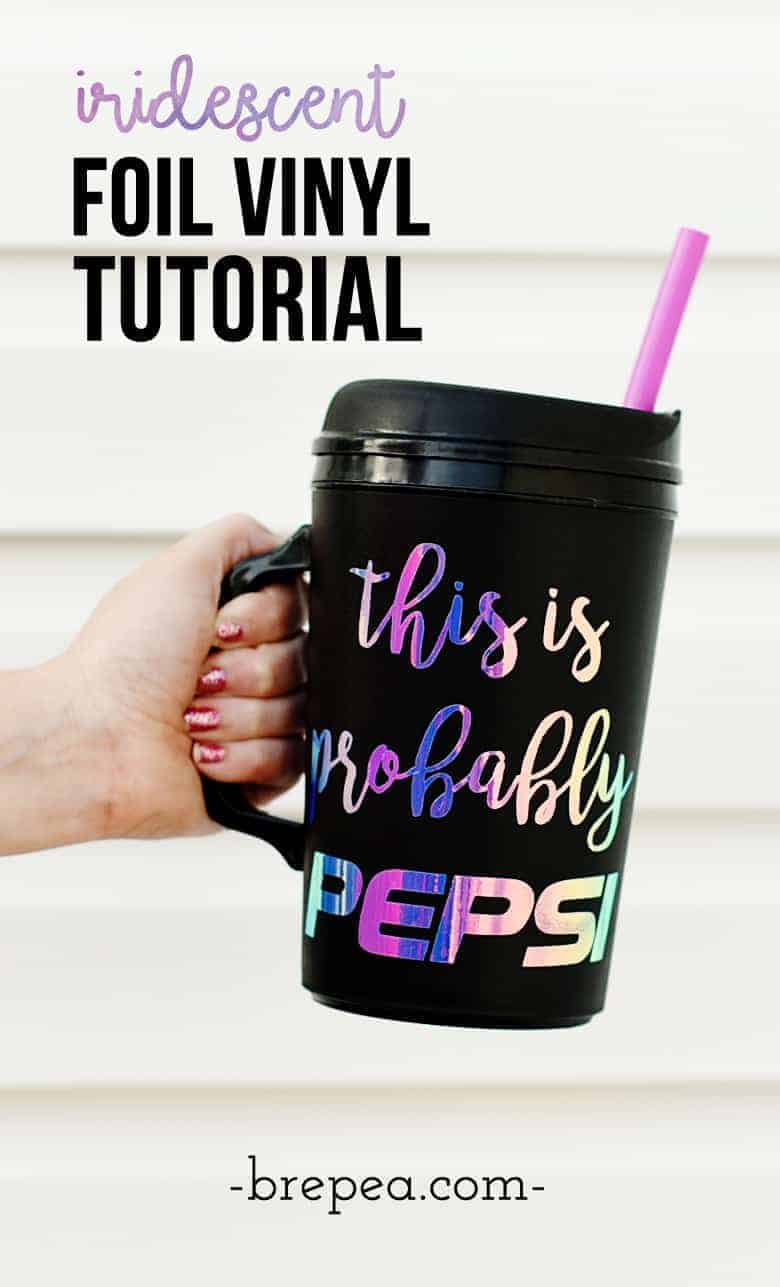
Iridescent Foil Vinyl Project: “This is Probably Pepsi” Tumbler
Investing in a Cricut Explore Air 2 was the best thing I ever did for my DIY game. Every time I use it, I wonder how I lived so long without it.
Enter my latest foil vinyl project using my Cricut: a Mother’s Day gift for my Pepsi-loving Mom!

You’ve probably seen the typical “This might be wine” coffee mugs floating around Pinterest. My mom is most definitely not a wine drinker. Pepsi is, as she puts it, “The nectar of the gods”!
When I saw those typical wine mugs on Pinterest, an idea popped into my head for the perfect gift for my mom. Here’s how you can make the same iridescent foil vinyl travel mug for the Pepsi lover in your life:
Iridescent Foil Vinyl Project: “This is probably Pepsi” Tumbler
SUPPLIES:
- 34 oz. Tumbler (I found this one on Amazon)
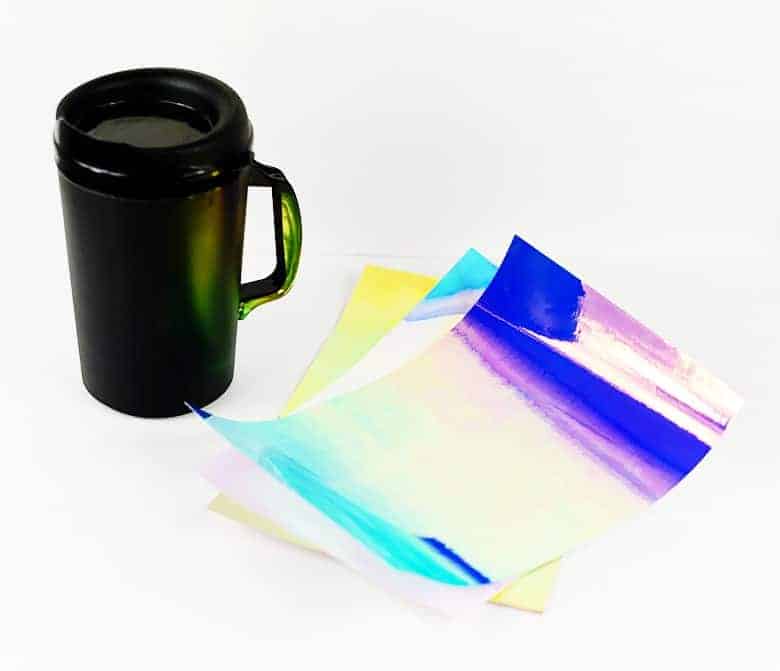
- Adhesive Iridescent Foil Vinyl
- Cricut Explore Air™ 2
- Contact Paper (or transfer tape)
- Scissors
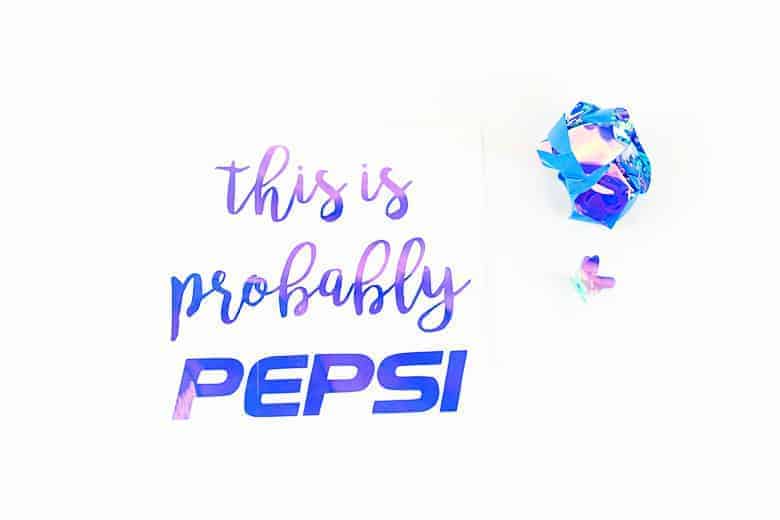
- “This is probably Pepsi” png (download here)
Step One
Download my “This is probably Pepsi” png and upload it to the Cricut Explore platform. Resize the design to fit the area of the mug or cup that you’re using.
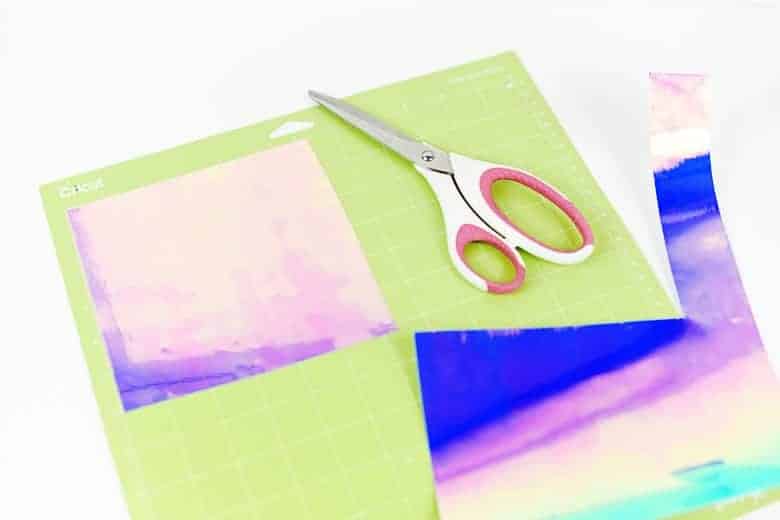
Step Two
Cut out a piece of foil vinyl slightly bigger than the dimensions that your design is. I wanted my design to cover approximately a 6 inch by 6 inch area on the mug, so I cut out my vinyl to slightly bigger than that size. Make sure you leave a tiny bit extra so that the Cricut can cut out the design without running out of room on the edges. Because we’re using adhesive vinyl (and not iron on) place the vinyl foil side up on the cutting mat before cutting.
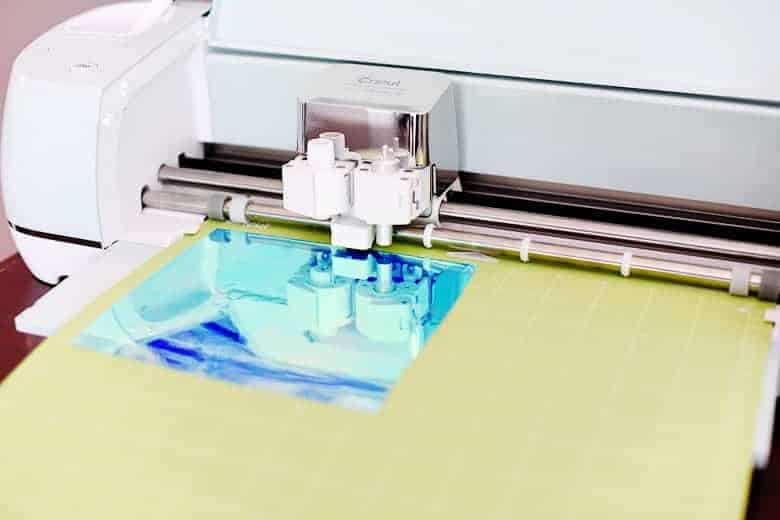
Step Three
Cut out the design using your Cricut. Make sure your dial is set to “vinyl”.
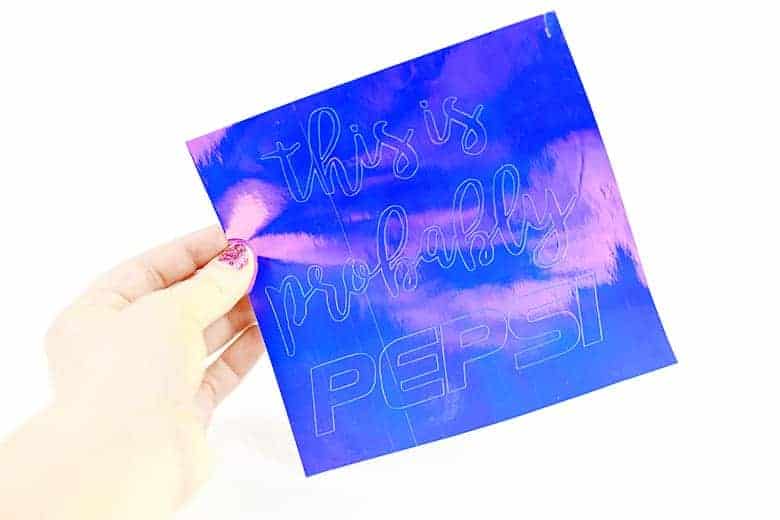
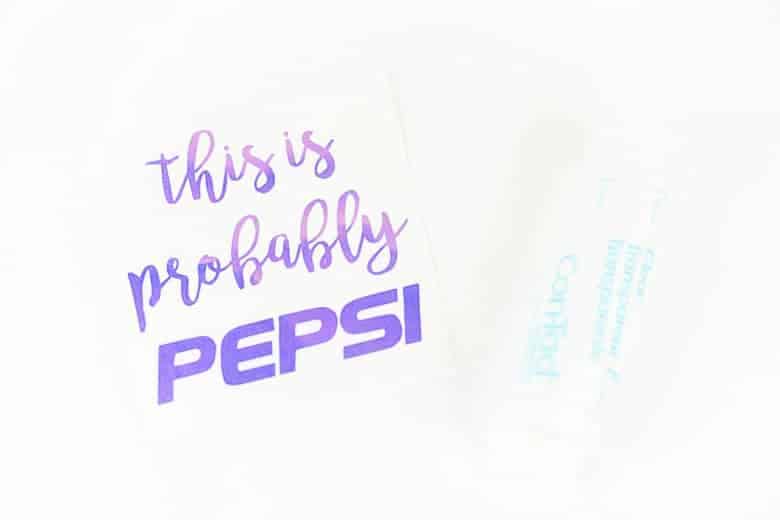
Step Five
“Weed” your vinyl by pulling out the excess. I start at one of the corners and carefully pull it away until I remove all of the excess. Make sure you also remove the extra middles of the letters.
Step Six
Cut out a piece of contact paper the same size as the design. Attach the sticky side of the contact paper to the foil side of the design using a plastic gift card or Cricut plastic scrapper. You want to make sure the design is completely attached to the contact paper without any bubbles. Then, carefully remove the backing of the vinyl design making sure all of the details remain attached to the contact paper.
Step Seven
Apply the design to your mug using a plastic gift card, or if you’re extra fancy, a Cricut plastic scraper tool. Be gentle so you don’t agitate the design itself, but you want the vinyl to stick to the mug really well so you can remove the contact paper without affecting the design.
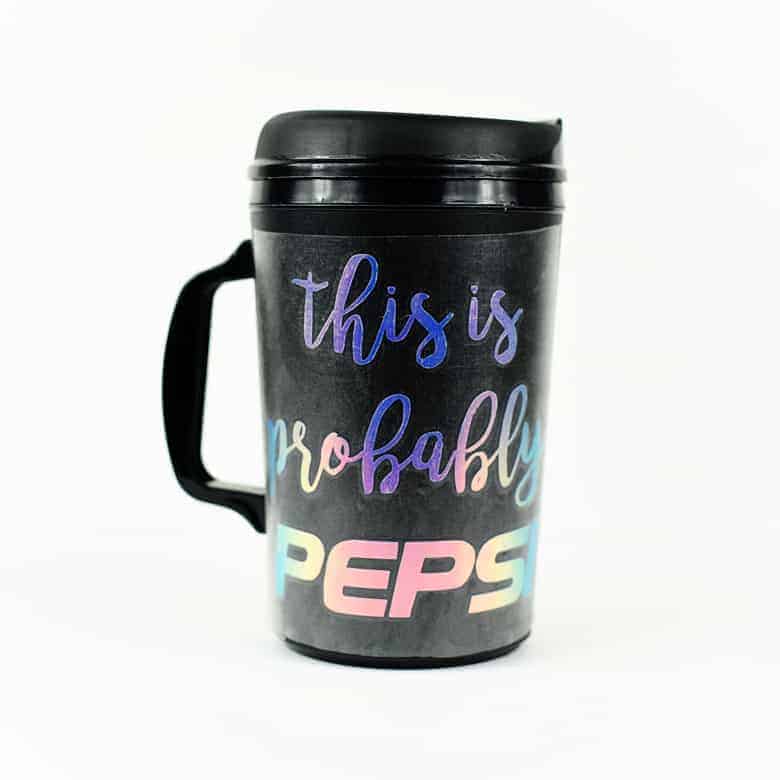
Step Eight
Carefully peel back the contact paper until only the design remains on the mug. And ta-dah!

This was my first iridescent foil vinyl project and I am IN LOVE. I love the effect it gives to the design and I can’t wait to try it out for other DIY gifts!
My mom, on the other hand, can’t wait to fill this baby up at the local bar and grill walking distance from our cabin up north 😀
– If you liked this free download, check out my Free Downloads Resource Page for more! –

I am so doing this when I get home today!
great gift idea for a friend and loving the colours!
Thanks Sam!
How has that vinyl held up well?
Very well! I just made sure to tell my Mom (who I made it for) to hand wash it. Saw the cup the other weekend and it looks practically brand new still 🙂