Thrift Store Cookies for Santa Plate Set Tutorial
Santa and his reindeer deserve their own special plate! Read the post to download your free Santa Plate Set graphics to make your own custom platter.
Growing up, we always had a designated Santa plate and cup that made it’s yearly appearance for Christmas.
I don’t know how, but somehow we have lived the past 6 Christmases with a child and no such plate. I know, we really let Santa Claus down.
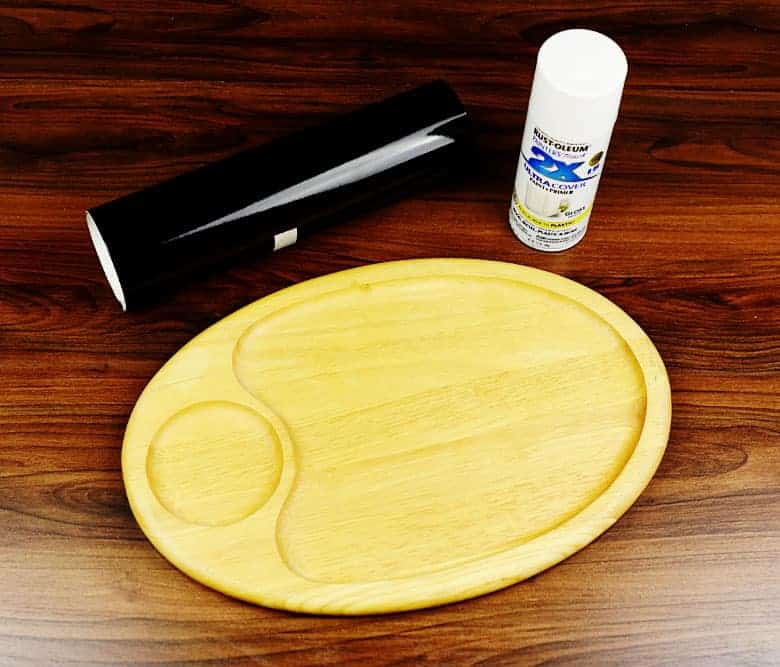
I’ve had this project in the back of my mind every time I go thrifting (fellow thrifters, I’m sure you can relate to this technique of having a running list of project ideas). When I spotted this $2.99 wood platter complete with a spot for a mug (which I also found at the same thrift store for $.99), I knew exactly what I needed to do with it.

Cookies for Santa Plate Set Supplies
- Thrift store platter (bonus points if you find one with a spot for a mug!)
- White Mug
- White Gloss Spray Paint
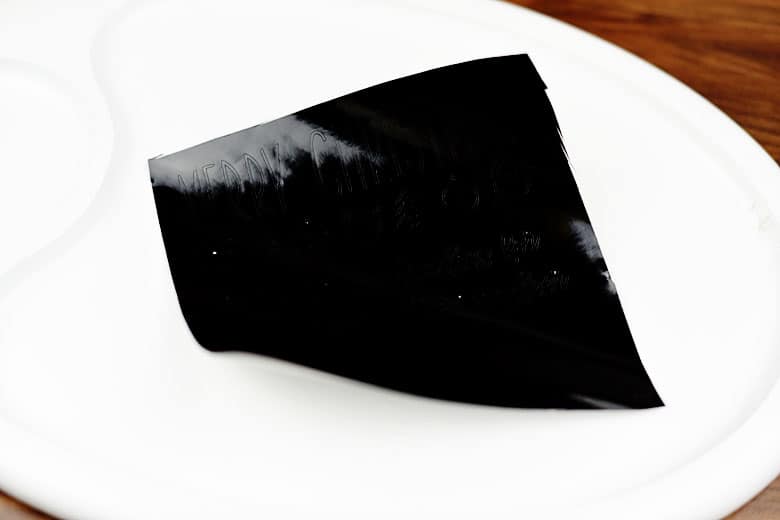
- Black Oracal 651 Adhesive Vinyl
- Vinyl Transfer Tape
- Cricut Explore Air 2
- Cricut Cutting Mat
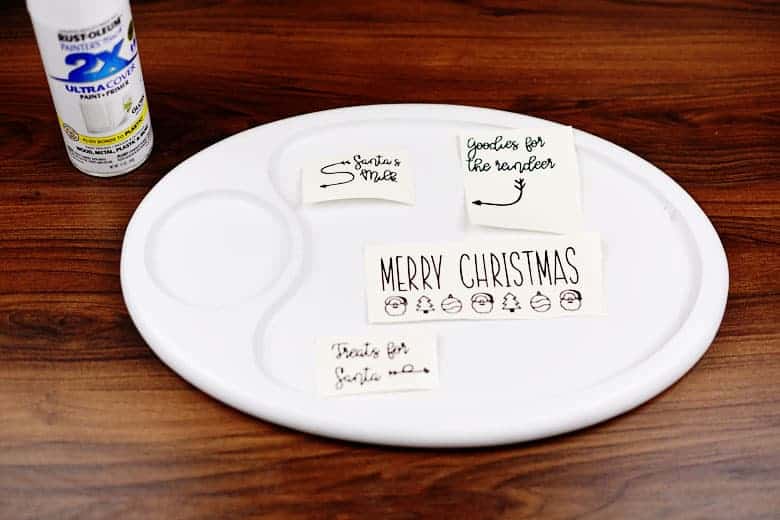
- My Free Cookies for Santa Plate Set Graphics
Step One
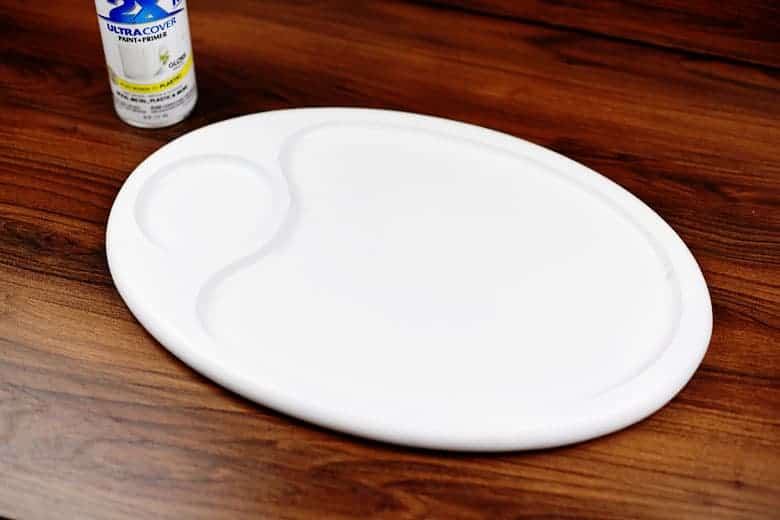
Clean your thrift store platter to get rid of any dust or debris. Once clean, give it a few coats of spray paint.
Take note: spray paint is NOT FOOD SAFE. We (ahem, Santa) never eats the treats left on the tray, so I wasn’t worried about making my platter food safe. If you want to make your plate food safe, there are plenty of craft paints out there that are.
Step Two
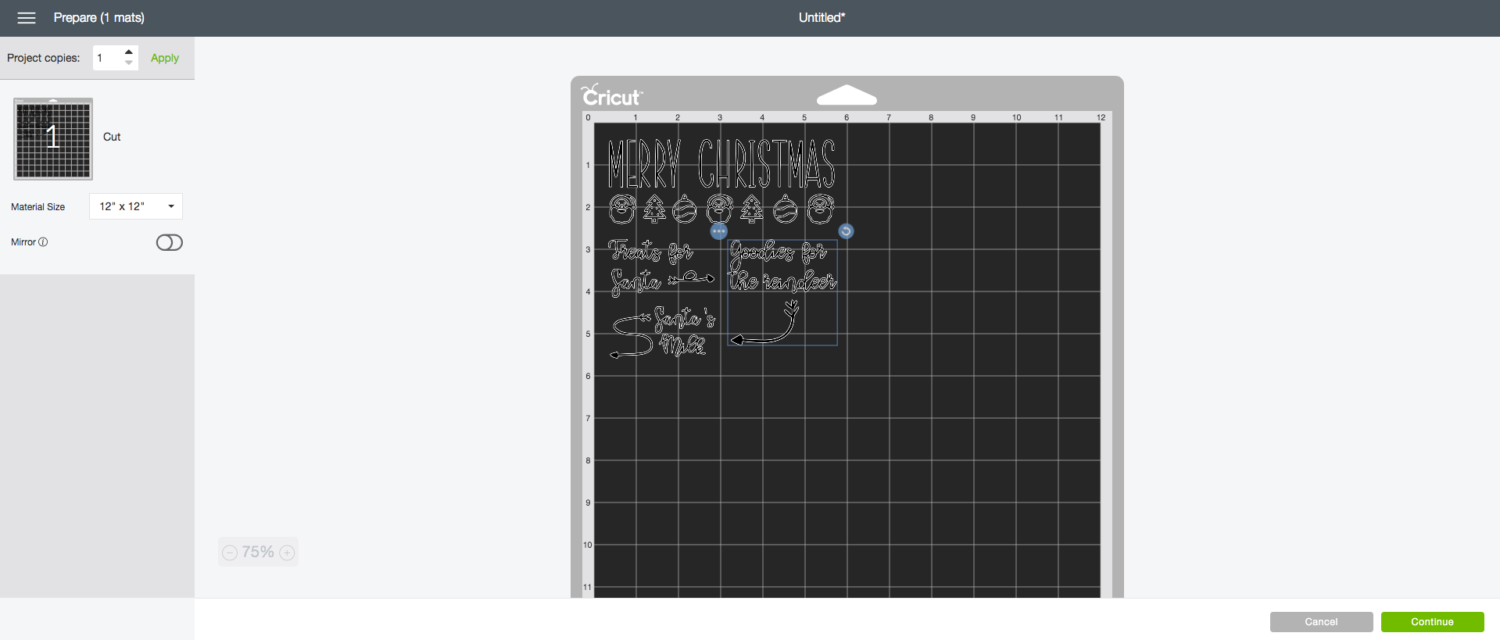
Upload my free santa plate graphics to your Cricut Design Space. You will need to convert them from a PNG into a cutable file but it is super easy to do by following the steps within Cricut Design Space.
Step Three
I am a big fan of using as little vinyl as possible during projects, so I arranged all four graphics to fit on one 6″ by 6″ square and cut them all at once.
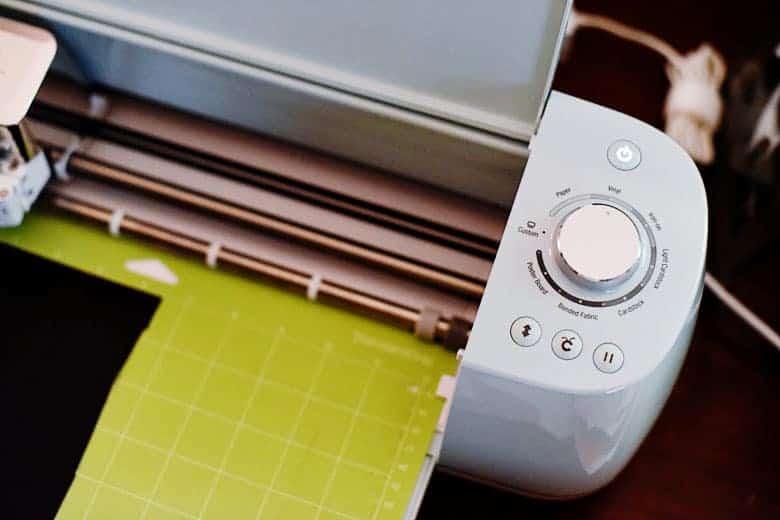
Depending on the size of your platter, you can resize the graphics accordingly. Make sure your Cricut is set to “vinyl” before cutting.

Step Four
Once your graphics are cut out, weed the excess vinyl.
It was at this step that I realized that I had never cut anything so small and detailed with my Cricut before. Some Santa eyeballs were lost and some apostrophes were decimated in my hastiness. Hey, I’m not perfect 😉
Step Five
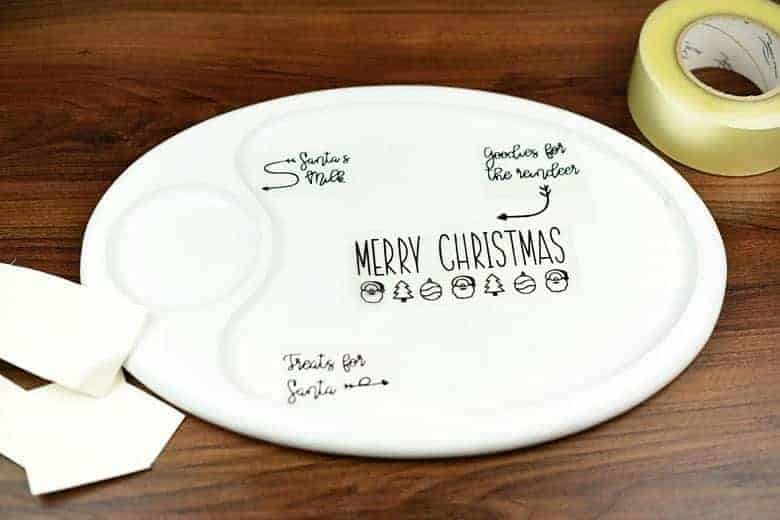
Apply enough transfer tape to cover the designs. If you have a fancy schmancy Cricut scraper tool, now would be a great time to use it. I, on the other hand, used an empty gift card 😉 I keep meaning to get my own Cricut tools because they would make my vinyl life SO MUCH EASIER.
Step Six
Gently line up the designs on your platter until you come up with a layout that you like best. Then, apply the designs using the same method with your scraper that you used to apply the transfer tape.
It was after this step that I went in and fixed my mistake from before. I knew my plate wasn’t going to be completely food safe anyways, so I just used a sharpie to fill in missing dots on the “i”s and apostrophes. I didn’t mind the missing Santa eyeballs, so I left them alone 😉
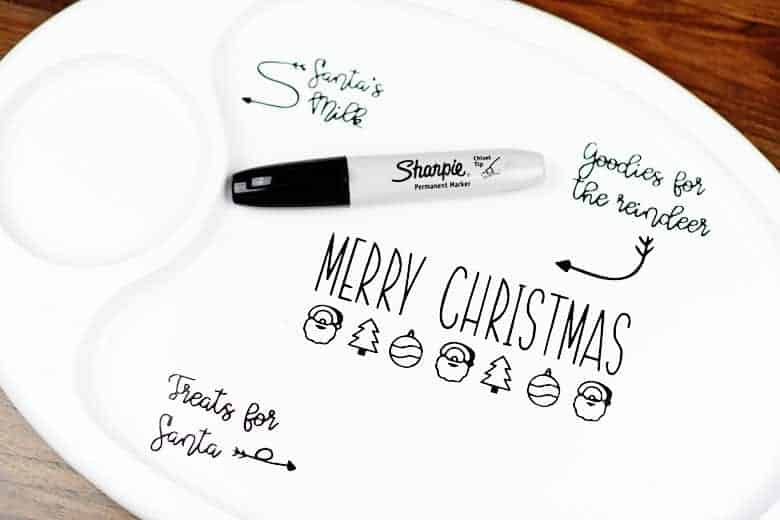
Now you have the perfect cookies for Santa plate set that you will treasure for many Christmases to come!


Don’t forget to download your graphics here: free Cookies for Santa Plate Set Graphics.
– If you liked this free download, check out my Free Downloads Resource Page for more! –