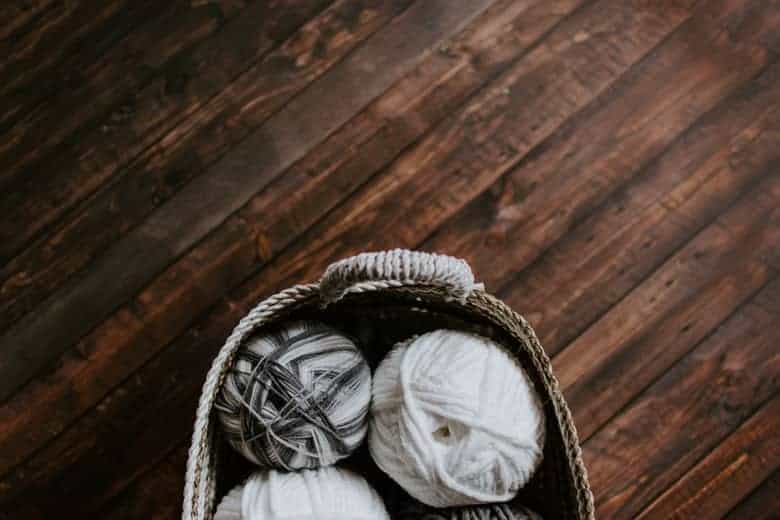
5 Easy Steps You Can Take Now Towards Being a Minimalist Crafter
Just because you’re a crafter doesn’t mean you can’t be a minimalist. In fact, minimalism is great for boosting creativity! Read about these easy steps for becoming a minimalist crafter and transform your creativity today!
The titles “crafter” and “minimalist” don’t usually go hand in hand. It’s probably something more like “crafter” and “hoarder”. Minimalist crafter sounds like an oxymoron.
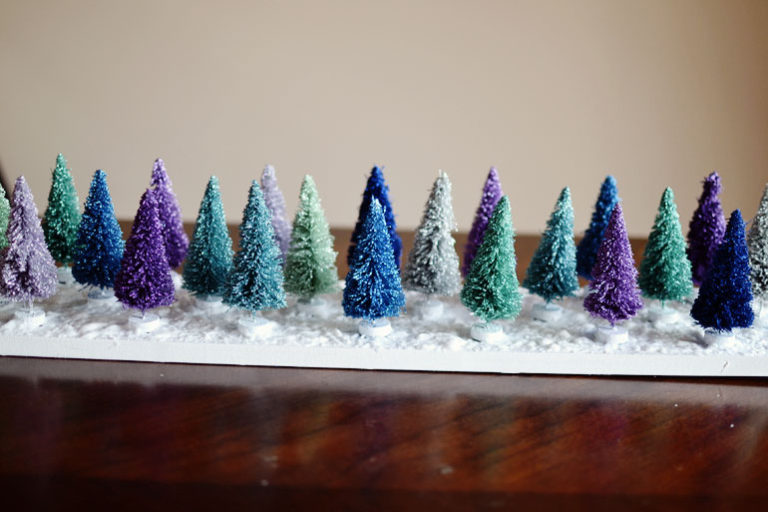
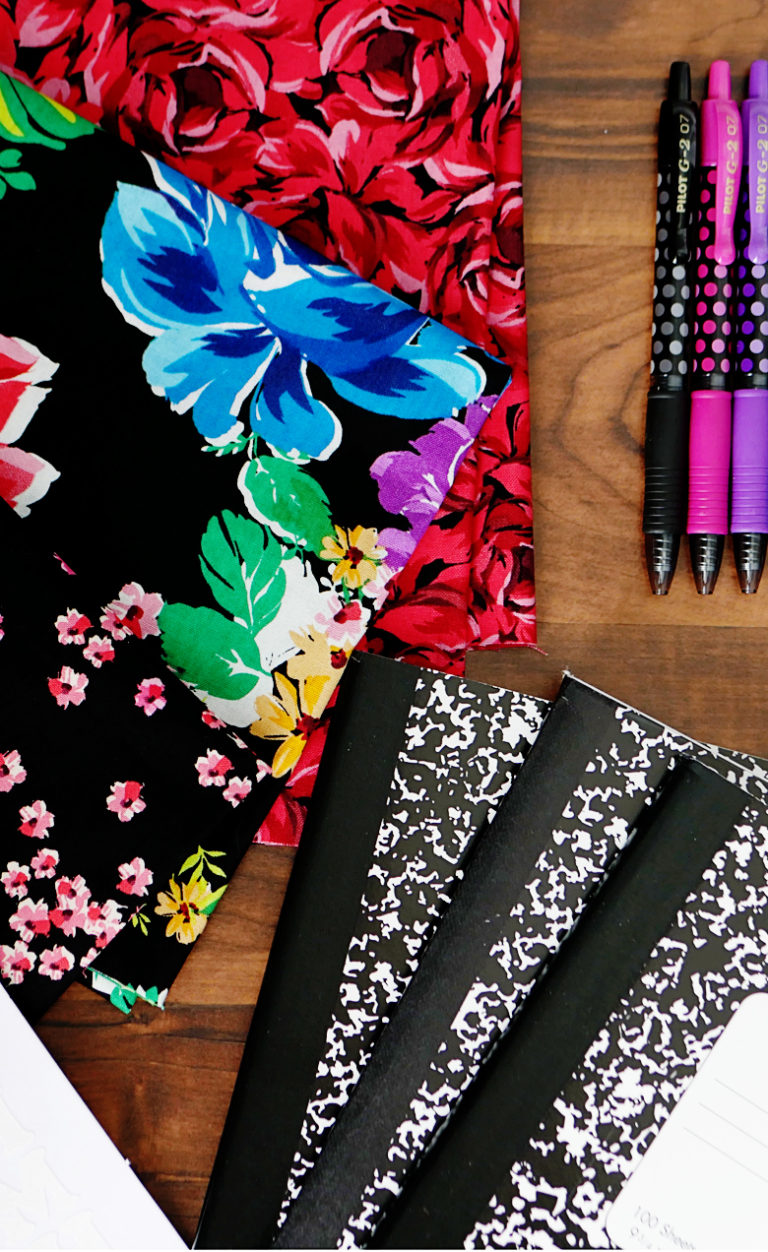
Being a crafter comes along with a lot of STUFF. Especially if you’re into a lot of different types of crafts. Scrapbooking, knitting, crocheting, jewelry making, sewing, quilting, handlettering, the list literally goes on and on. And with each type of craft that you’re into comes endless specialty tools, supplies, utensils, etc.
My craft room used to be pretty organized, and then it started to resemble a mini messy version of Hobby Lobby. I realized I’m not even using HALF of the craft stuff that I own! I’m spending more time trying to clear a space to work and searching for what I need for my project than actually doing the project itself. Coming to this realization helped me see the reality of the situation that my crafting space is in.
In this post, I’m going to teach you the steps I am taking to transform my craft room from “hoarder” to “minimalist” in just one week and how you can easily do the same, too! Remember, these steps don’t need to be permanent. They are meant to set you in the right direction.
Step 1: Don’t Take On Any New Hobbies
The first step to getting your craft stash in control is to not take on any new hobbies. When you’re already big into vinyl crafts, macrame, and painting, you probably don’t need to dabble in paper quilling.
I can say this from experience as I look at the supplies that have gathered dust for the past 6 years.
Step 2: Parting with Supplies You Own
After you’ve squelched the urge to buy new supplies for a new hobby that you most definitely do not need, it’s time to give the supplies that you own a reality check.
The important thing here is that you need to go through ALL.OF.YOUR.SUPPLIES. Every single thing, including unfinished projects. If you have supplies stashed randomly throughout your house, as I do, make sure you include those. Bring everything together so that you can see right in front of you what you currently own.
If you’re one that gets easily attached to your stuff, ask yourself these questions:
- Have I used this in the past 6 months? If not, it’s probably time to let it go.
- Is this an unfinished project older than 6 months? If yes, you probably won’t ever have or make the time to finish it.
- If I didn’t already own this, would I buy it again? If it’s a resounding “yes!” then it can stay, if there’s even a bit of hesitation it should go.
- Is this a duplicate of something else? If so, you can obviously get rid of it.
- Is this dried up/worn out/expired? There’s no reason to keep worn out supplies. Out they go.
Go through each of your items using the above questions as guidance and put them in either the “keep”, “donate”, or “throw out” pile/box.
Step 3: When to Keep the Supplies You Own
Now it’s time to go through your “keep” pile again. Make sure each item can fall under at least one of the following:
- Tools and utensils related to your #1 favorite craft (for me, that’s vinyl crafts and painting, a very close 2nd)
- Supplies used within the last 6 months
- Things that are related to a project you’re currently completing
If you’re still sure that you want to keep that item and use up precious space and time, now you can begin to put together your functional craft storage and organization.
Step 4: Functional Supply Storage
Once you’ve purged all your unnecessary supplies and unfinished projects, it’s time to put them away in an easy-to-grab manner.
The first rule of functional craft supply storage is to keep like-items together. That might seem like common sense, but you wouldn’t believe how easy it is for this concept to get lost in the shuffle when your supplies get out of hand.
A few other things to keep in mind:
- Keep supplies visible when possible
- If supplies aren’t visible, use labels
- If your space is small, vertical storage options are your friend!
Step 5: When You Get the Urge to Craft
This is a step that I personally didn’t begin to think about seriously until I started my minimalism journey. I noticed that it wasn’t just the supplies cluttering up my space, it was the finished projects that didn’t necessarily have a purpose. Or, the finished projects that had already fulfilled their purpose that I didn’t have the heart to get rid of.
When the urge to get crafty hits, I want to challenge you to reflect on the reason why. If it doesn’t fit into one of the following categories, I might try filling your time in a different manner:
- Only use the supplies you already have
- Craft a gift for someone
- Do a project that will be used in your home
- Make something to sell
I am incredibly lucky to have an entire room dedicated to my crafting and blogging. This wasn’t always the case.
It’s time to honor the incredible space that I have for my crafting and blogging and get that sh*t back in check. Yes, I swore. That’s how serious I am about this.
Take the 5 day Minimalist Craft Space Spruce Up FREE email course with me! Let’s get our creative spaces feeling clear and inspirational together! Sign up below…

Something I really need to work on but oh man my craft supplies. I will do this with all your ideas.
Yes to #5!!! Creating something and then not knowing what to do with it is so irritating. I’m always very careful about this, when making or buying something.
Thank you for providing this inspiration to minimize crafting supplies! I was ready to keep all of my yarn…and now have decided to only keep the high quality yarn I have – I may even end up gifting it to family members who knit more often than I do! Now to go through my fabric…yikes! :). In a way, I almost needed this “permission” to get rid of things and you have provided that for me, so thank you!!
Hannah
I am so happy to hear that this helped! Craft supplies are SO hard to declutter.