Thrift Store Shelf Makeover Tutorial
This shop has been compensated by Collective Bias, Inc. and its advertiser. All opinions are mine alone. #DGSpringCleanEssentials #CollectiveBias
Why is it that the bathrooms are the last rooms in a house to get decorated? It’s one of the most used rooms of the house, right?
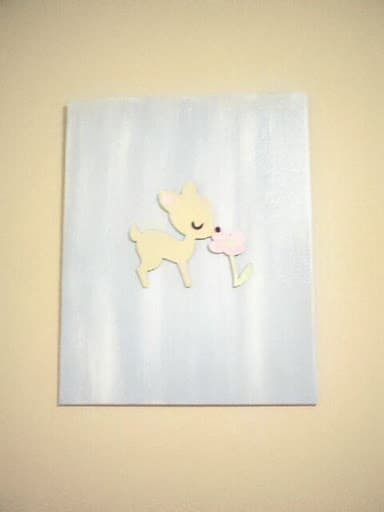
We moved into our house over 2 years ago now and our master bathroom was still severely under-decorated. I completed one measly hand-painted wall art and that’s about it. What better time than while getting ready for spring to finally spruce it up?
If you know me (and this blog), you’ll know that: #1 I’m cheap and #2 I’m obsessed with DIY. I combined these two facts along with my thrift store obsession and got to work on putting together our master bathroom.
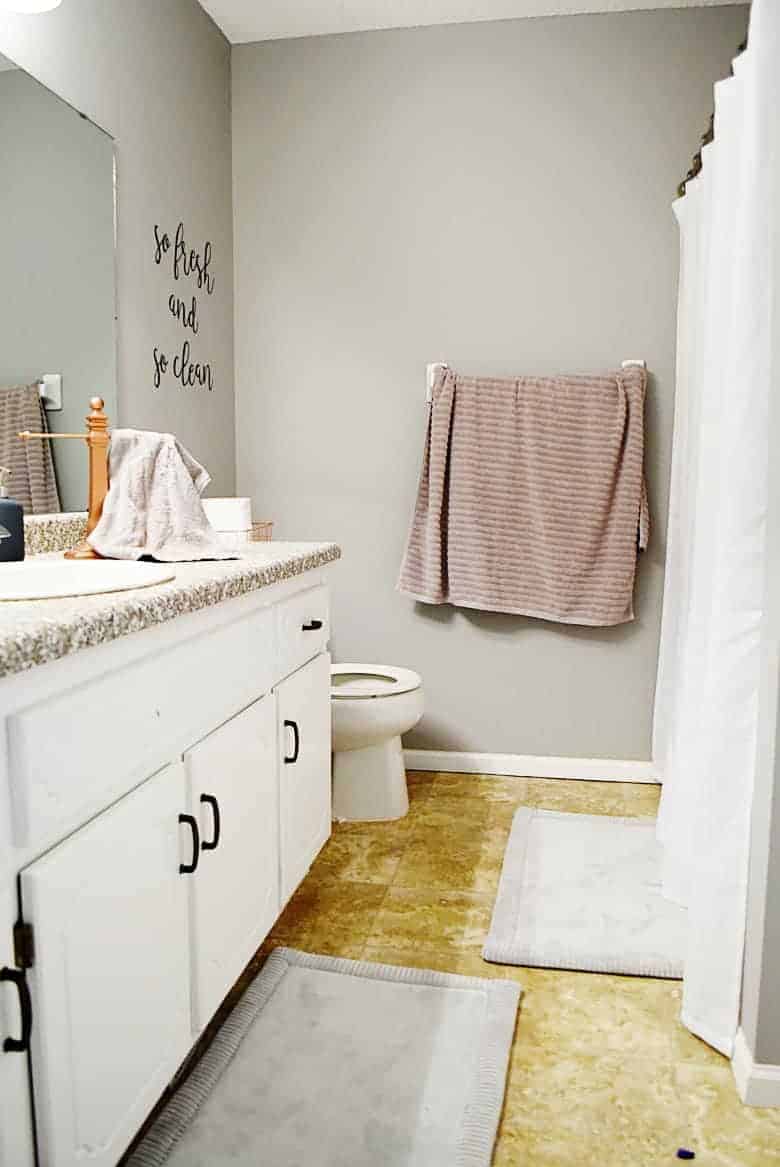
Any time I walk into this bathroom, the giant blank wall above the towel rack was just screaming at me. I didn’t want to just hang a piece of art like I did in our last lame master bathroom. Shelves it is! There are never a shortage of shelves at the thrift store begging to get a second life.
Thrift Store Shelf Makeover for the Bathroom
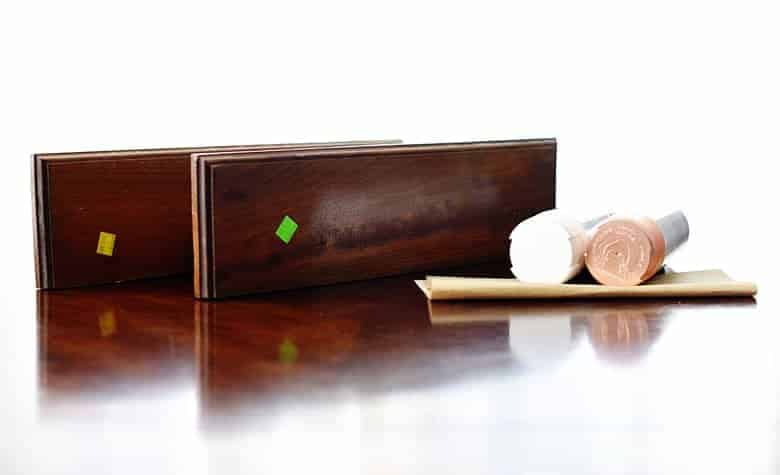
SUPPLIES
- Wood Shelves
- Spray Paint (colors of your choice)
- Sand Paper (I used 50 and 220 grit)
- Clorox® Disinfecting Wipes
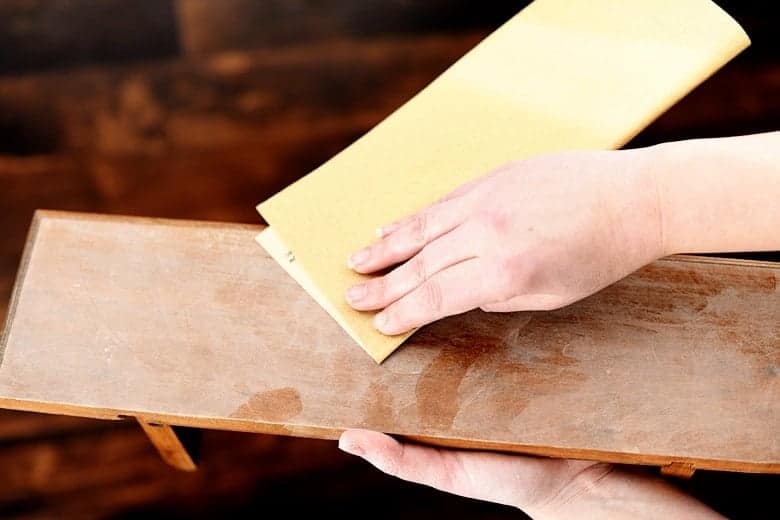
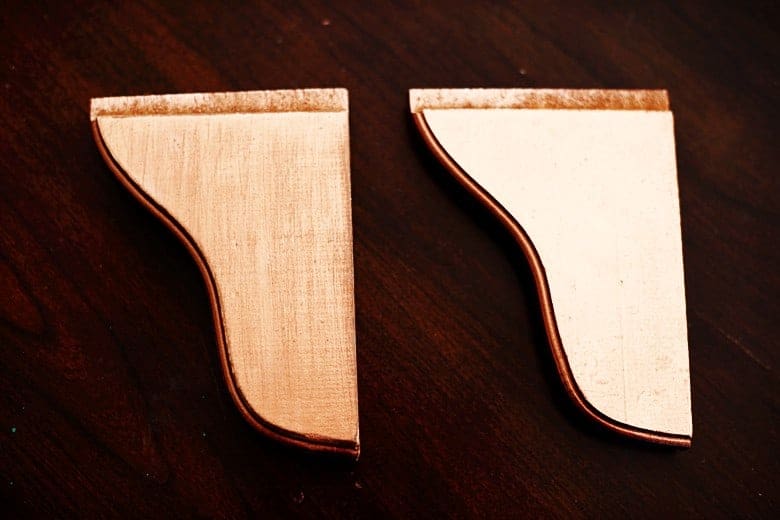
STEP ONE
Prepare your wood shelves for paint by sanding with fine grit sandpaper.
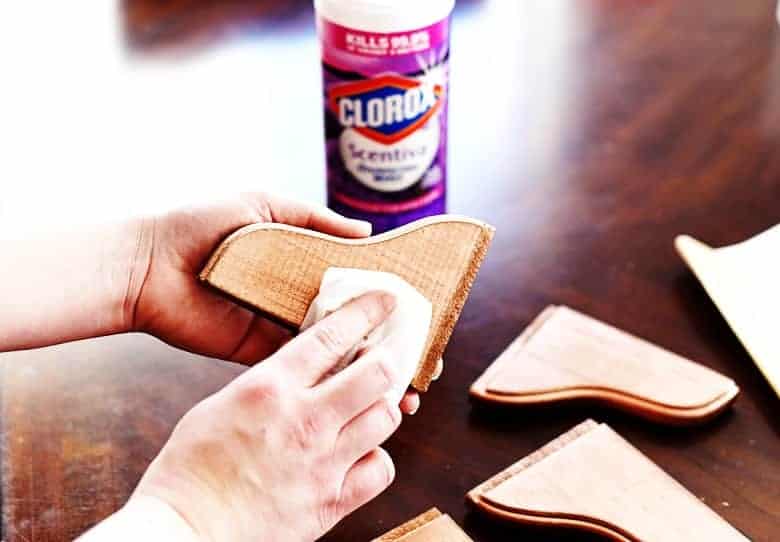
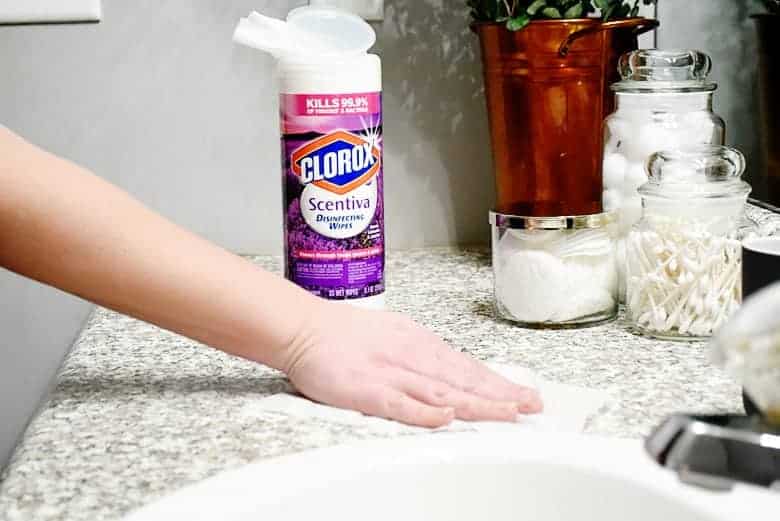
STEP TWO
Clean off any residue from sanding with a Clorox® Disinfecting Wipe. I use these for practically EVERY thrift makeover I do because I like that they disinfect whatever I’m working on as well as clean off who knows how many years of dust and grime. Plus, you don’t know where that thrifted item came from. It’s kinda gross when you think about it.

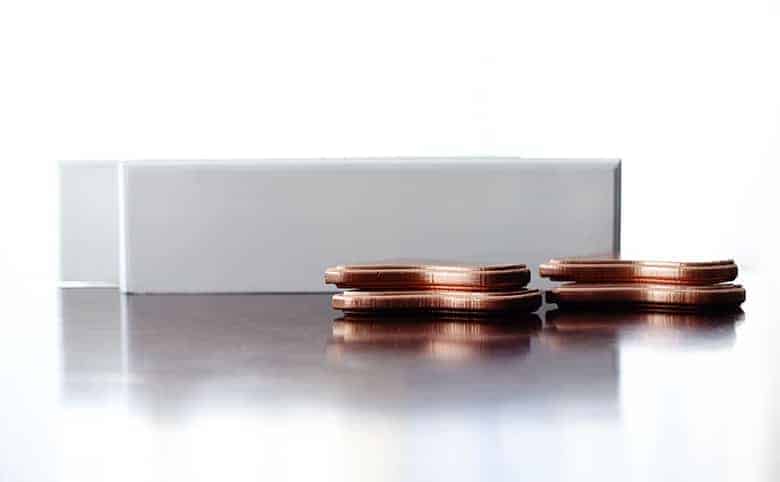
STEP THREE
Give your shelf a few coats of spray paint (make sure you let it dry between coats). I wanted to do something a little different so I painted the brackets of the shelf copper and the shelf itself white. I’m going for a copper theme in the bathroom and wanted to tie in the shelves somehow. Plus, I think it helps take the shelf from “everyone and their grandma has that shelf” to “what a neat way to turn an old shelf into something modern.”- 😀
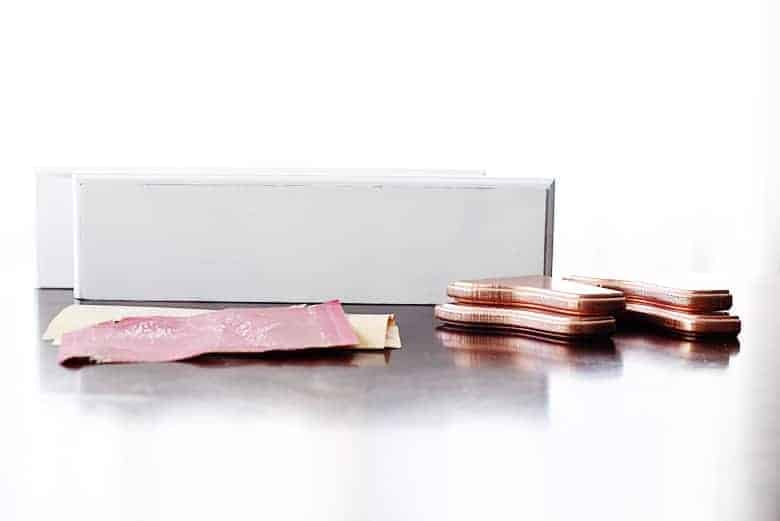
STEP FOUR
I wasn’t totally digging the look yet and thought the shelf needed a bit more to transform it. Now, I’ll be the first to admit that I’m not a huge fan of the farmhouse, distressed look. But you know what I did next? I distressed the shelves lol. I LIGHTLY distressed the brackets with the 220 grit sandpaper and the shelf with the 50 grit. It was exactly what they needed.
STEP FIVE
Repeat the sandpaper residue clean up process with the Clorox® Disinfecting Wipes.
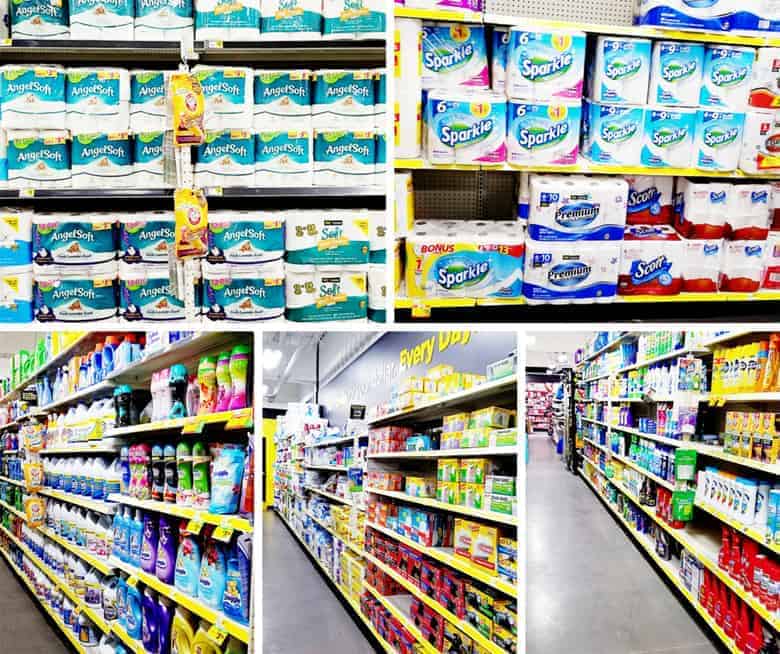
Now that my shelves were done, it was time to give the master bathroom a good cleaning before I put it all together. I was out of most of my supplies, so I headed to my local Dollar General to pick some up to get the job done.
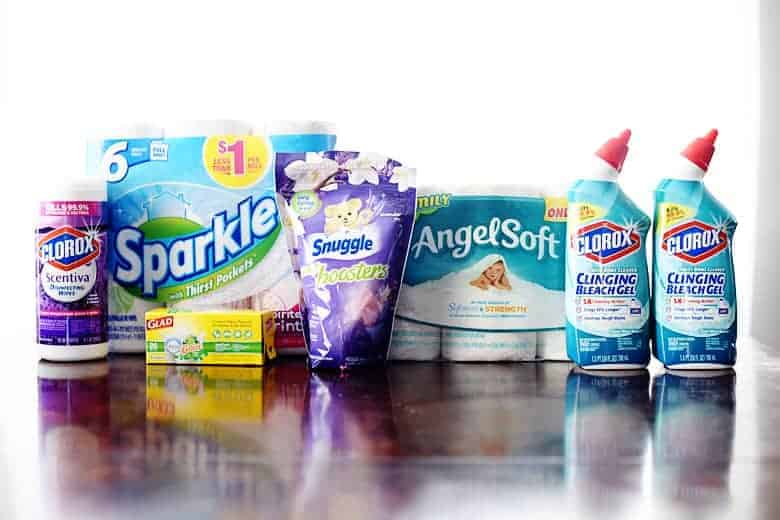
Not only do I love the Clorox® Disinfecting Wipes for cleaning thrifted items, they’re the best to give bathrooms a quick wipe down.
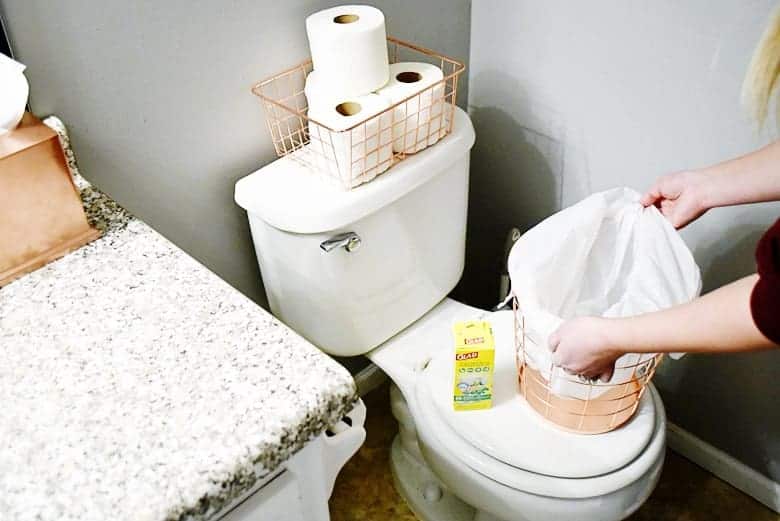
I found the PERFECT wire basket and trash can for my copper-themed bathroom. I filled up the wire basket with some Angel Soft® Bath Tissue for easy grabbing when it inevitably runs out, and I found the perfect size Glad® Trash Bags for the copper trash basket.

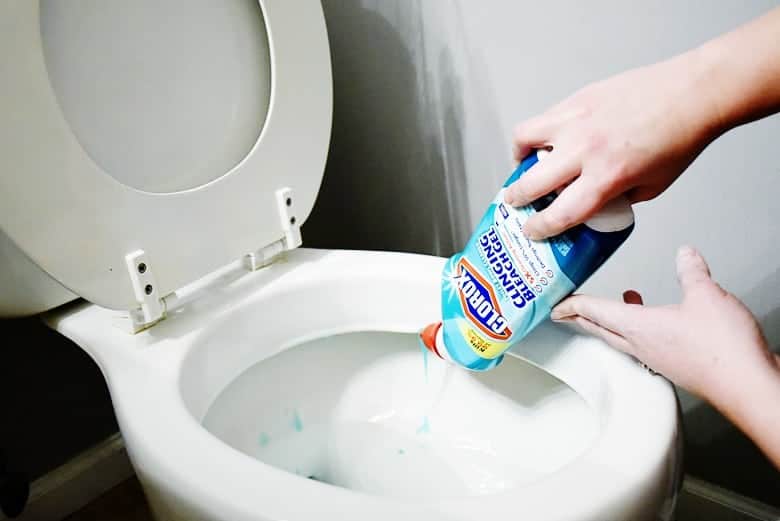
As lame as this is going to sound, I have tried many toilet bowl cleaners and I definitely have a favorite. I use Clorox® Toilet Bowl Cleaner because it honestly cleans the best out of any toilet bowl cleaner I have tried.
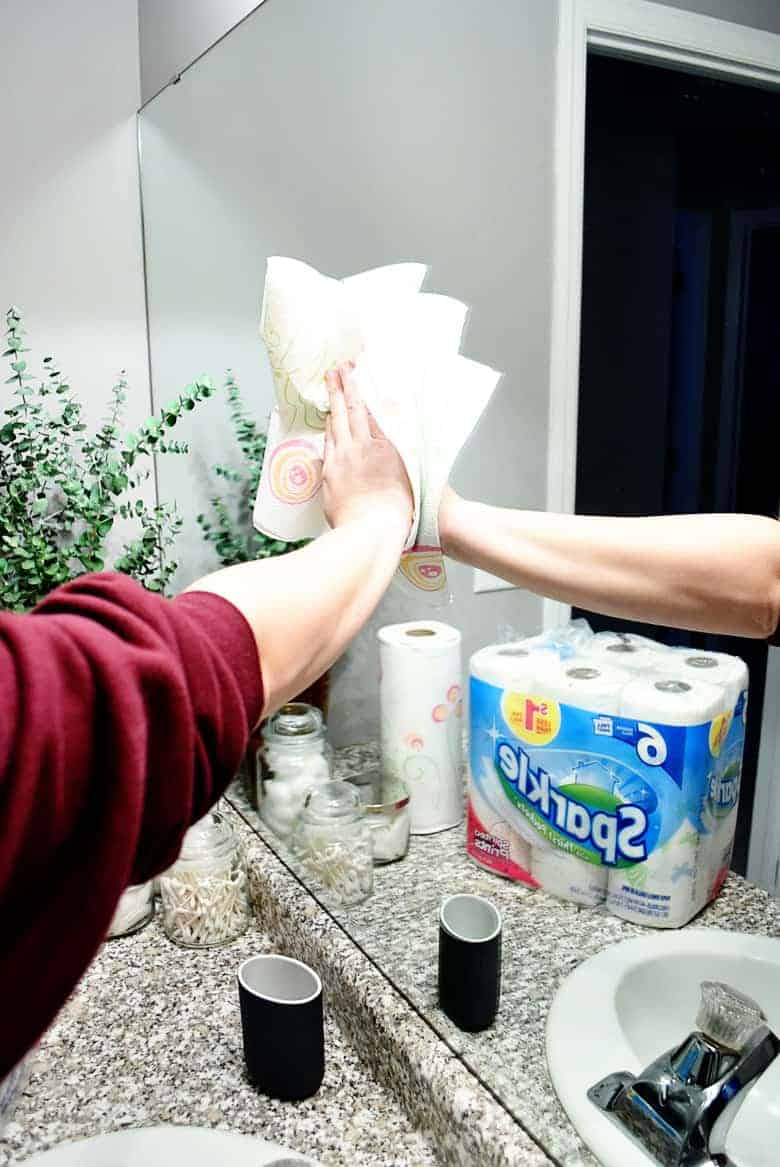
Bean is the main user of this bathroom (besides guests), so you can imagine what the mirror ends up looking like after she brushes her teeth. You might see evidence of this in my “before” photo above. That’s what Sparkle® Paper Towels are for!
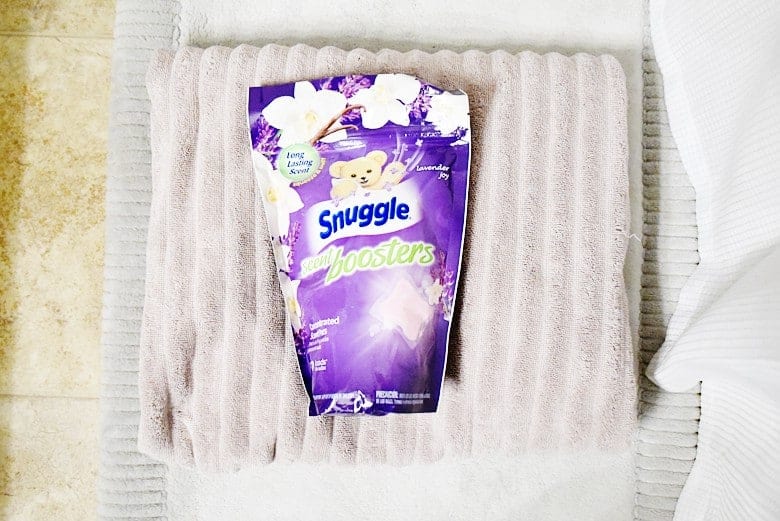
And finally, I’m a big fan of scent boosters especially when laundering towels. I picked up some Snuggle® Scent Boosters to keep our bath towels ‘Snuggly Soft & Fresh.’ 😉
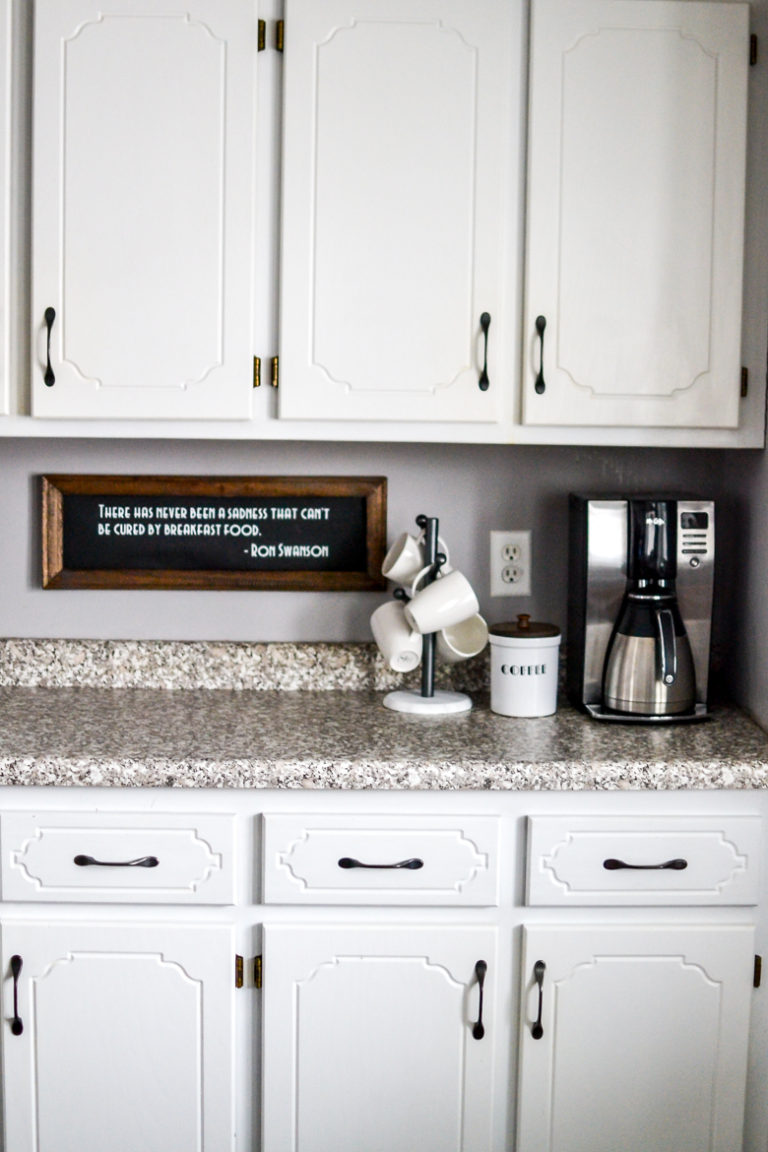
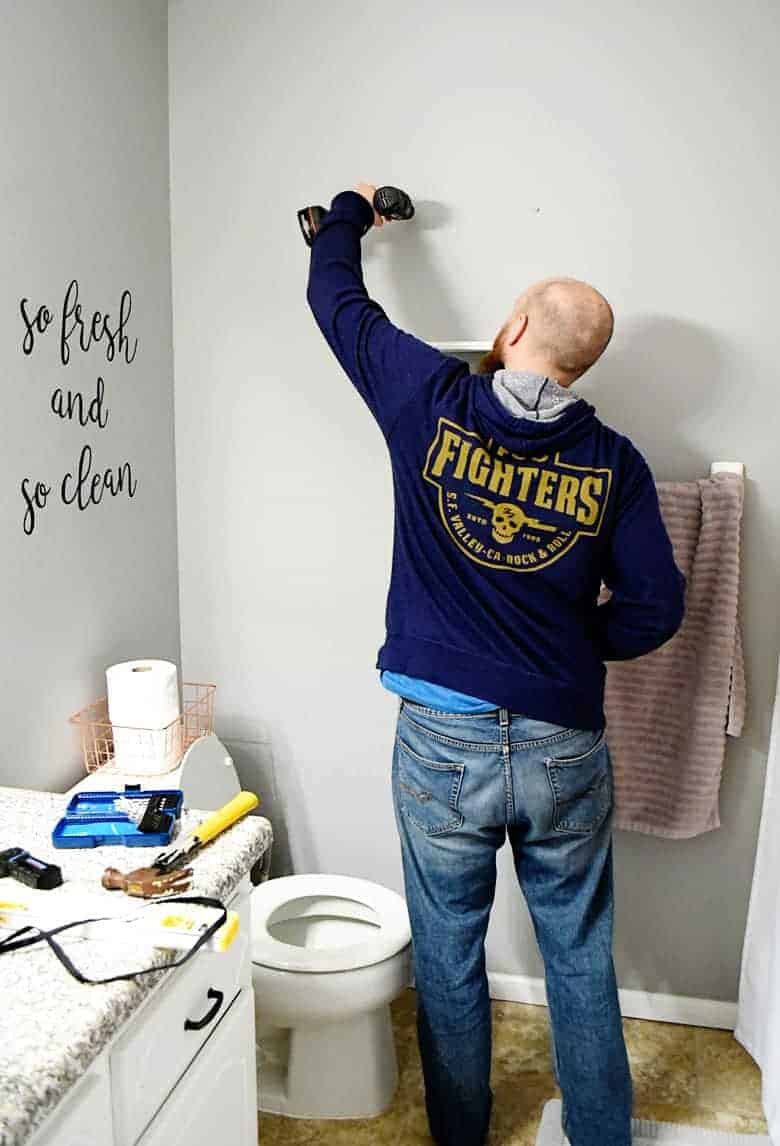
Once I had the bathroom clean, I hired a handsome man to hang my shelves for me because I can’t stand it lol.

I also used some thrifted items I’ve accumulated to decorate the shelves and counter-top. None of these pieces cost more than $2! Gotta love 50% off days at the thrift store 🙂


I’m so happy with how the shelves came out! What do you think?
Head on down to your local Dollar General (or shop online!) for your spring cleaning needs and take advantage of their spend $15, save $5 instant offer! Offer valid 2/18/18-3/18/18.