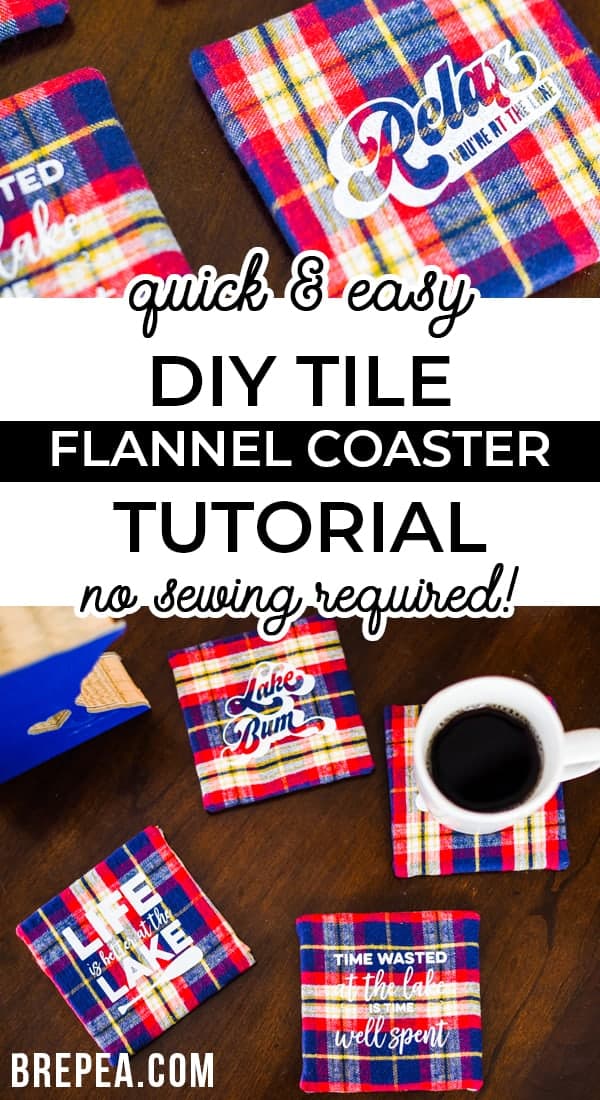
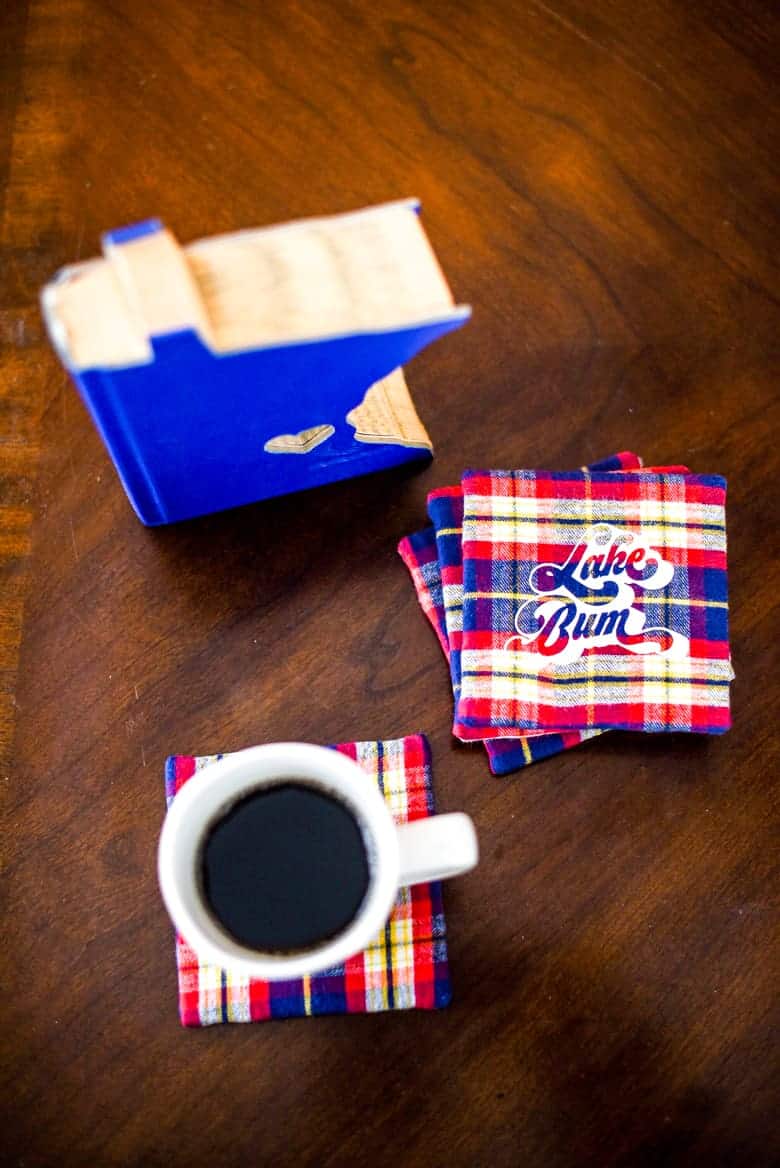
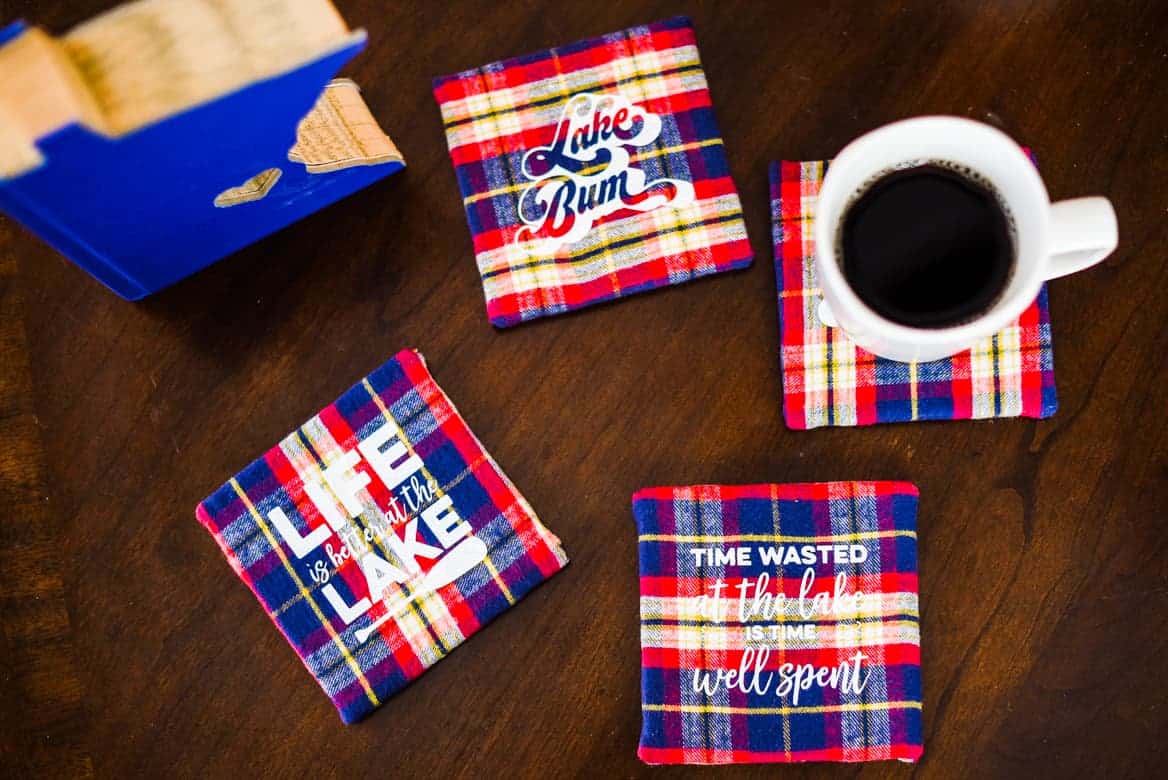
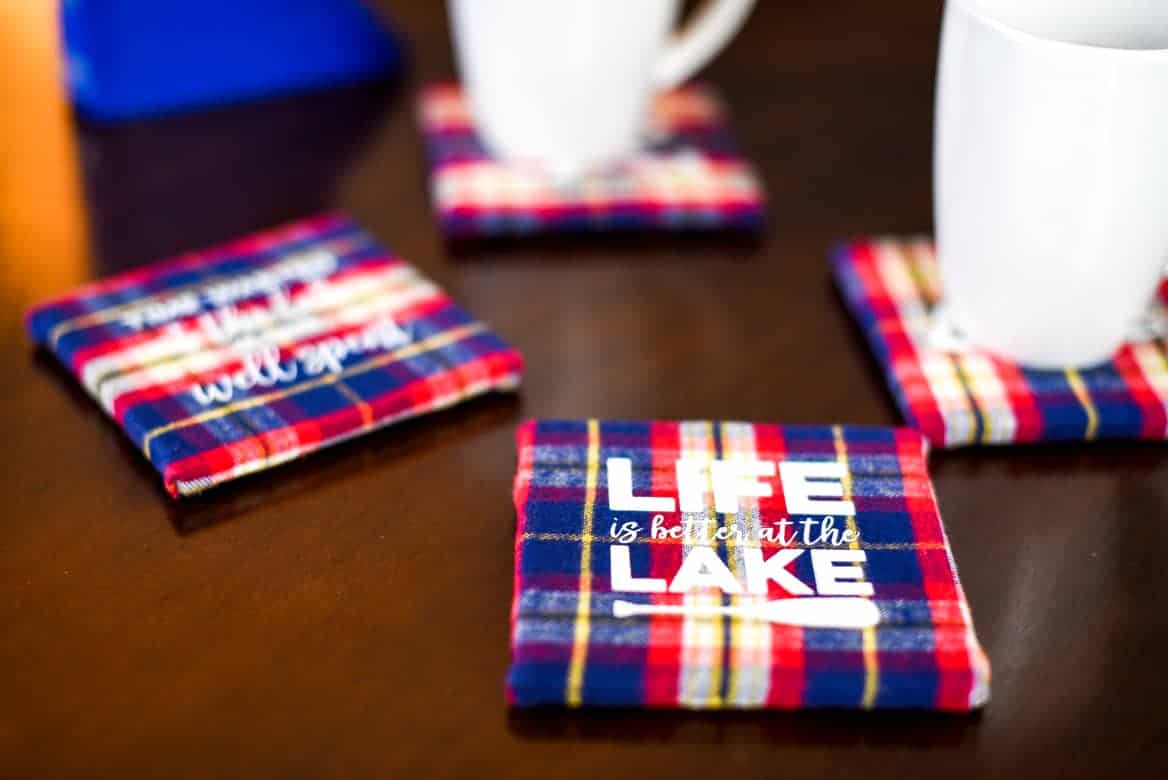
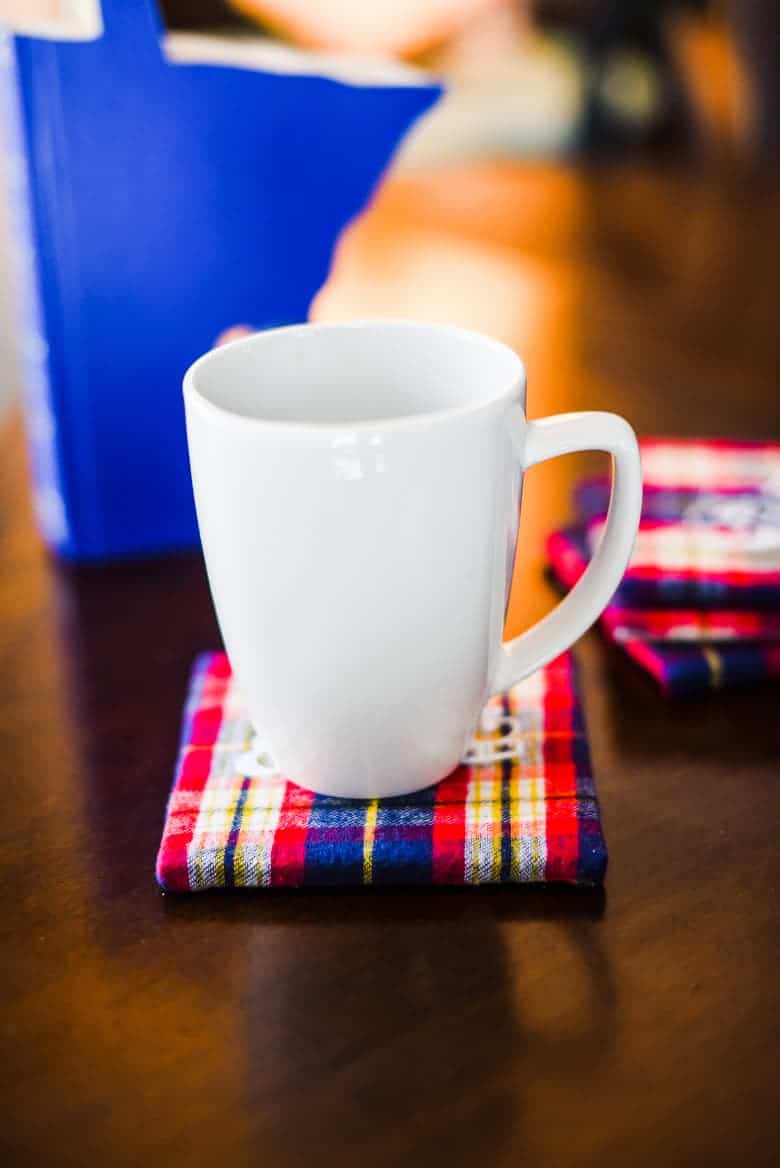
This DIY tile coasters with flannel project is perfect for beginners, plus it makes a great gift idea!
Looking for an easy DIY gift someone will actually use? Or are you simply in need of some new coasters for yourself?
Then boy do I have the perfect DIY coaster tutorial for you!
The best part?
This tutorial only takes about 15 minutes from start to finish.
You might be wondering why I went with a lake life theme for these DIY coasters.
Growing up in Minnesota, otherwise known as the “Land of 10,000 Lakes”, our family has a cabin on one of the largest lakes in Minnesota. And it was severely lacking in the cute coaster department. But not any longer! 😉
What material is best for making DIY coasters with fabric?
If you want your coasters to be absorbent, you’ll want to select fabric that has at least 50% cotton content.
If you want your coasters to repel water and other liquids, use a fabric that is made out of polyester or nylon (or read below for making any fabric waterproof).
My tutorial uses iron on vinyl for a stronger bond, so if you decide to use nylon you’ll want to make sure you use an iron on vinyl that is made especially for nylon and do a test press before assembling your coasters.
Can you make these fabric coasters waterproof?
You can make these coasters basically waterproof. But it will require some extra steps and materials.
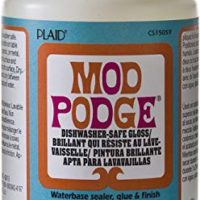
Dishwasher safe Mod Podge isn’t 100% waterproof, but it is water-resistant enough to be a suitable sealant for these types of coasters.
After the coasters are assembled, you can apply a few coats of dishwasher safe Mod Podge to make them resist as much liquid as possible.
Just keep in mind, the cure time for dishwasher safe Mod Podge is 28 DAYS 😮 So this extra step will take this project from a quick and easy one to one that takes literally weeks to be fully finished.
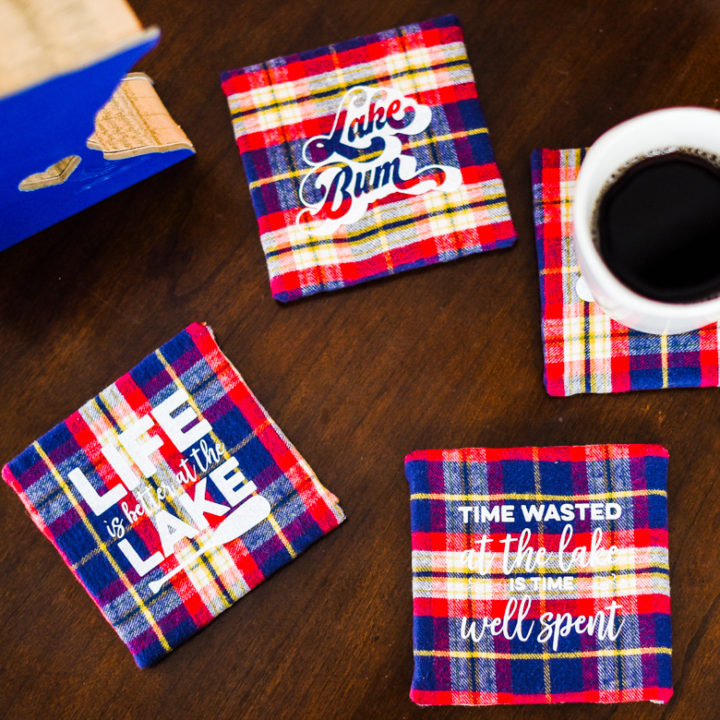
DIY Tile Coasters with Flannel and Vinyl
This DIY tile coasters with flannel project is perfect for beginners, plus it makes a great gift idea!
Materials
- Square Ceramic Tiles
- Felt
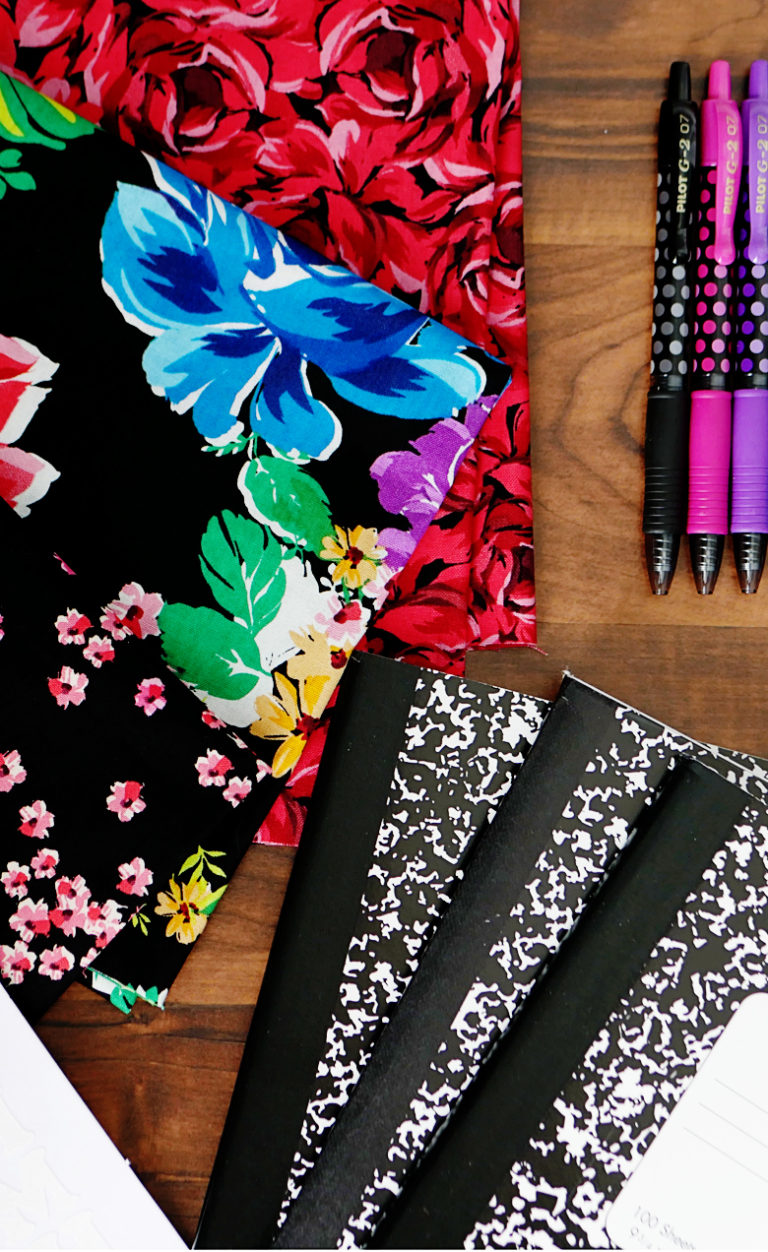
- Flannel or Other Fabric (mine was from the thrift store)
- Hot Glue
- Original Mod Podge
- White Glitter Iron On Vinyl
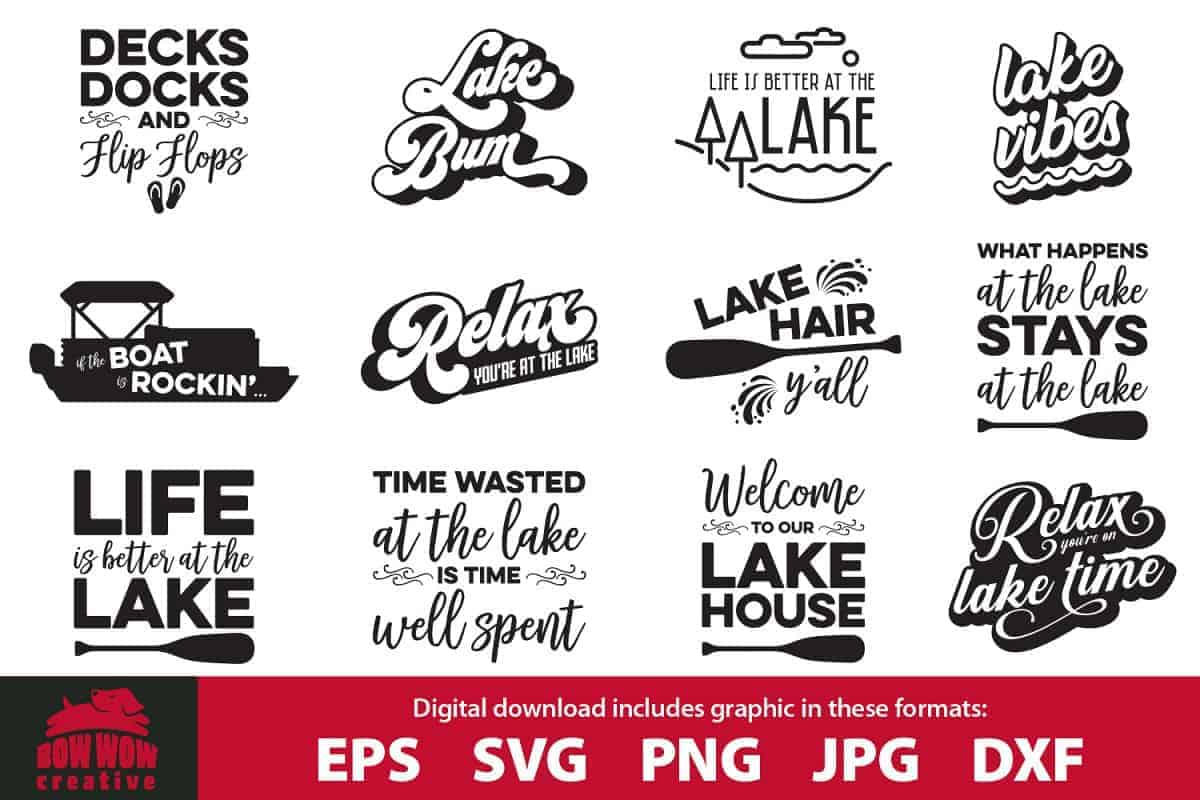
- Lake Quotes Graphic Bundle
Tools
- Hot Glue Gun
- Scissors
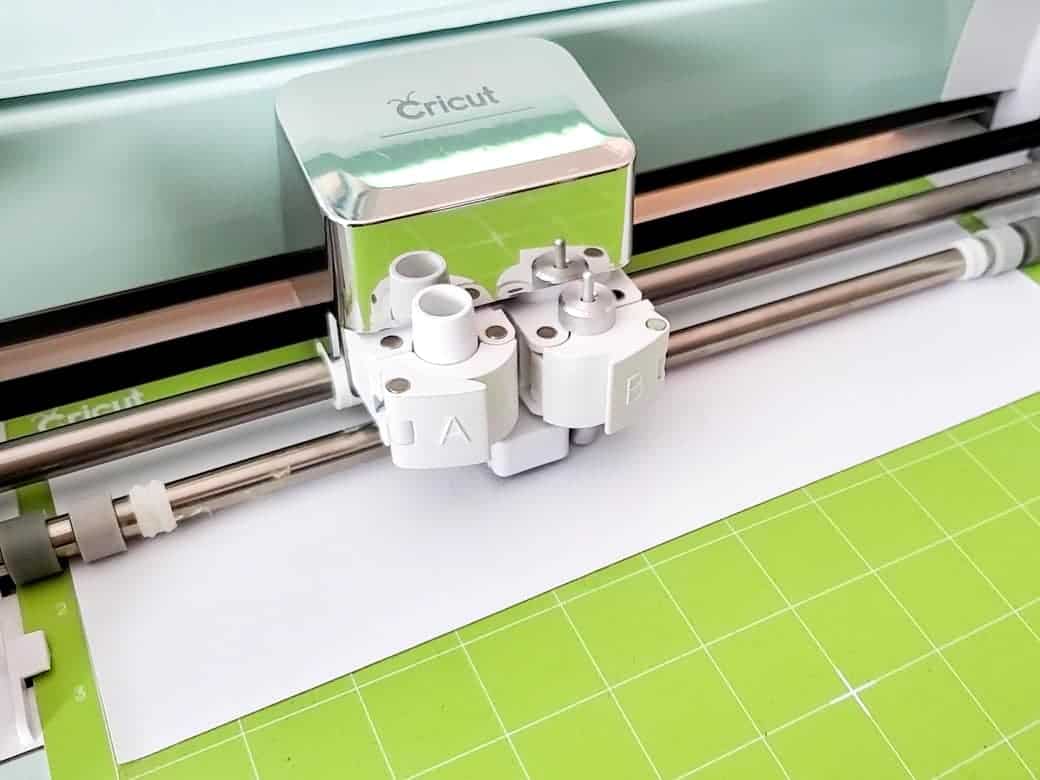
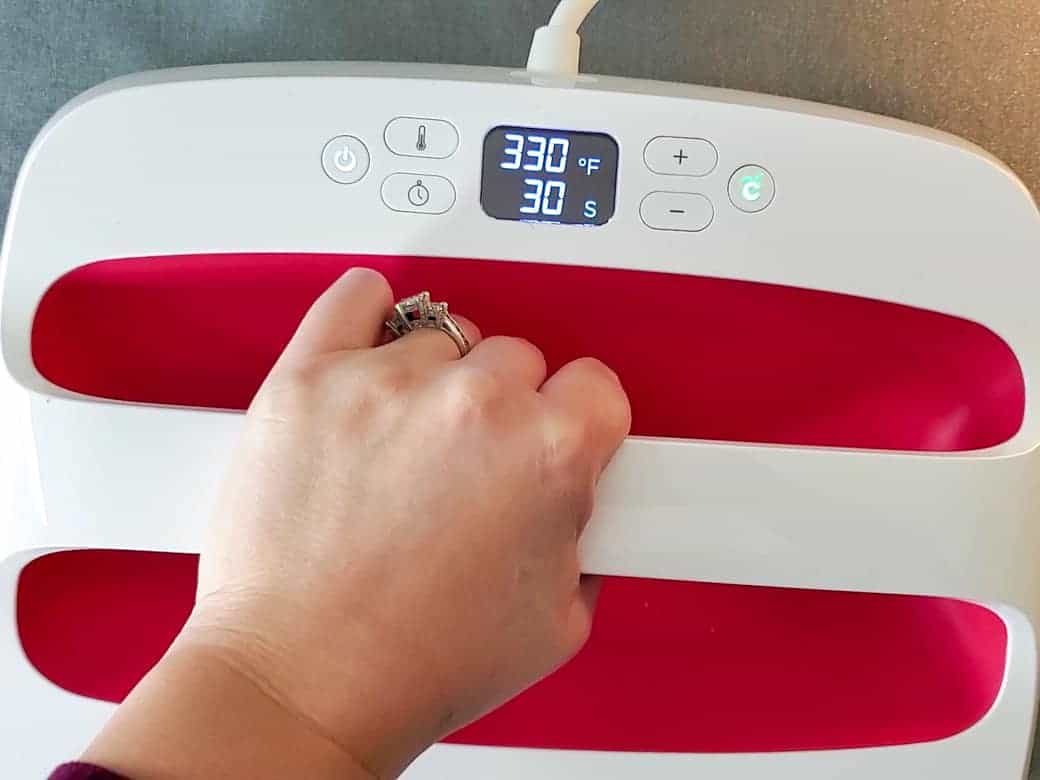
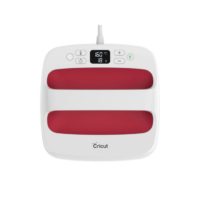
- Cricut EasyPress 2
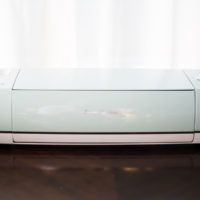
- Cricut Explore Air 2
- Cricut Regular Grip Mat
- Cricut EasyPress Mat
Instructions
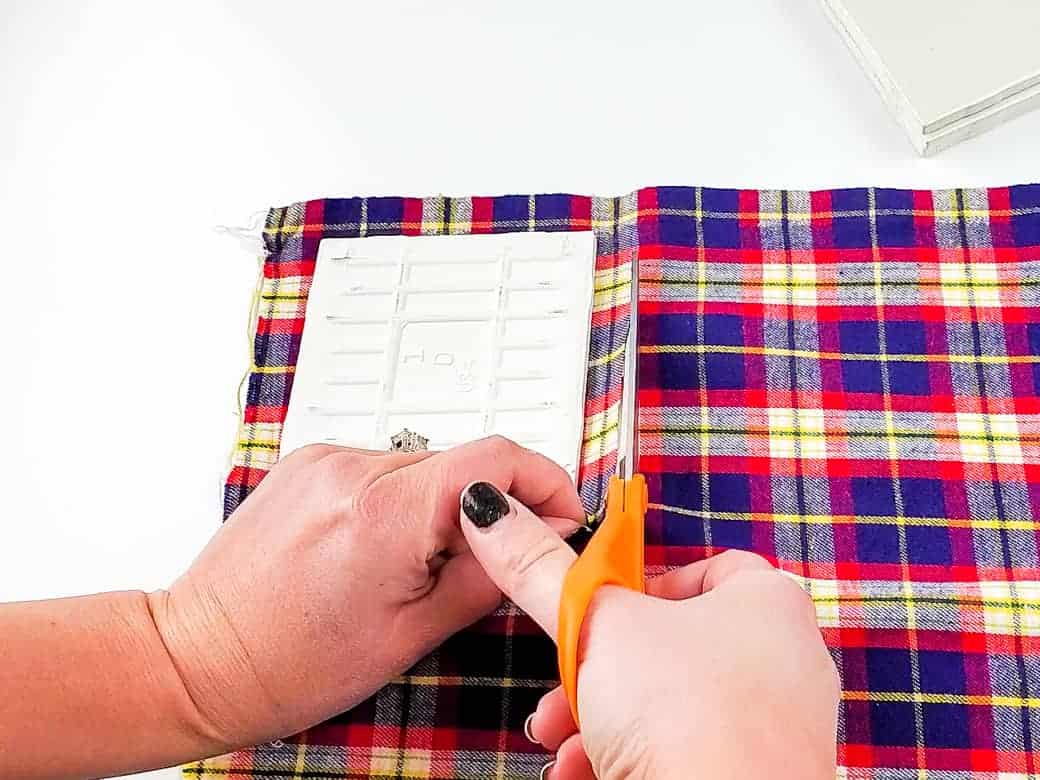
- Cut out a piece of fabric large enough to overlap your ceramic tiles.

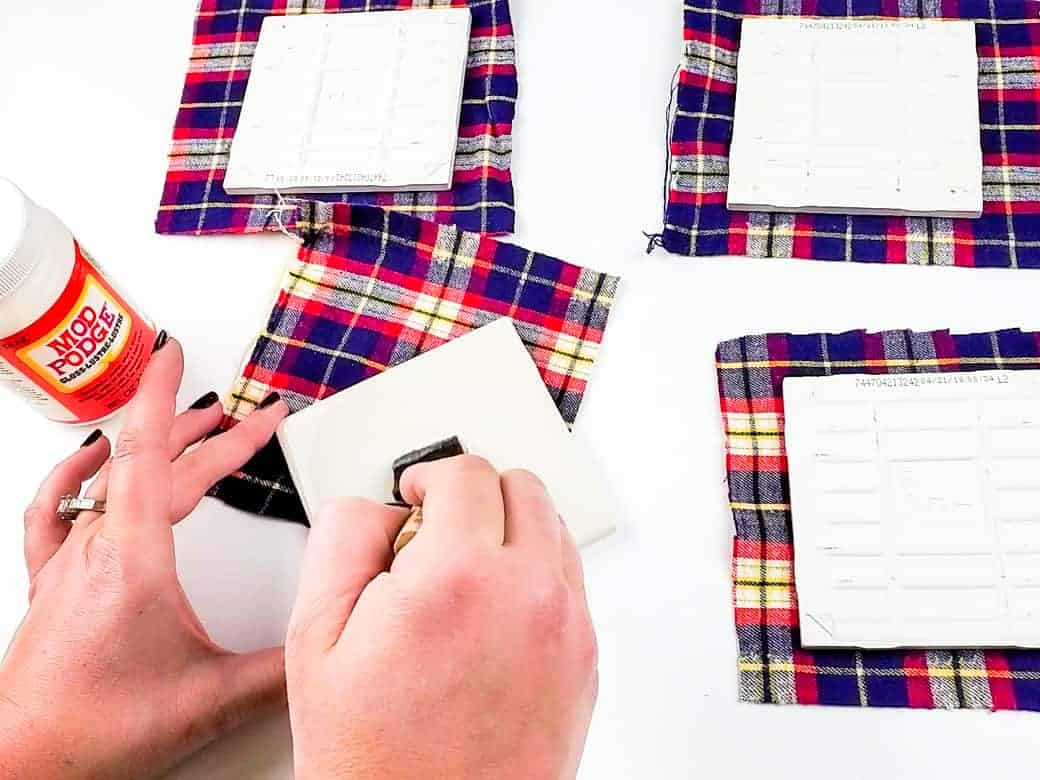
- Paint a thin layer of Mod Podge on the front of your tile and place the tile on your fabric. Make sure you center the tile on the lines of the flannel.
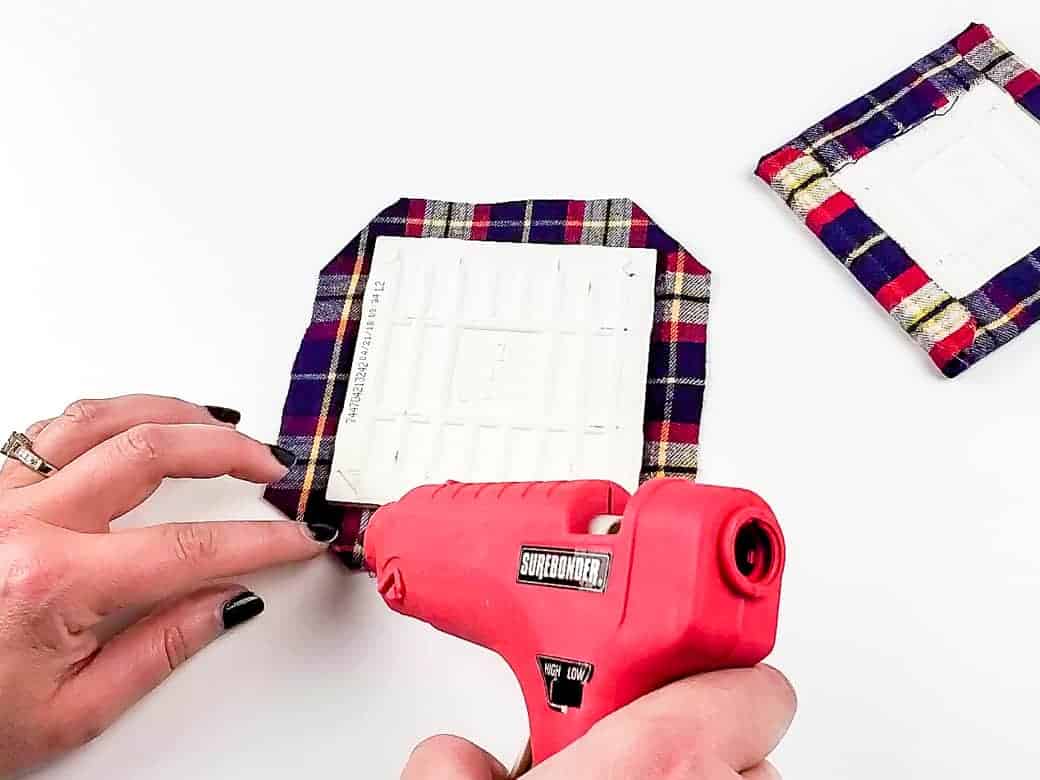
- Trim the corners slightly so there isn't too much fabric in the folds of the corners. Then, using some hot glue, wrap the edges of the fabric around the tile and secure to the back.
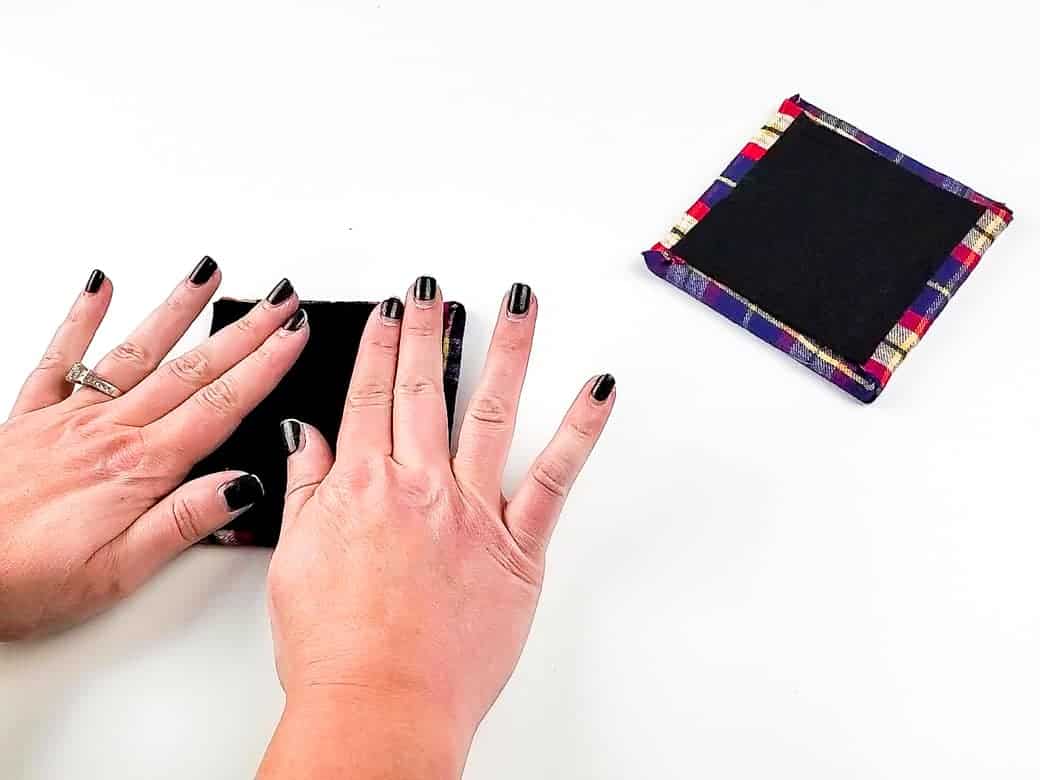
- Cut out a piece of felt (or cork) slightly smaller than the size of your tile. Attach it to the back of the tile with hot glue.
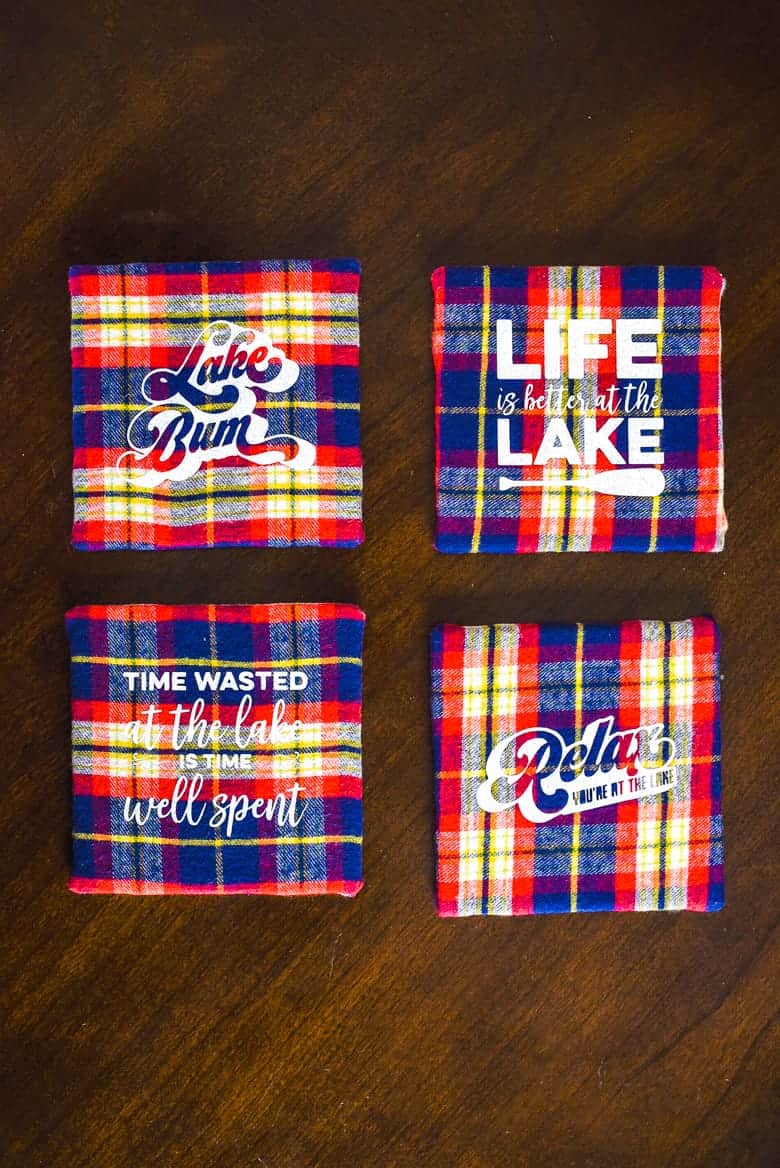
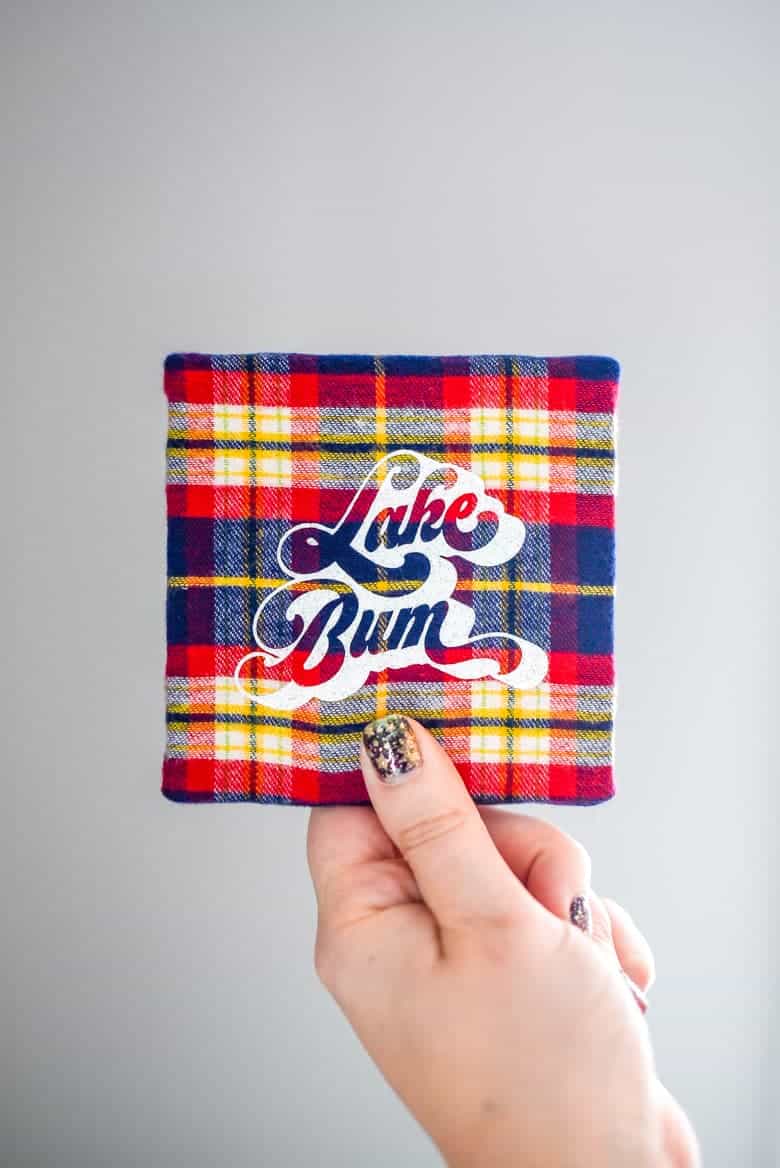
- Upload your Lake Quotes SVGs to Cricut Design Space, size them to fit your tiles, and cut.
Because you're using HTV, make sure you mirror your design and cut with the shiny side of the vinyl face down on the mat! - Weed the design and attach it to the tile using your EasyPress 2. According to the Cricut heat guide, I needed to press mine at 330 degrees for 30 seconds.
Recommended Products
As an Amazon Associate and member of other affiliate programs, I earn from qualifying purchases.
Lessons I learned while doing this DIY coaster project:
Don’t select a design that has small details (or lettering).
As you can see from the photo below, some of the centers of the tiny letters disappeared as I was weeding. I attempted to re-attach them, but they were just too dang tiny.
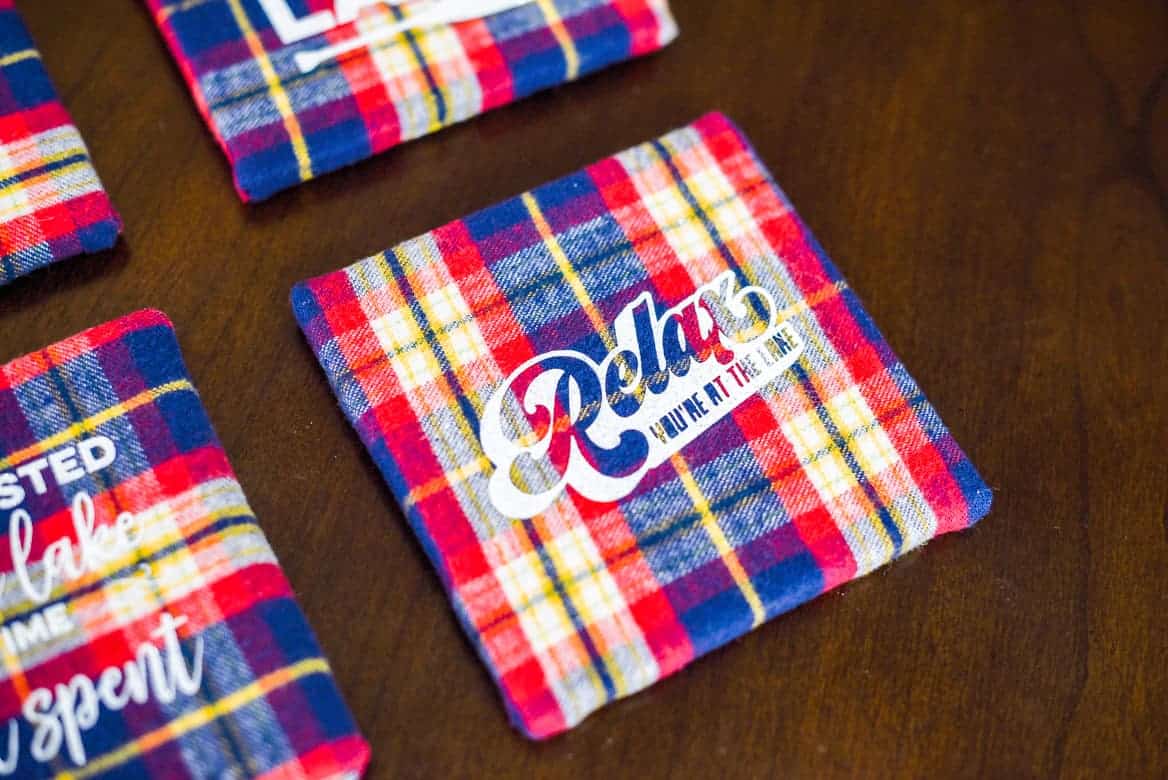
Make sure you center the fabric on the tile when you attach it with the Mod Podge, and don’t let the fabric stretch as you’re placing it.
I did an “ok” job at this, but I think my flannel had a bit of stretch to it and the lines shifted slightly as I was pressing it down on the fabric. I’m a perfectionist and I can see a few of the lines don’t match up with the edges perfectly.
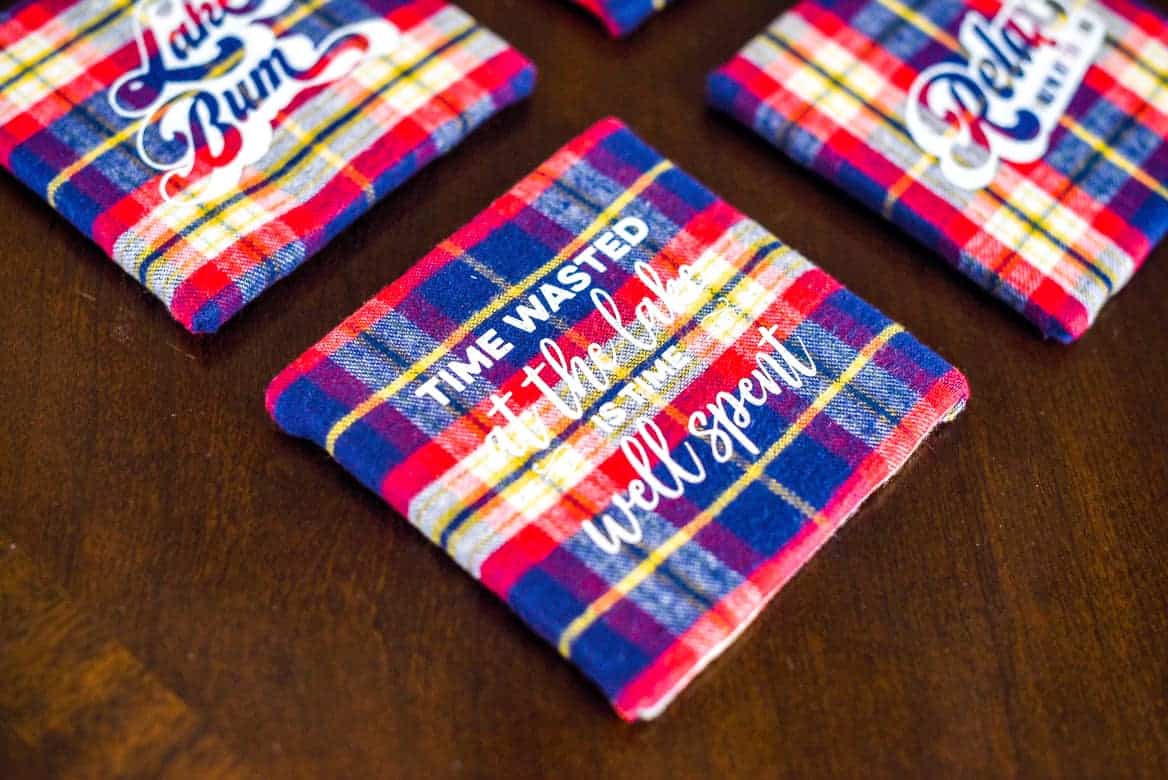
All in all, I think they turned out pretty swell. Especially for how easy they were to make!
And now that I have this great bundle of lake life graphics, I can’t wait to make more fun things for the cabin!