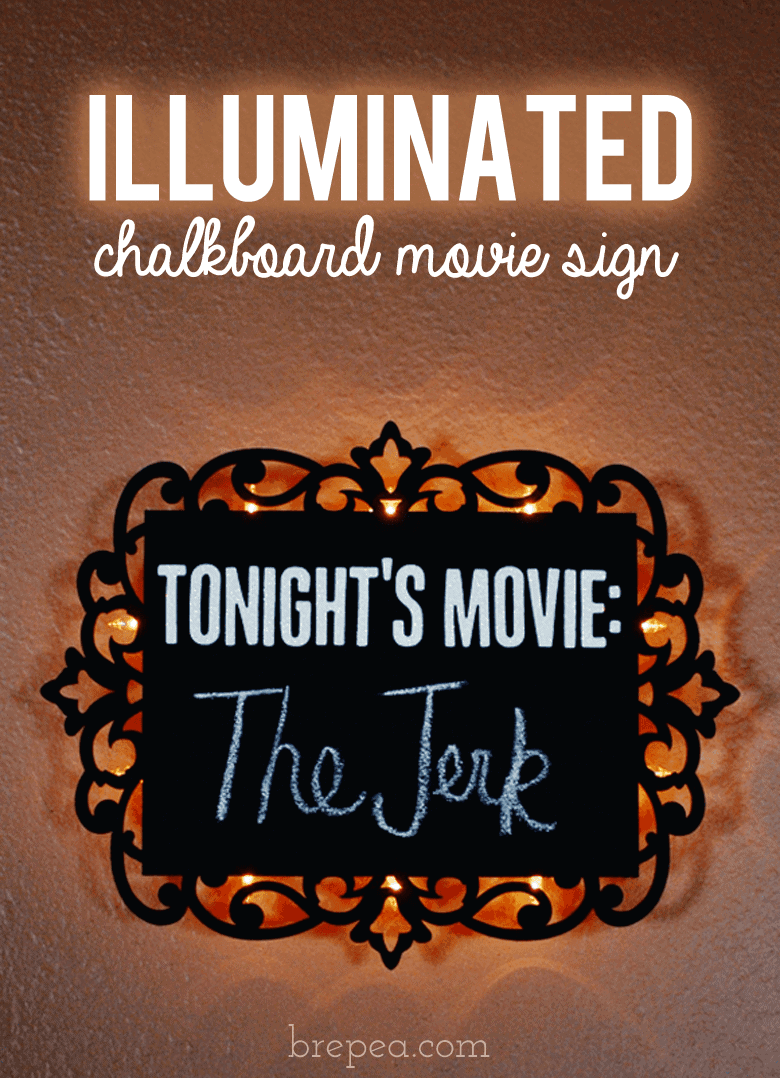
Illuminated Chalkboard Sign
I wrote this post as part of a paid campaign with Plaid Crafts, Michaels and Blueprint Social. The opinions in this post are my own.
My downstairs is the most neglected area of the house. We spend the least amount of time down there (especially during Minnesota winters, brrrrr!), too many things get put down there “until I can find a better place for it”, and it’s severely under-decorated. I have had plans for a vintage modern slightly movie themed room for over a year, but has it come to fruition? Nope. Do I have some awesome minimalist movie art waiting to be hung? Yep. This project of mine using Michaels Spring Wood Surfaces is my way of kick-starting the downstairs transformation.
SUPPLIES
Chalkboard paint (I made my own out of Folk Art Acrylic Paint and baking soda!)
String of 10 battery powered lights
Hot glue and hot glue gun
Self-adhesive foam letters
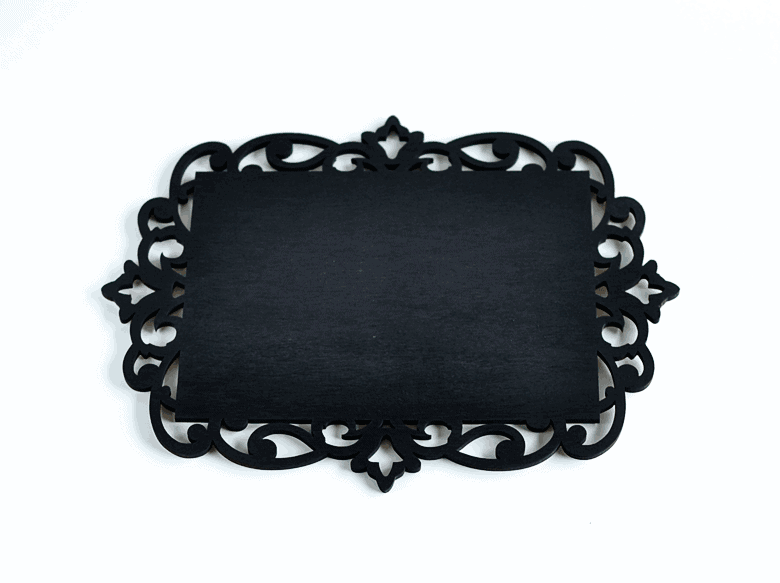
STEP ONE
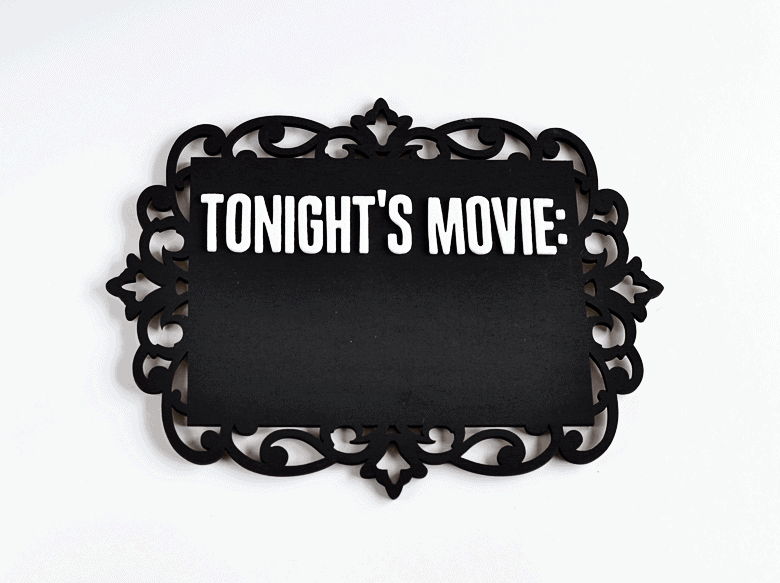
STEP TWO
Lightly arrange your letters on your Michaels Spring Wood Surface. I used a piece of paper to make sure that it was straight. This is the awesome thing about self-adhesive letters, if you place them lightly enough you can move them around easily if you need to make adjustments. Once the letters look even, press them down fully.

STEP THREE
Attach the battery pack to the back of the surface with hot glue. Make sure the on/off switch faces out. I also hot glued a washer to the back of the battery pack (I was trying to be resourceful with what I had on hand) to use for hanging. It actually works pretty darn well, if I do say so myself!

STEP FOUR
Come up with a layout for the lights so they are distributed evenly. I decided to put 3 on each longer side and 2 on the shorter ends. Starting closest to the battery pack in the middle, put a generous glob of hot glue onto the surface and attach a light flat to the board. Make sure that most of the bulb is over the edge so that it can be seen from the front when it’s lit. Hold for a few seconds until the glue cools and sets.
STEP FIVE
Repeat gluing each bulb around the edge of the surface. If cords are getting a little crazy and sticking out in the back, take a little hot glue and glue them down to the board.

What a neat idea! I love the light up effect!
This is fantastic! The lights bring it to a whole new level 🙂
Thanks Dara! I was pleasantly surprised with how it turned out.
I agree, the lights really make the laser cut edges of the sign pop! Thank you 🙂
Such a great idea! We made a small movie room downstairs and this would be perfect!
WOW, I absolutely LOVE this..well done!
It would be totally perfect! You should definitely share it with me if you make your own. I love to see what people create from my tutorials!
Thank you 🙂
You know, I actually just saw someone post something on FB about this. It kind of sounds crazy to me. If someone handed this to me I would kind of be like, “how about you just do your job to try and control your kid as best as you can? I don't need a pretentious gift bag.” heh. I guess that's just me. Seems a little over the top.
I agree! I don't like the idea of apologizing for a child's existence. I think the idea probably started from a good place, but the message is difficult to swallow.