This is a sponsored conversation written by me on behalf of Cricut. The opinions and text are all mine.
So you’ve been getting by with your household iron for making your vinyl t-shirts. You don’t really need a heat press. Right?
But without fail, the designs start to peel after just ONE wash. Plus, it takes a REALLLLLY long time to get the iron-on vinyl to stick.
Time is too valuable, and you work too hard on your projects for them to fall apart.
Luckily the Cricut EasyPress is here to save the day!
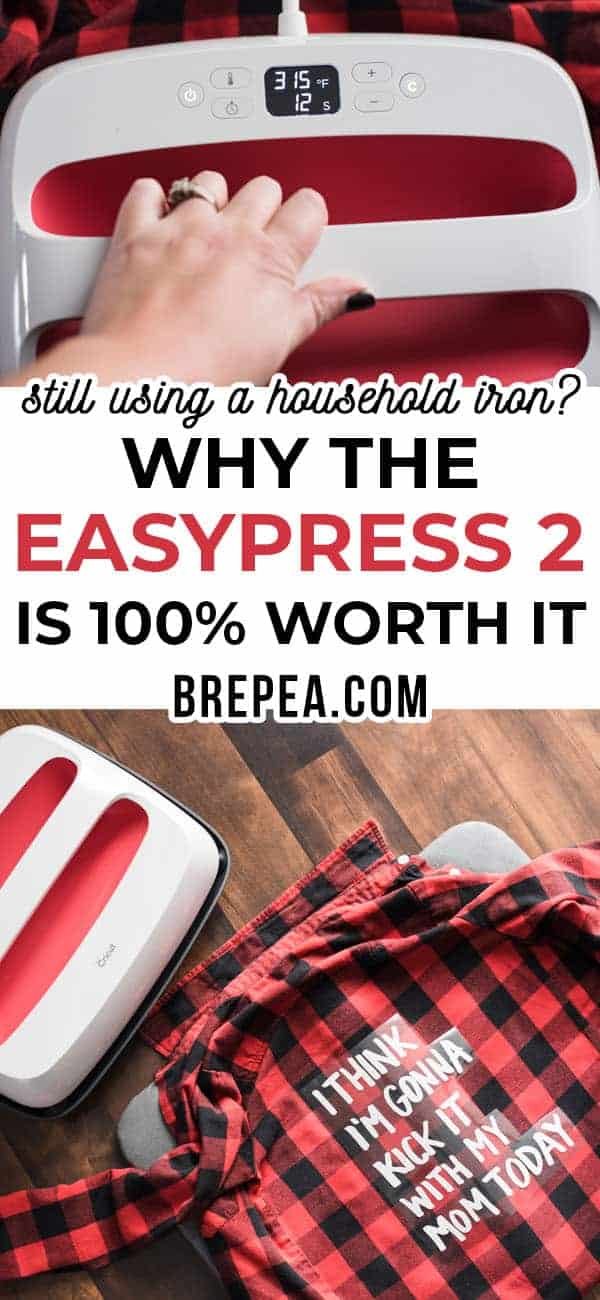
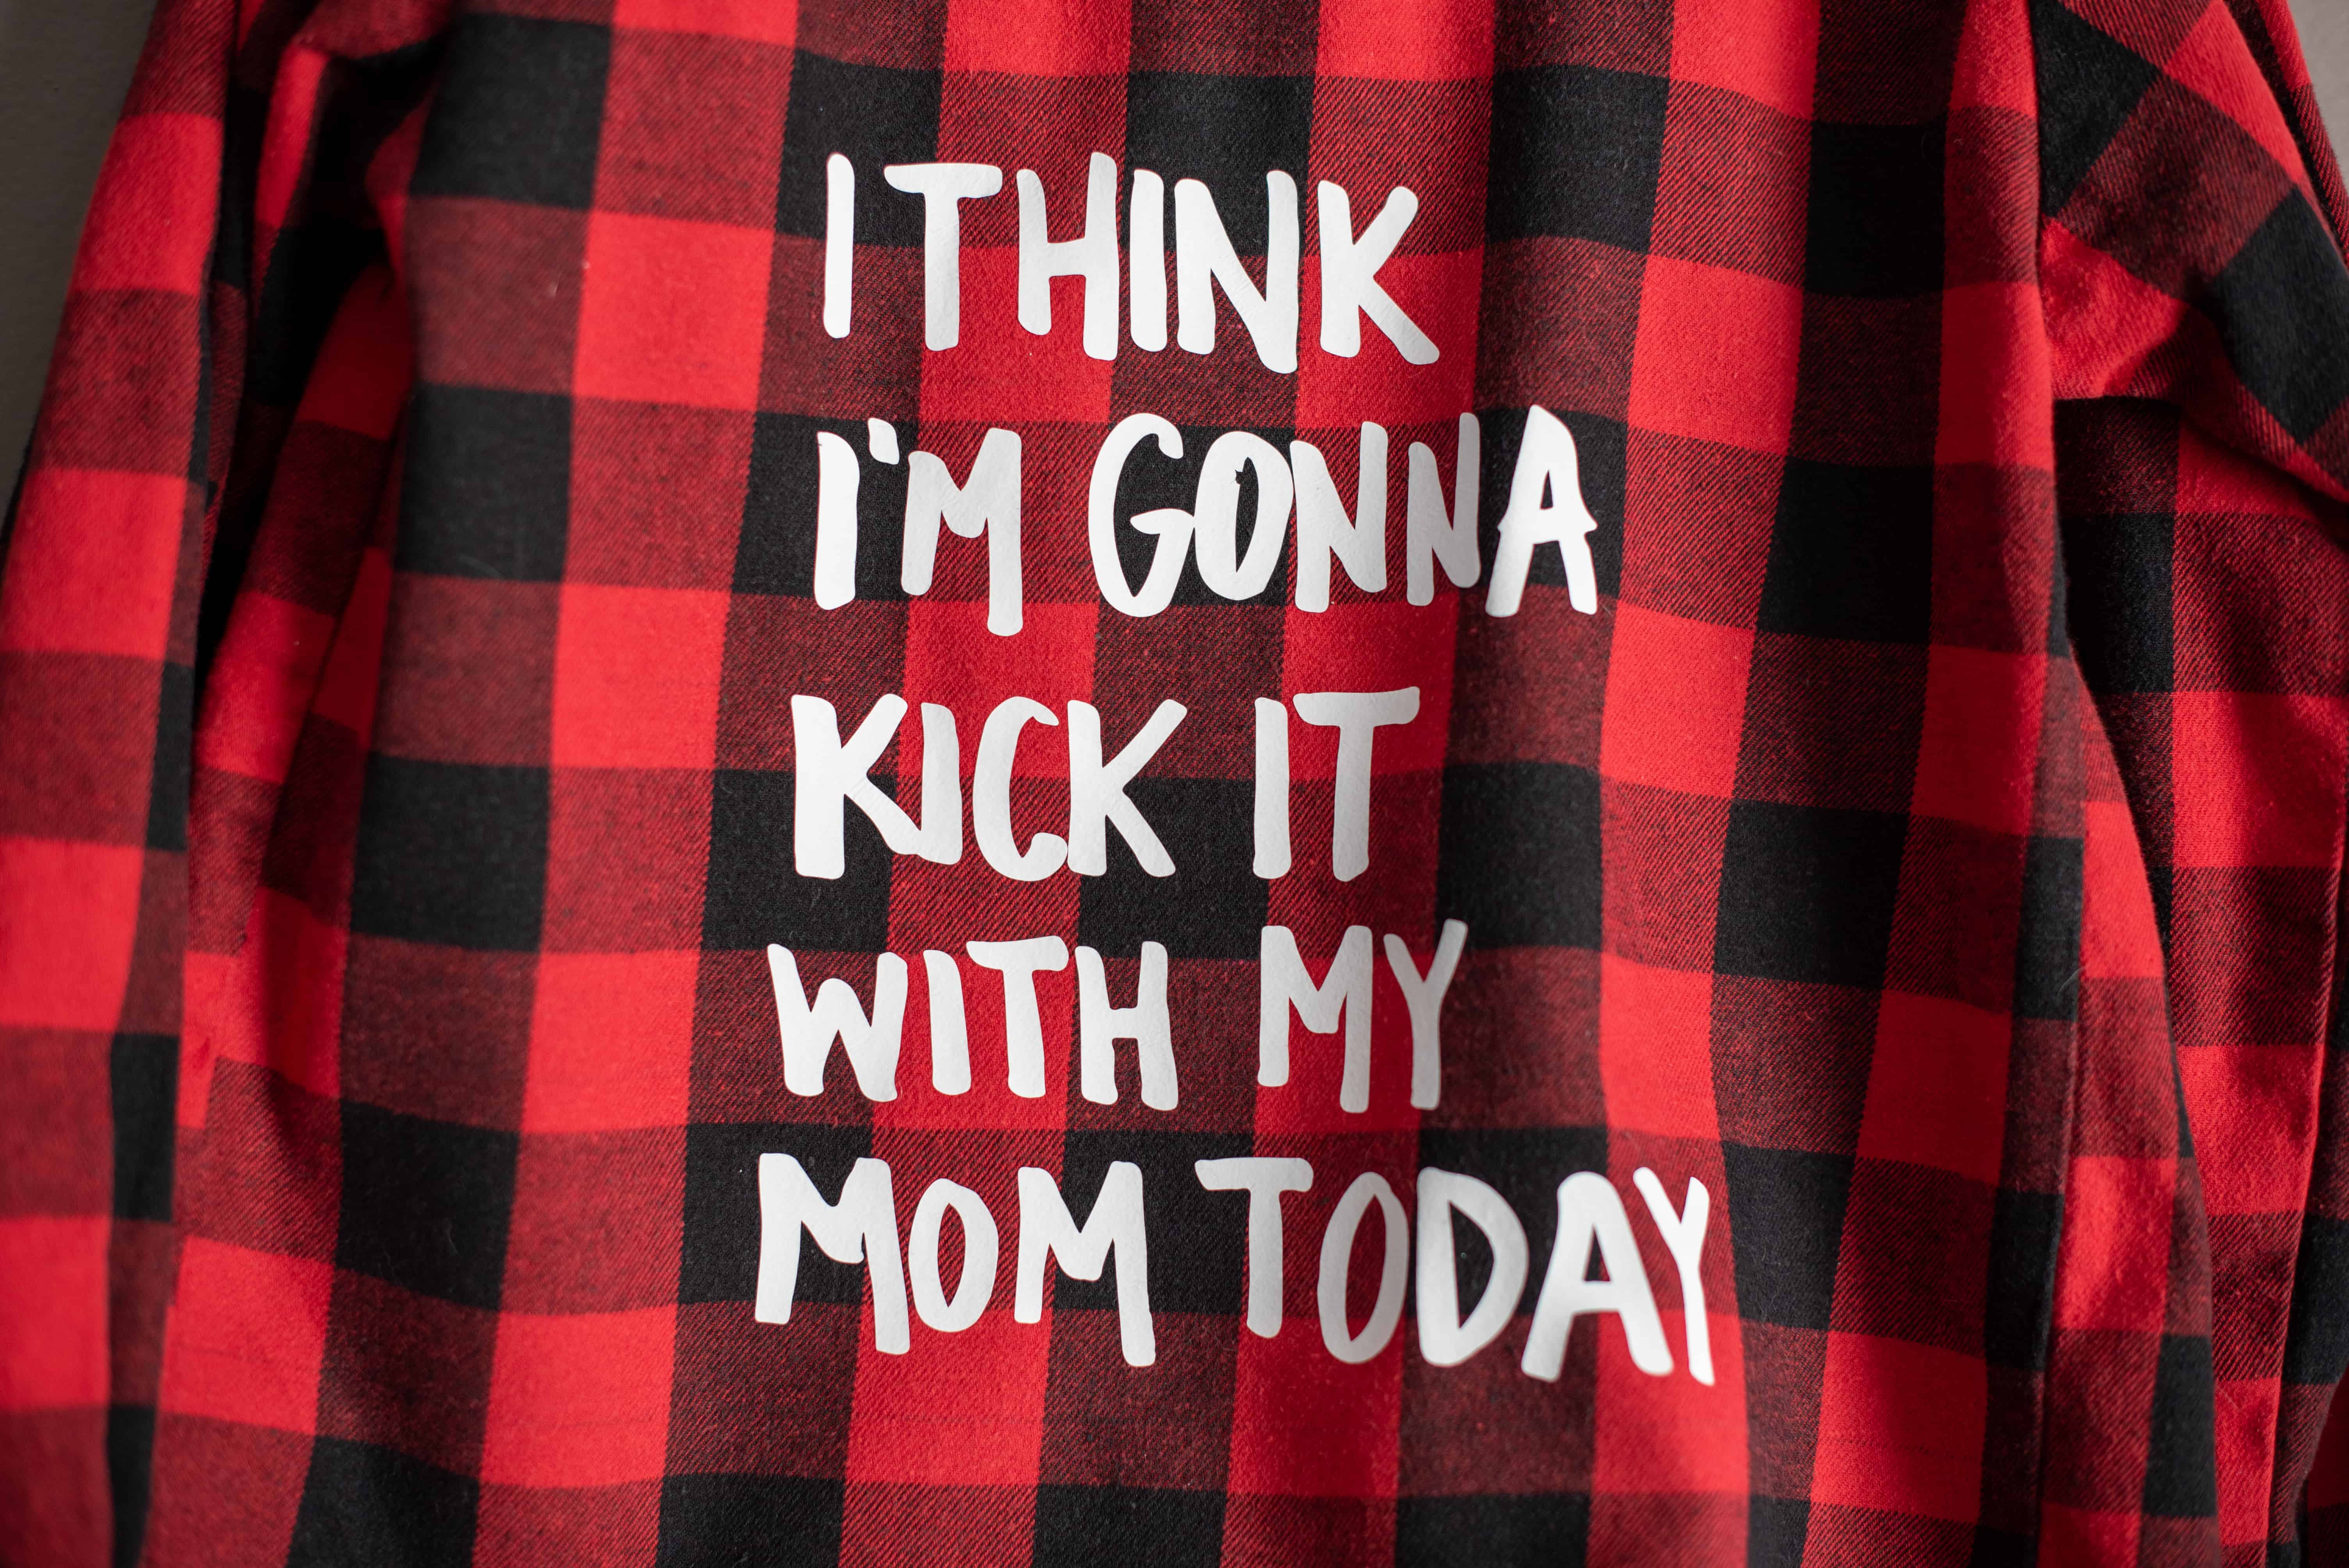
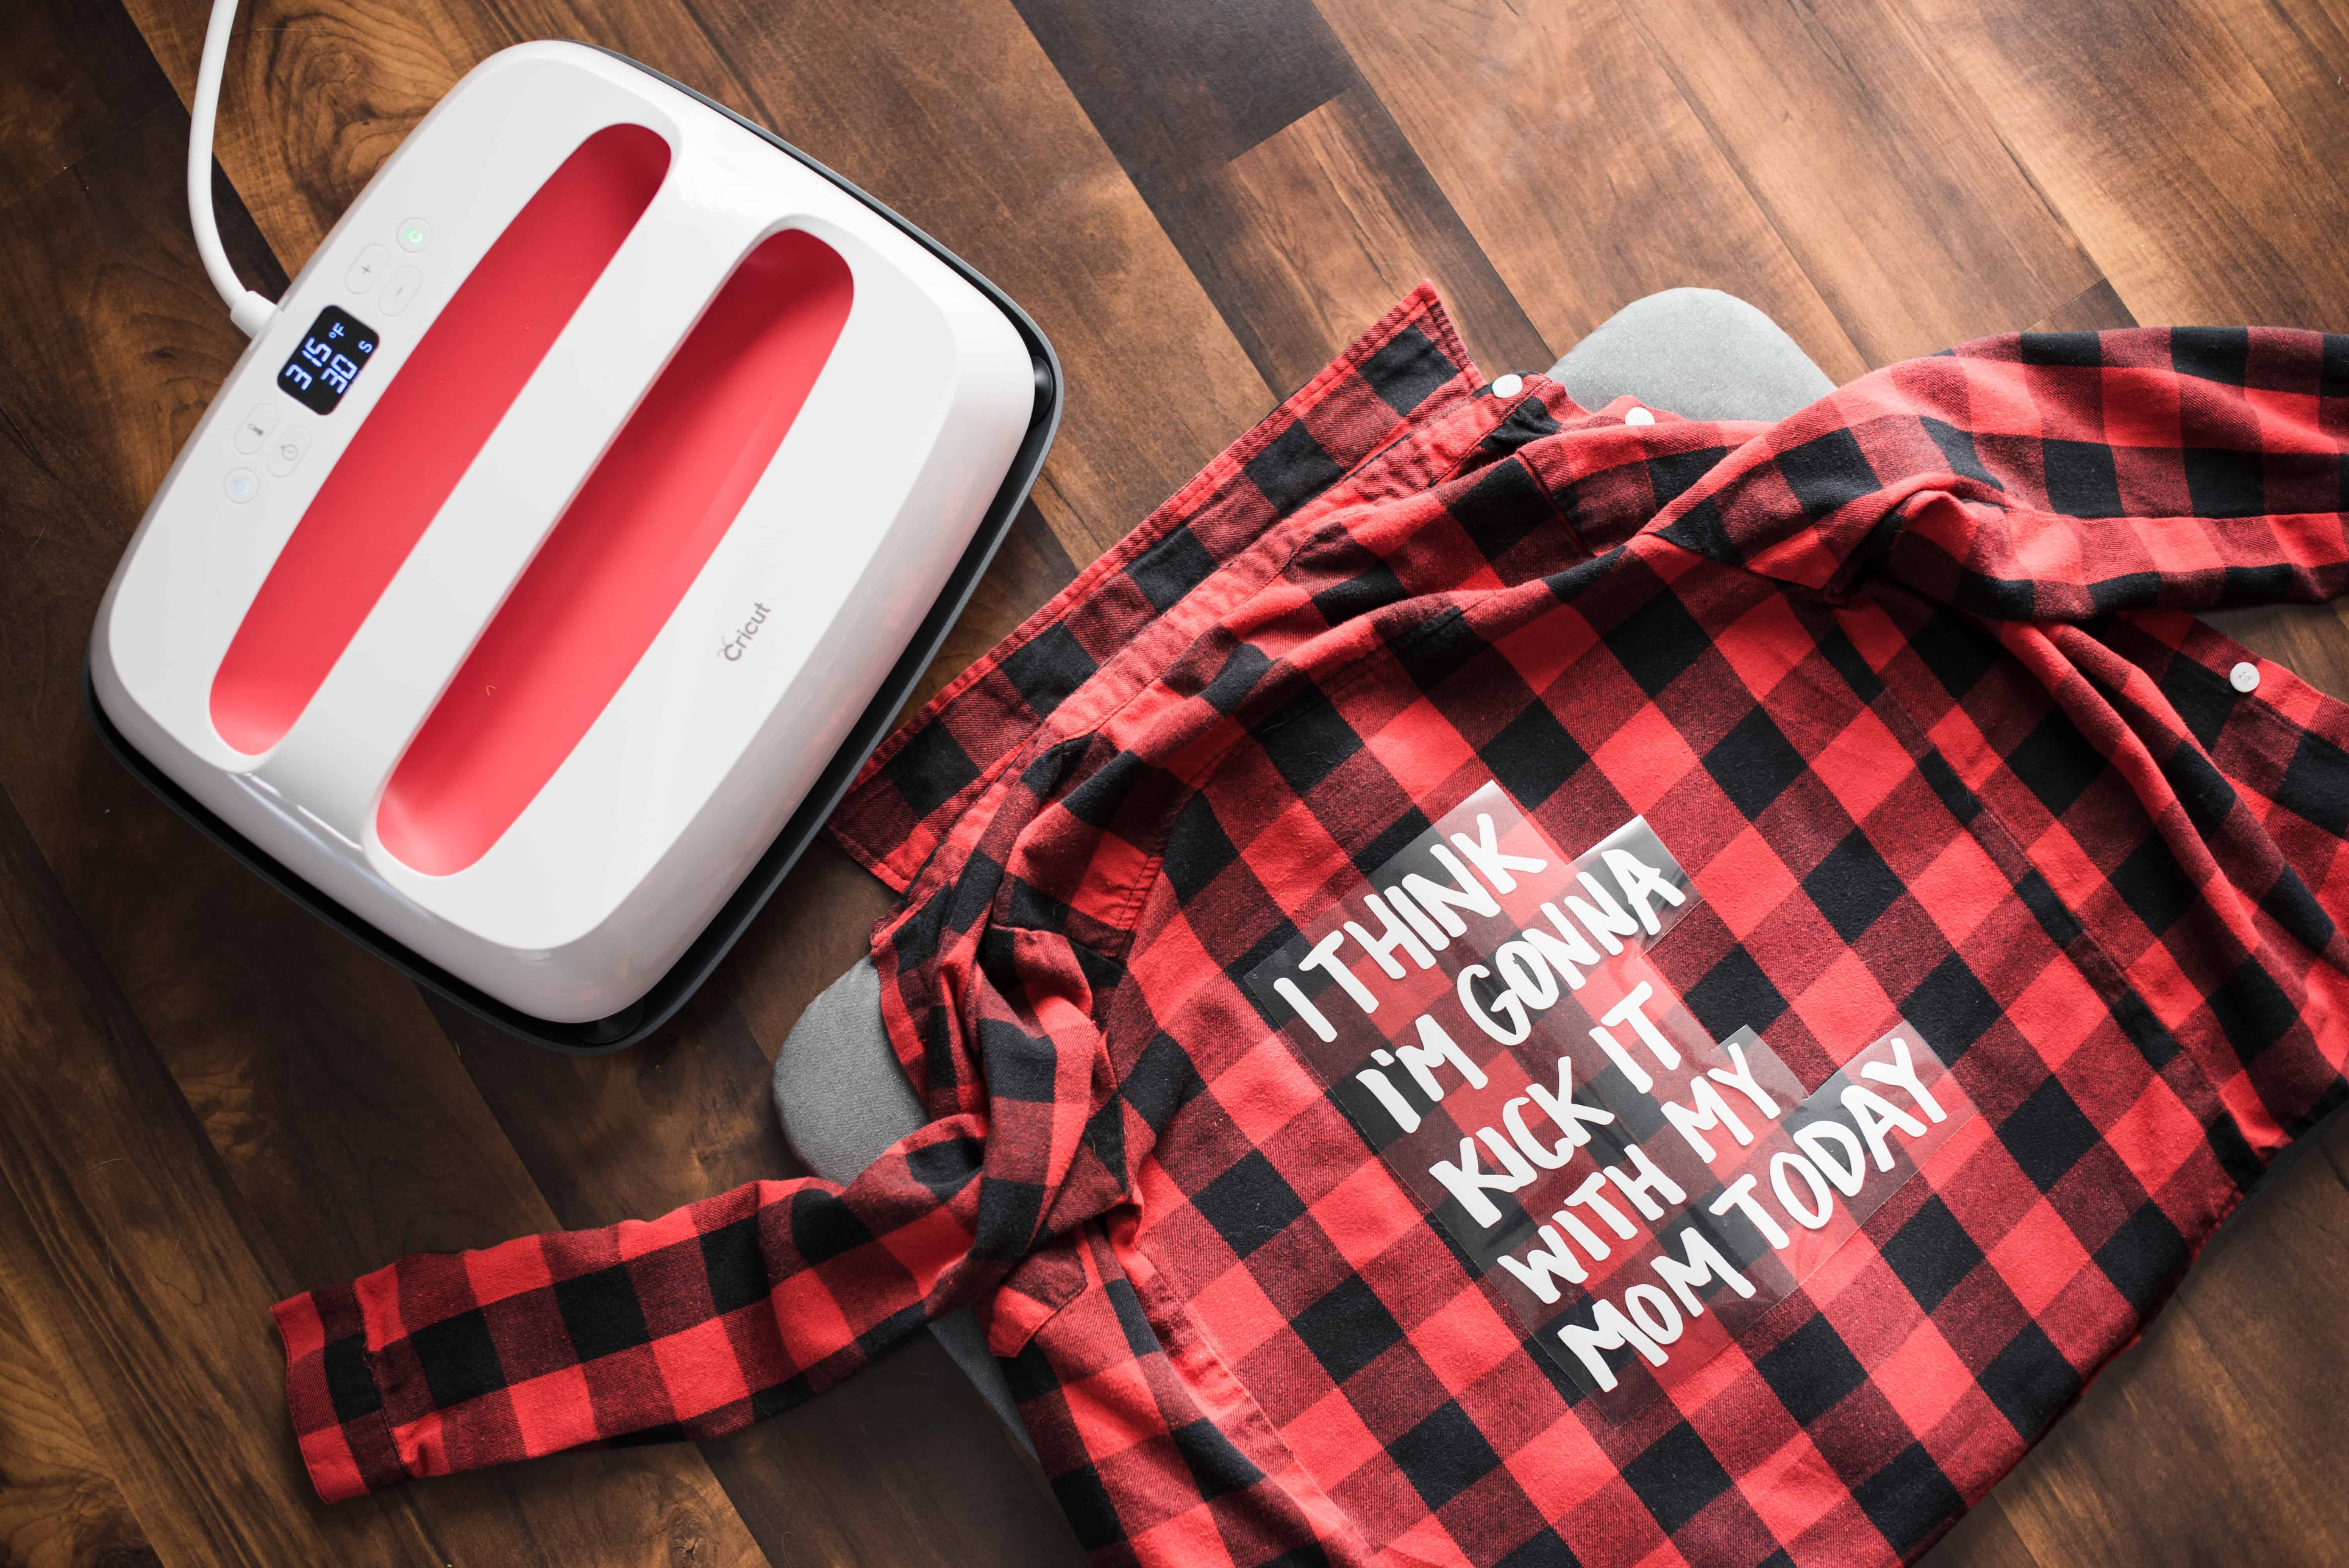
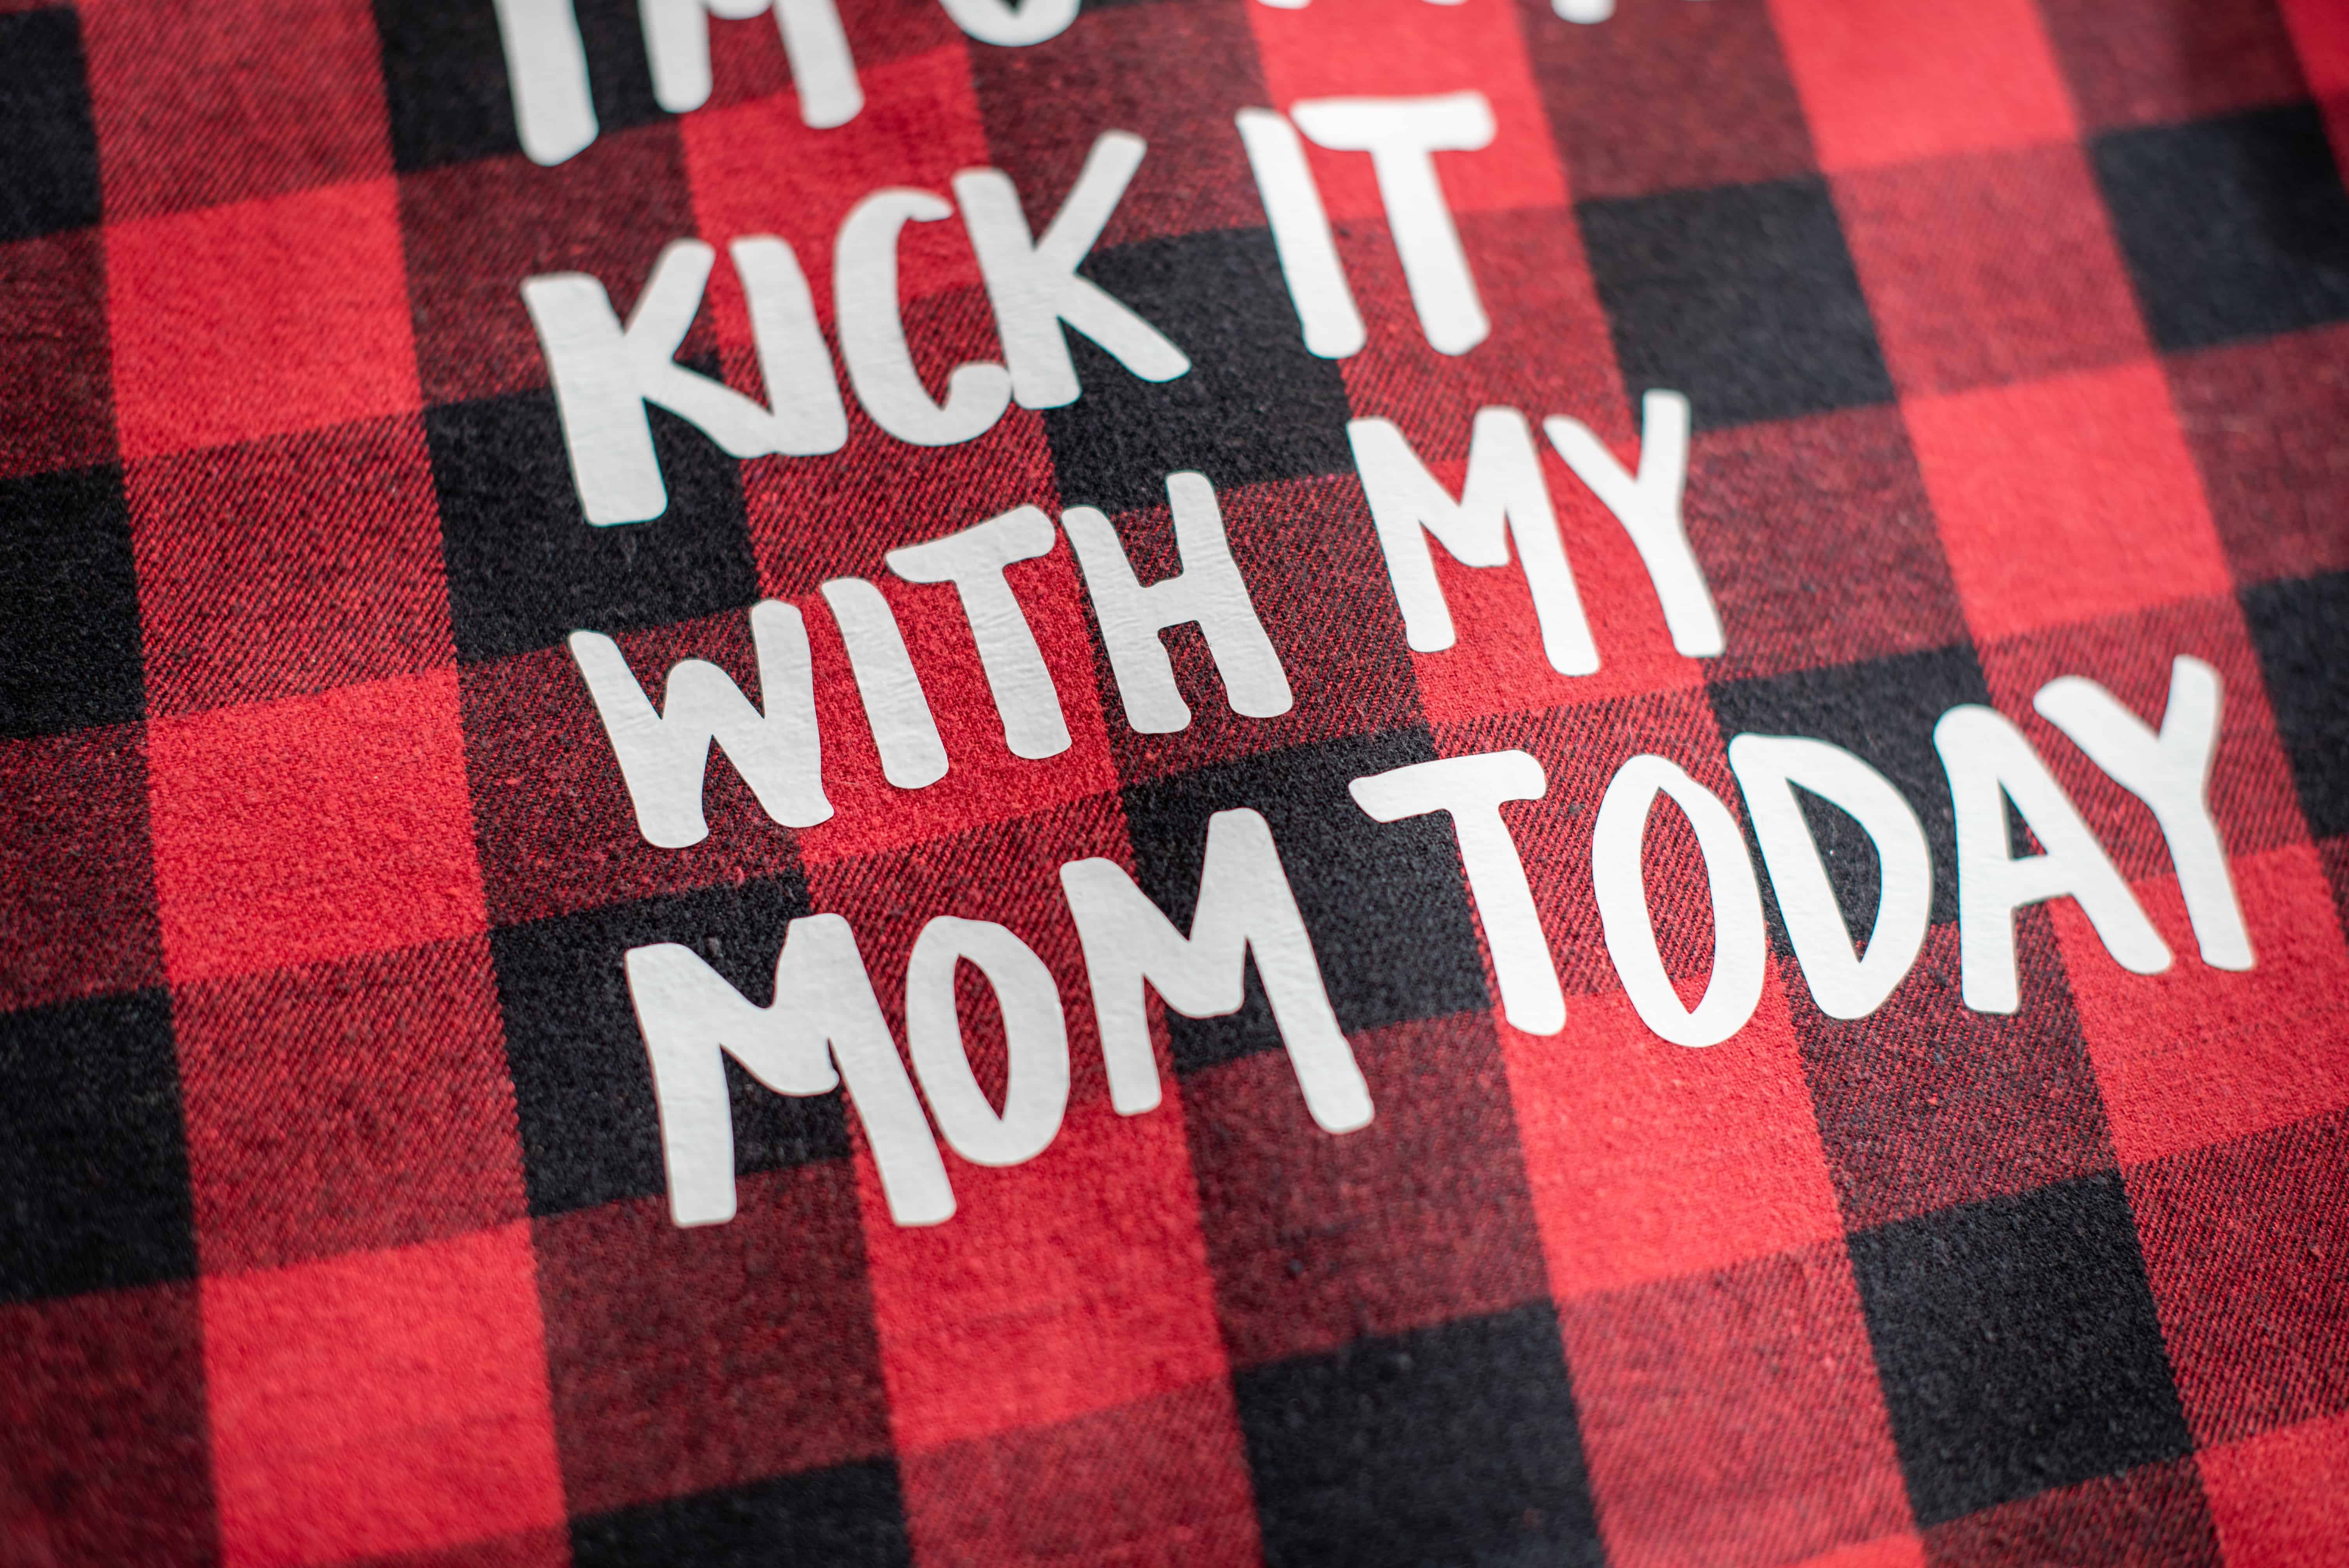
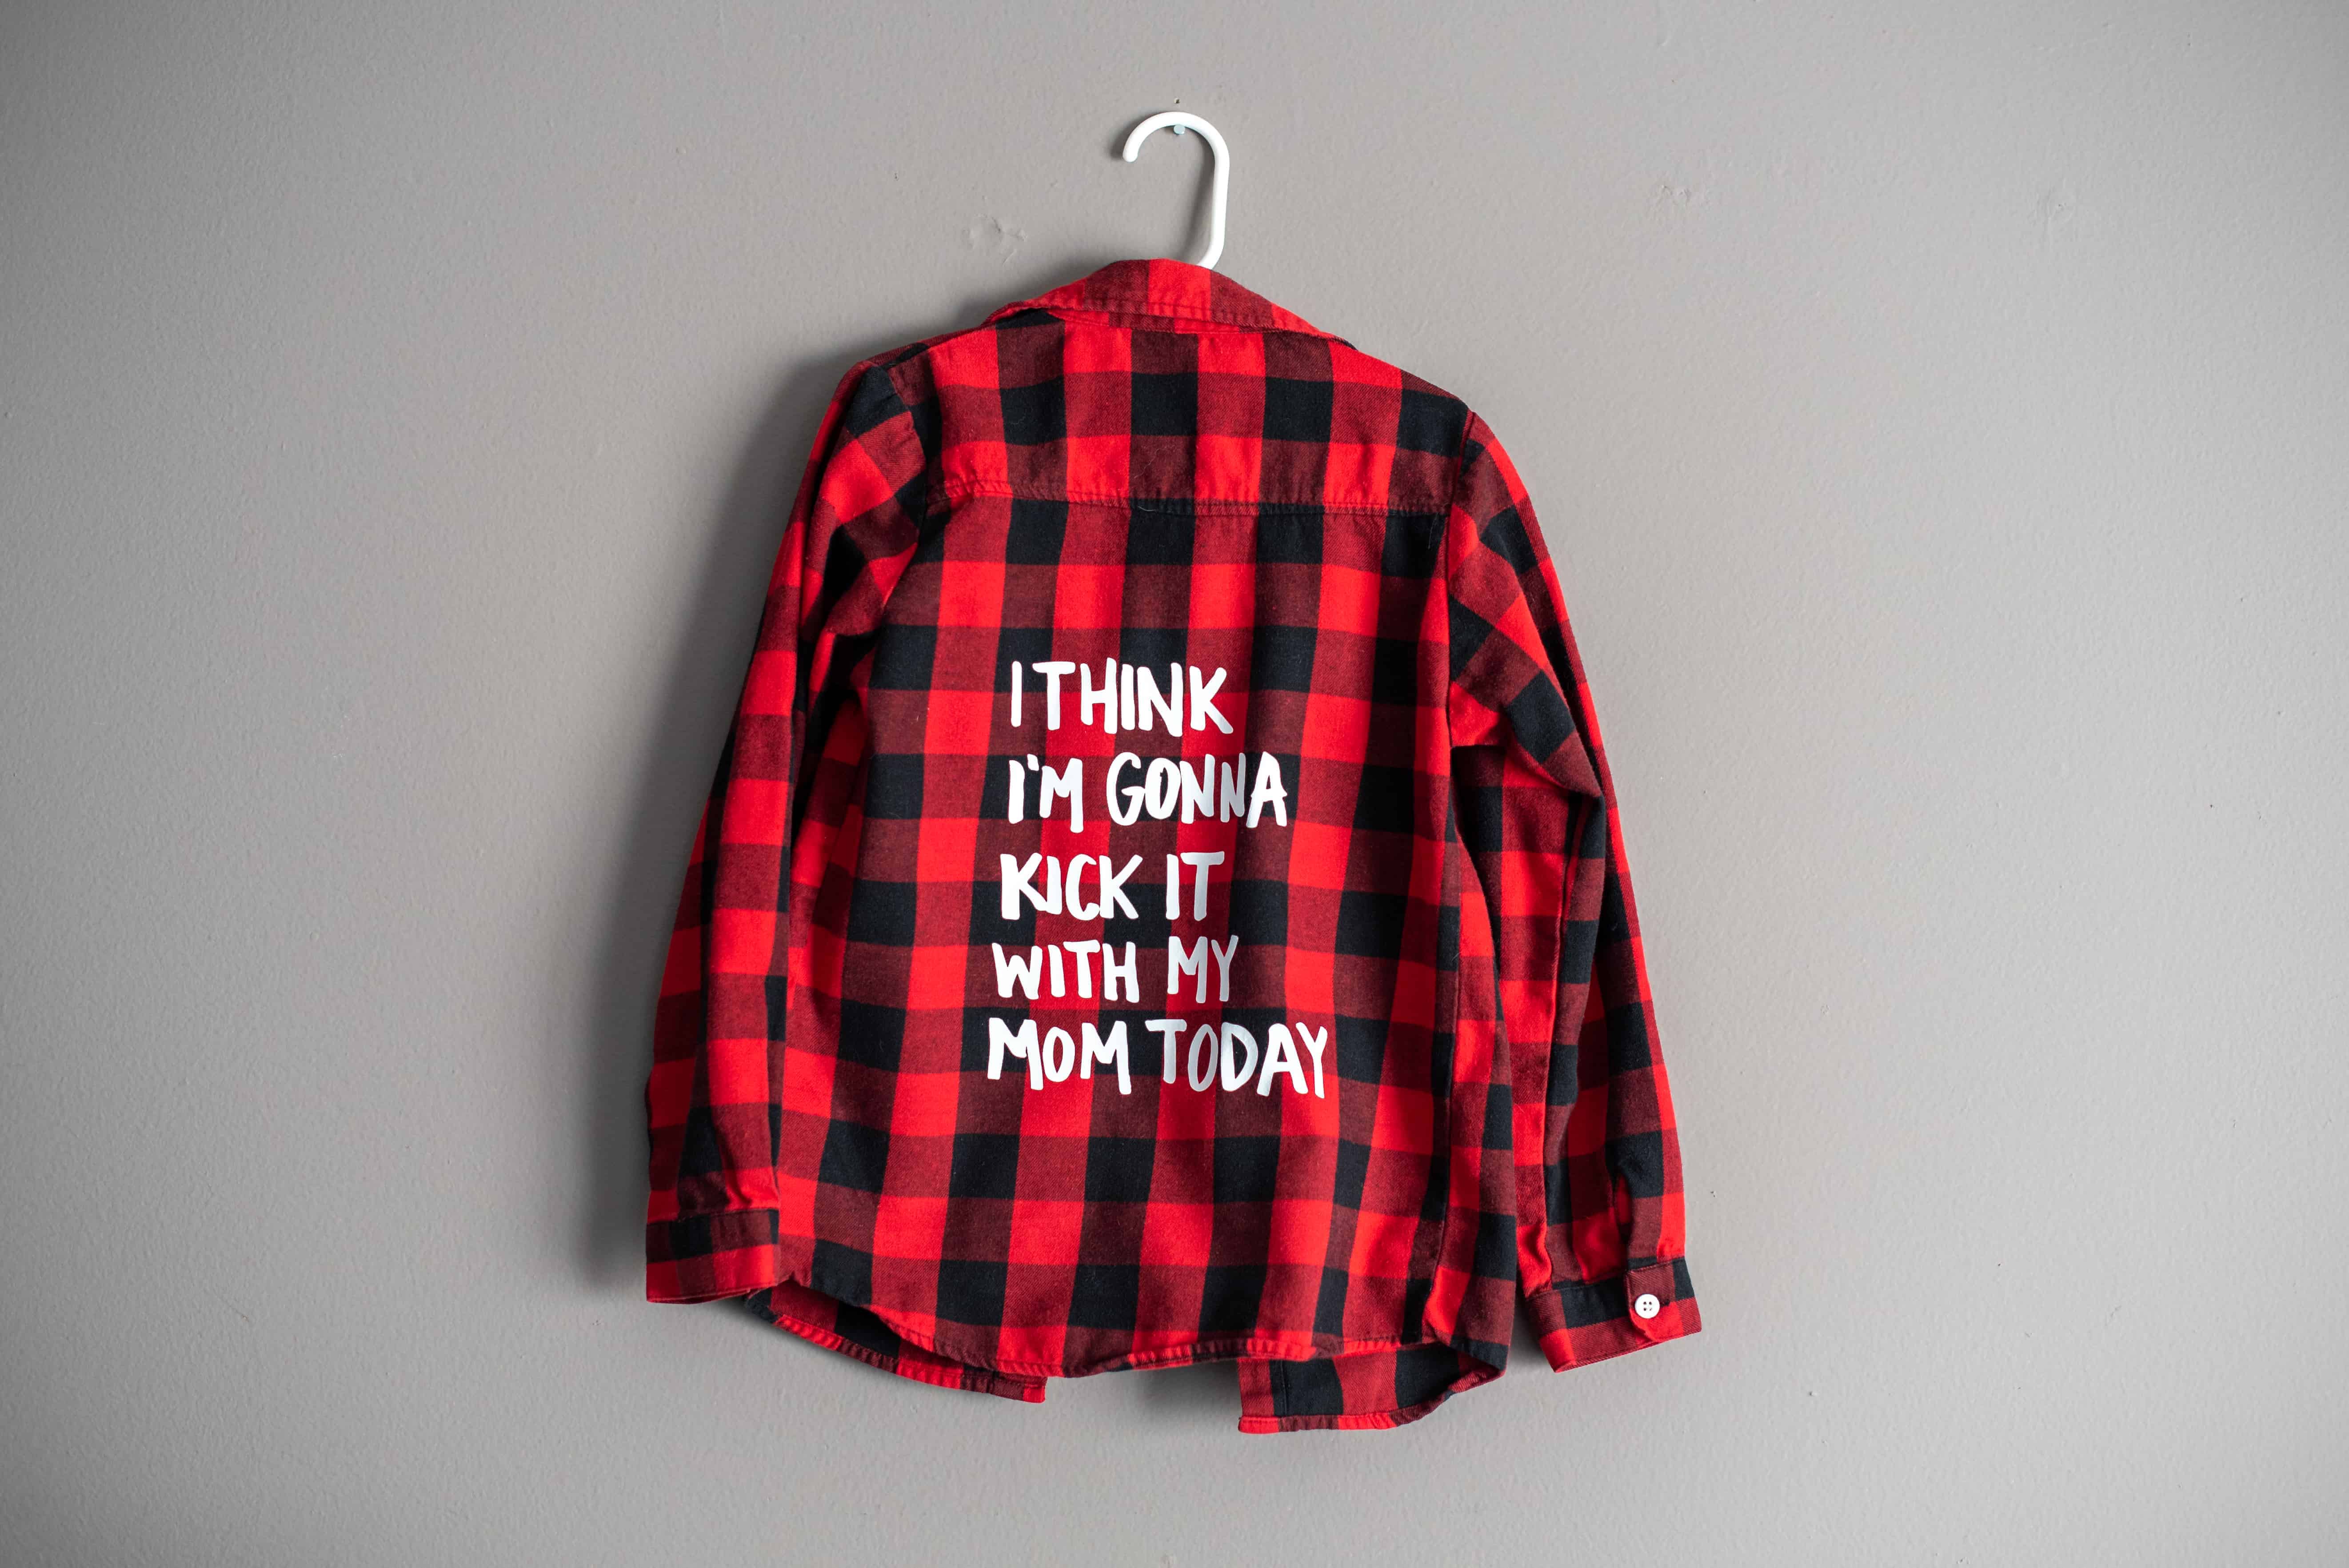
Follow along as I share how I used my EasyPress 2 to make this “Kick It With Mom” shirt (and make sure you download the free handlettered SVG).
I’m also going to go over why I think the EasyPress 2 is totally worth the investment (especially if you’re making adult sized clothing) plus 5 tips and tricks for using it the right way with HTV (heat transfer vinyl).
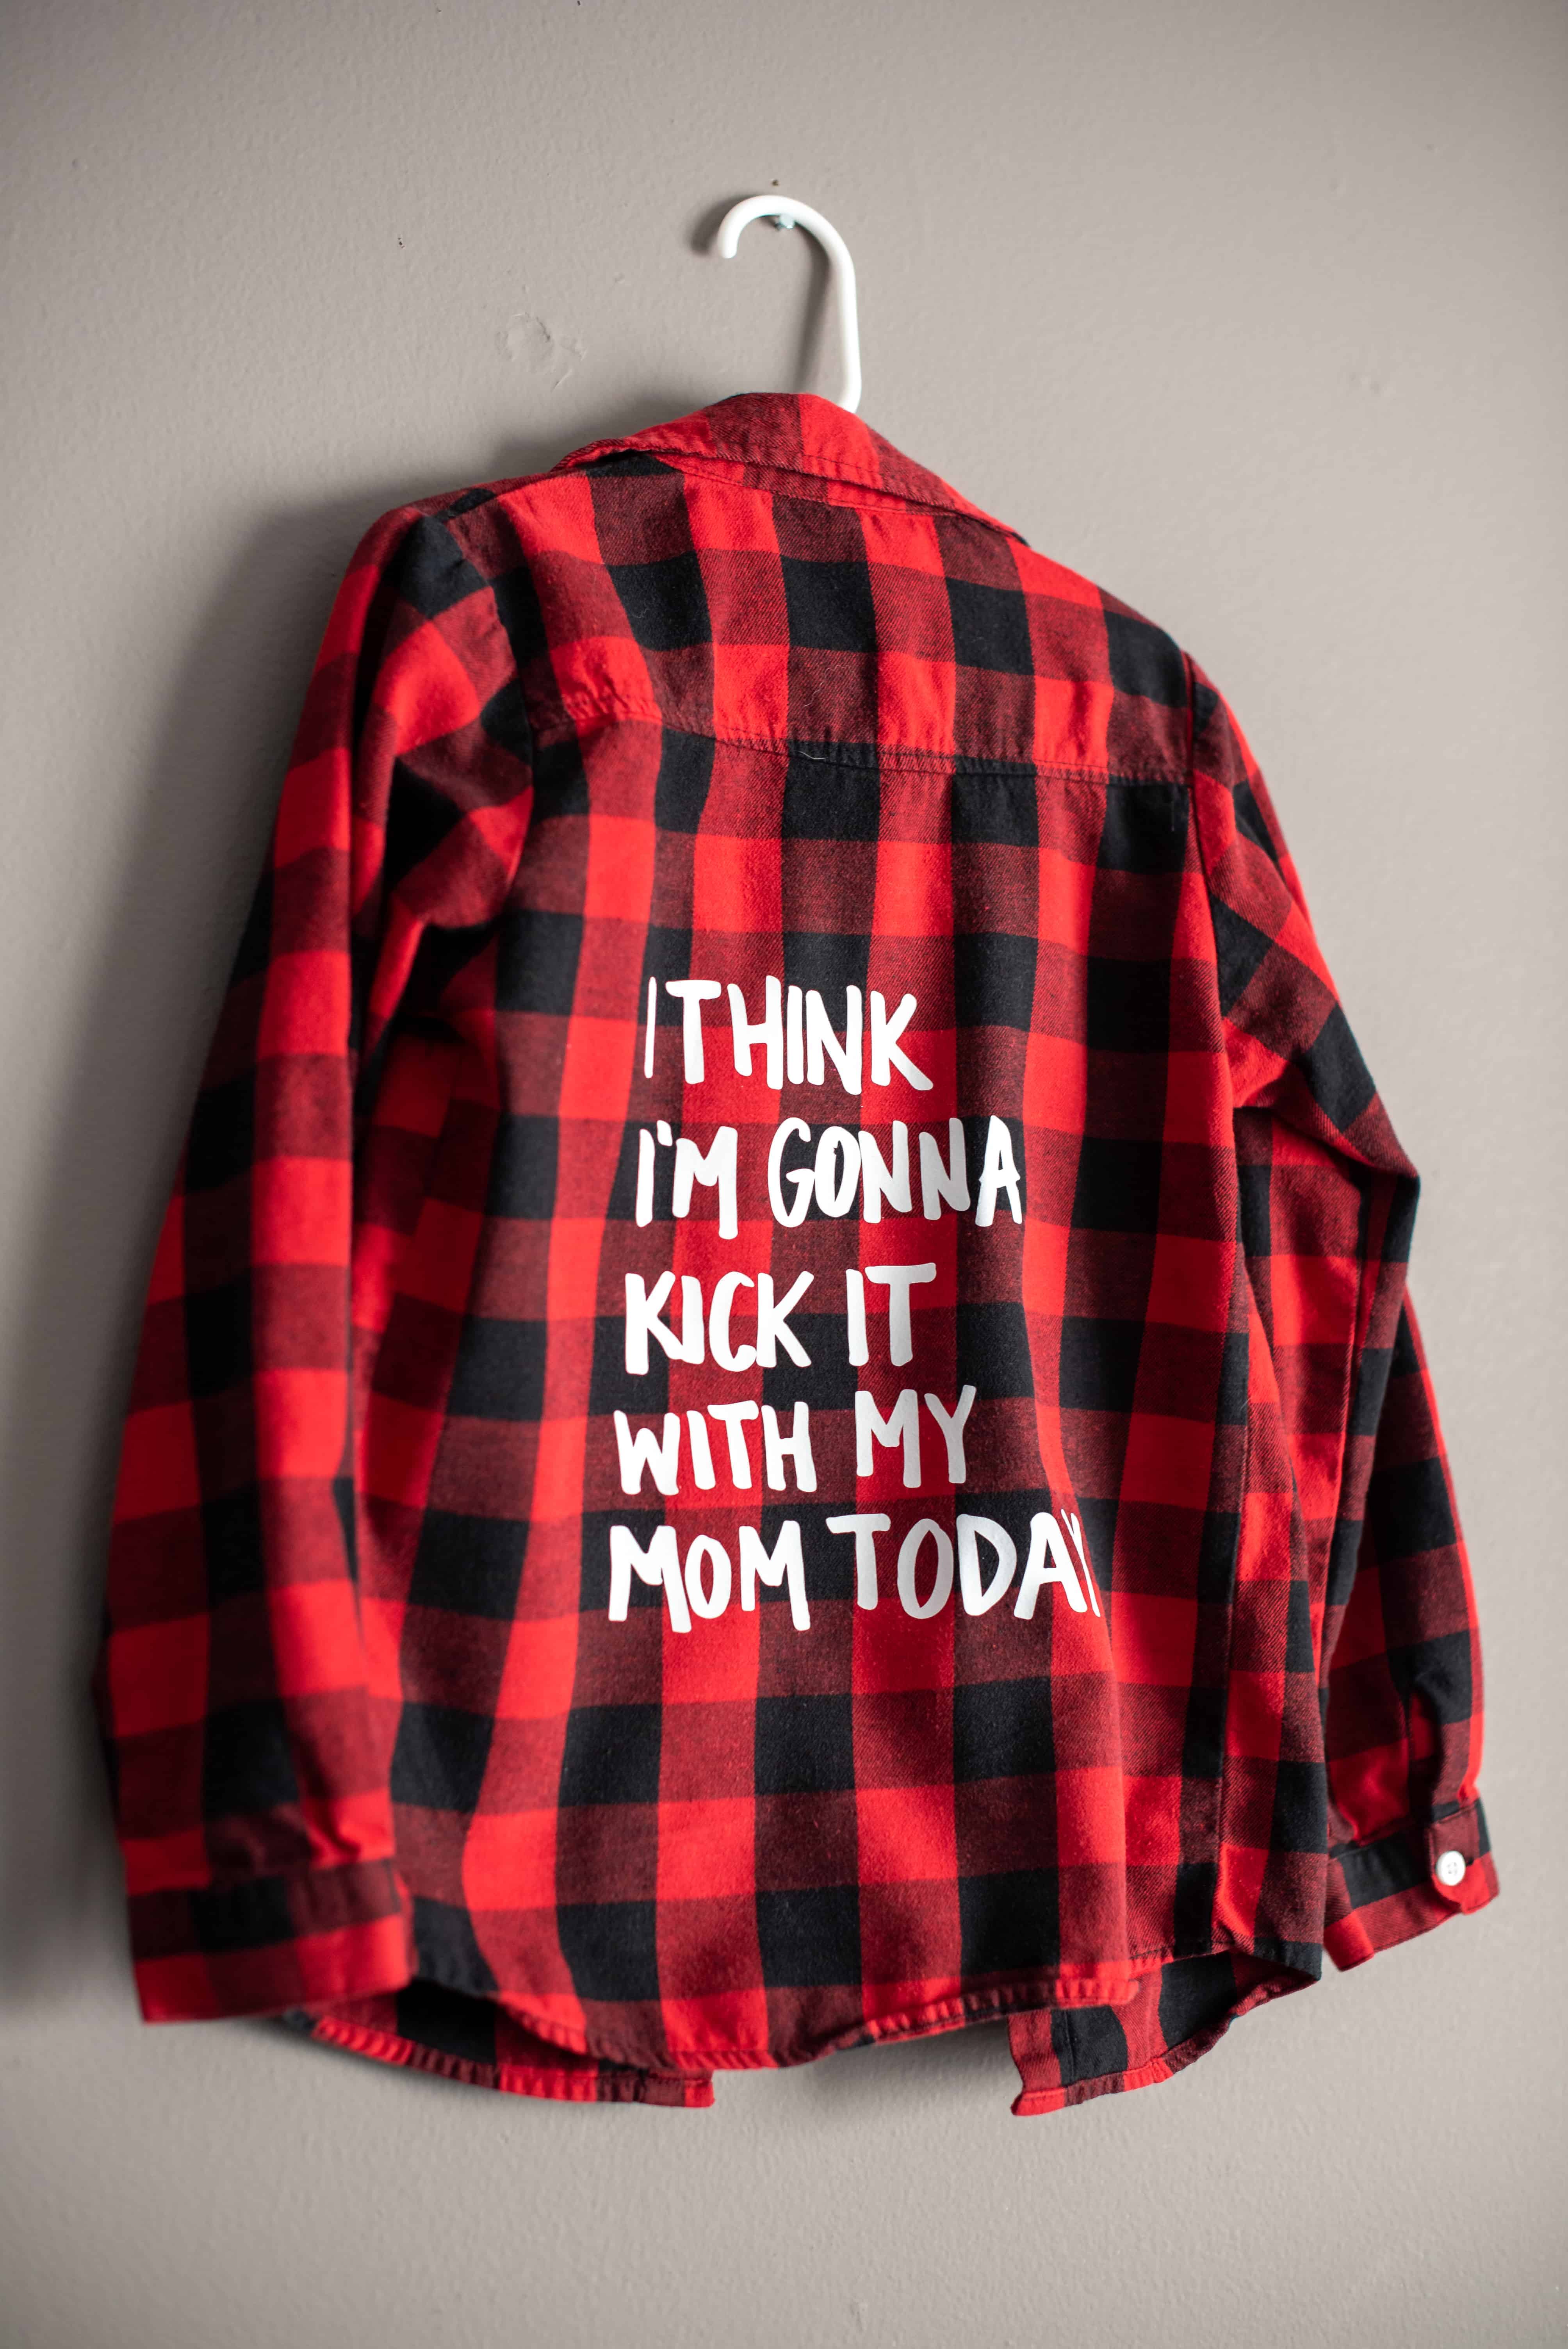
“I Think I’m Gonna Kick It With My Mom Today” Kid’s Flannel Shirt Tutorial
SUPPLIES
- 100% Cotton Flannel Shirt
- “Kick It With Mom” Hand Lettered SVG
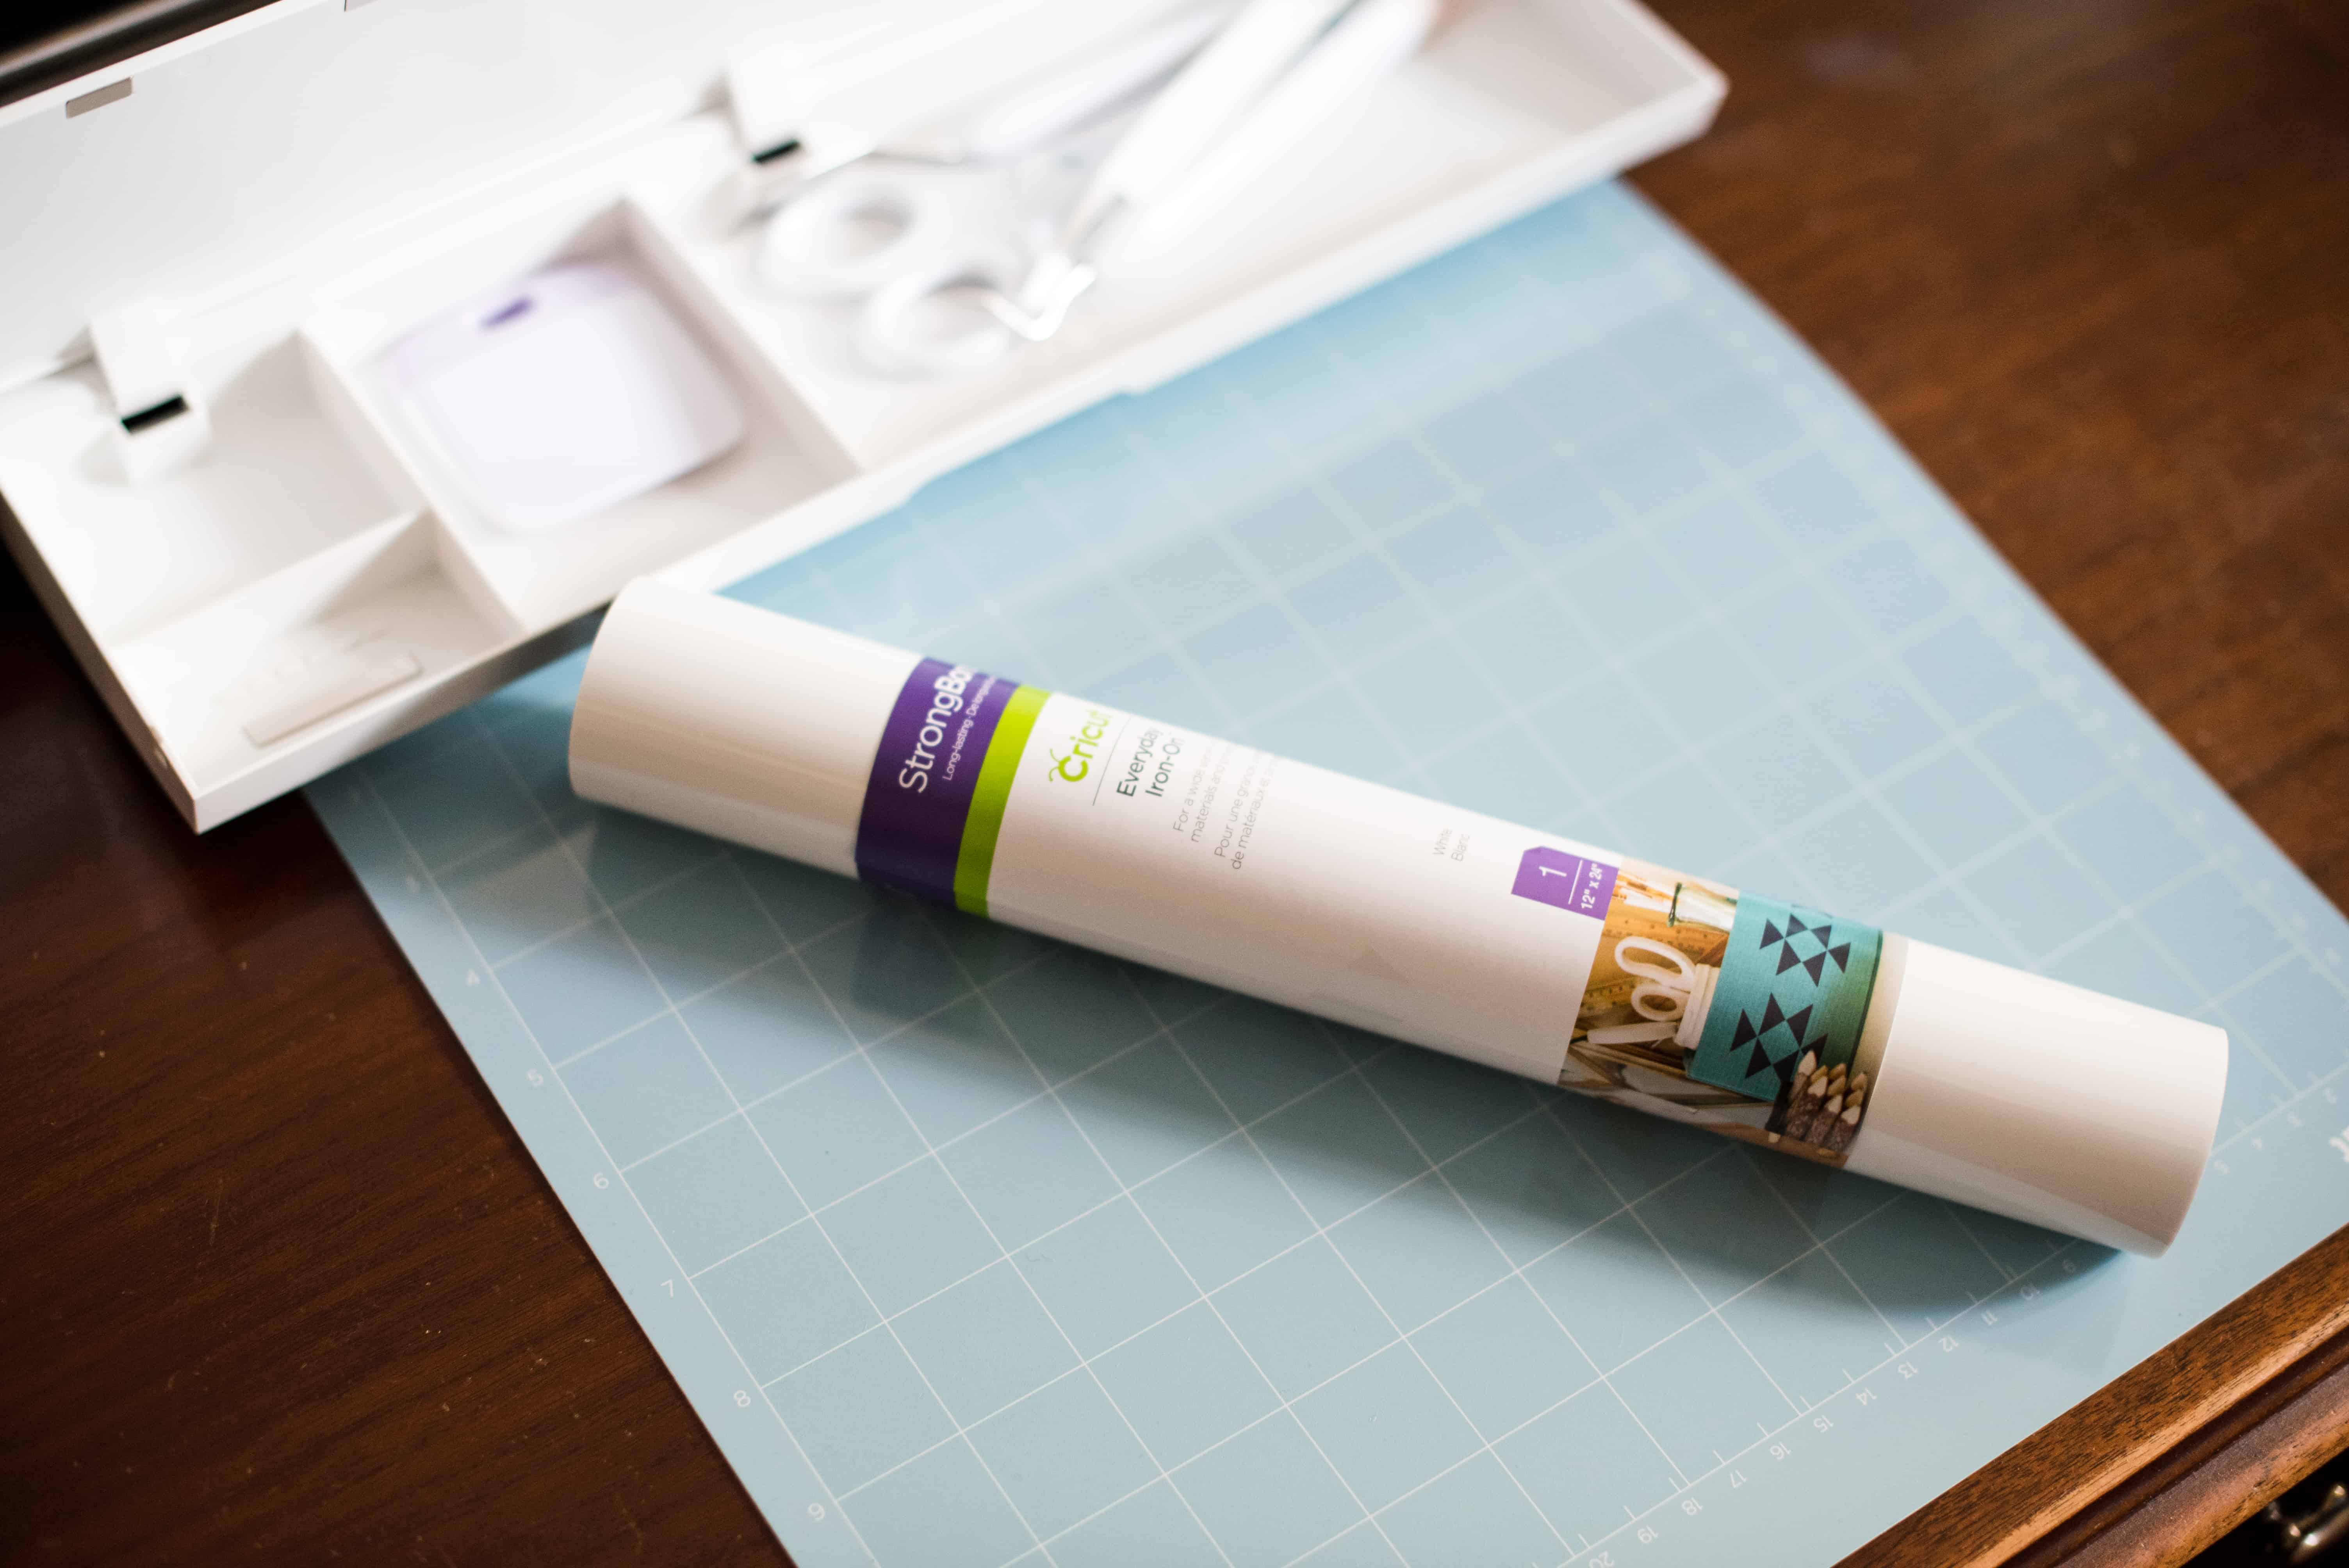
- Cricut Everyday Iron-On White Vinyl
- Light Grip Mat
- Cricut Explore Air 2 or Maker (I used my Maker for this tutorial)
- Cricut EasyPress
- Cricut EasyPress Mat
- Parchment Paper
Step One: Upload the SVG to Cricut Design Space
Download my free hand lettered “Kick It With Mom” SVG here and upload it to your Cricut Design Space.
Insert it into your project. I knew that I wanted mine to be about 7″ wide, so I resized it accordingly.
Click “attach” before you go to cut it, otherwise every part of the design will get separated and jumbled up.
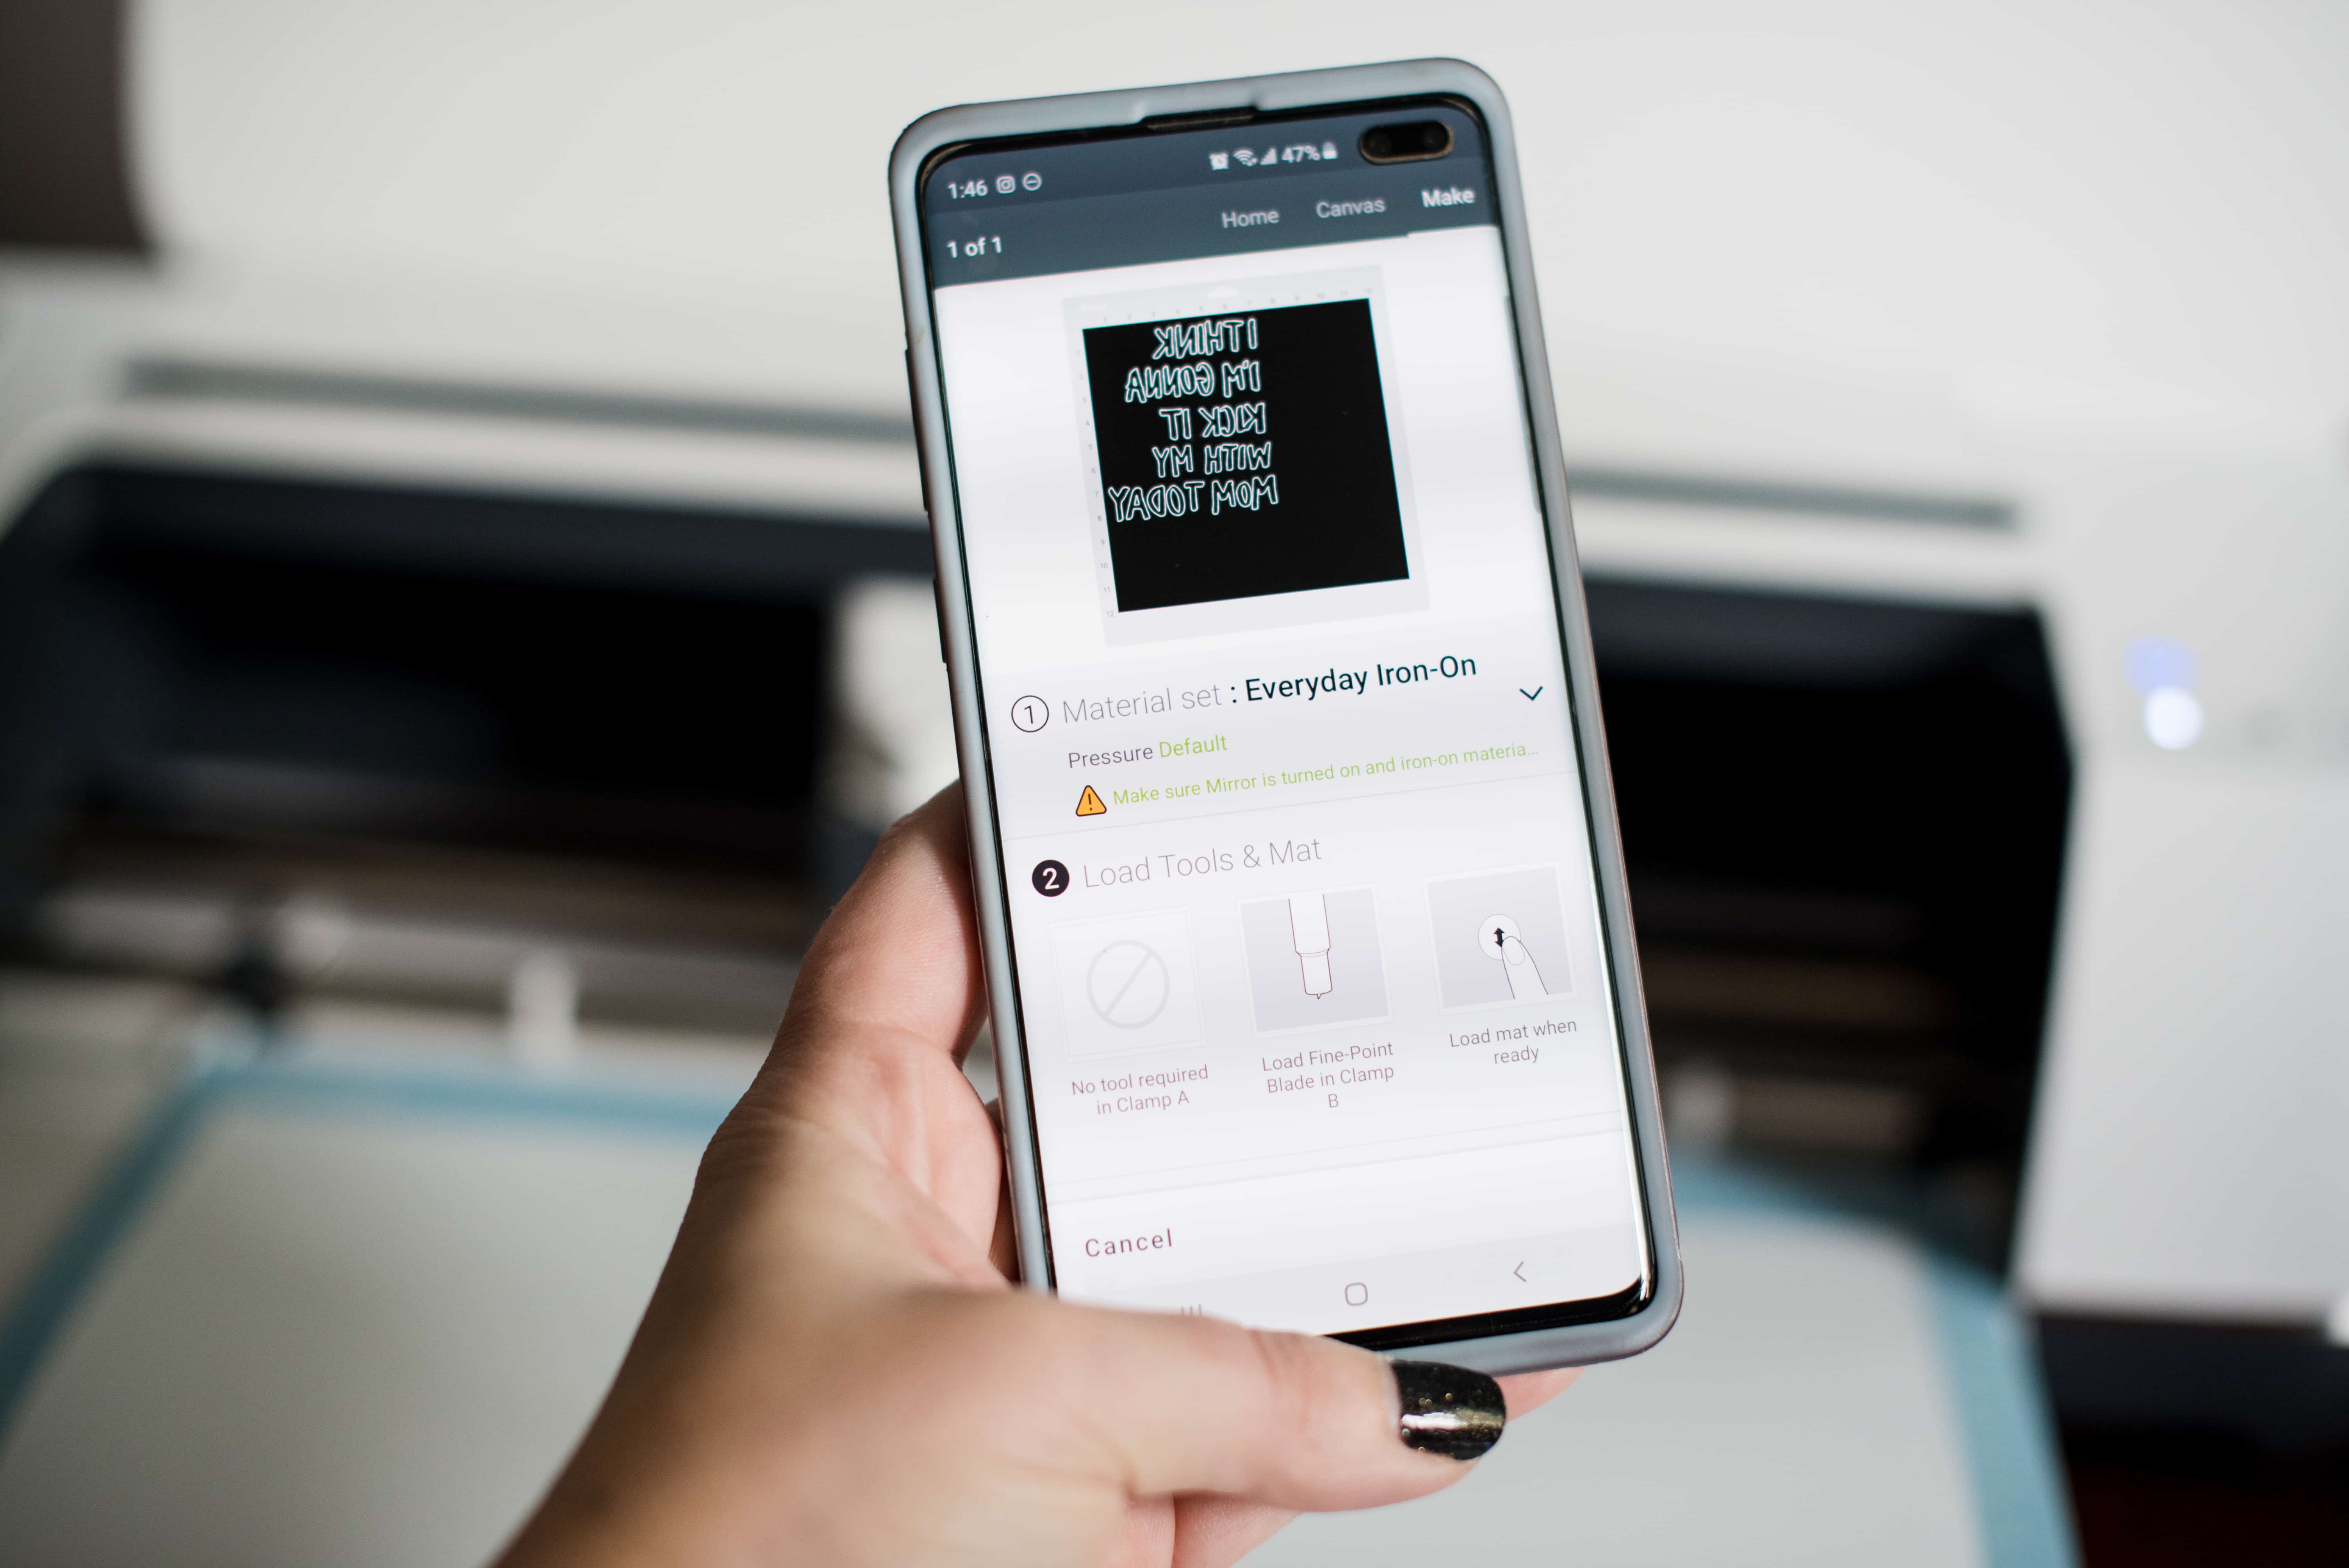
Then, make sure that your design is mirrored and select the type of material you’re cutting.
Step Two: Cut out and weed the design
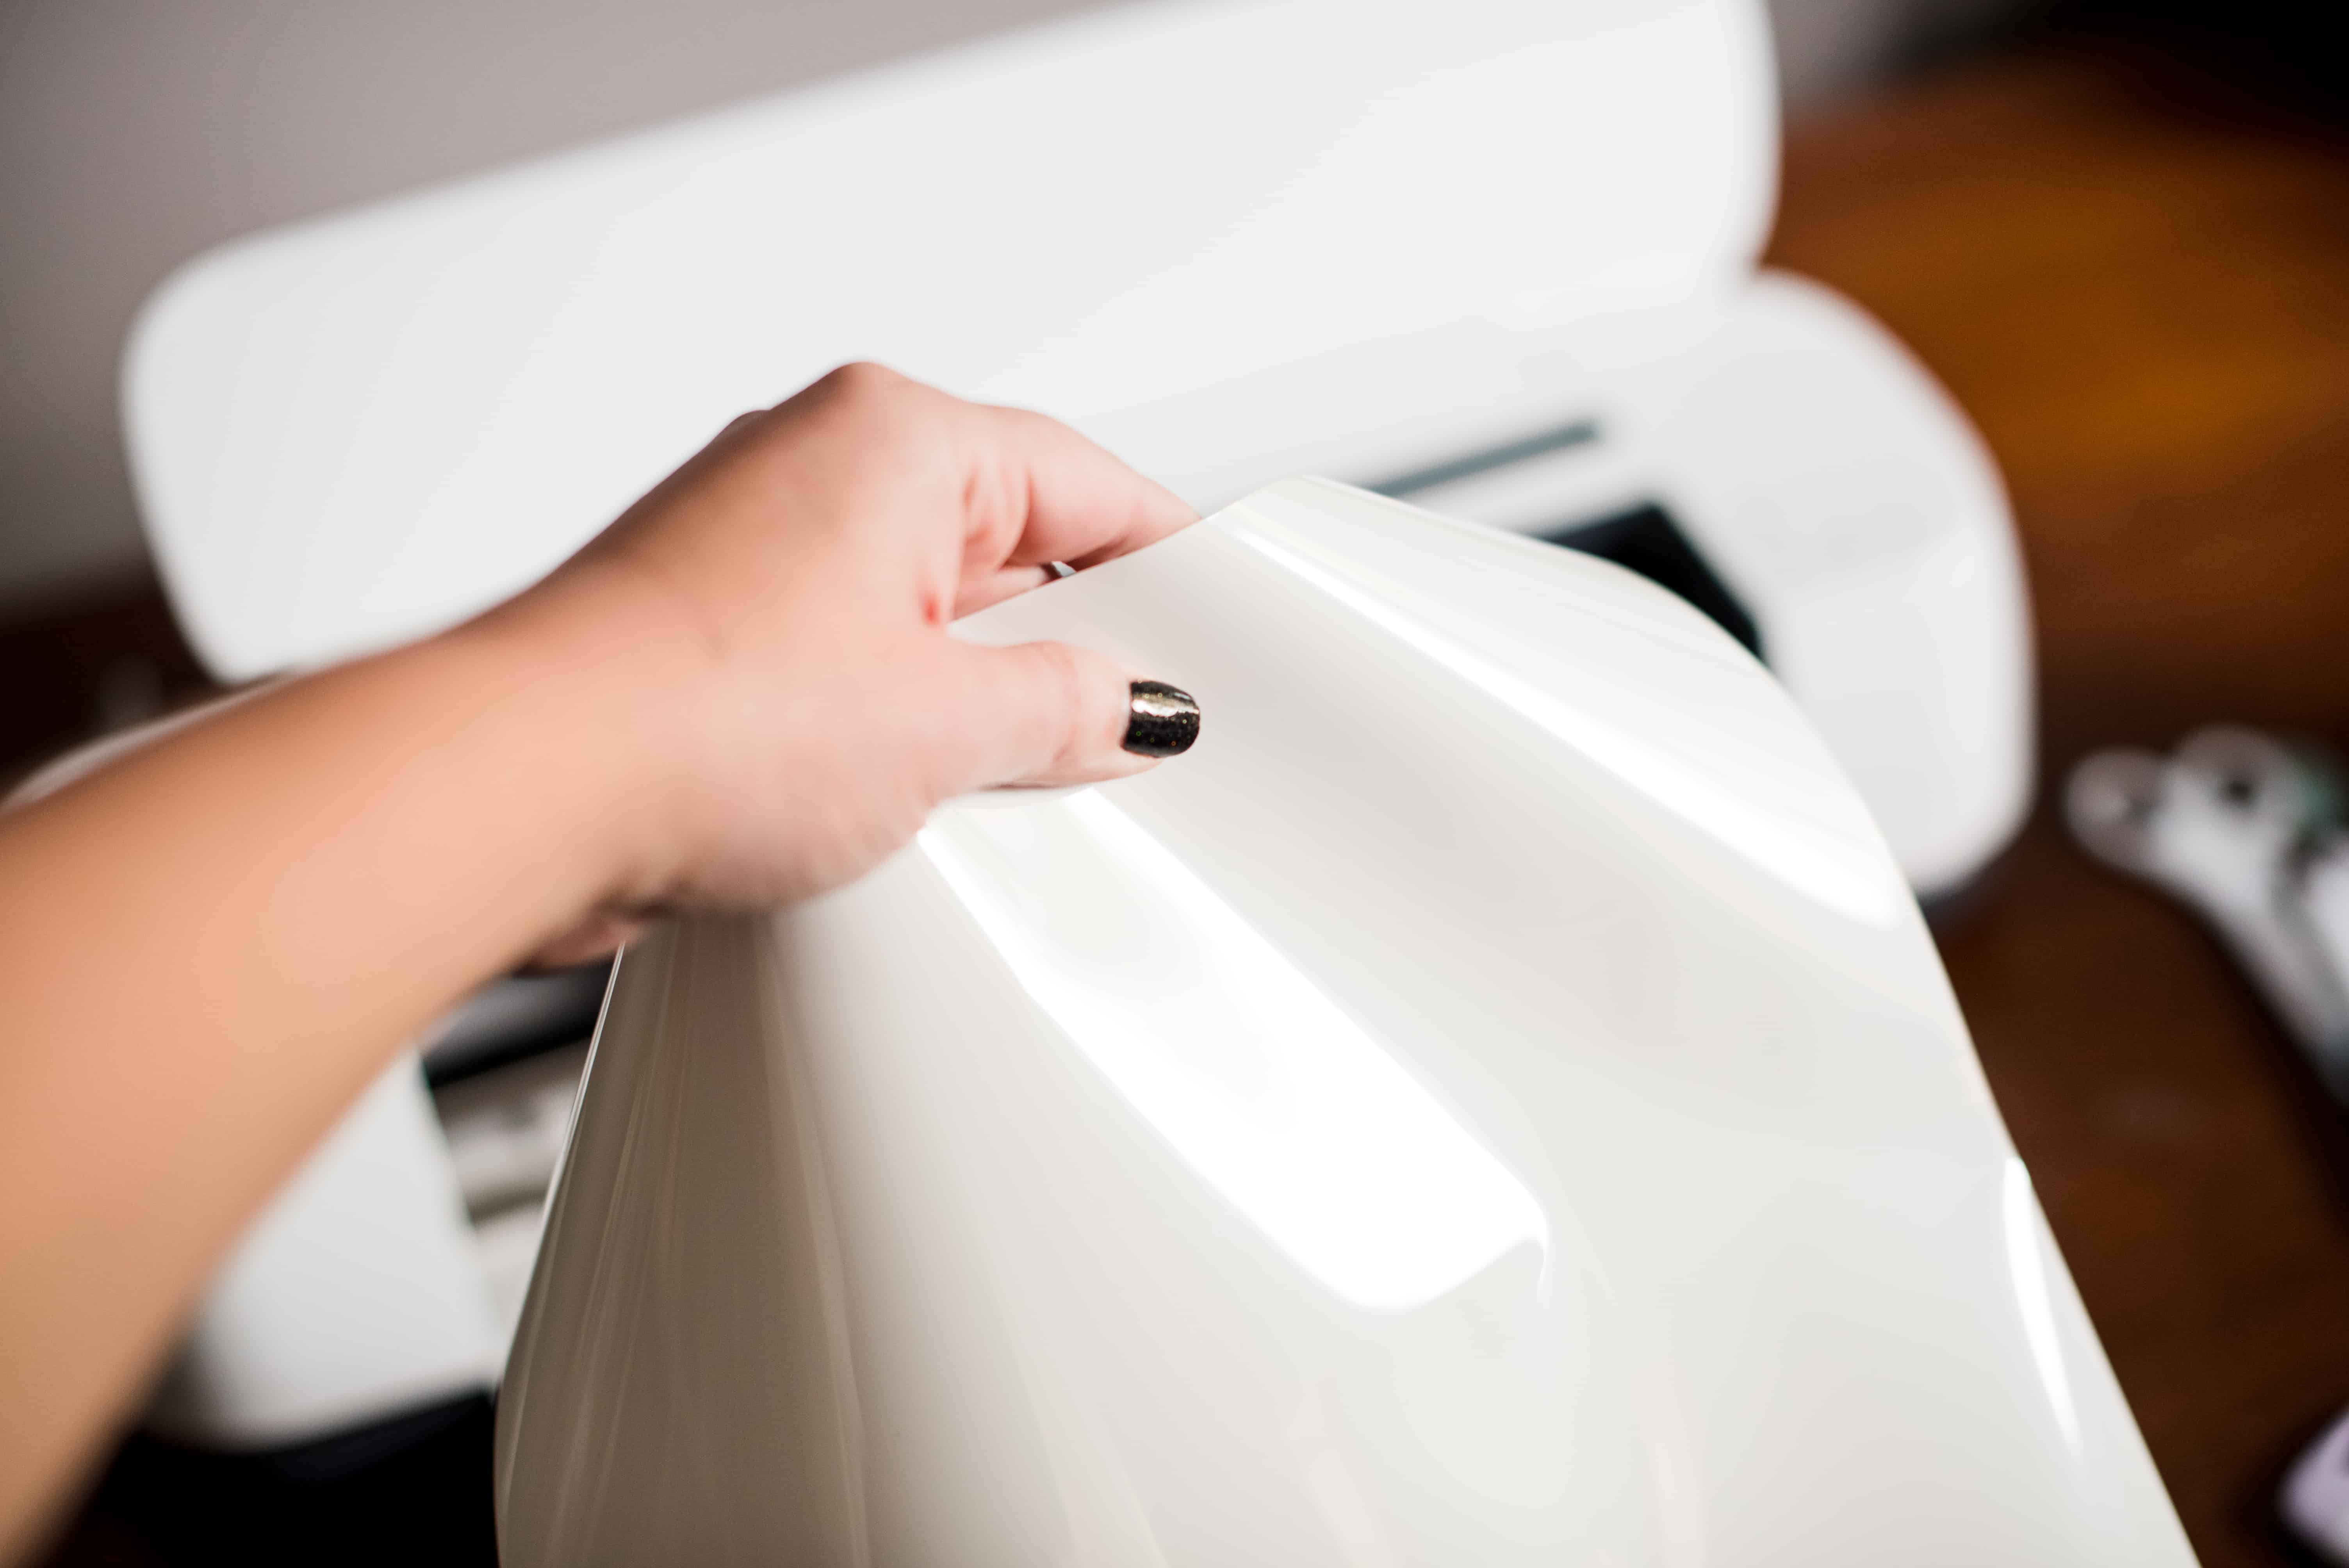
Place the iron-on vinyl SHINY SIDE DOWN onto a light grip mat.
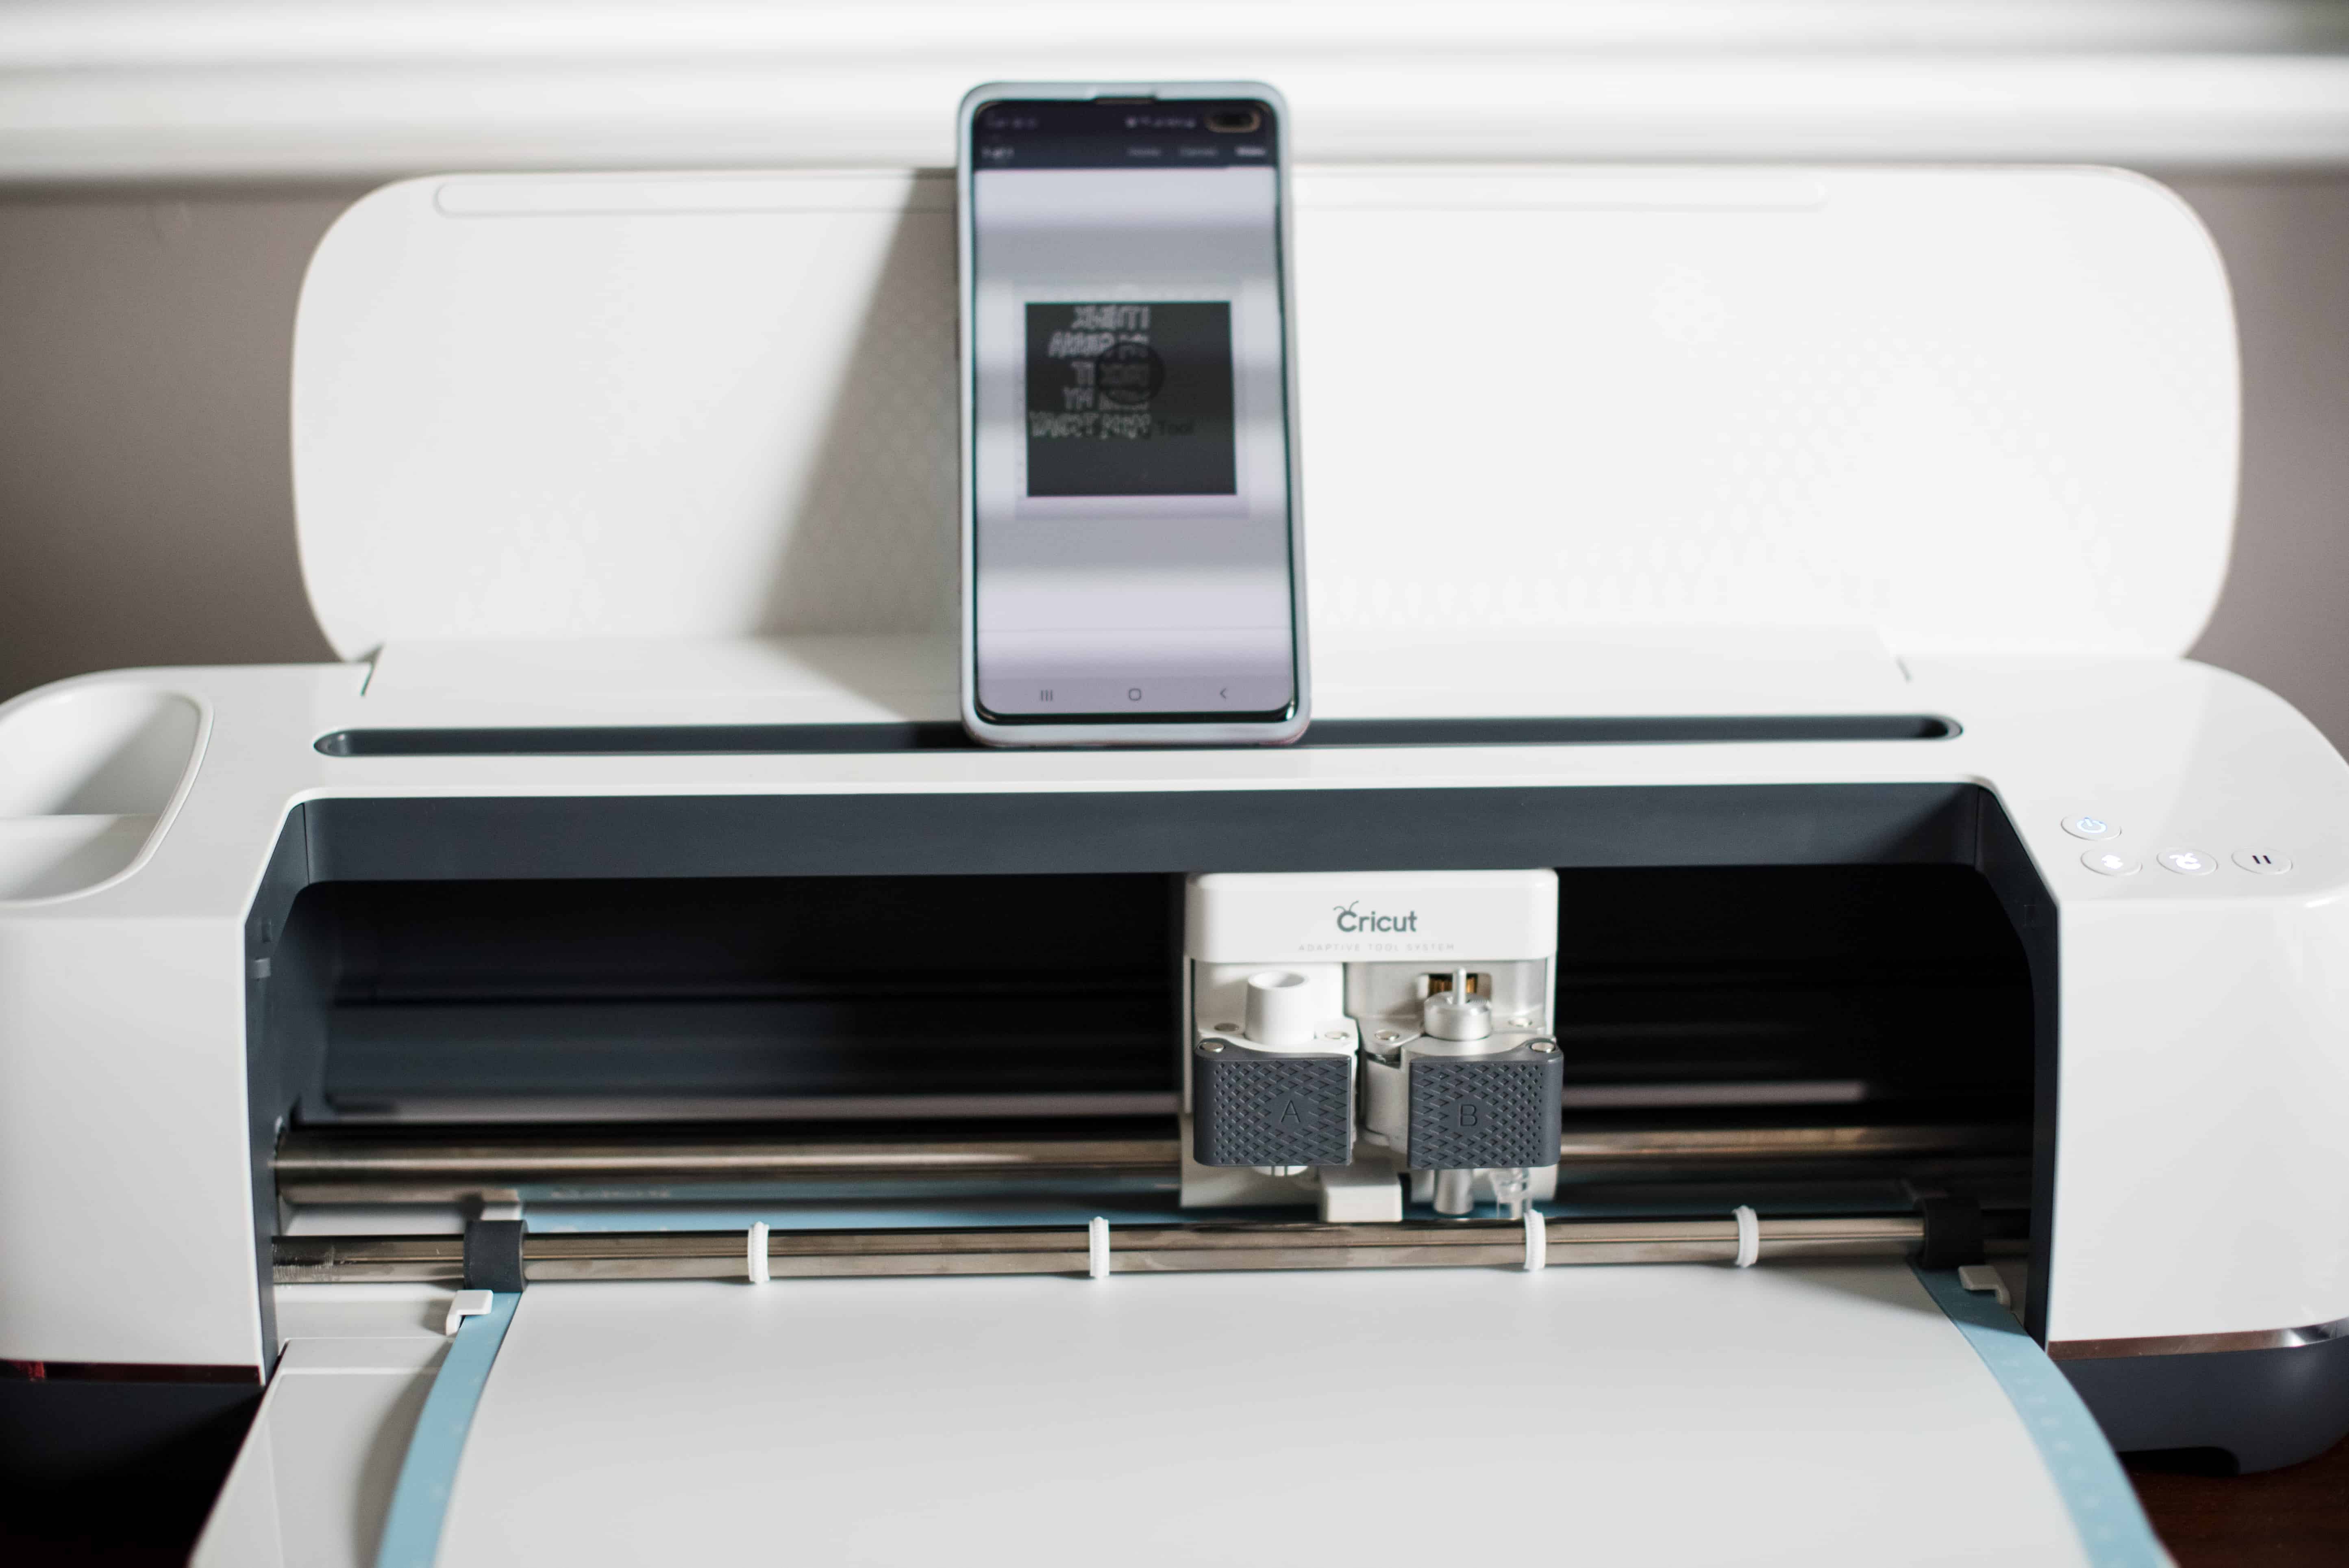
Insert into the Cricut and hit the logo button to begin cutting. Sit back and relax as the machine does it’s job 😉
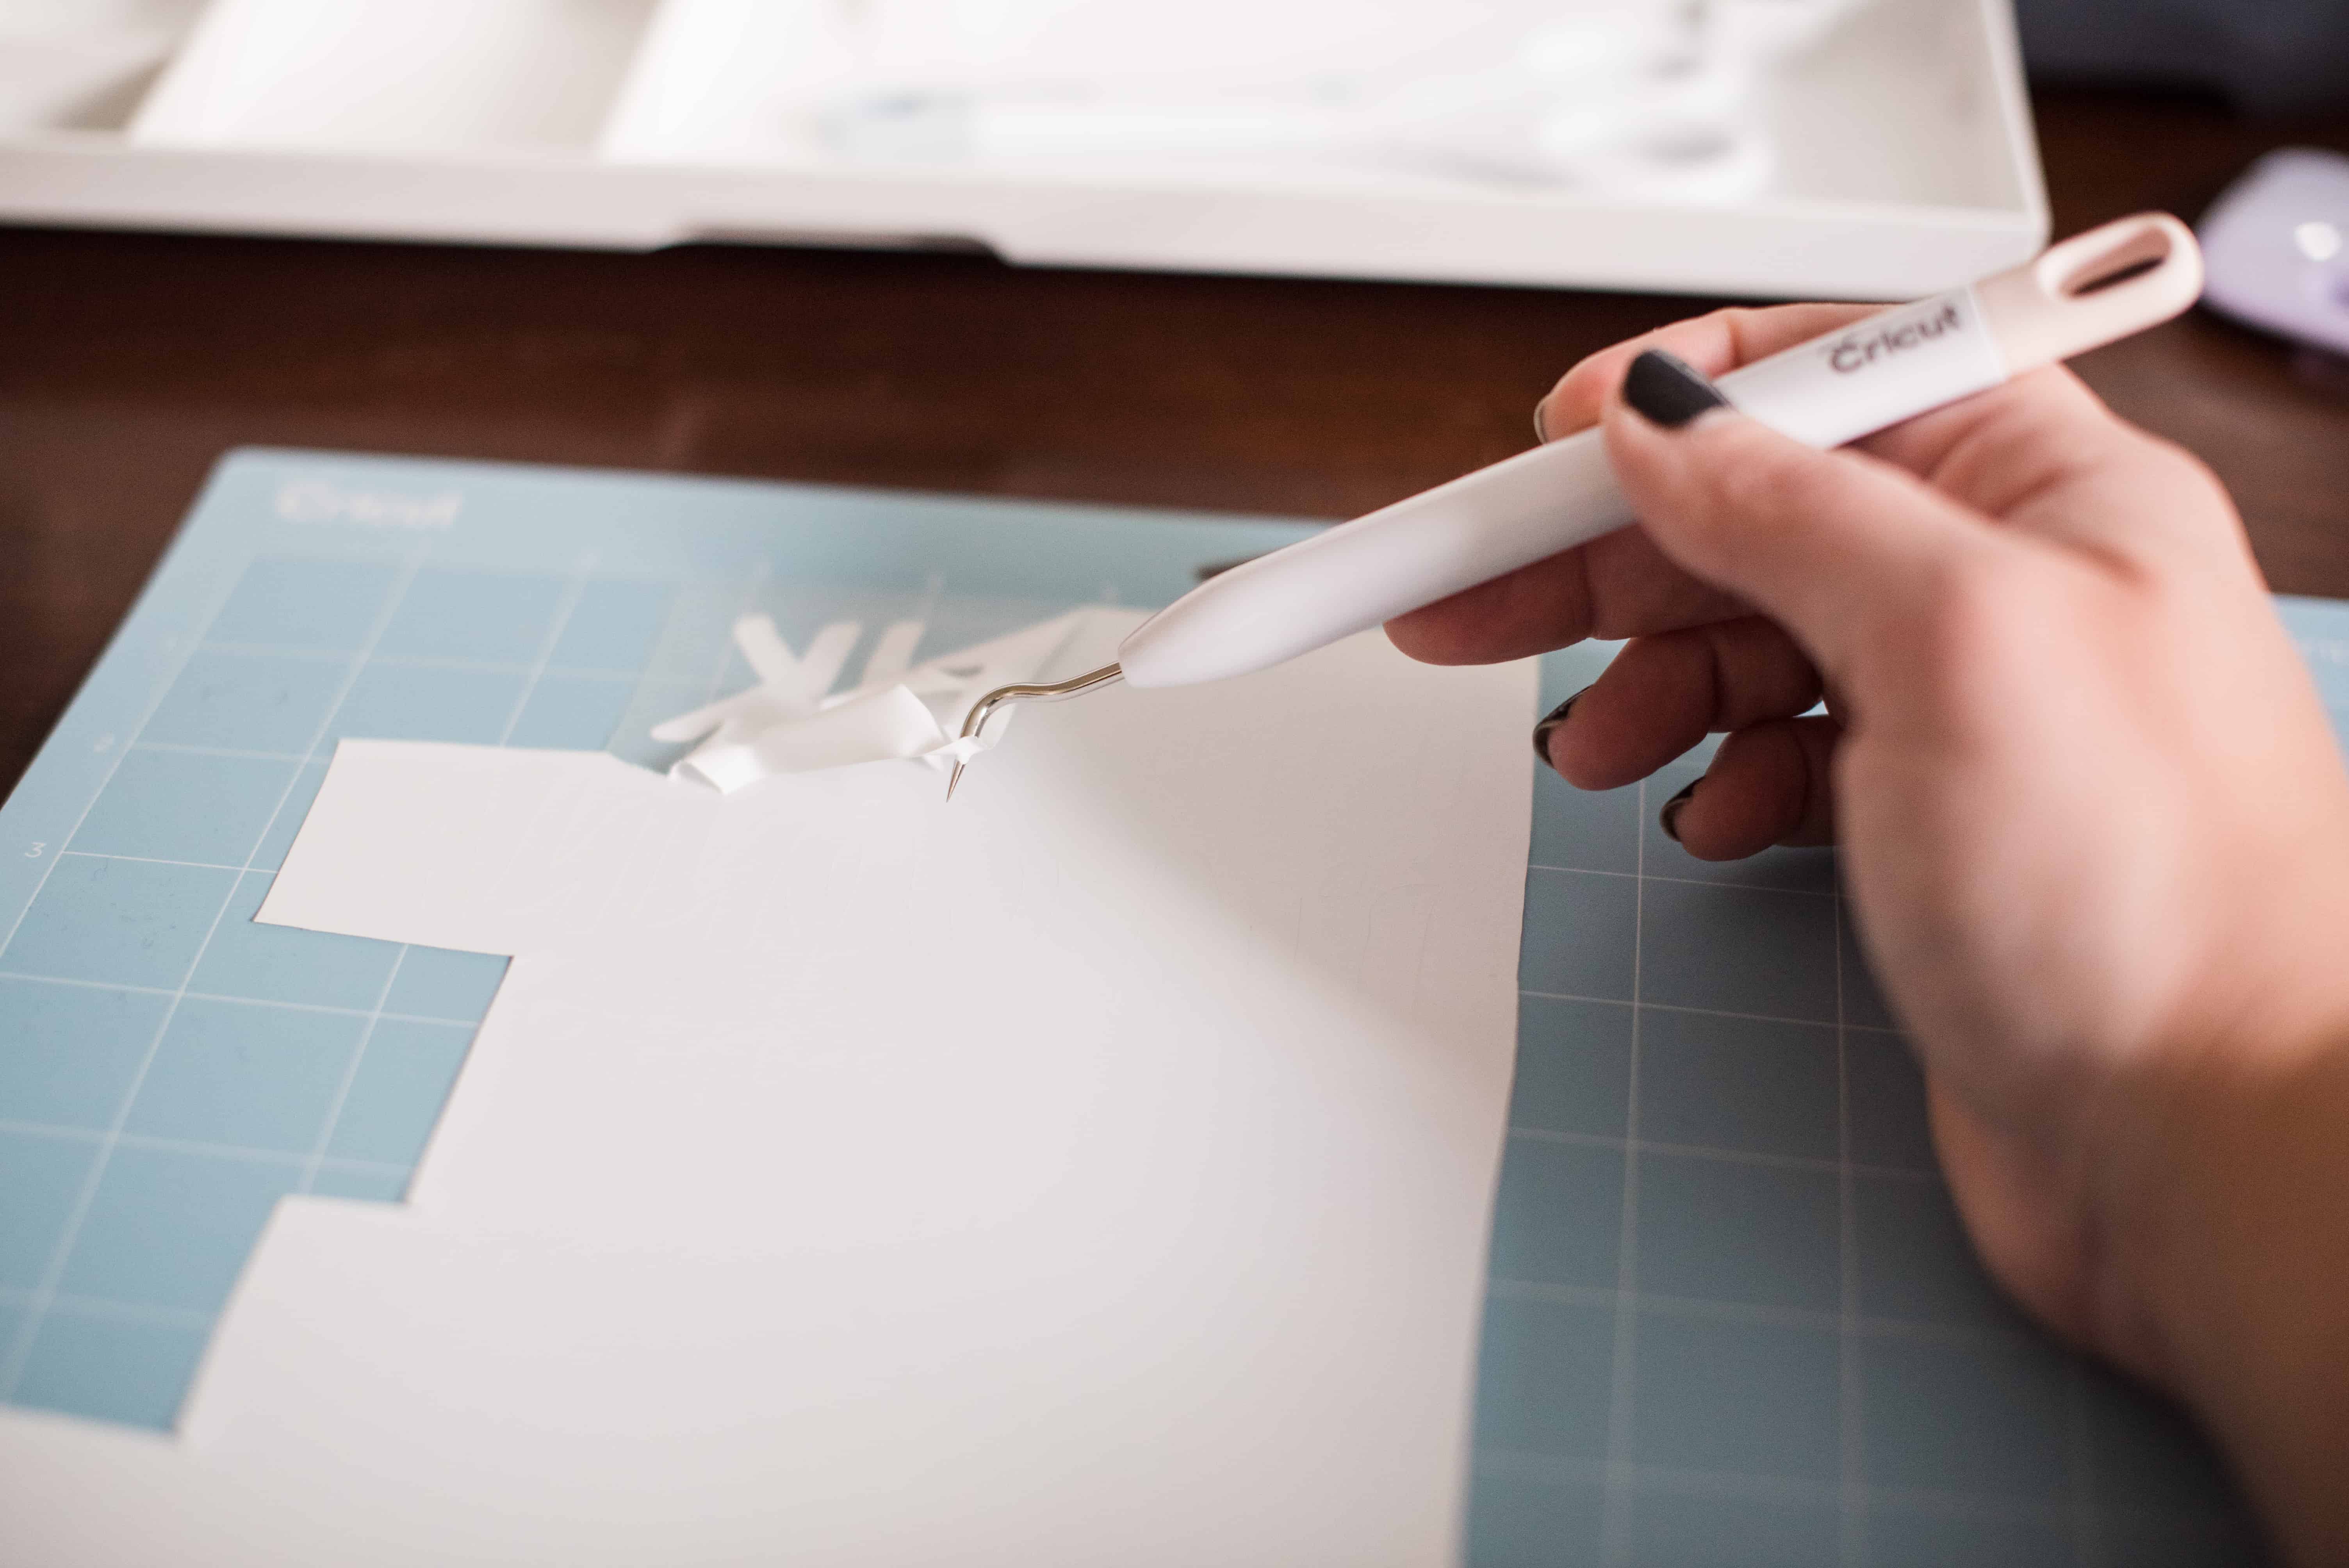
Once it’s done cutting, remove the mat from the machine and weed the design.
Be careful with the insides of the letters as I accidentally put a dent in one of the O’s. I was so made at myself.
Step Three: Prepare your garment
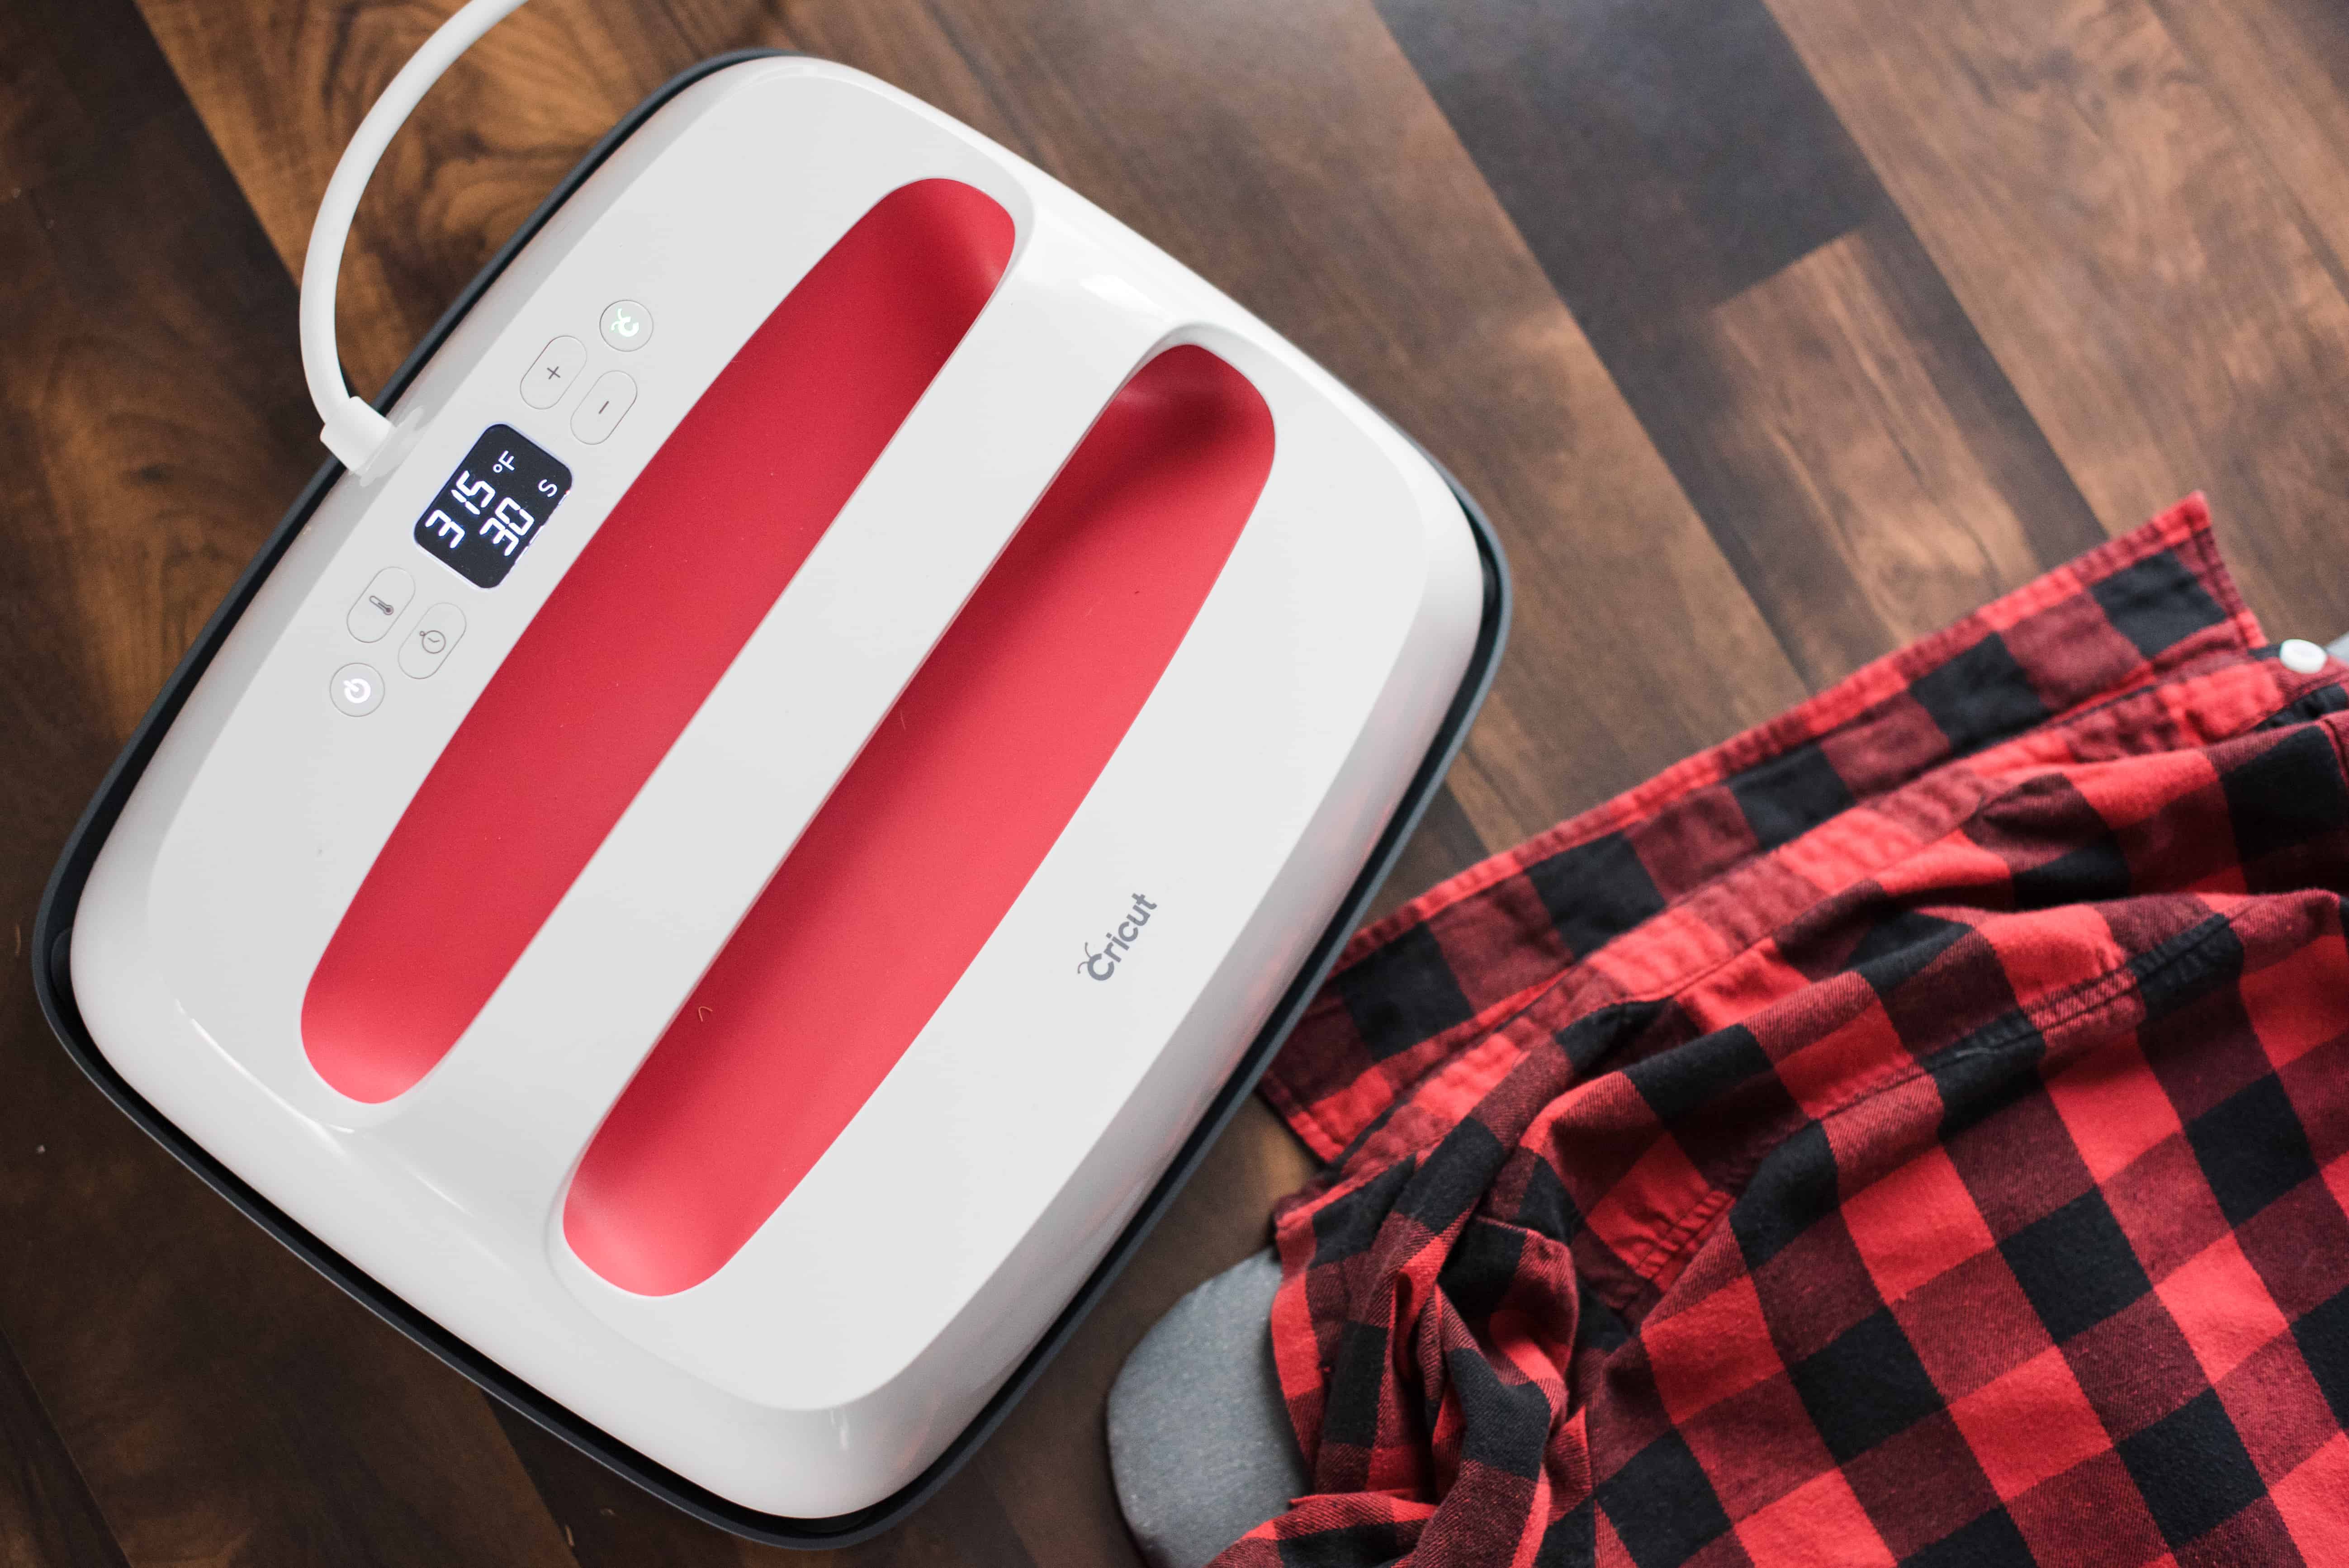
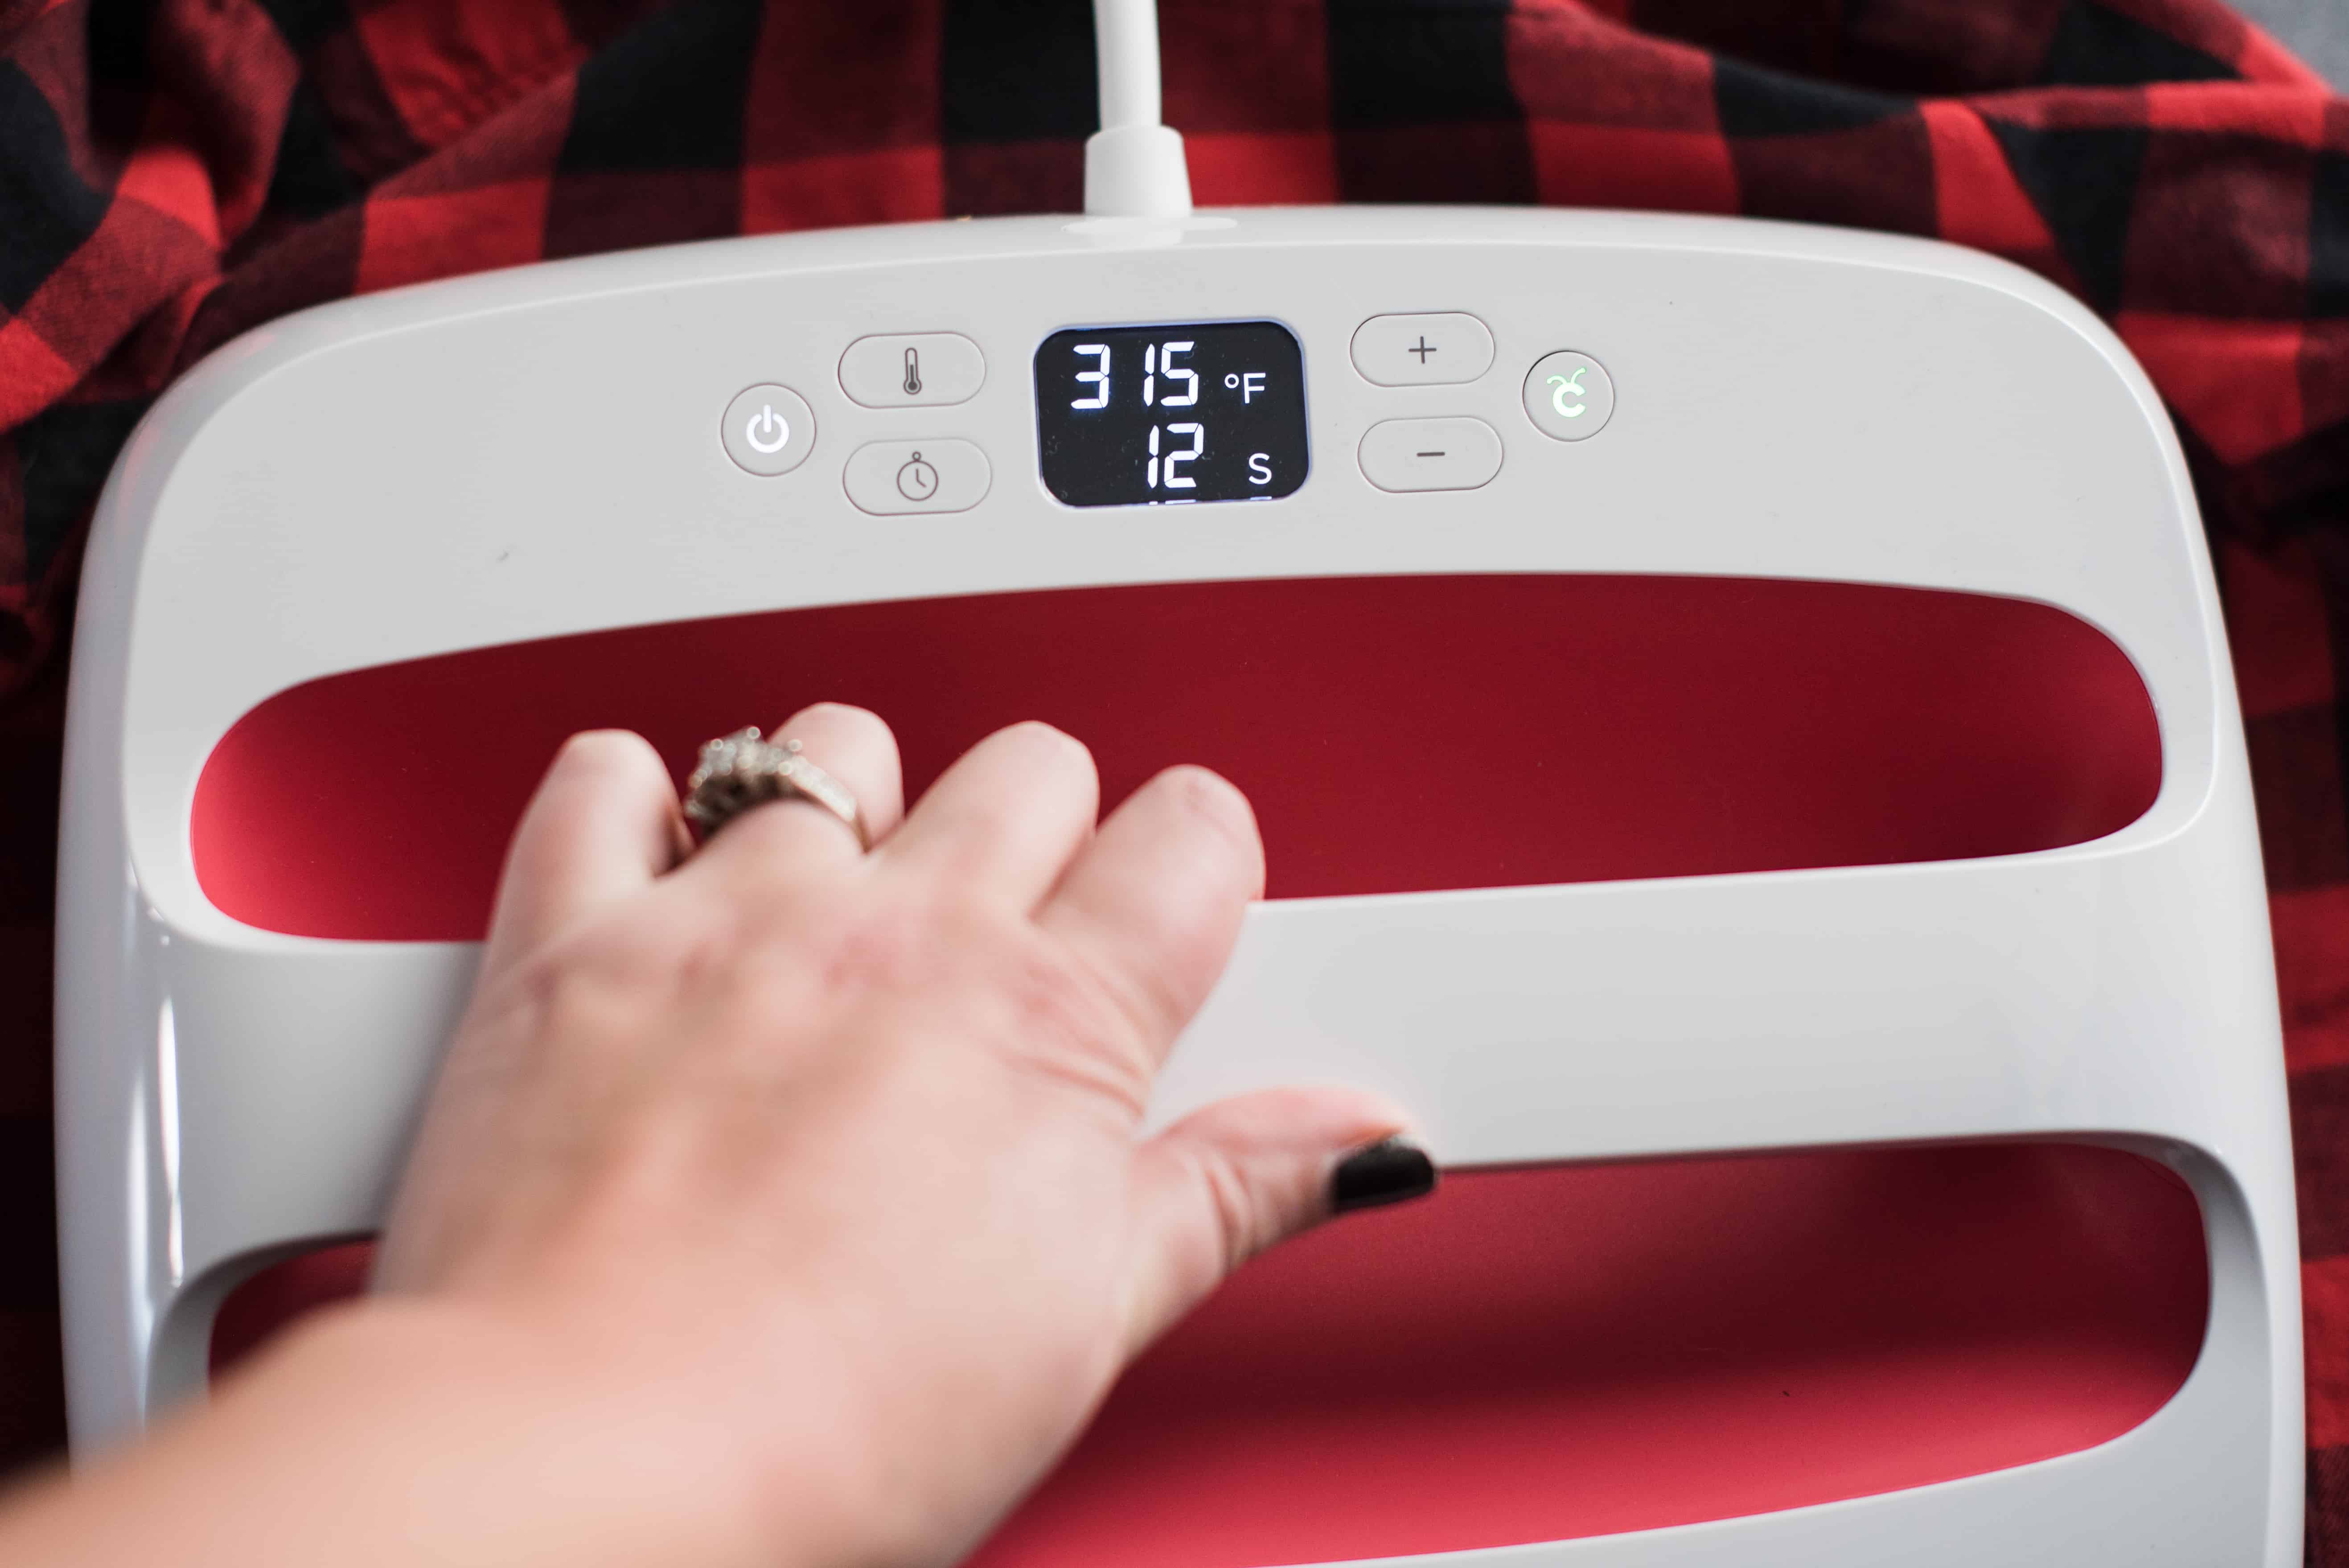
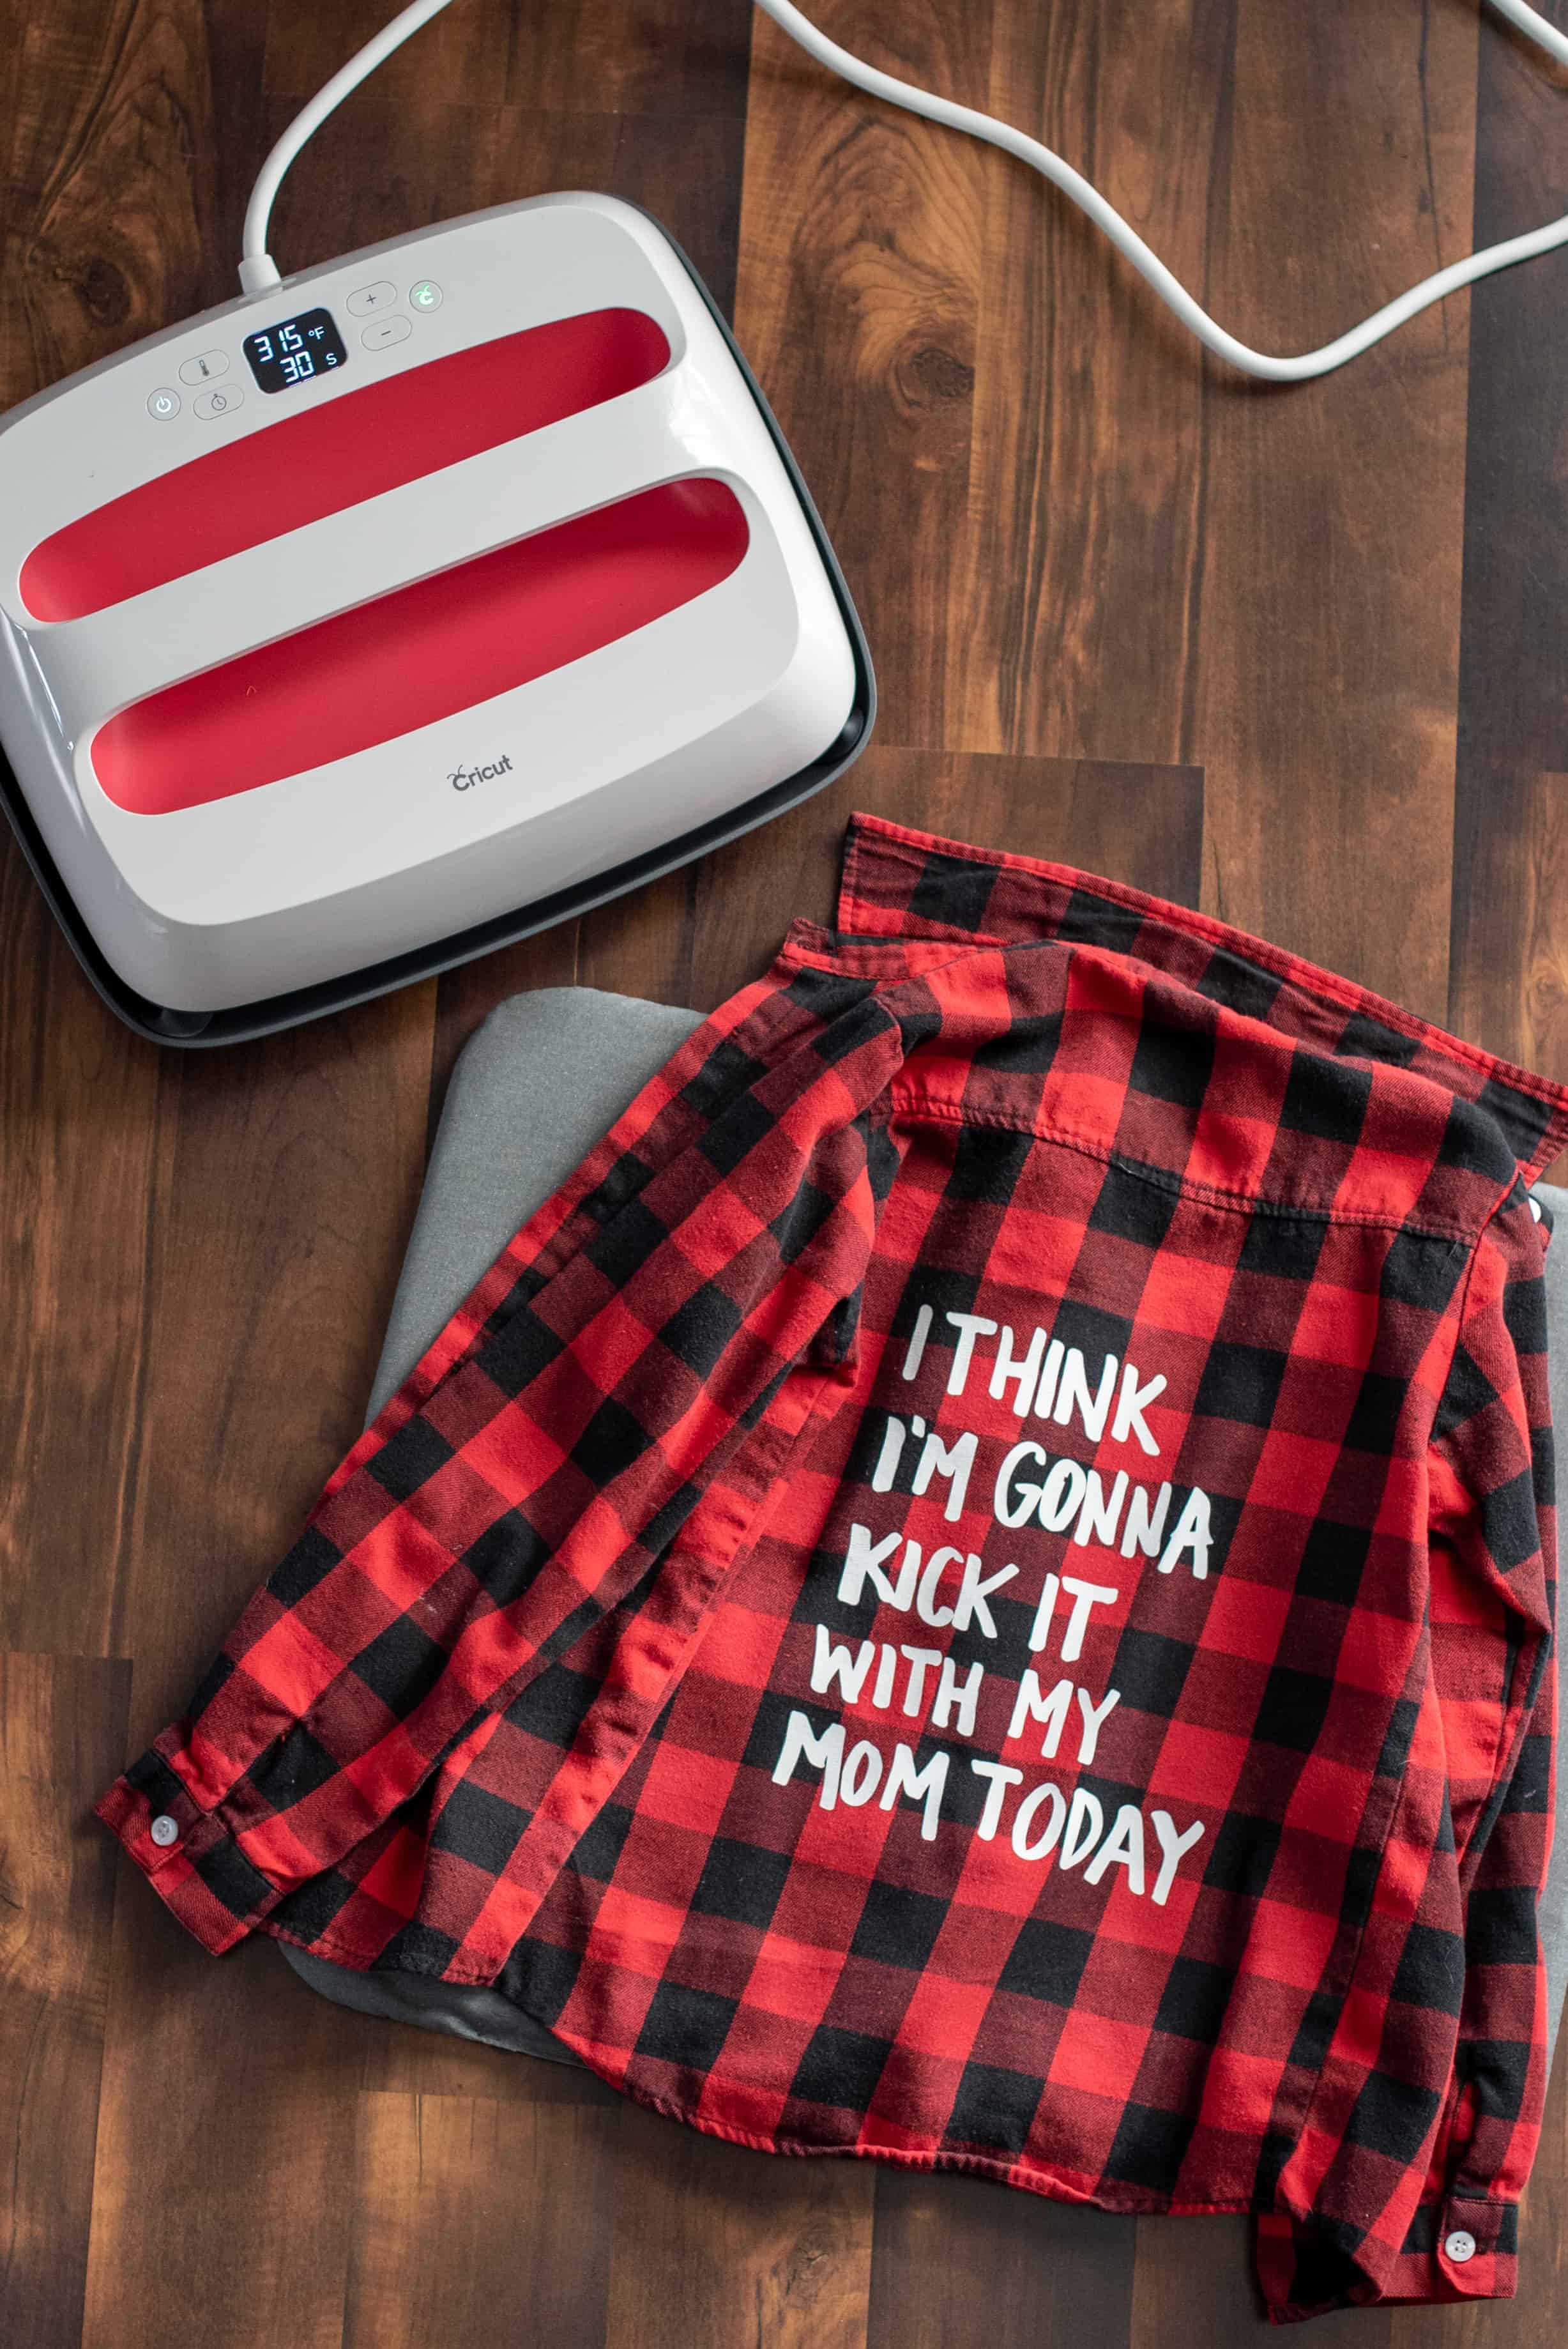
Plug in your EasyPress and turn it on to pre-heat. Once it’s fully heated to the temperature you choose (which only takes about a minute), the logo will turn green.
Tip #1 for using the EasyPress with HTV:
Pre-heat your garment with the EasyPress to remove excess moisture and wrinkles. I let mine press for about 10 seconds at 315 degrees.
Once the garment is warm and ready, place the vinyl design lightly on the garment. Once you’re happy with the placement, use your hand to press it down more firmly.
Step Four: Apply the iron-on vinyl
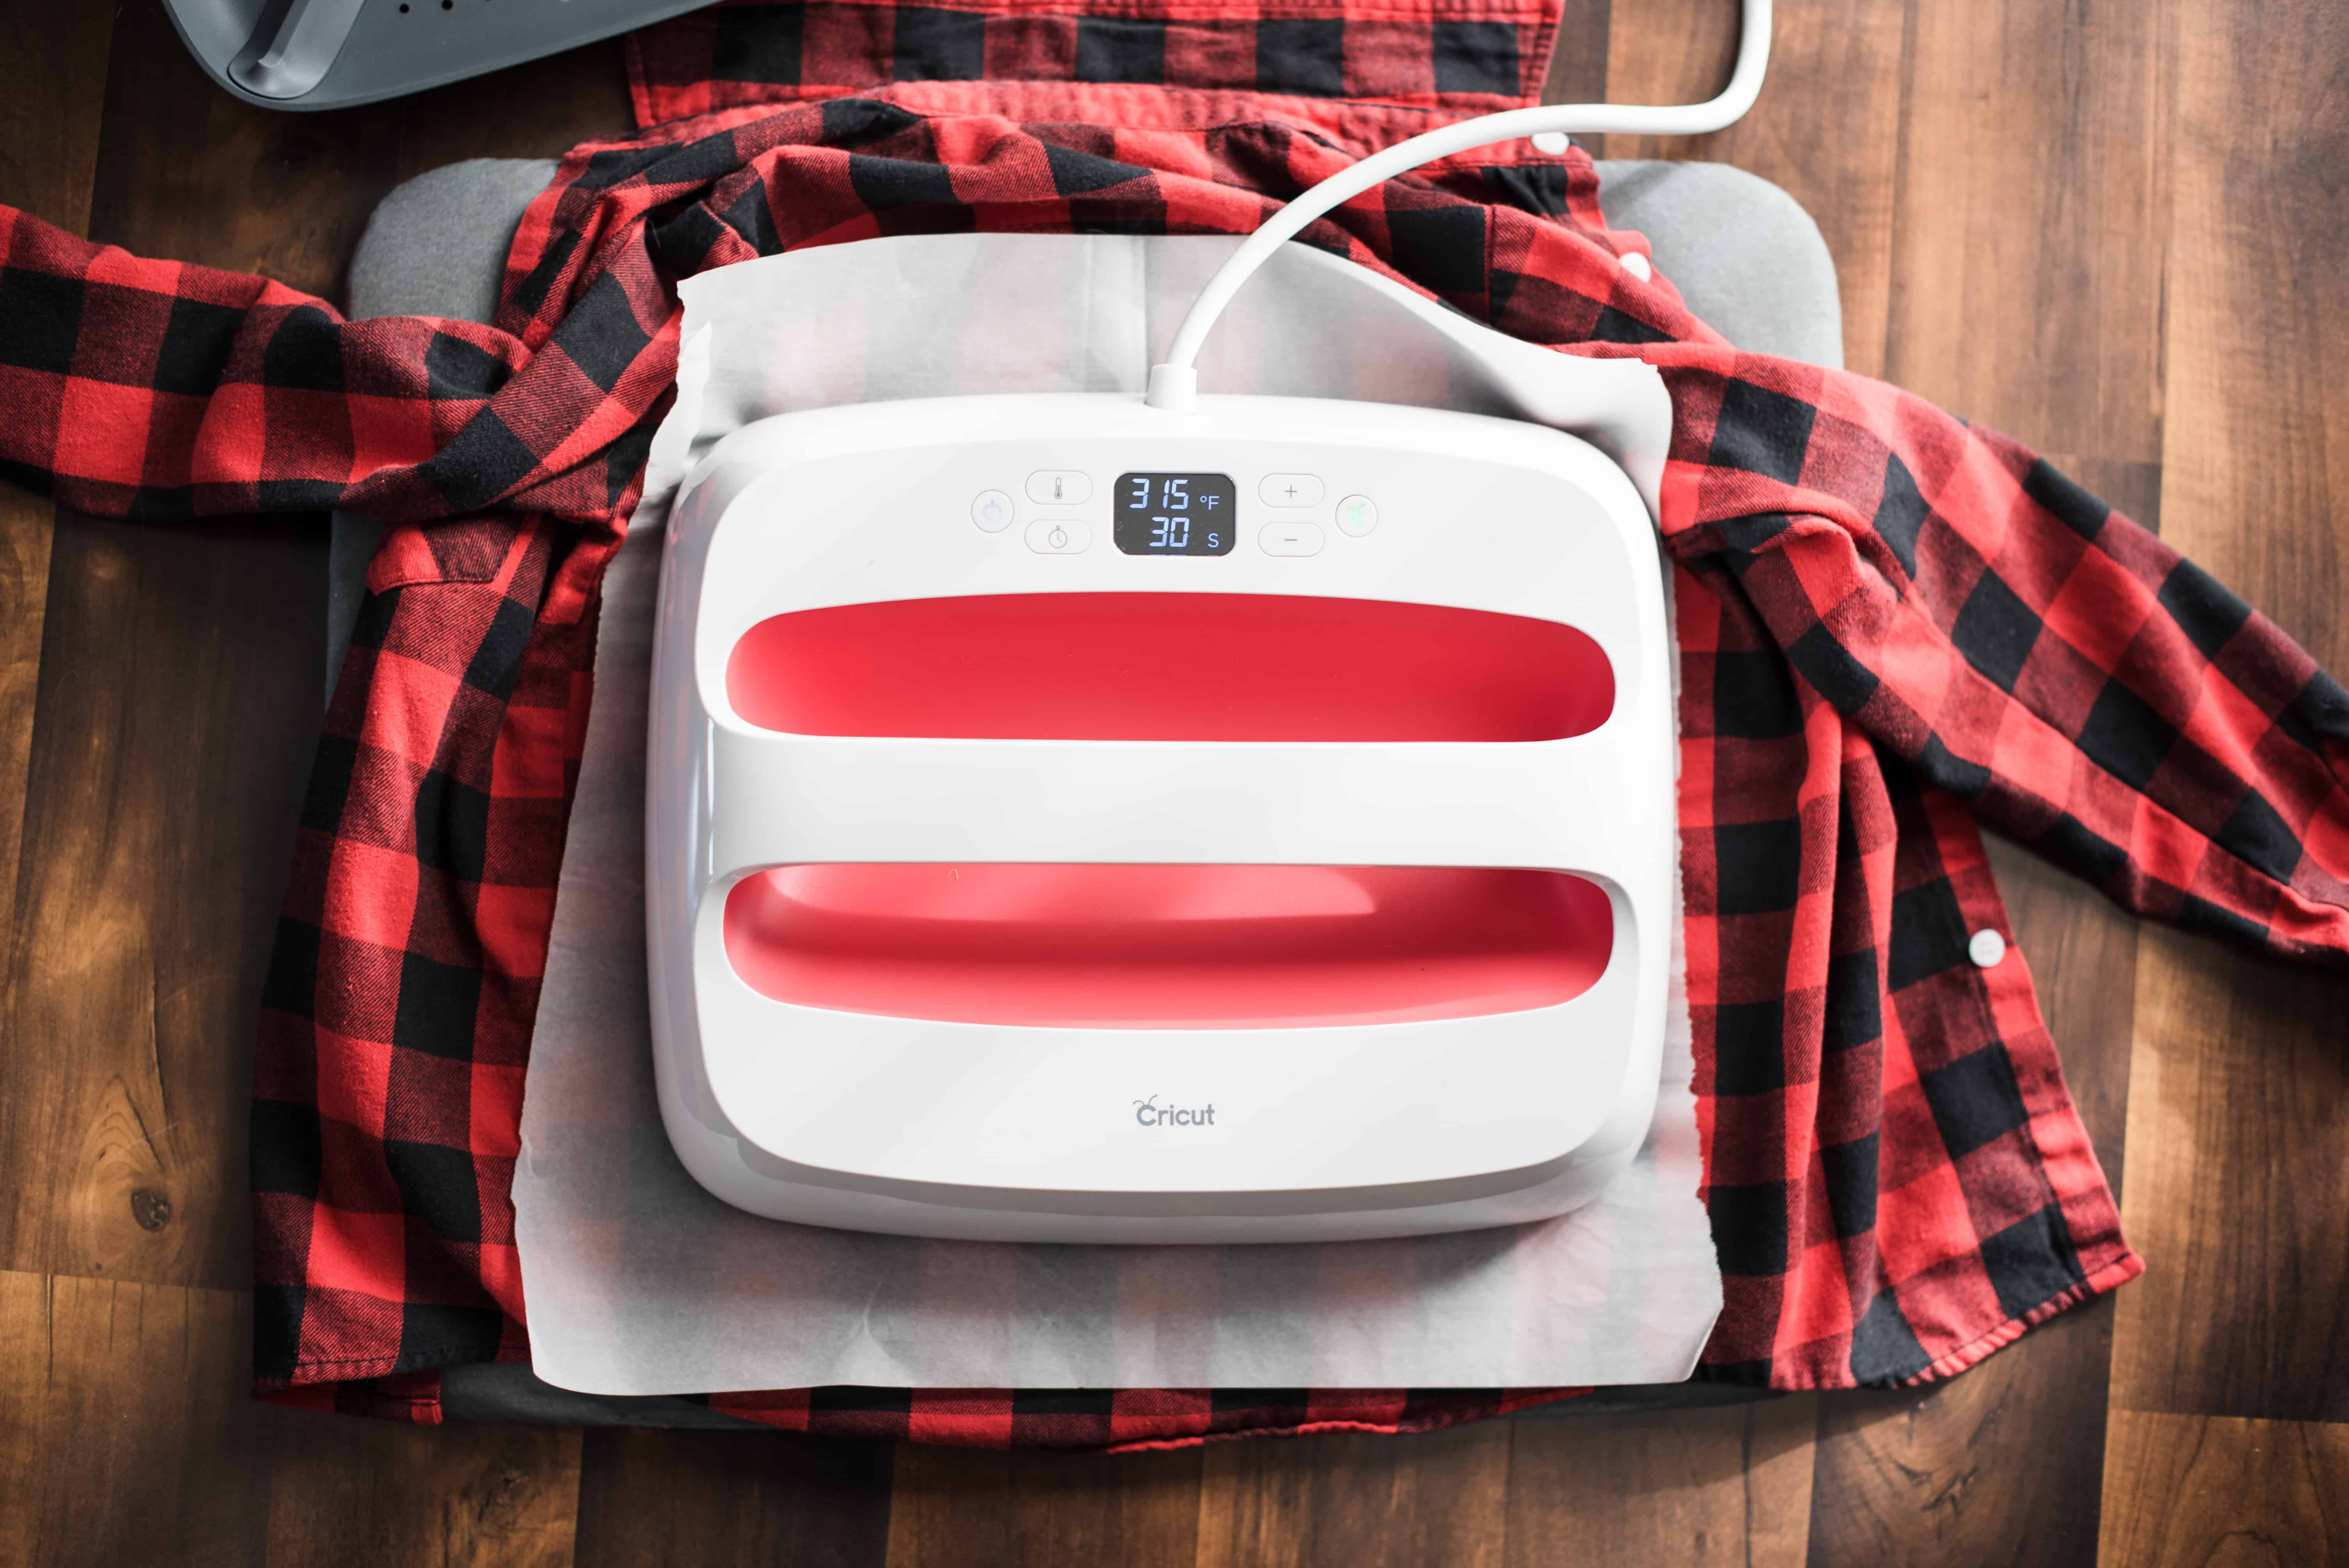
Using Cricut’s Heat Guide, I discovered that I should press at 315 degrees for 30 seconds using light pressure.
Place the EasyPress directly on the backing. Press the logo button to start the countdown and hold keeping light pressure until the countdown ends.
Tip #2 for EasyPress iron-on vinyl success:
Invest in a Cricut EasyPress Mat. 100% yes, the EasyPress Mat is integral to the success of your project! This is for a few key reasons:
- It is made out of material that helps wick moisture and reflect the heat back at the vinyl from below.
- It has some give for when you’re working on garments that have lots of folds and seams (such as baby onesies). If you’re on a hard surface, those seams prevent the heat press from lying flat so the heat applied will be uneven.
- It allows you to press on practically any surface, I did my pressing on my laminate floor!
This also leads me to Tip #3:
Make sure you know what type of peel you should do. Cold? Warm? Hot? All vinyl is different.
I was using Cricut’s Everyday Iron-On Vinyl which requires a warm peel, so I let it cool slightly and then removed the backing.
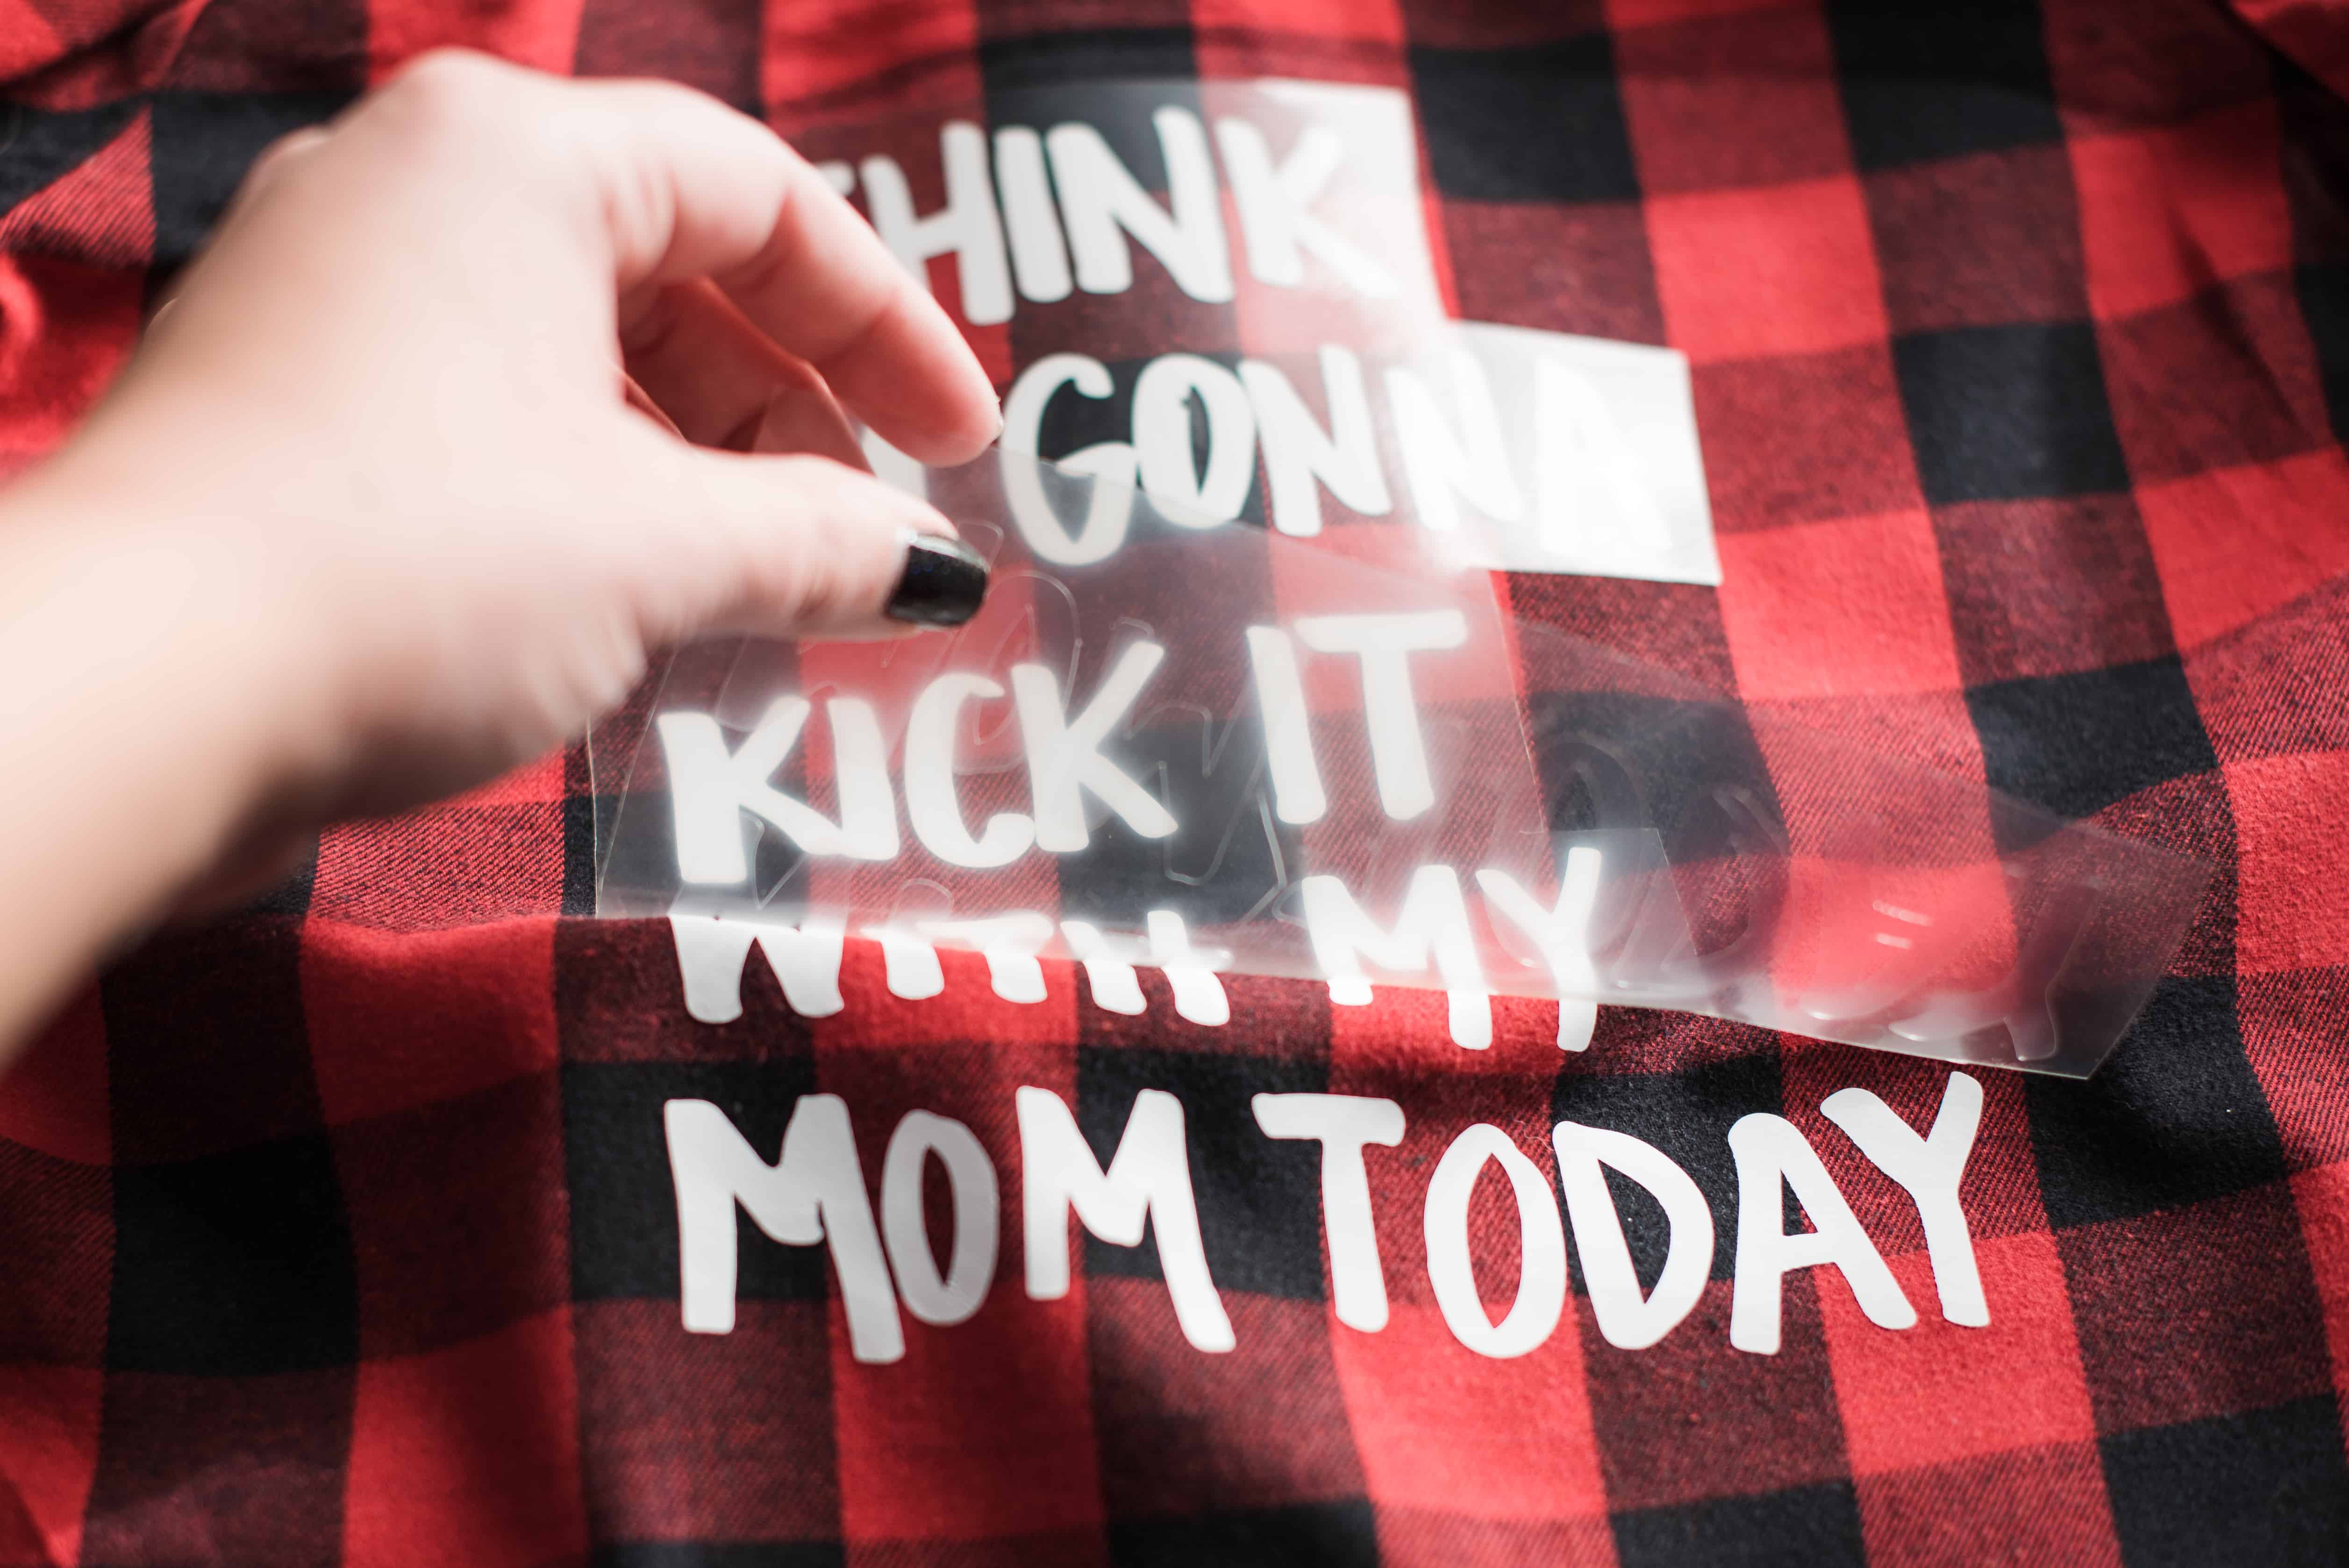
You should be able to see the fibers of the garment (texture) through the vinyl. I could almost see them, but not as much as I would like.
Don’t worry if this is the case for you as well, step five will take care of it.
Step Five: Make extra sure the vinyl is securely adhered with a re-press
Place a piece of parchment paper over the design and press again with your EasyPress. Make sure you use parchment paper and not freezer paper!
I let the press sit for about 15 seconds at 315 degrees.
This next step is optional and brings me to Tip #4 for making sure your vinyl doesn’t lift:
Note: MAKE SURE that your vinyl is compatible with this next step as not all are. Some will in fact peel off if you do this, so refer to your vinyl’s manufacturer if you’re unsure.
Turn the shirt inside out and press on the backside. I let mine sit for another 30 seconds at 315 degrees.
Once you can see the garment’s fibers through the vinyl, you’re good!
And last but not least, we have Tip #5 for HTV vinyl success:
Wait at least 24 hours before washing and ALWAYS wash your vinyl garments inside out.
I am SO HAPPY that I now have an EasyPress for making my HTV projects. I was getting so sad every time I would pull one of my masterpieces out of the dryer to find half the design falling off.
Not only that, I can make my projects in a fraction of the time!
To recap, my top 5 tips for using the EasyPress the right way with HTV:
- Pre-heat your garment to remove excess moisture and wrinkles
- Invest in an EasyPress Mat to get the best results
- Research what type of peel you should do with your HTV
- Do another press on the back side of your garment where your design is (if your vinyl is compatible)
- Wait at least 24 hours before washing, and wash/dry inside out
– If you liked this free download, check out my Free Downloads Resource Page for more! –
Related Cricut Projects and Tutorials:
- Cricut Explore Air 2 vs Maker: What to Ask Yourself Before You Buy
- Freezer Paper Stencil Tutorial
- Thrift Store Makeover: Cookies for Santa Plate