This shop has been compensated by Dial®. #DialFamilyFavs #sponsored
It’s a sad day for every parent when your kiddo outgrows their adorable hooded towels. Just because they’re growing up doesn’t mean they don’t want to stay warm and cozy (and cute!) fresh out of the bath or shower!
It’s an even sadder day when you finally accept that your kids are old enough to shower themselves and don’t need you to give them a bath every night. OK, maybe it’s just me because I only have one baby.
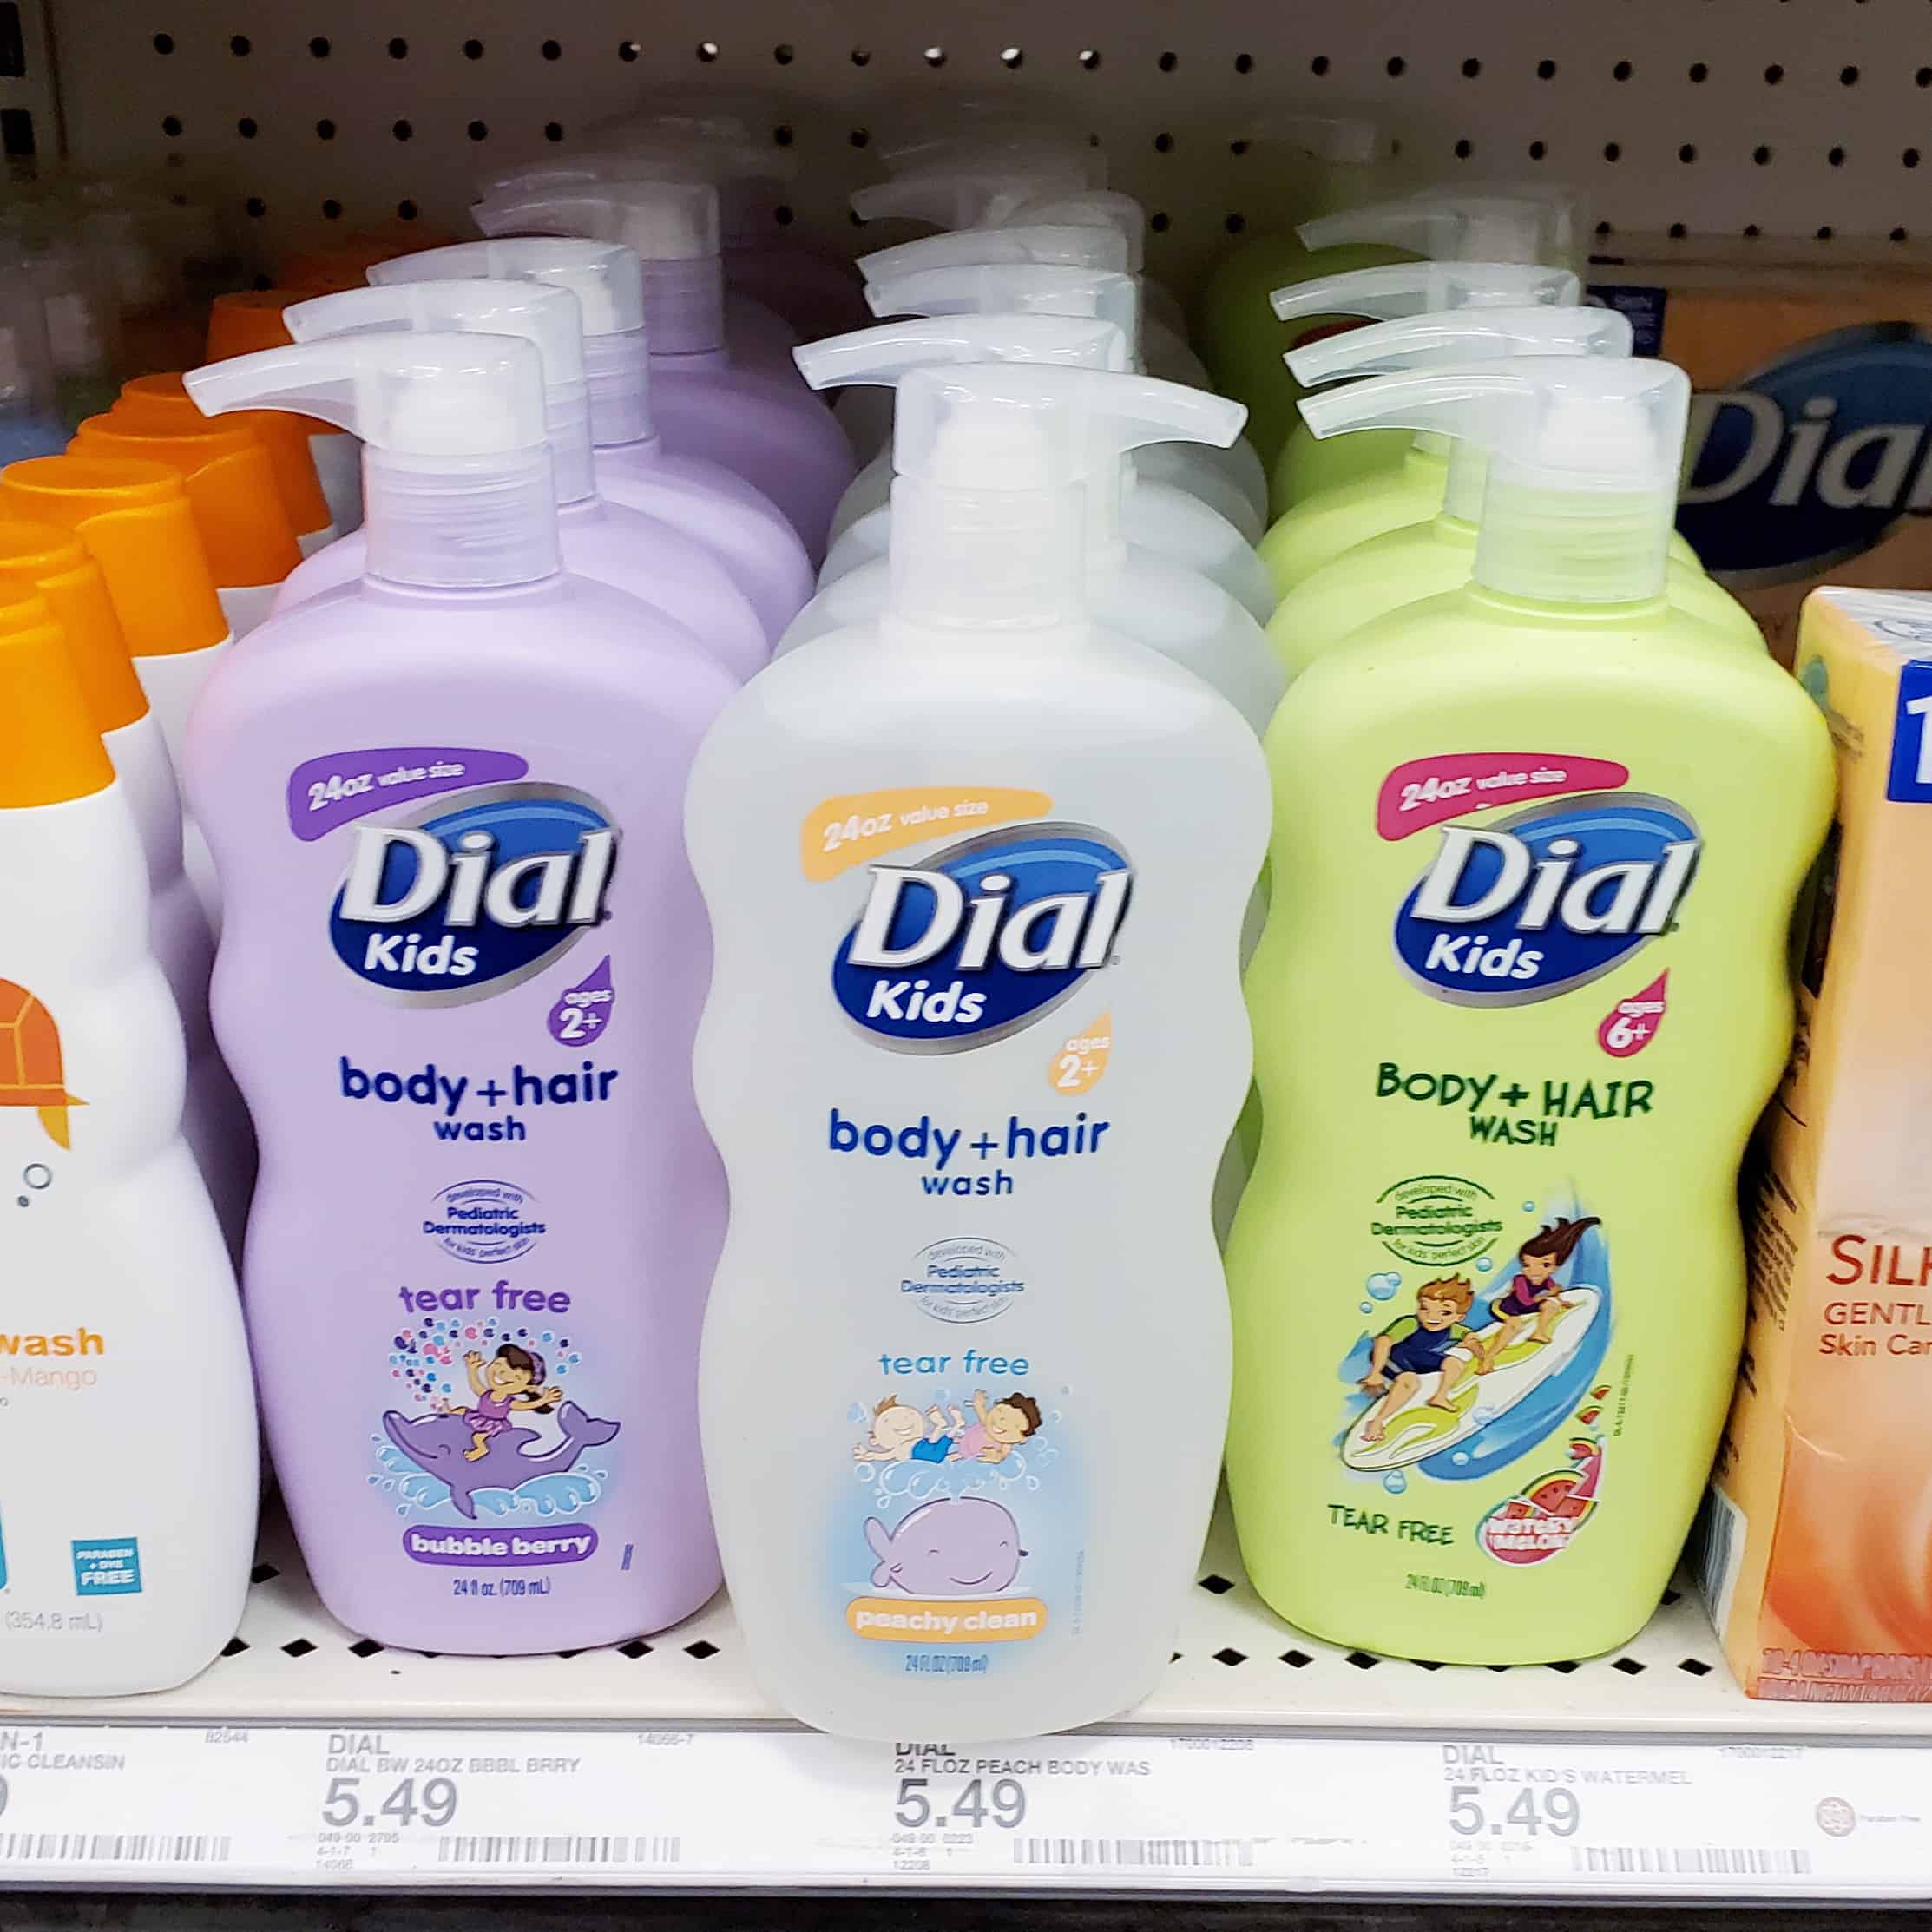
That’s why it’s important to me that Brynn is using a product that’s gentle and developed with pediatric dermatologists like Dial® Kids Body + Hair Wash. She’s been loving the Watery Melon scent!
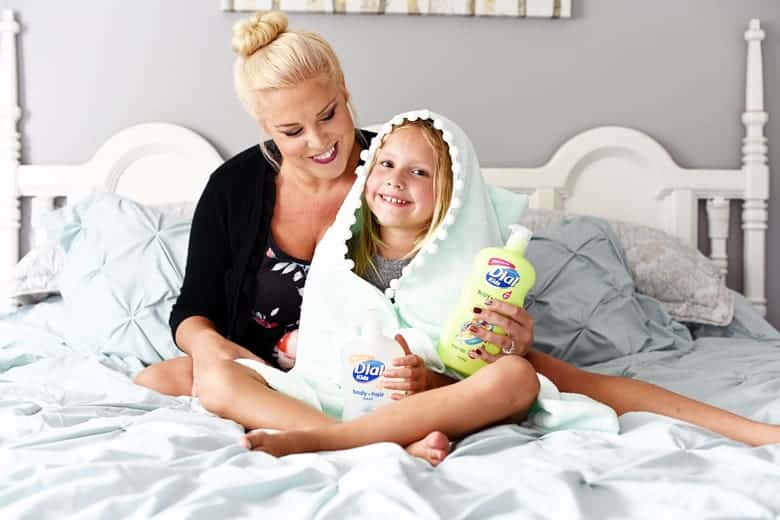
Myself, I’ve been using Dial® Coconut Water Body Wash this summer because I’ve been spending some much deserved time lounging in the pool. I love how fresh and summery it smells and how moisturized my skin feels after!
But I digress…
I’m going to teach you how you can make a DIY hooded towel for your big kid in just 15 minutes!
If you have some basic knowledge of how to use a sewing machine and can sew in a relatively straight line, this DIY hooded towel tutorial will be a walk in the park 😉
15 Minute DIY Hooded Towel for Big Kids Tutorial
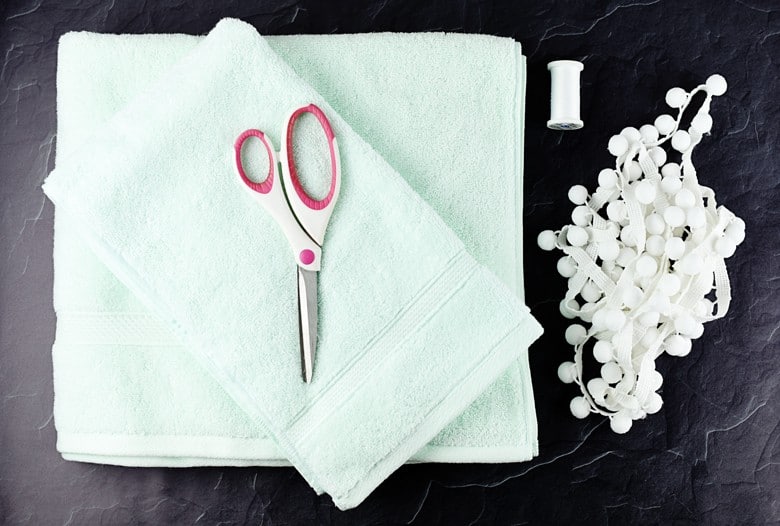
SUPPLIES NEEDED:
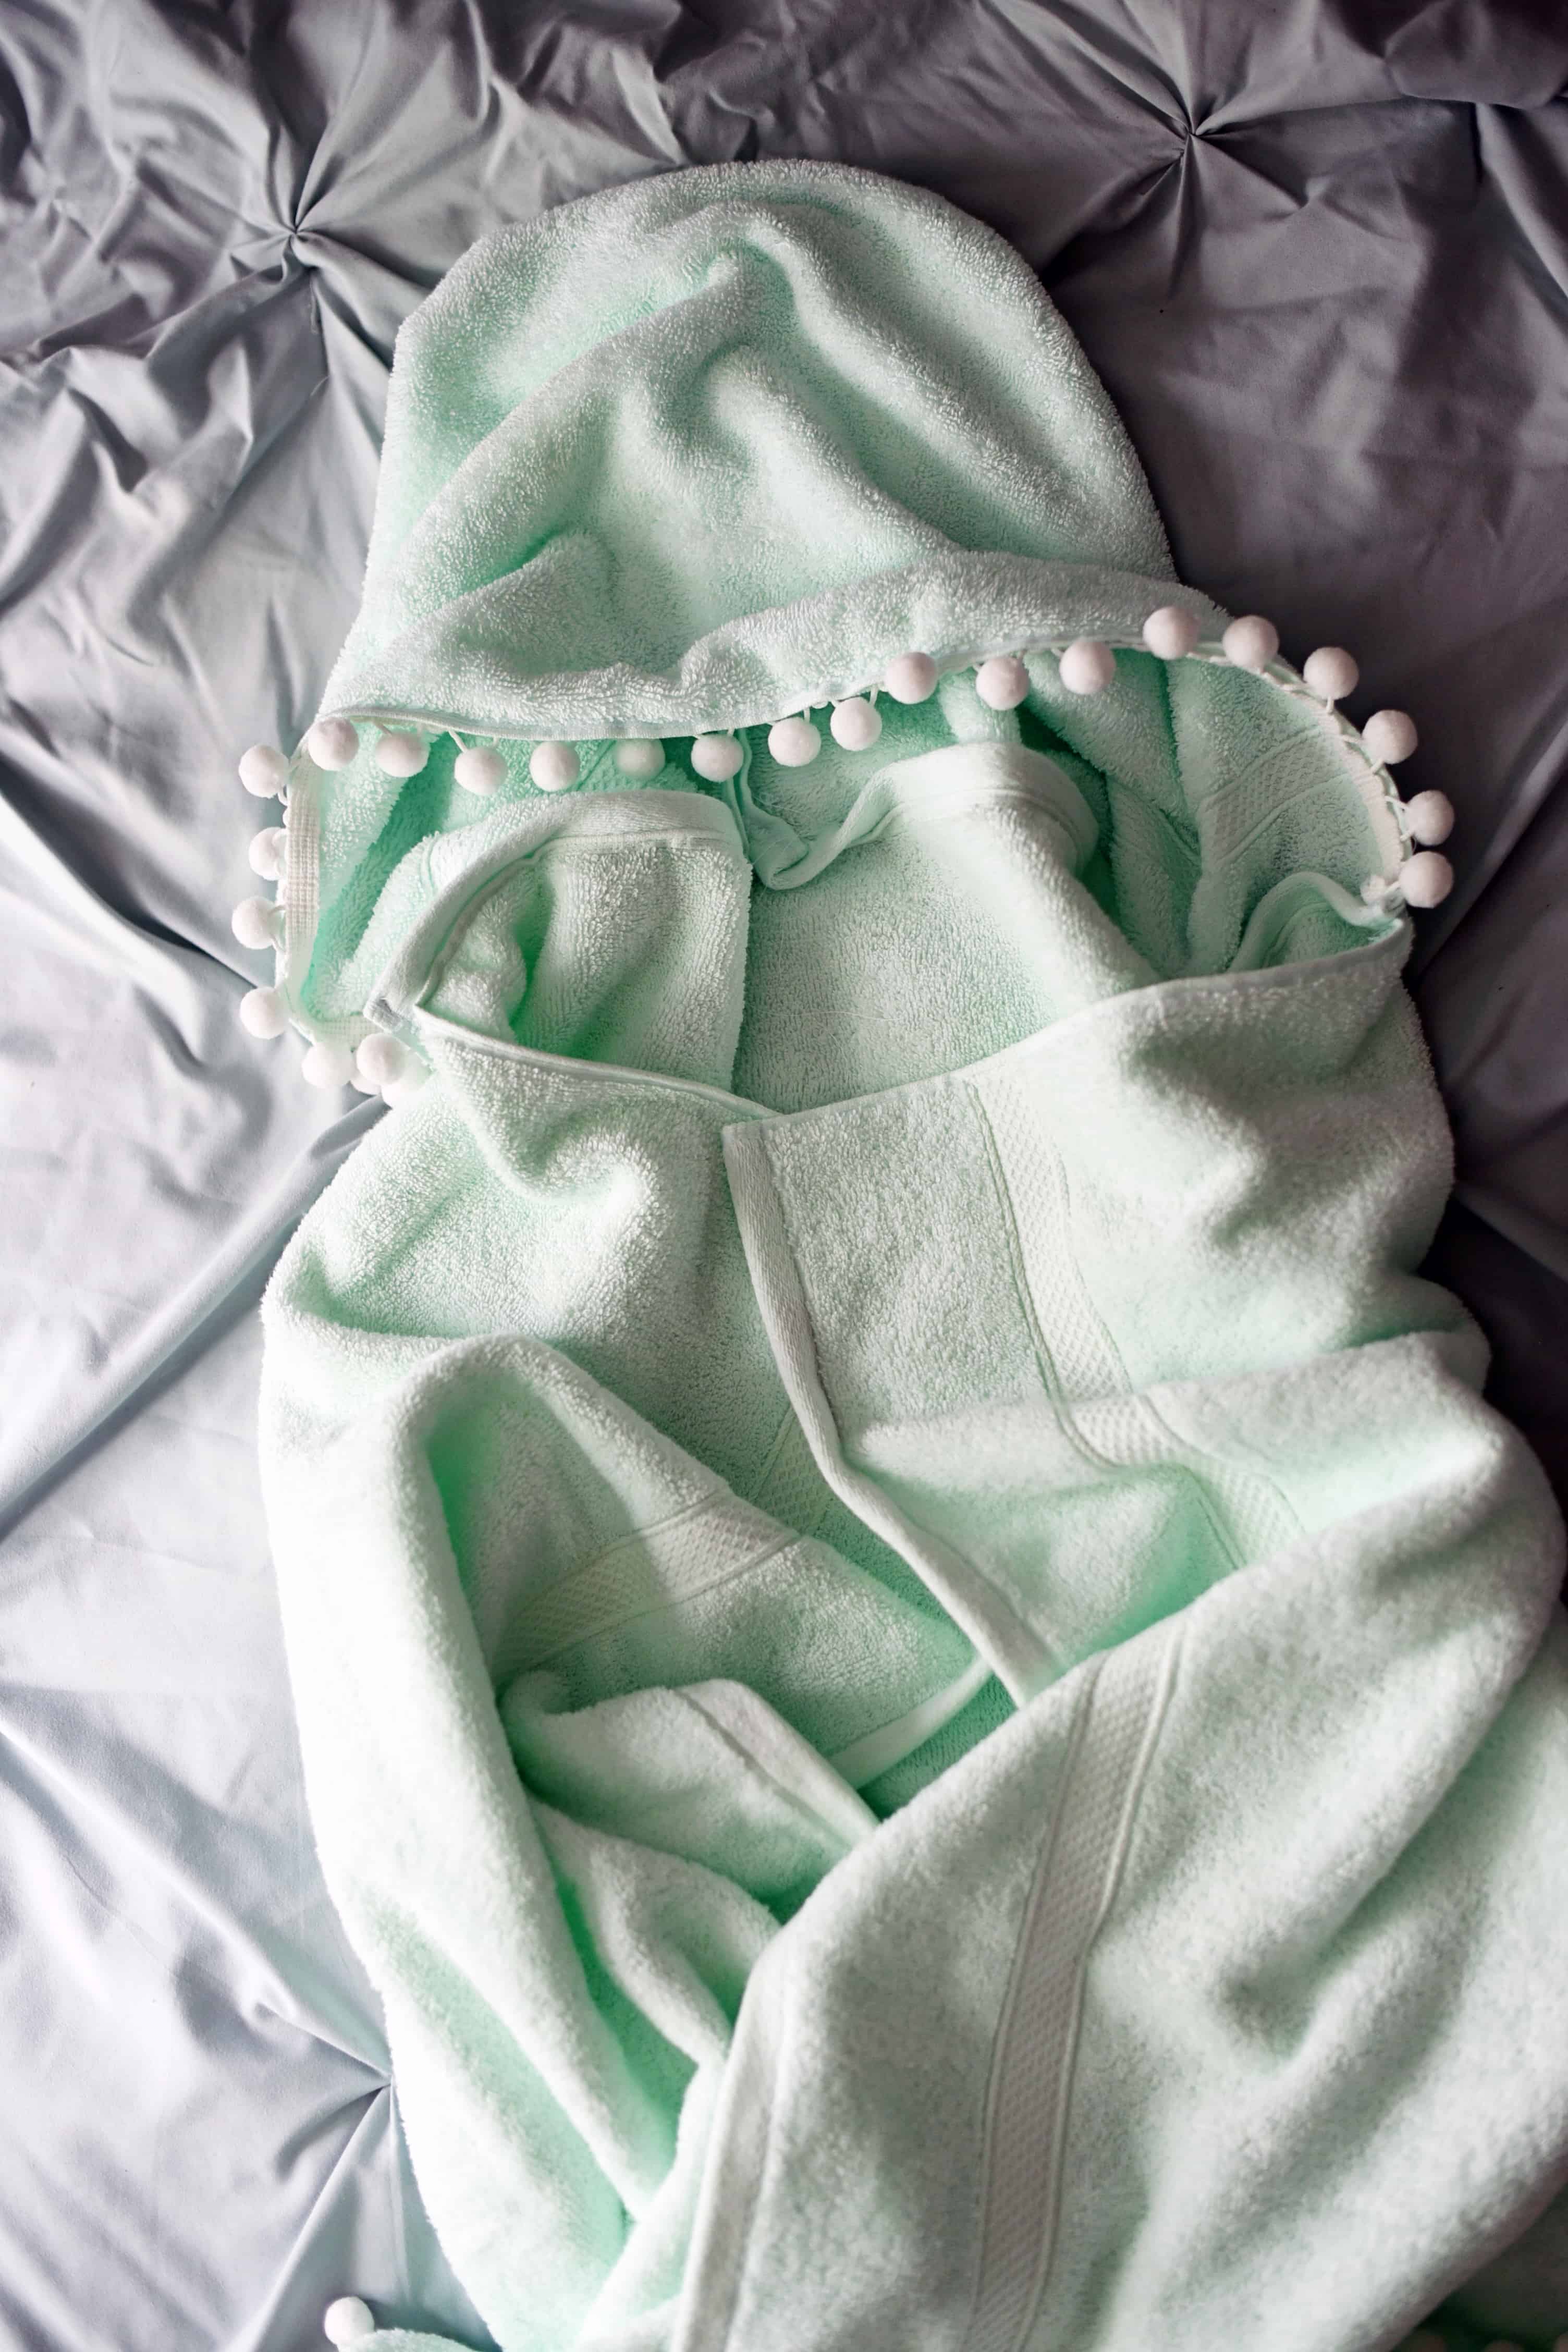
- Full size bath towel (this super soft mint green one is from Target)
- Hand towel
- 3 yards of pom pom trim
- Thread
- Scissors
- Sewing pins
- Sewing machine
Step One: Make the hood.
Fold the hand towel in half with the “wrong” side out and pin together along one of the long edges.
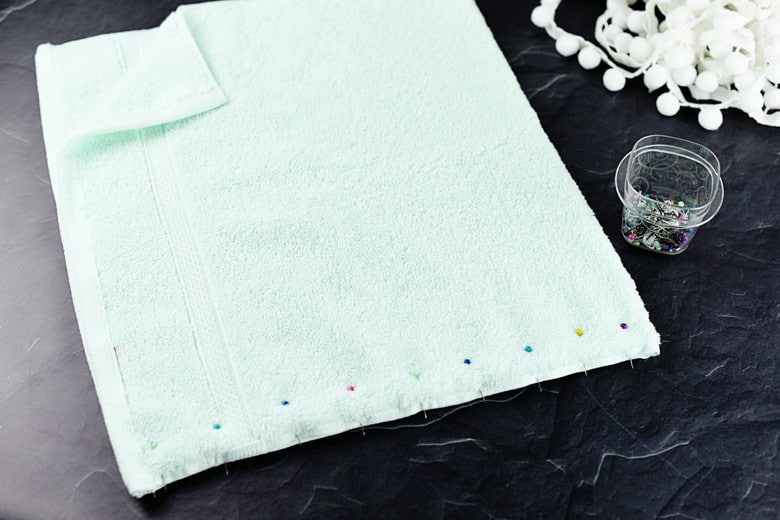
Sew along the edge leaving a 1/2″ seam allowance making sure you back stitch at the beginning and end of your seams.
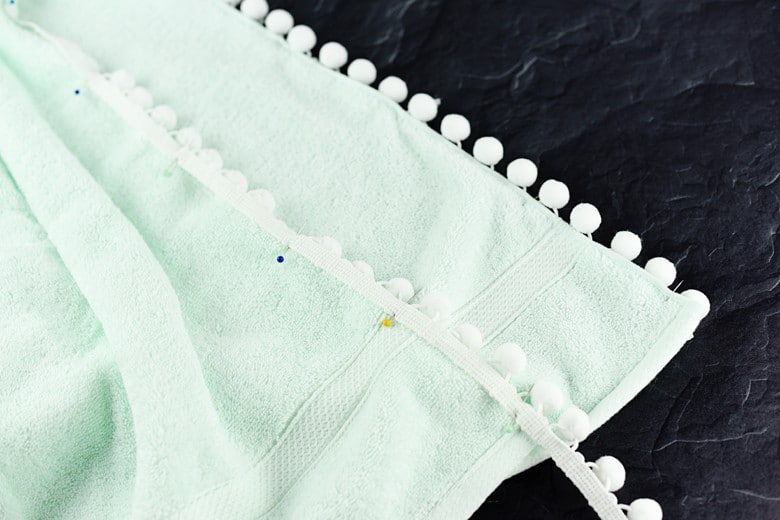
Step Two: Attach the trim to your hood.
Take the edge opposite what you just sewed for the hood. Pin the trim to the inside (wrong side) of the towel and sew. Cut away the excess.
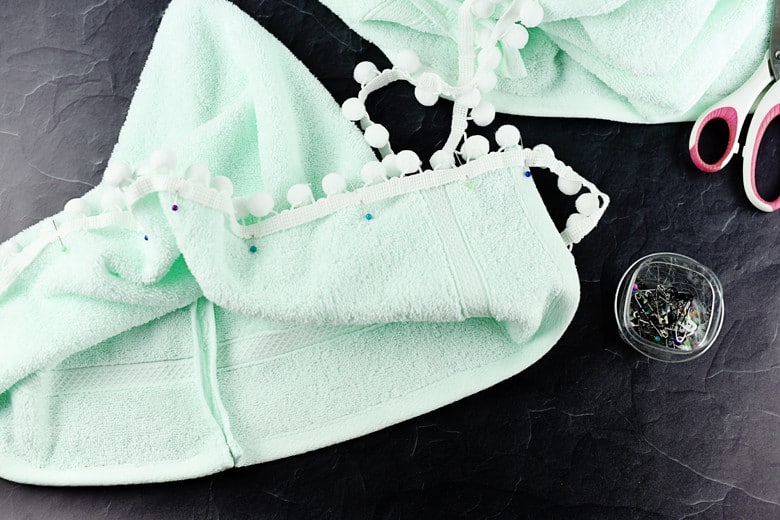
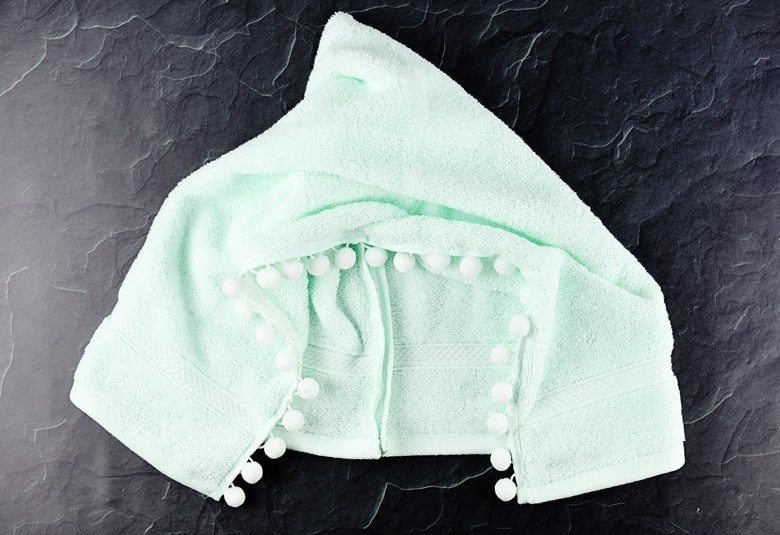
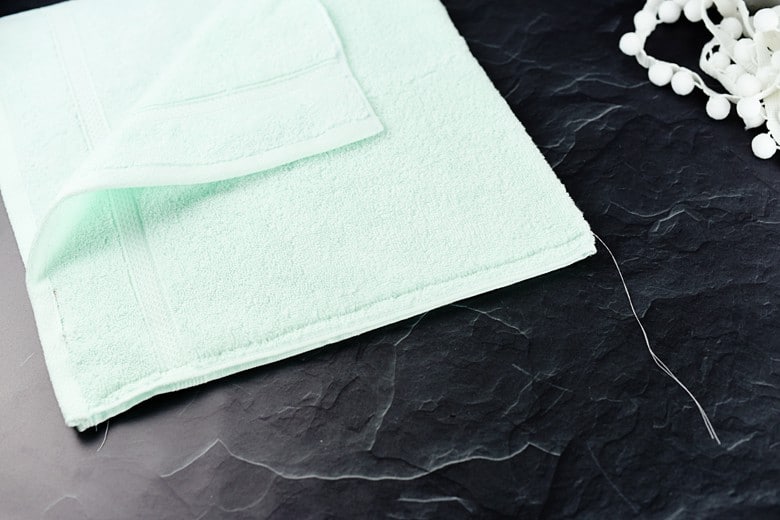
Now the hood is complete.
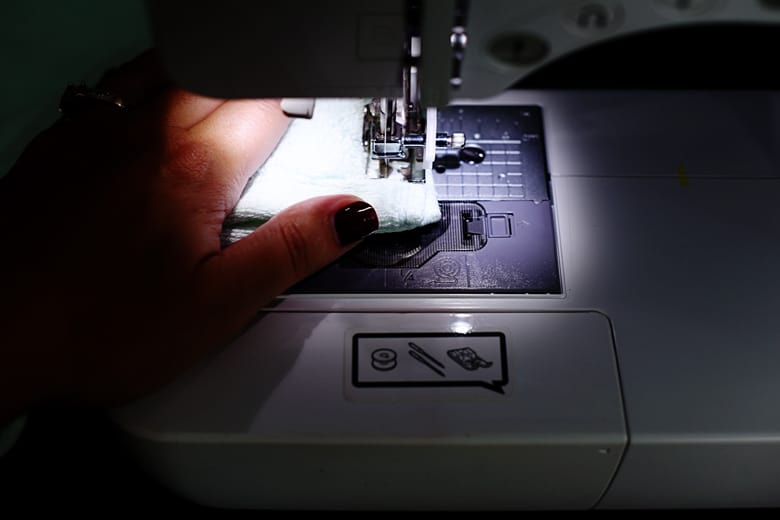
Step Three: Attach the hood to the towel.
Pin the hood to the towel with the RIGHT sides facing each other (wrong sides out). The middle seam of the hood should be lined up with the center of the towel facing out.
Sew along the hood leaving a 1/2″ seam allowance just as in Step One.
Be super careful when you get to the center of the hood where there are extra thick layers of fabric. I broke not one, but TWO needles because I was moving too fast! If you work slowly, you’ll be fine.
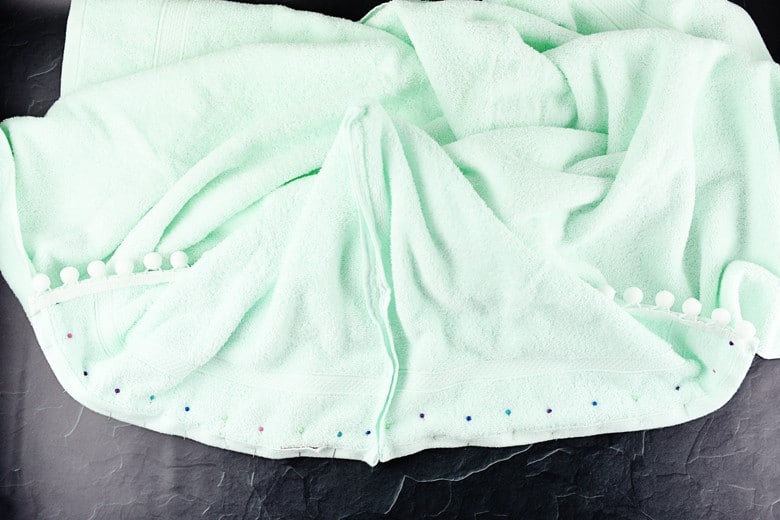
Step Four: Attach the trim to the bottom of the towel.
Pin the trim to the inside edge of the bottom of the towel. Attach it by sewing a seam just like you did in Step Two above. Cut off any extra trim.
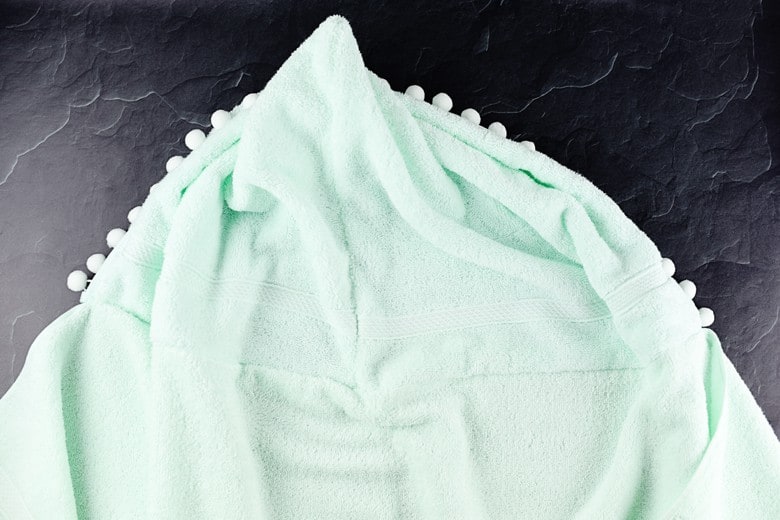
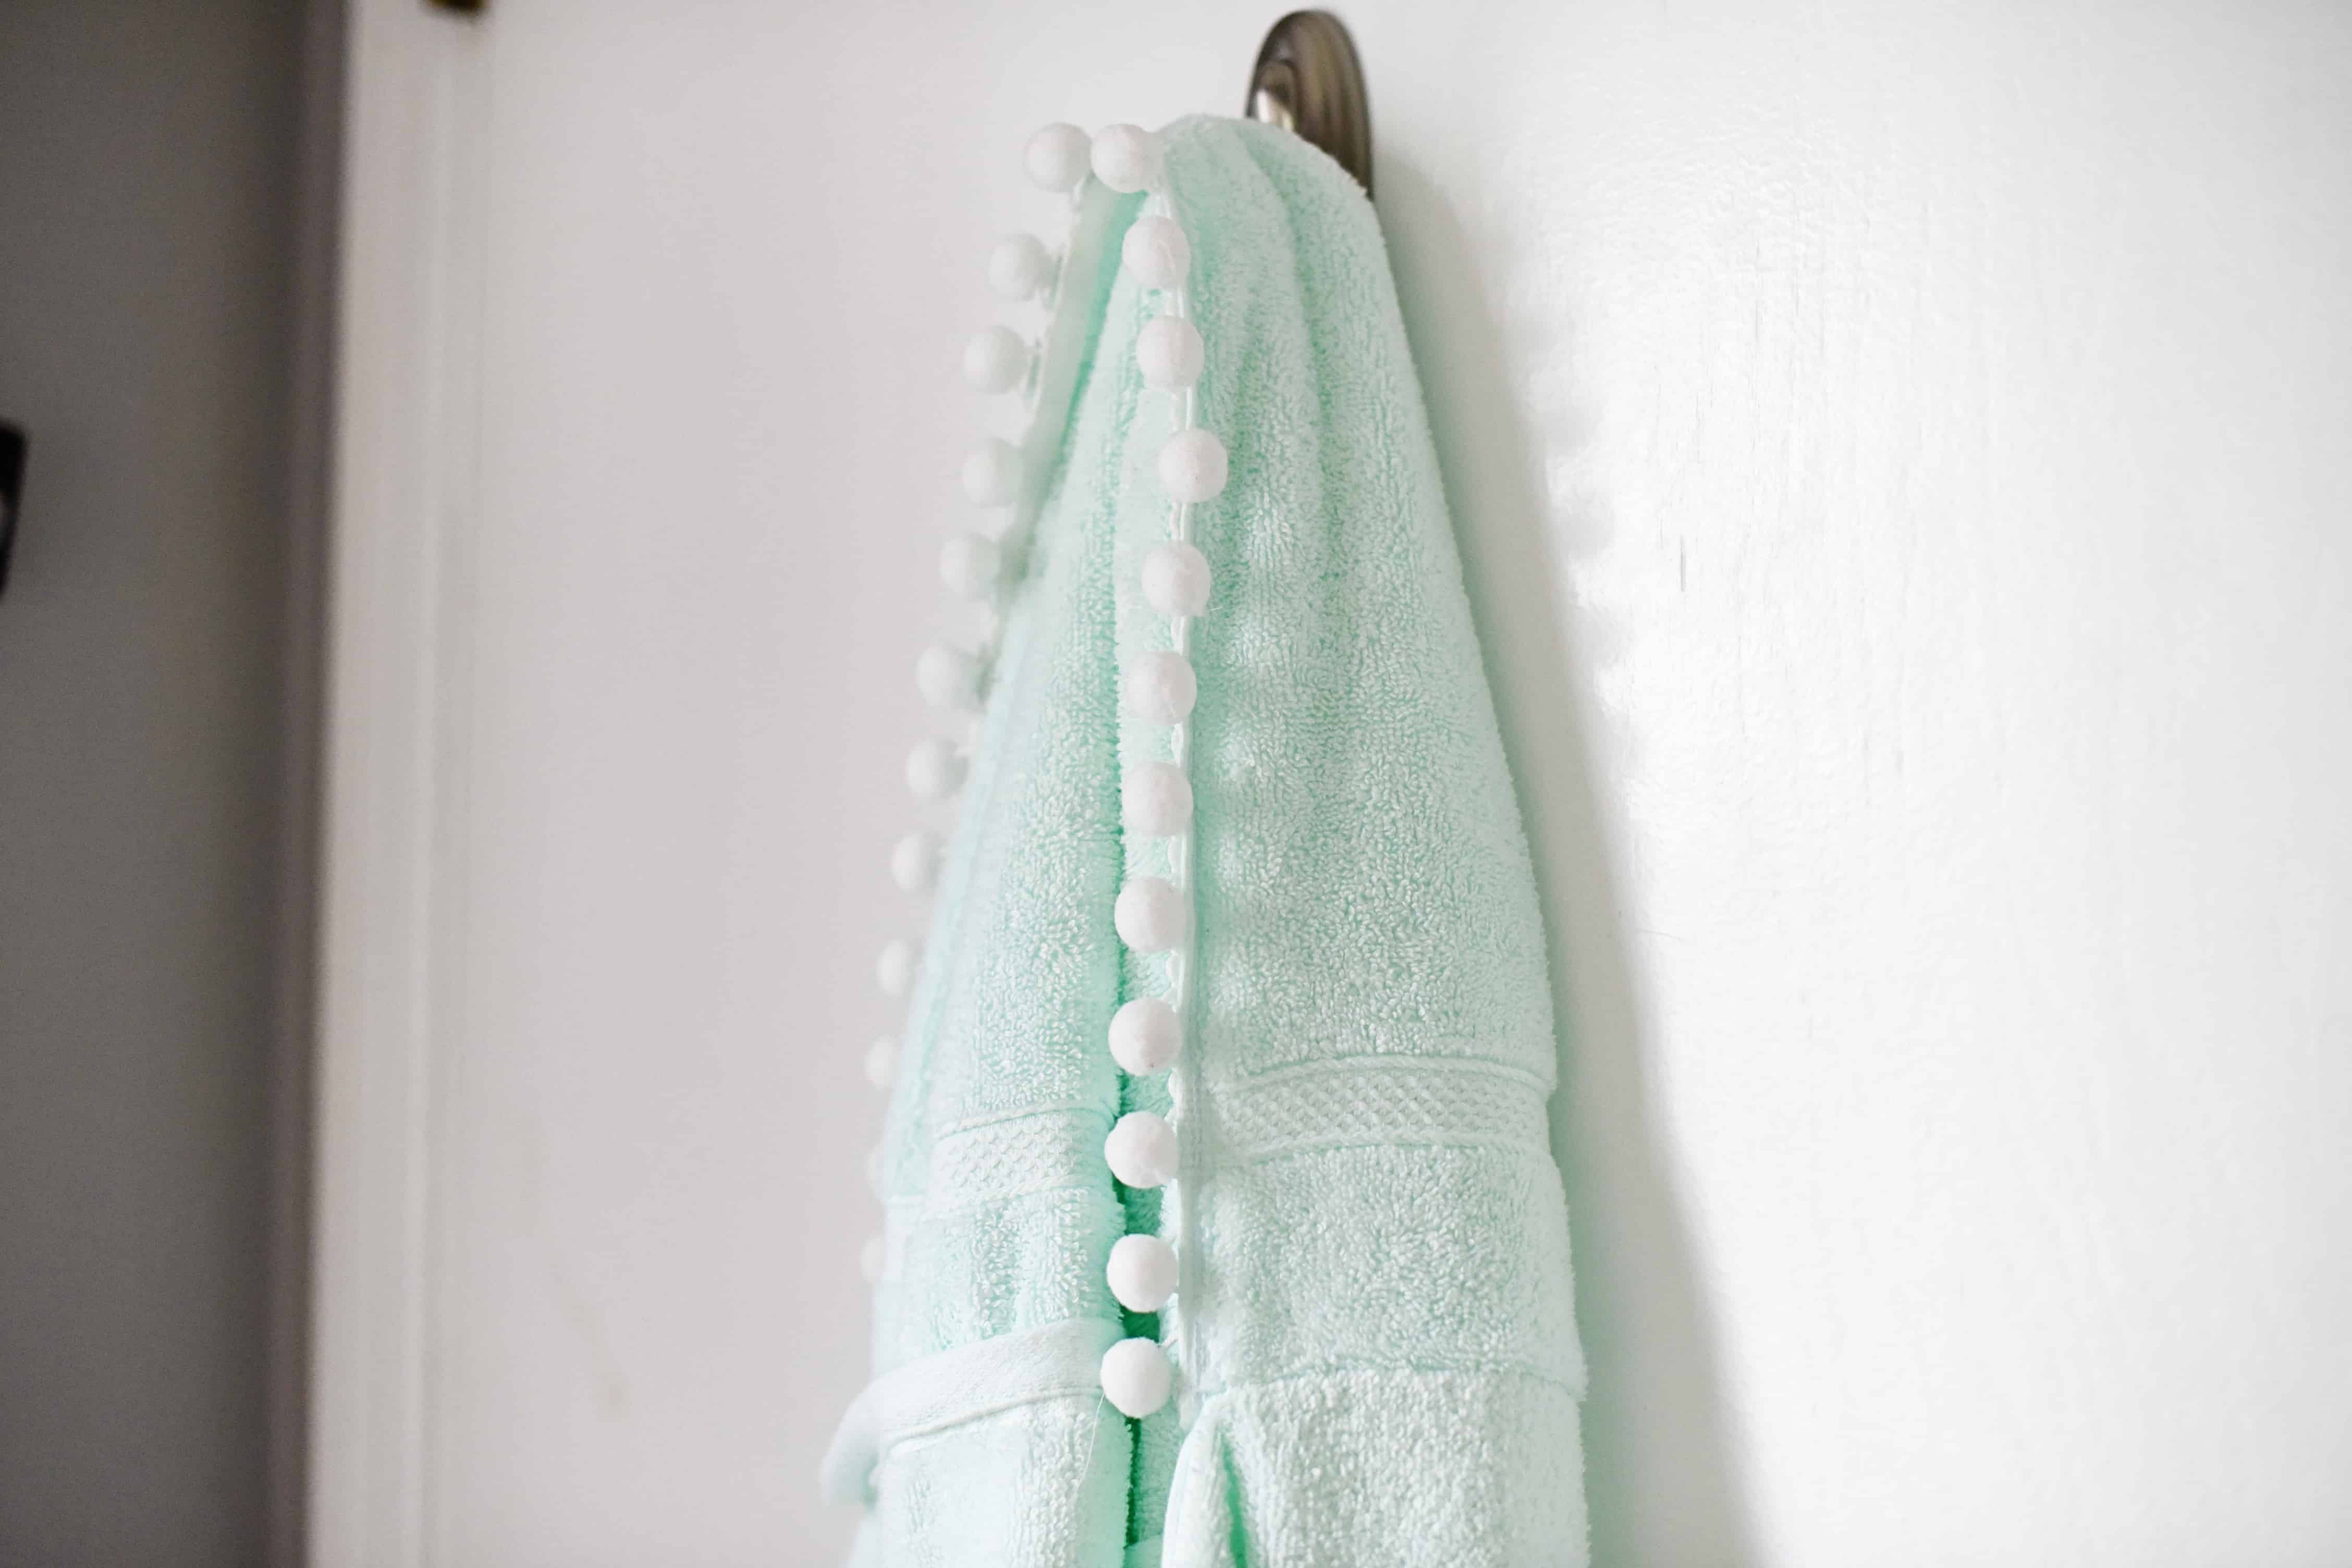
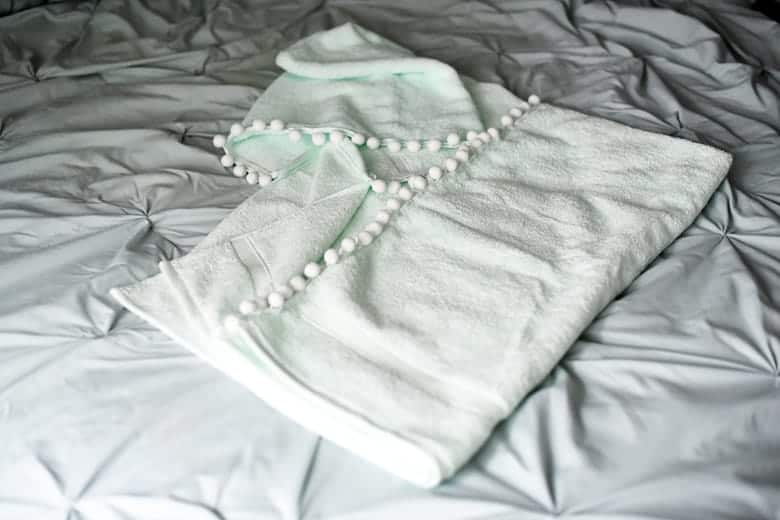
And that’s it! Now you’ve got a hooded towel your big kid can grow into for years and years and years 😉
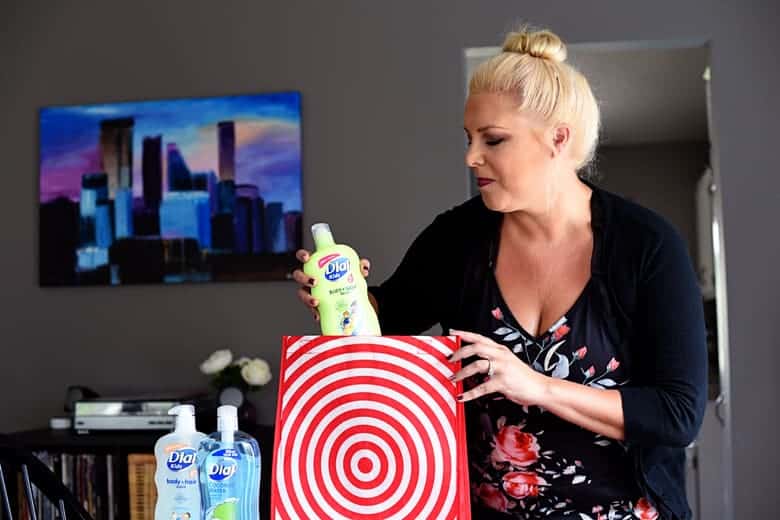
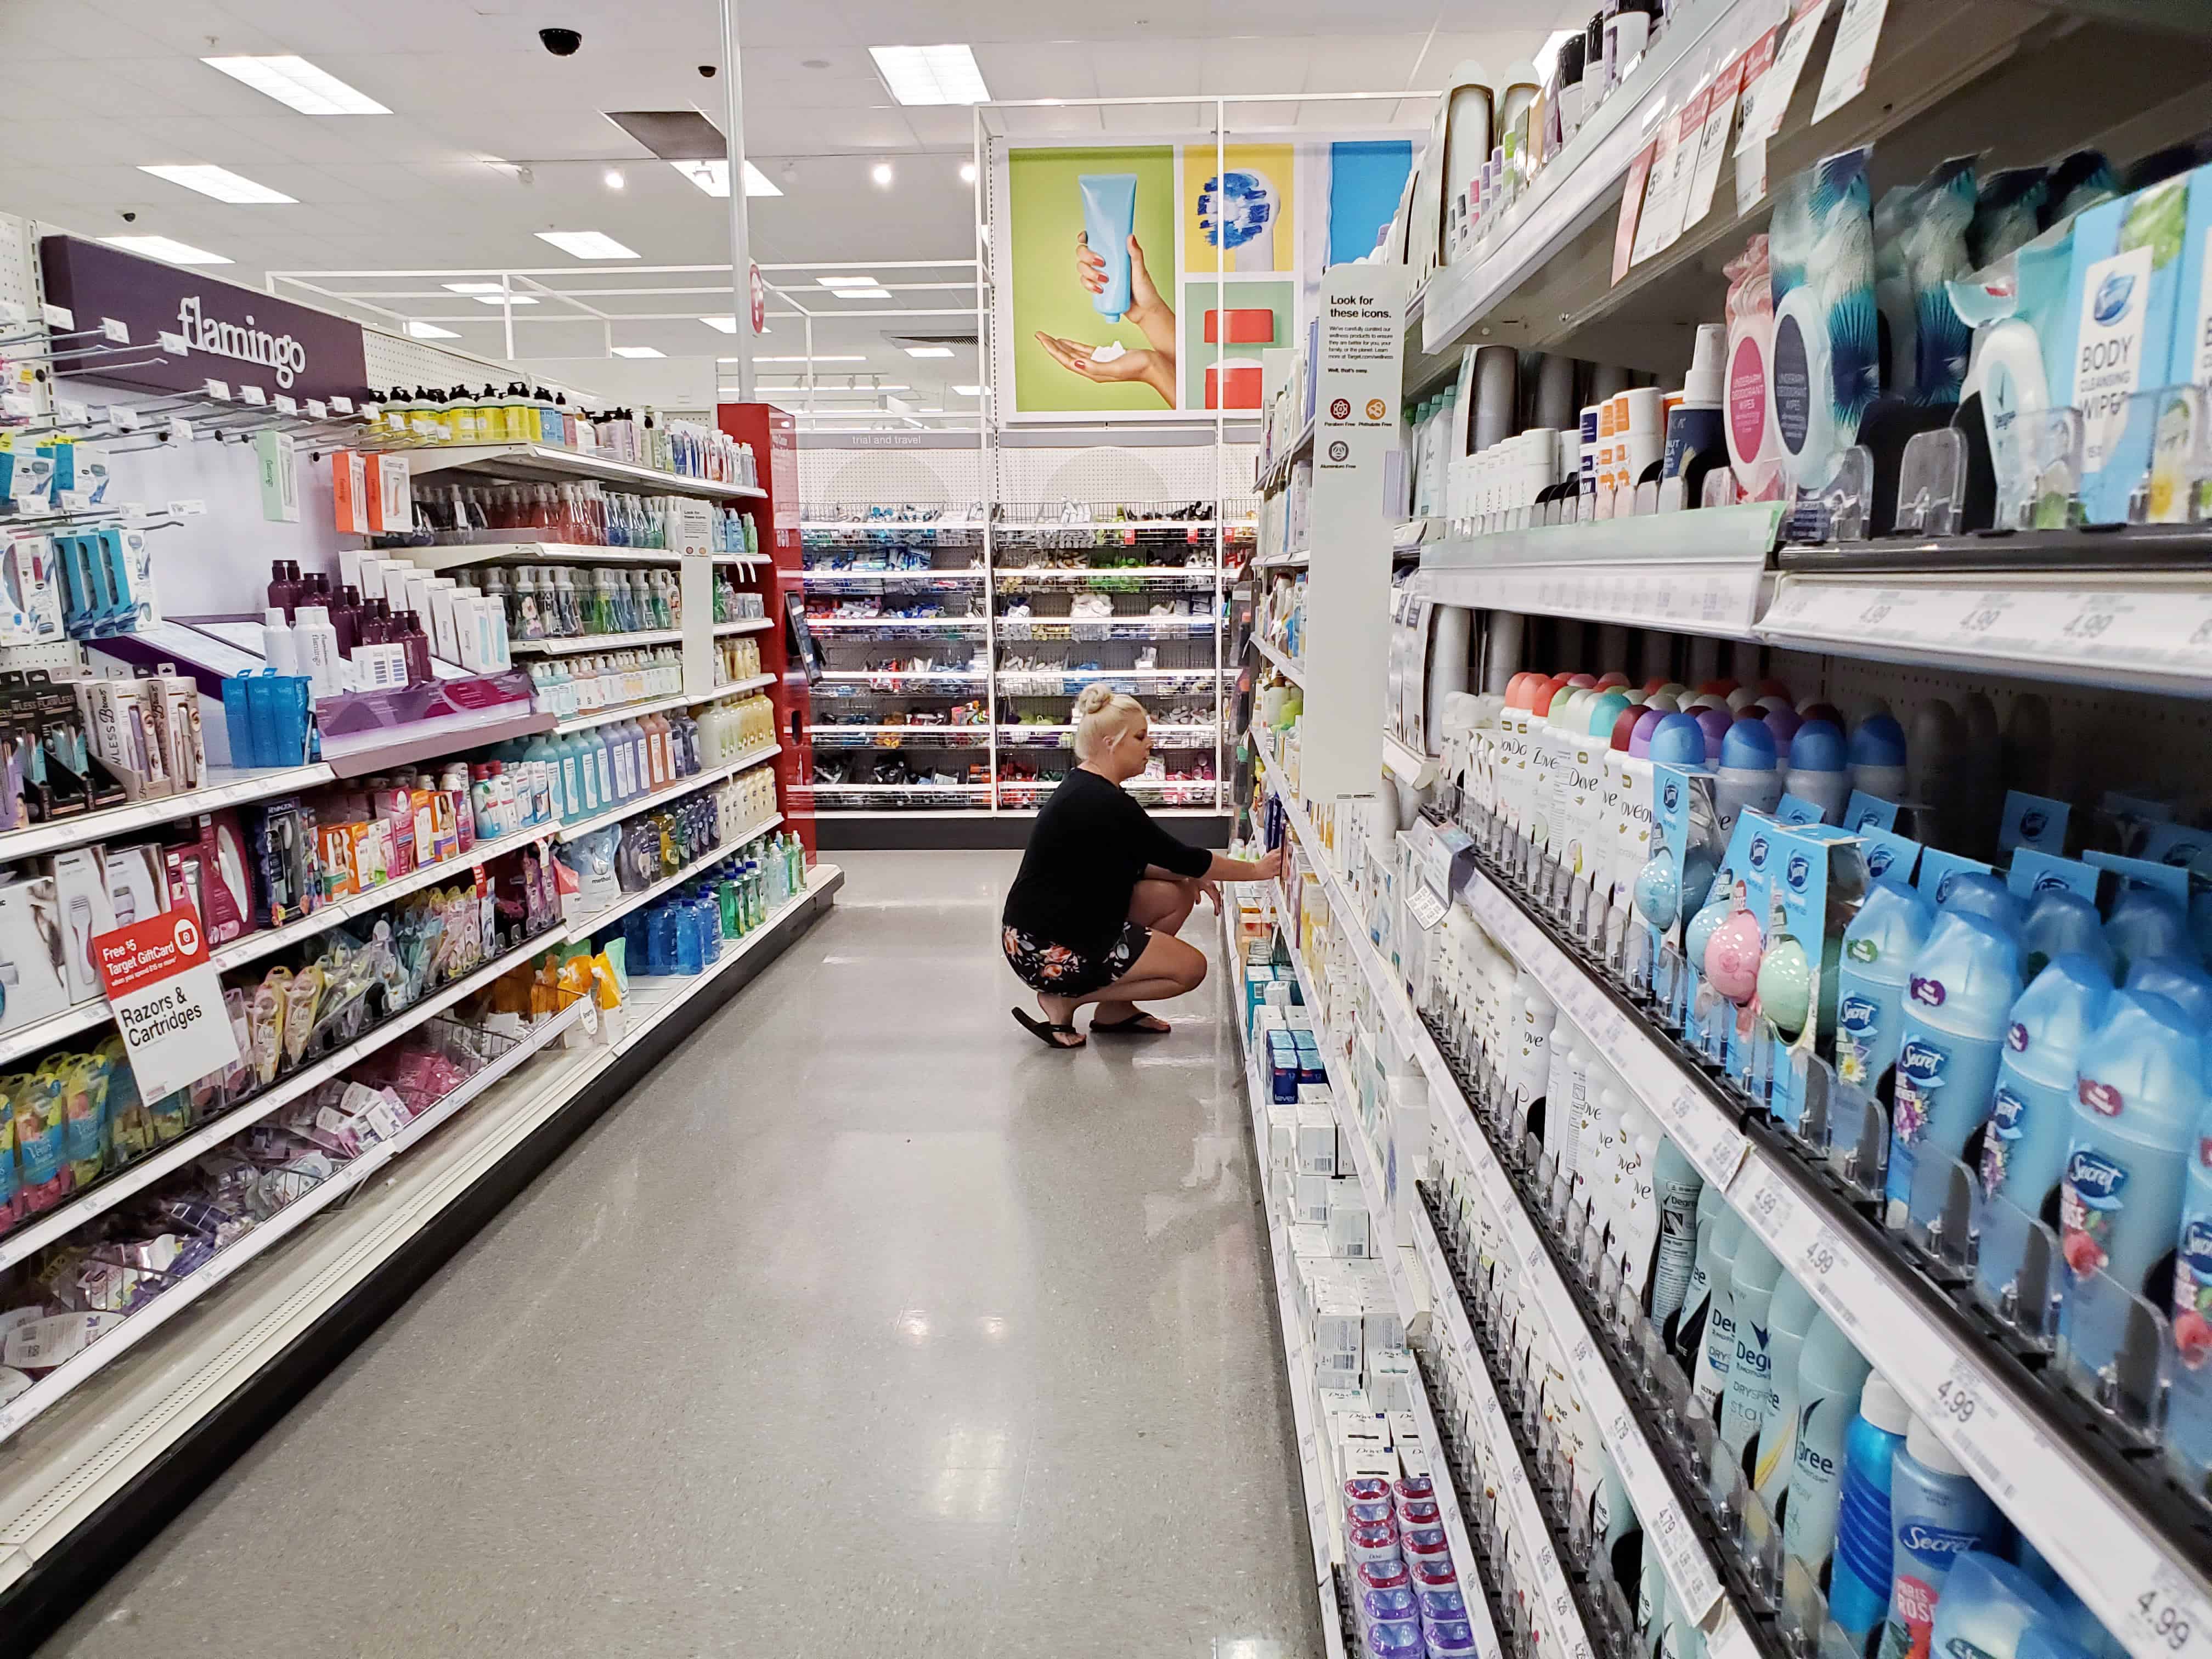
When you’re at Target picking up your super soft bath towels to make your own hooded towel, make sure you pick up some Dial® Brand Body Wash!
Cartwheel is having a 10% off deal on Dial® brand products while supplies last.

![J Crew inspired glitter heart sweatshirt [tutorial]](https://www.brepea.com/wp-content/uploads/2012/12/10.jpg)
Thank you so much for making this look so easy! I am trying to figure out, are you wanting the RIGHT SIDE of everything to go against the body and head, or are you putting wrong sides (and seams) inward, with good side out? Thanks for clarifying what makes more sense. I’d like to add a hanging loop too.
I wanted the seams and “wrong sides” of the towel to face in and the “right side” of the towel to face out when it’s being worn. I hope that makes sense!
These are so freaking cute! Totally making one for my son!
You’ll have to let me know how it goes for you 🙂
This is such a great idea! It looks like something I’d be able to make for my kids.
Thanks, Christa! It was surprisingly easy, you totally should make some!
This DIY hoodie is so cute! These would make cutie gifts for kids too.
I never thought to make one as a gift, great idea!
This is super cute! I have zero sewing skills, but this really looks easy to make!
Trust me, I’m super novice at using my sewing machine, but this was so quick and easy to make!
These houses towels are so cute!
they remind me of some my daughters had when they were little. Pomm poms are so fun and retro!
I could literally add pom poms to everything now that I know how lol I’m obsessed!
This is genius! For some reason it reminds me of a shark’s mouth, so I would add some felt eyes and gills and really do it up!
That is such a great idea!
I love this so much! Those little pom poms are adorable!
Paige
http://thehappyflammily.com
Thanks so much, Paige! Happy to hear from you again!