There are some things that you grow out of as you mature, such as puka shell necklaces and flare jeans.
And there are others that are so ingrained in you that as hard as you resist, even when you’re a grown adult, you can’t help it.
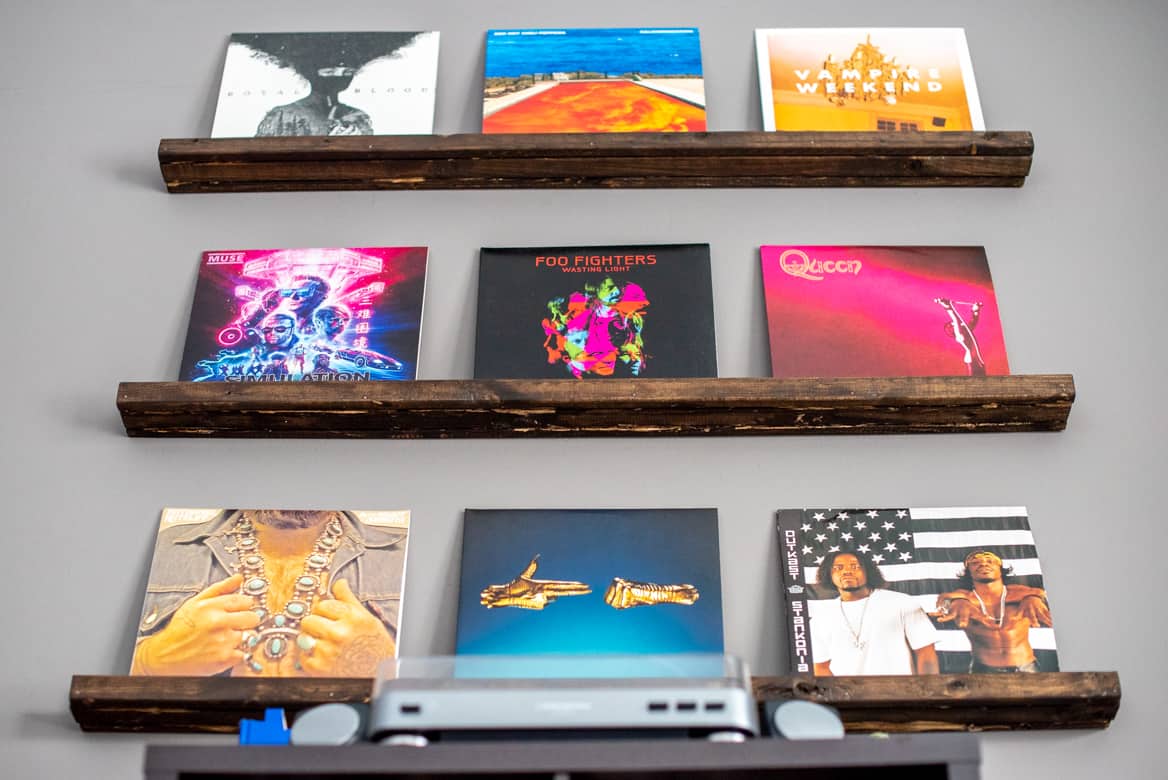
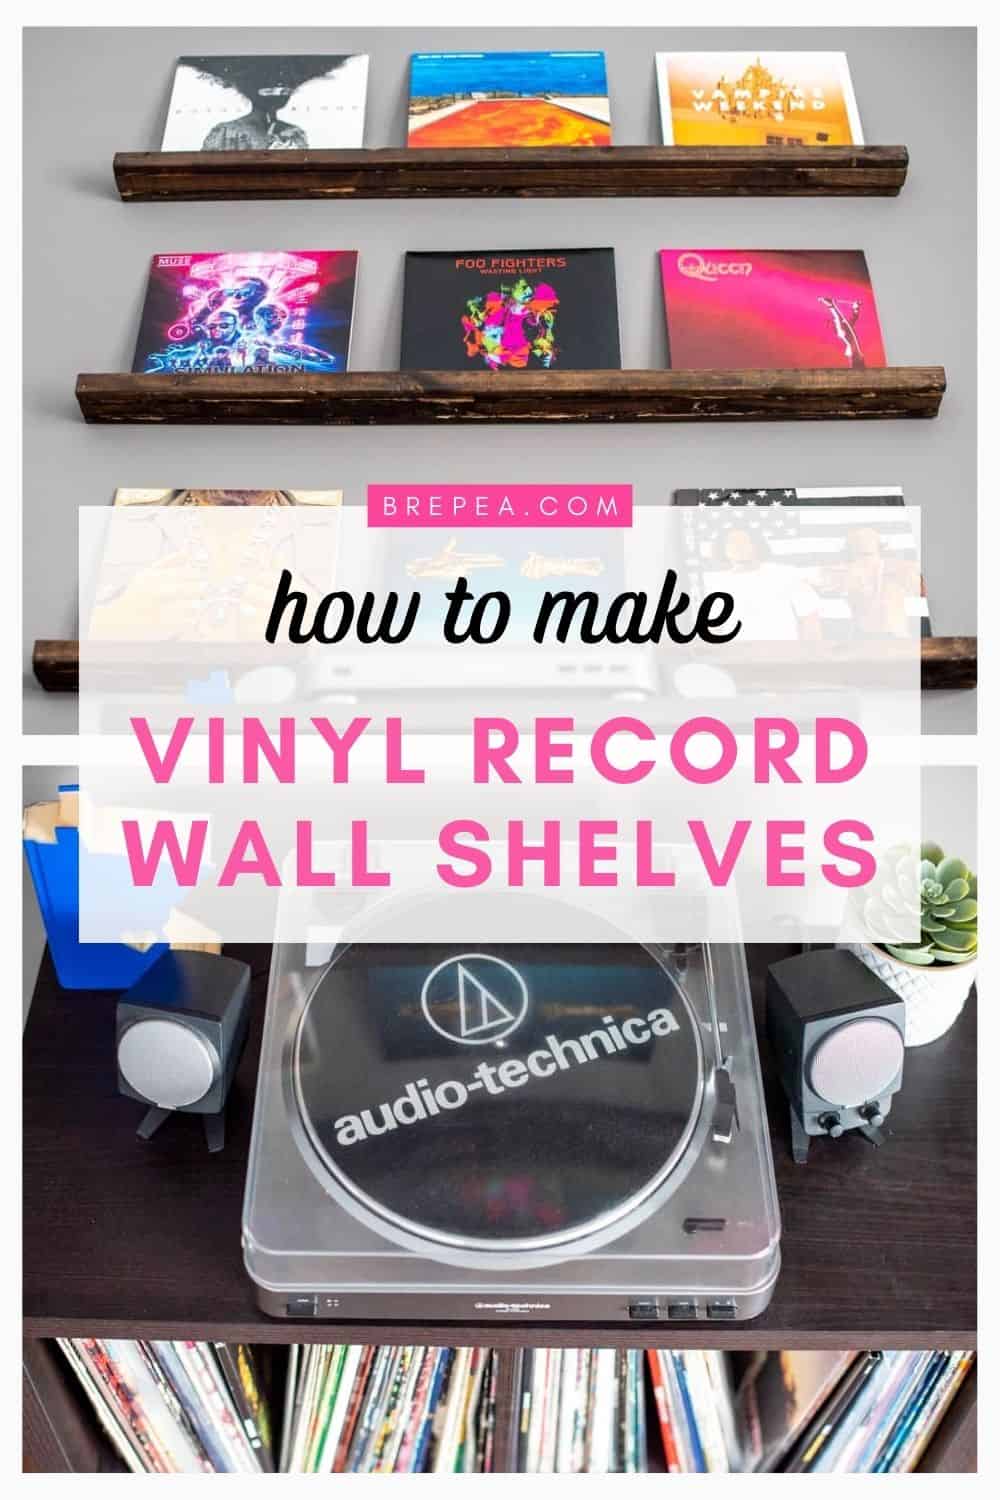
I thought that I was “too old” for another vinyl record wall, and yet here we are.
16 year old me hung vinyl records by nailing them into my wall.
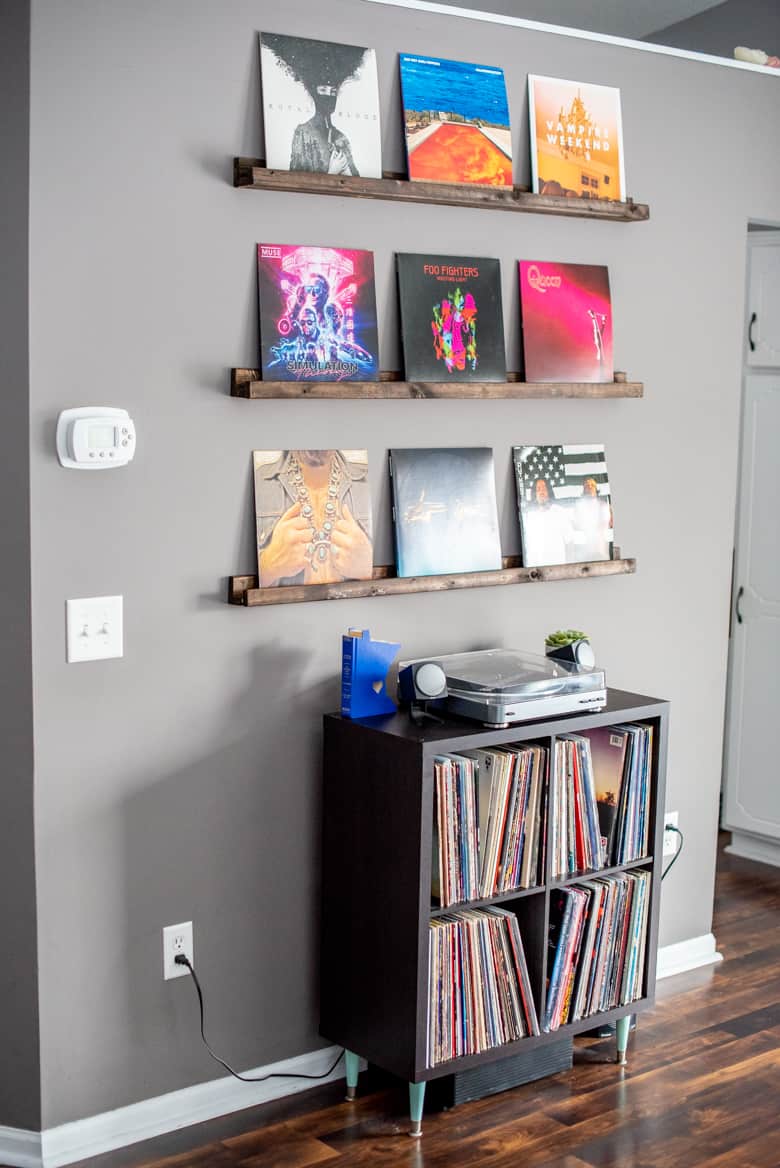
35 year old me decided ledge shelves would be a more sophisticated (and less damaging) option.
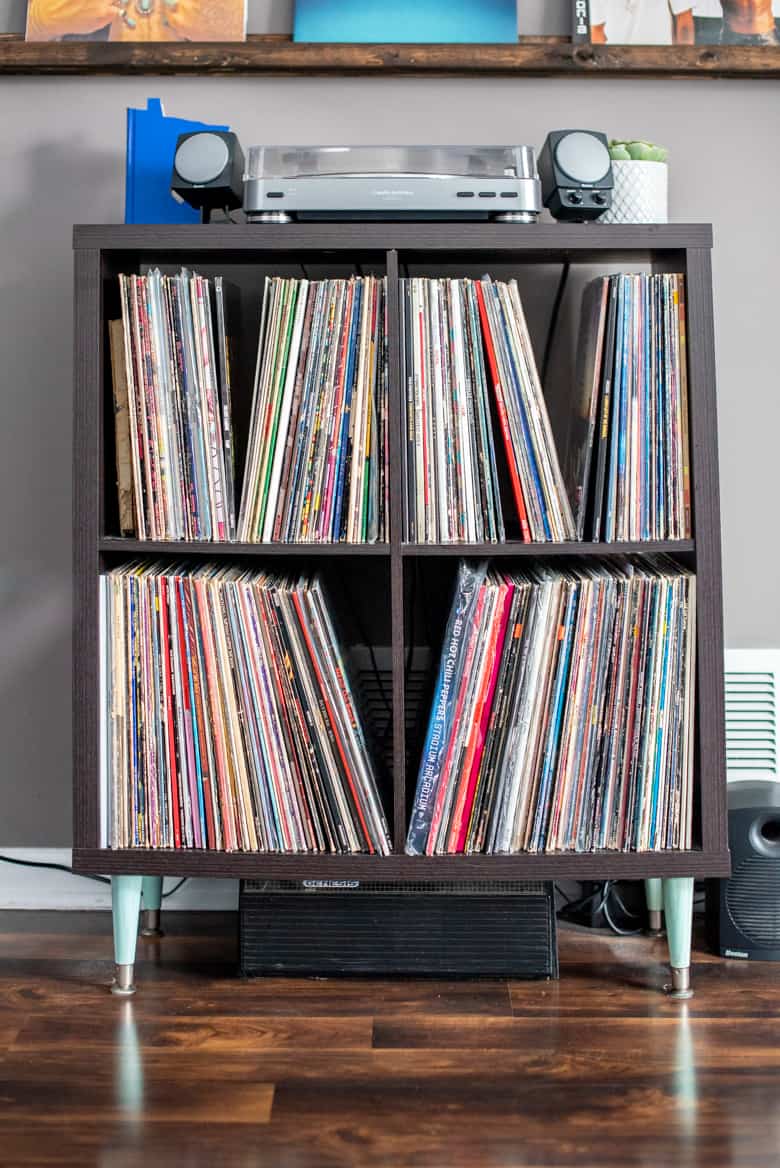
Plus, I love my collection and wanted them to be easy to pull down and listen to.
If you’re thinking to yourself:
“There’s no way I could make those shelves. I have no experience with power tools.”
Hear me out.
I have no experience (unless you count 8th grade shop class) with power tools and don’t own any except for an electric drill!
And I literally built these on my dining room table.
Once you learn how to make these vinyl record shelves, you could apply this technique to many other sizes for various other ledges.
Plus, these ledge shelves are super cheap to make. The cost of lumber for one of these shelves was just $2.63!
How to Make DIY Vinyl Record Wall Shelves
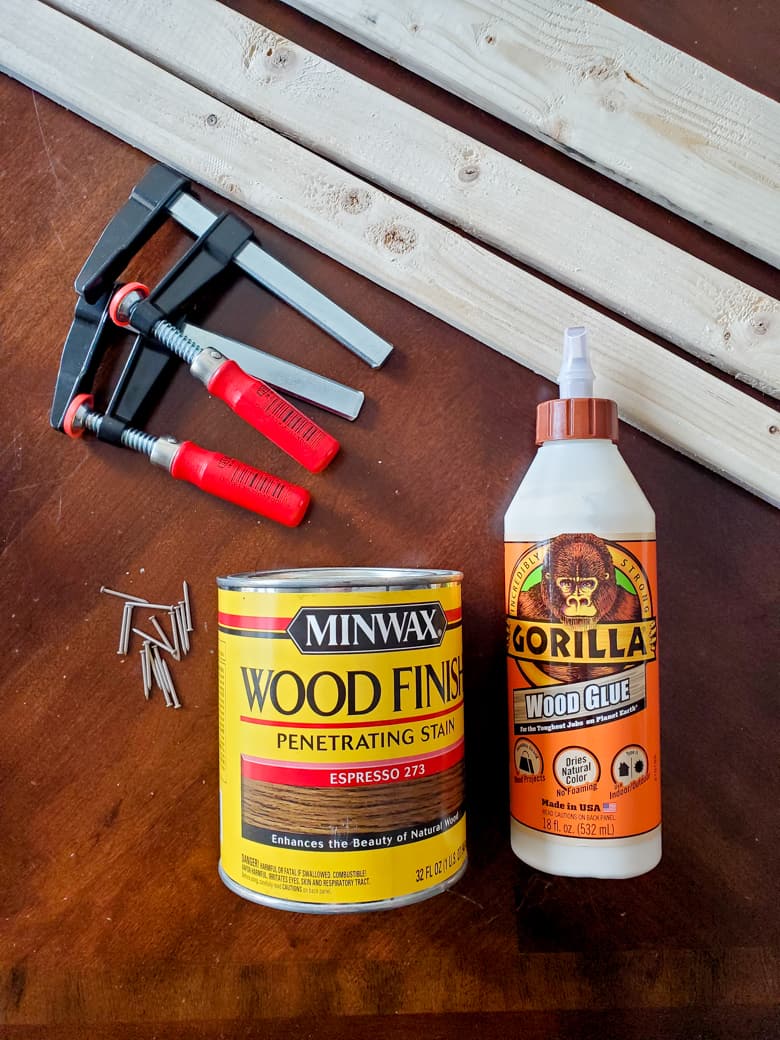
SUPPLIES NEEDED (for 3 – 4 ft long shelves):
- 3 – 1×2 8 ft Wood Strips
- 2 – 1×3 8 ft Wood Strips
- Gorilla Wood Glue
- Minwax Stain in Espresso
- 15 – 1″ Panel Board Nails
- 15 – 1 1/4″ Wood Screws
- Foam Paint Brushes
- Rags
- Disposable Gloves
TOOLS NEEDED:
- Electric Drill
- 120 and 220 Grit Sandpaper
- Hammer
- Clamps
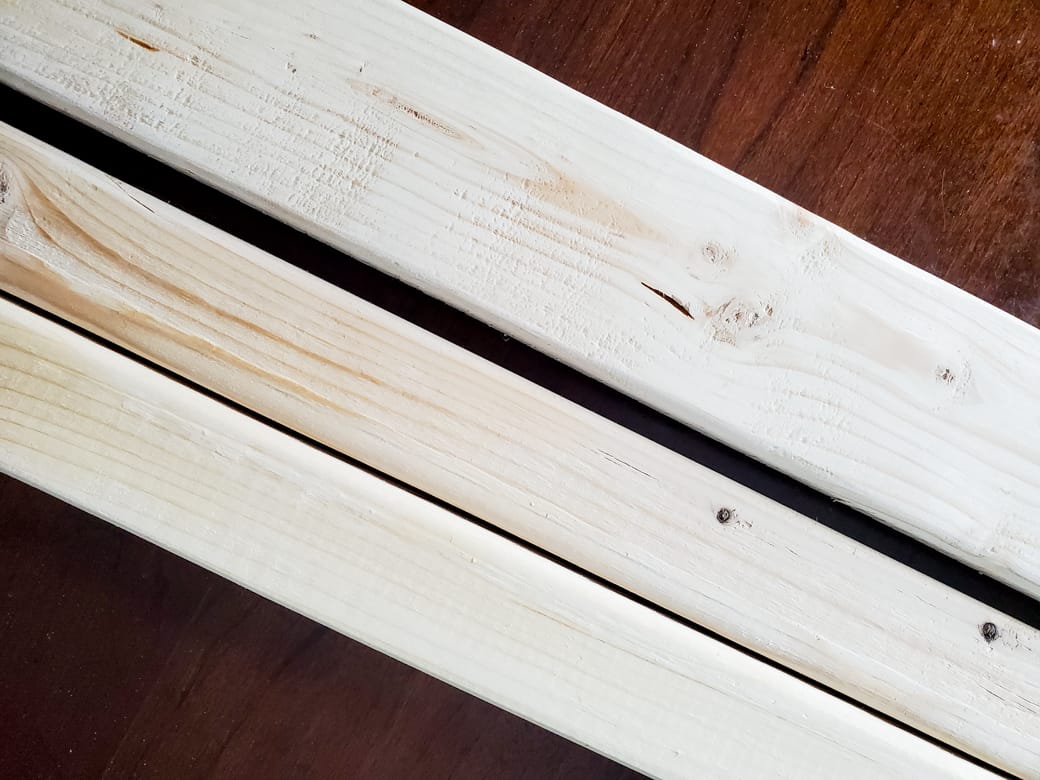
Step One: Sand all your wood pieces
We’ll be making 4 foot long shelves. Since I had the wood cut at Home Depot before I brought it home, all I had to do to prepare it was sand it down.
If you don’t have it cut at the store, you’re going to need to cut each piece of wood in half so that you end up with 4 ft long pieces.
I started by sanding with 120 grit sandpaper and finished with 220 grit. Then, I wiped all the wood down to get rid of any sawdust residue.
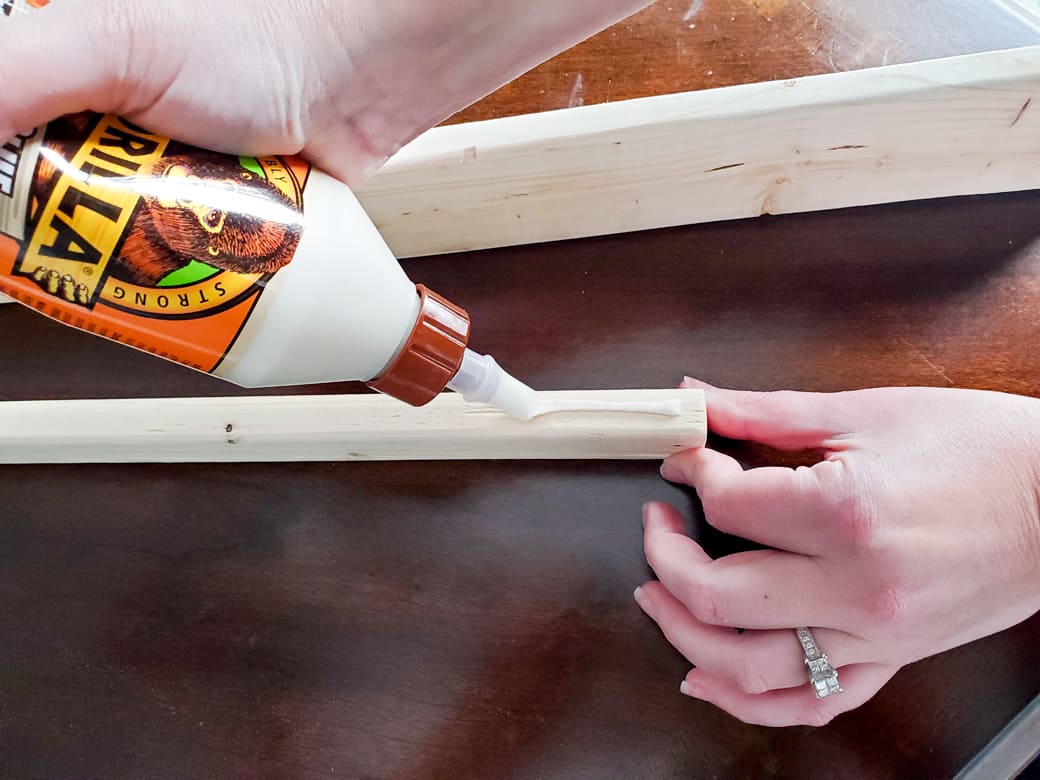
Step Two: Attach one 1×2 to the inside of a 1×3
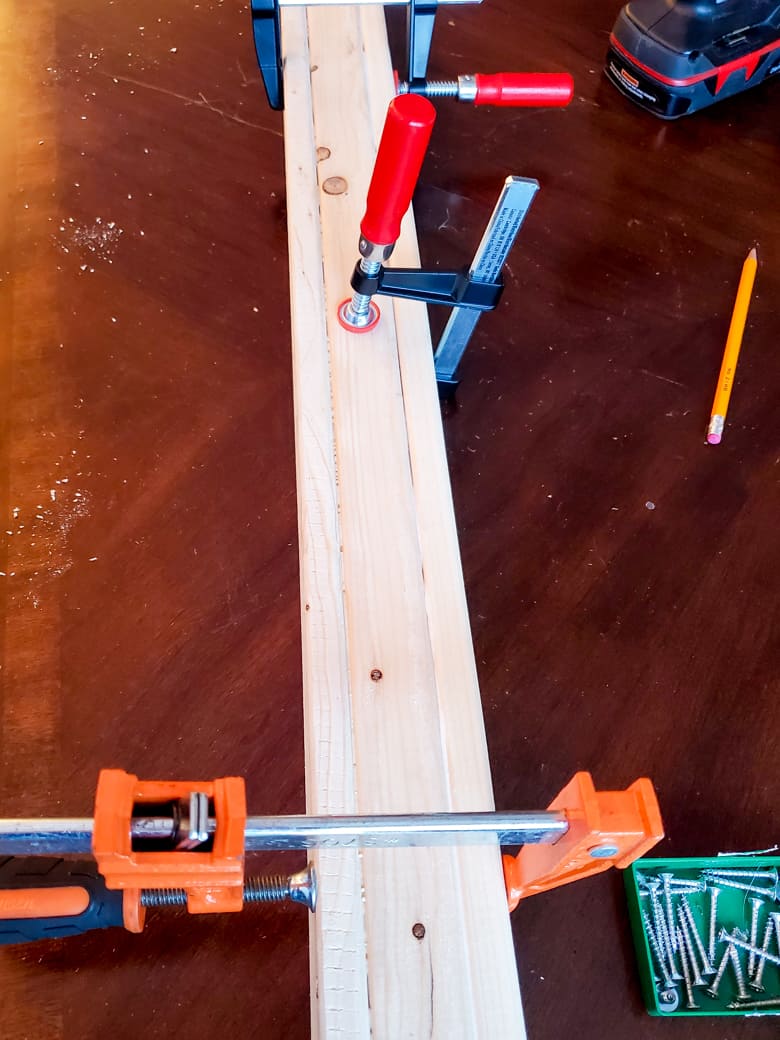
Apply a thin layer of Gorilla glue to the edge of a 1×2 and clamp the 1×2 standing up on top of one of the 1×3’s lined up at the edge.
Basically, the 1×3 is going to serve as the back piece. The 1×2’s will serve as the bottom and the front lip. This piece of 1×2 is going to be the bottom.
Learn from my mistake:
Don’t apply too much glue!
If you are also staining your shelves, you don’t want any glue seepage. Even a little bit will resist the stain and make the wood look splotchy. And no, sanding won’t really fix it. I tried.
The glue is basically there to help keep the wood together as you attach the screws that will REALLY hold it together, so you don’t need much.
If you’re painting the shelves, you won’t have to worry about glue seepage too much.
You still won’t want globs of glue, but if you have to wipe them down paint should still take.
Step Three: Screw the 1×2 and 1×3 pieces together
Once the glue has dried for 20-30 minutes, remove the clamps and drill some pilot holes through the edge of the 1×2 on both ends and about every foot in between.

Then, screw the pieces of wood together using 1×1/4″ screws.
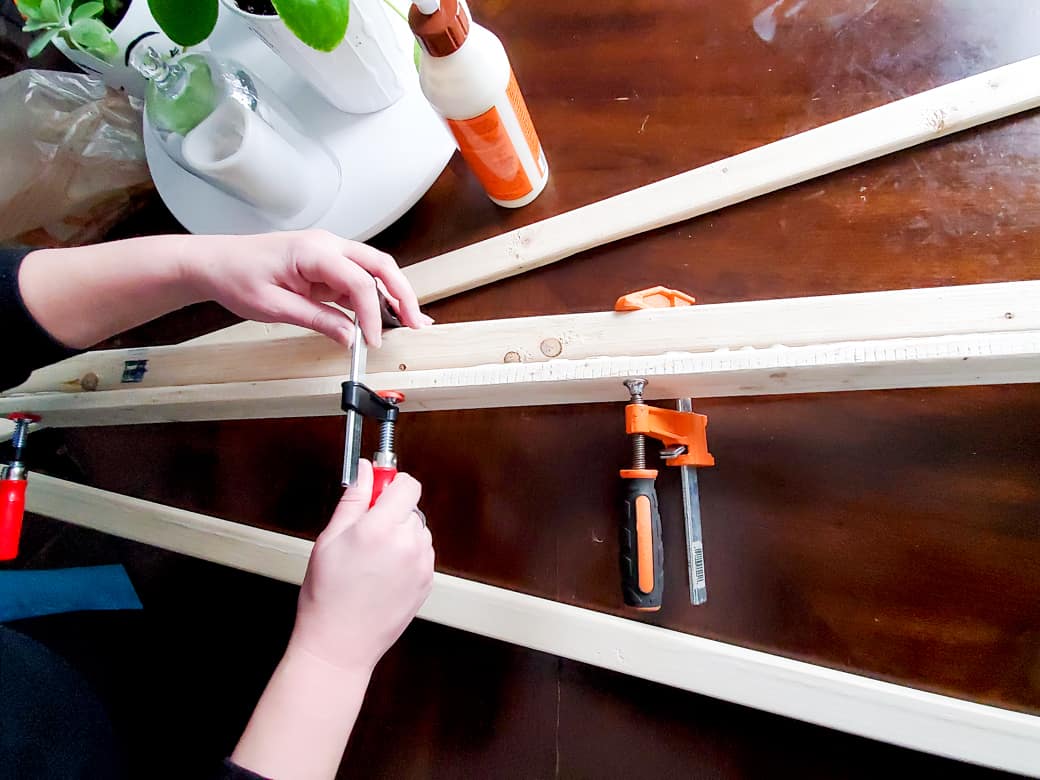
Step Four: Repeat the gluing process with another 1×2
Take another piece of 1×2 and glue it to the edge of the other 1×2 piece to create the lip of the shelve.
Remember, don’t use too much glue 😉
Use clamps to help hold it in place while it dries. The clamps also help keep everything lined up if the wood is slightly warped or bowed.
Step Five: Secure the 1×2 with nails
Once the glue has dried for another 20-30 minutes, remove the clamps and nail using the 1″ trim nails on both ends and about every foot.
I used brown trim nails so that they would really blend in once I stained the wood.
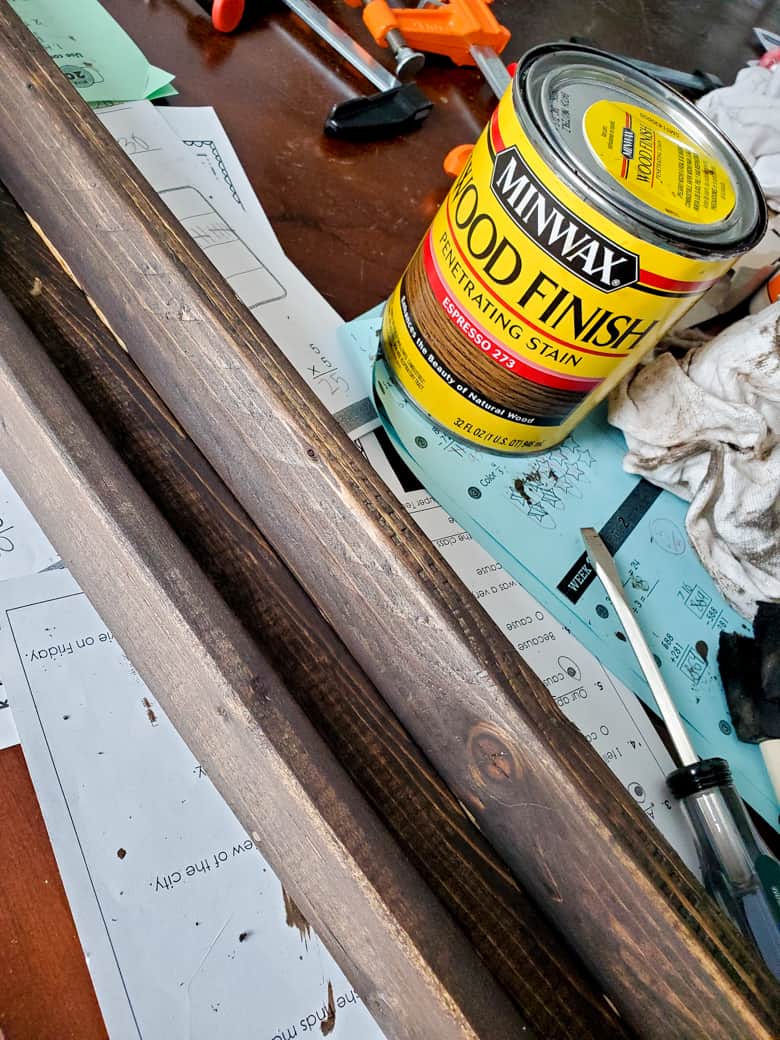
Step Six: Stain your shelves
Using a foam brush, paint your shelves with a layer of stain. Depending on how dark you want them to be, let the stain sit according to the directions on your stain. Then, wipe off the excess with a rag.
Because I was using the color Espresso which is already really dark, and because this wood was completely raw and unfinished, I basically painted the stain on and then immediately wiped it off.
My shelves took about 24 hours to be completely dry.
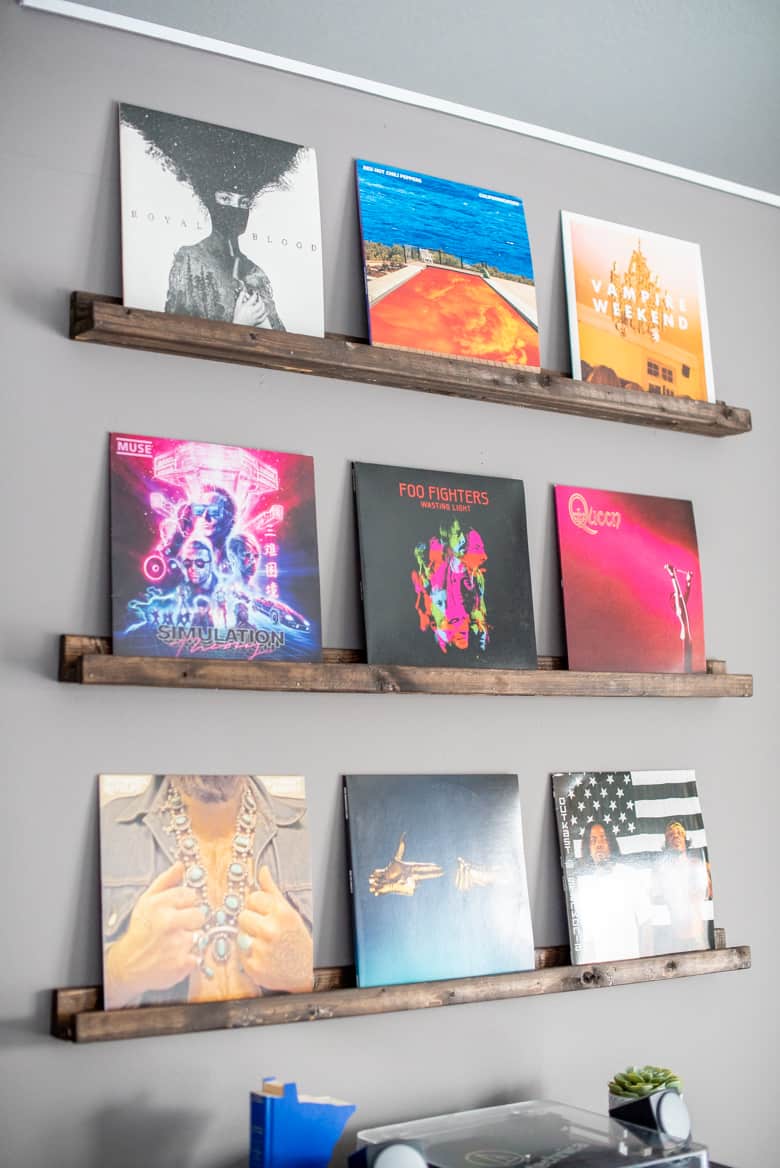
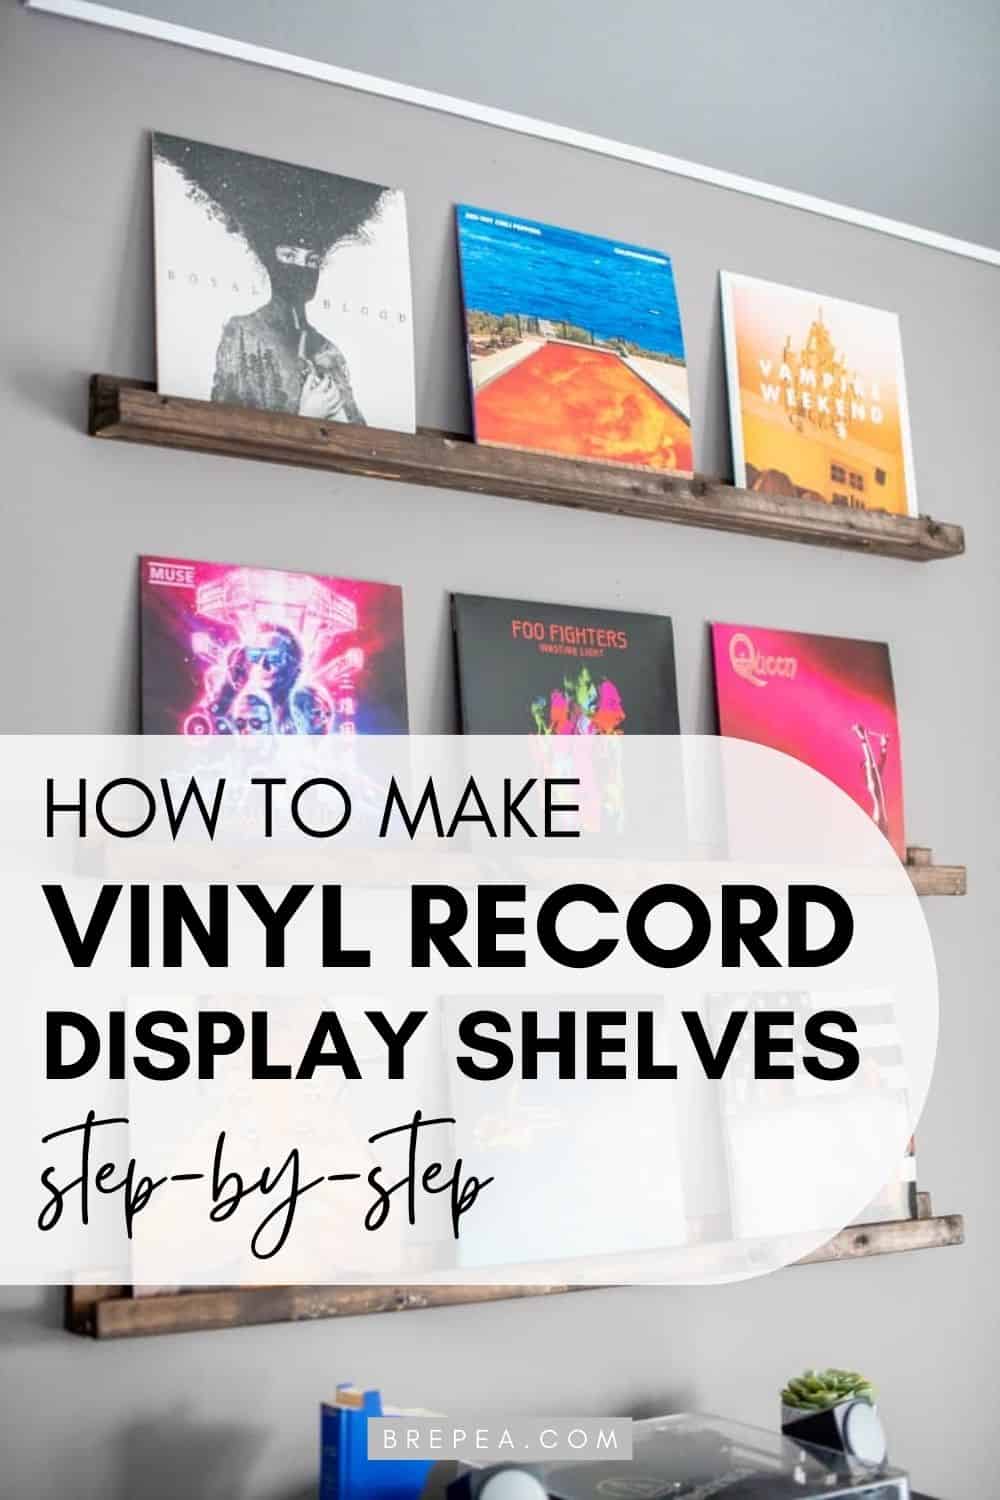
Step Seven: Hang your shelves
I used a stud finder to find the studs in our walls and then used long screws to attach the shelves to the wall.
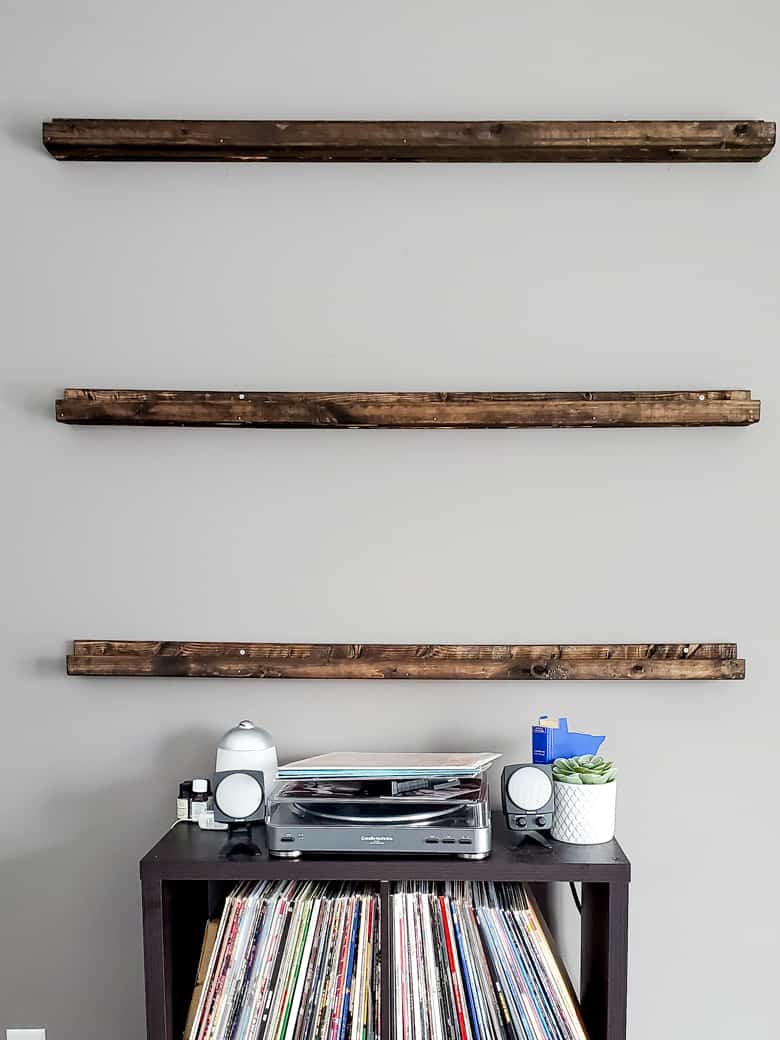
I knew that the records would cover the screws so I wasn’t super concerned about the fact that they weren’t even.
If you want the screws to be even, I would use a drywall anchor before screwing in. That way, you won’t have to make sure you screw into a stud.
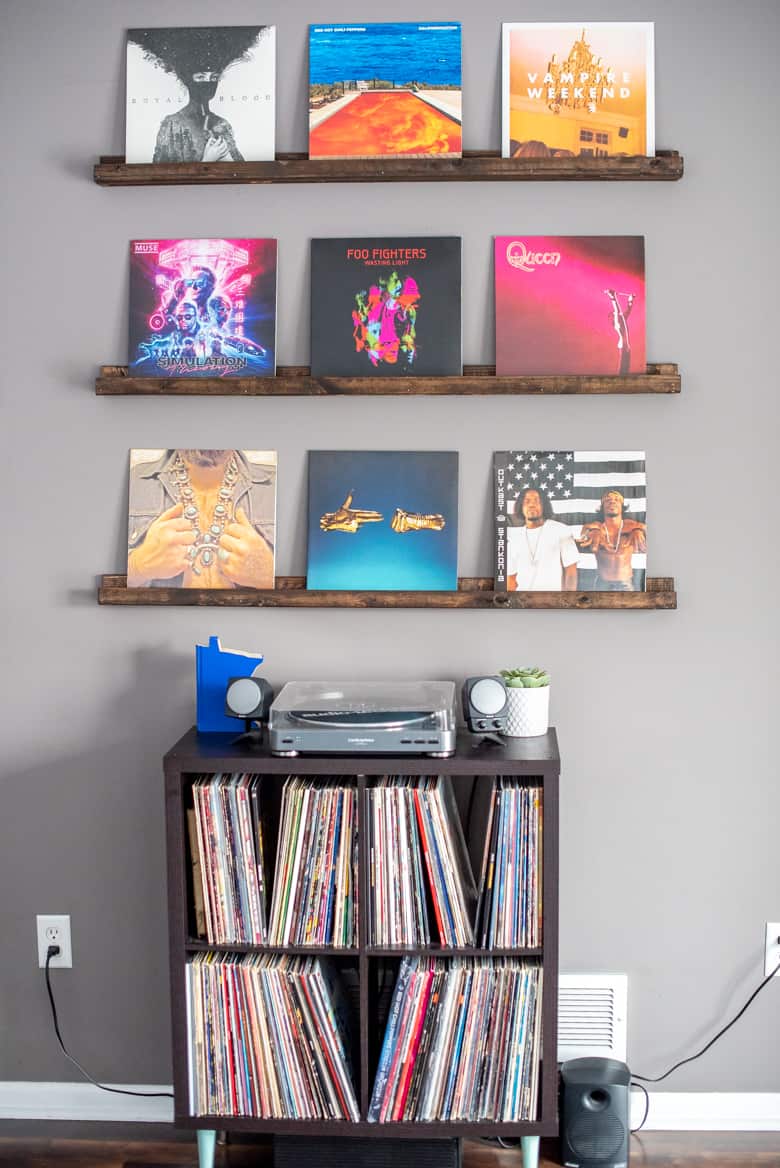
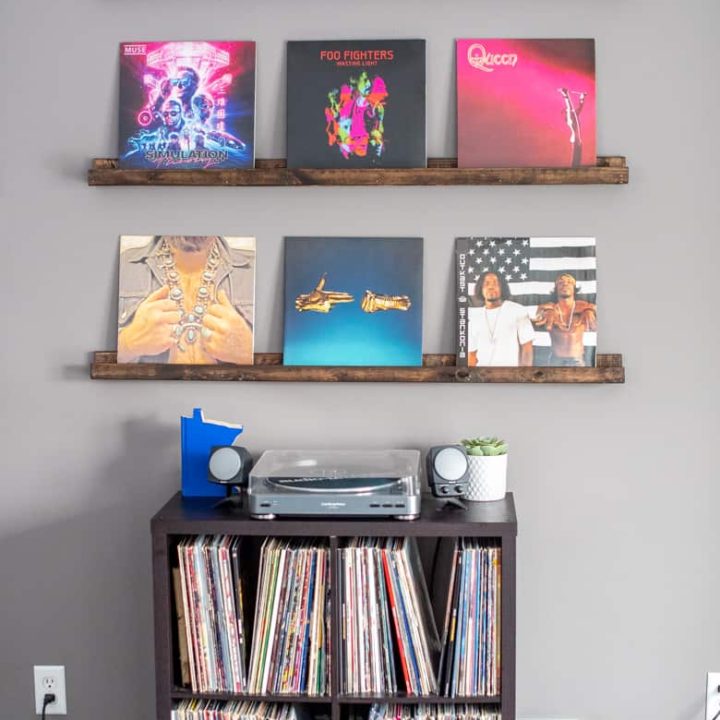
The best part about these shelves is that you can easily swap out the records.
Want to listen to one on the wall? Just pull it down.
Sick of the color scheme? Put up some new ones.
This is the thing I love the most about these shelves, they’re so easily versatile.
You might also be wondering: is it bad to hang vinyl records on the wall?
Long story short, if you take the necessary precautions. You want to protect your vinyl records against as much dust, moisture, direct sunlight, and heat as possible.
As long as the records are sitting as upright as possible, and they’re still in their inner sleeve, and the covers are protected, you should be OK.
After taking these photos, I can see how I need to prop them more upright so the vinyl doesn’t warp.
Also, make sure that the room you’re storing your vinyl records in doesn’t get too hot or humid which can also lead to warping.
And if you’re considering a vinyl record wall, chose a wall that isn’t in the path of direct sunlight.
You might also be wondering: how do I protect my vinyl record covers if they’re on the wall?
As I mentioned above, the key is to make sure the room your vinyl record wall is in is:
- out of direct sunlight
- protected from dust
- kept in a dry, temperature controlled room
One of the things that you can do is slip a clear sleeve over the record cover. I just ordered these crystal clear sleeves that will fit up to a double LP.

DIY Vinyl Record Wall Shelves
Materials
- 3 – 1×2 8 ft Wood Strips
- 2 – 1×3 8 ft Wood Strips
- Gorilla Wood Glue
- Minwax Stain in Espresso
- 15 – 1″ Panel Board Nails
- 15 – 1 1/4″ Wood Screws
- Foam Paint Brushes
- Rags
- Disposable Gloves
Tools
- Electric Drill
- 120 and 220 Grit Sandpaper
- Hammer
- Clamps
Instructions
- Sand down all your wood pieces. Begin with 120 grit sandpaper and end with 220 grit. Wipe away any sawdust.
- Glue a 1x2 to a 1x3 to create the bottom of the shelf. Use clamps to secure while it dries for 20-30 minutes.
- Remove the clamps and then screw the 1x2 into the 1x3 using 1 1/4" screws.
- Glue another 1x2 to the front of the 1x2 that you just screwed in to create the lip. Clamp and let dry for another 20-30 minutes.
- Remove the clamps and use trim nails to secure the 1x2.
- Stain your shelves following the instructions on your stain. Let dry for 24 hours.
Notes
Make sure not to use too much glue or the stain will resist wherever there is seepage onto the wood!


Amazing! Thank you so much for inspiration and step-by-step instructions! The shelves I made came out great. The one step I did additionally (suggested by the guy at the hardware store) was to use a wood conditioner before staining. It seemed to make a nice and noticeable difference. [Varathane’s Pre Stain Wood Conditioner]. Thanks again!
That’s a fantastic tip! Thanks for adding that note!
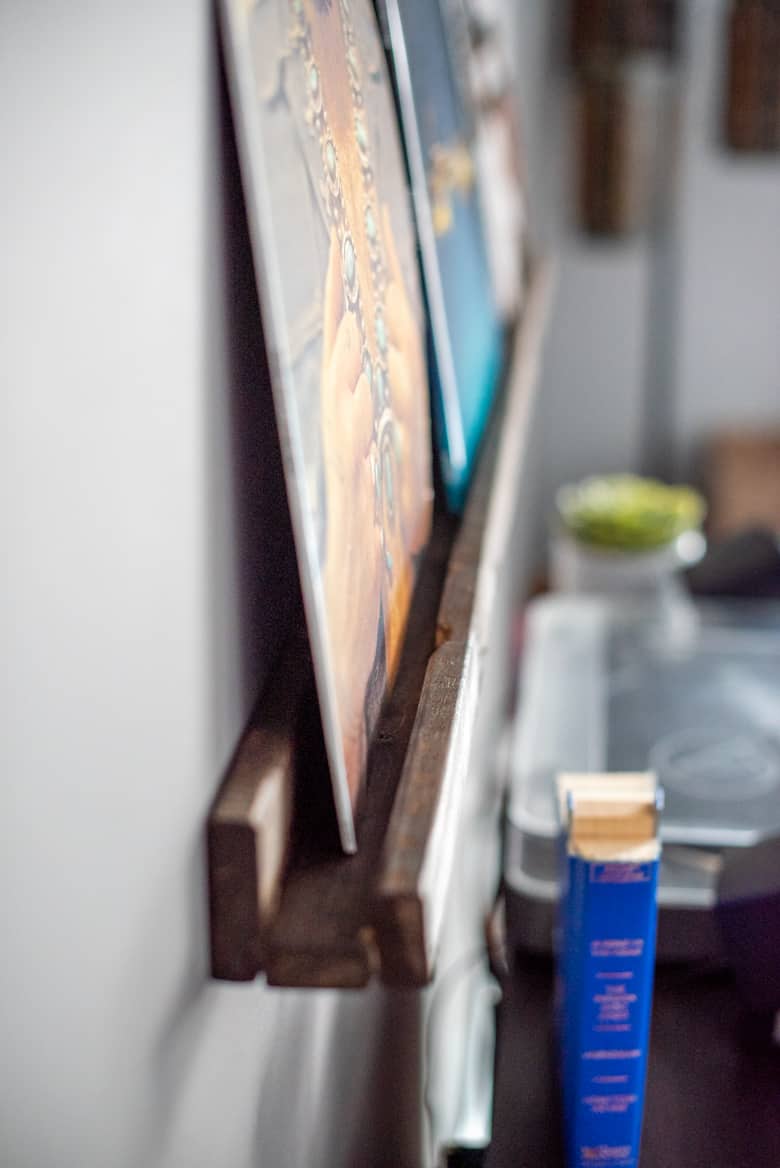
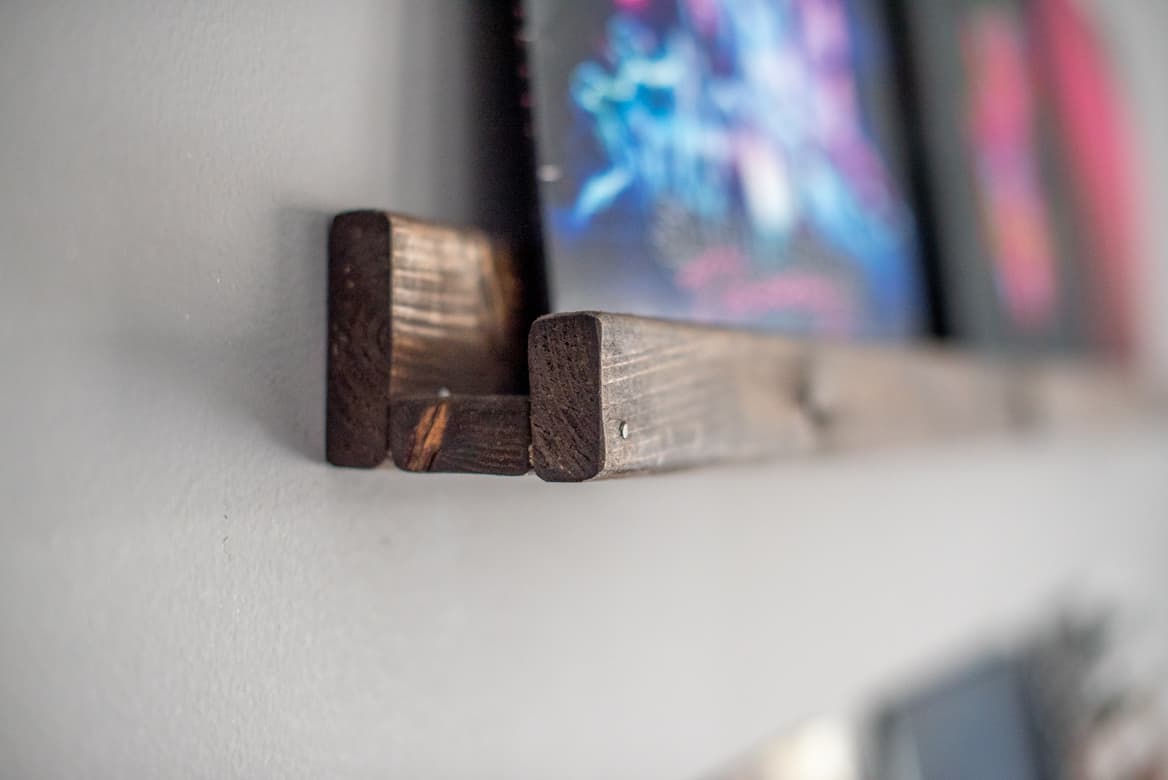
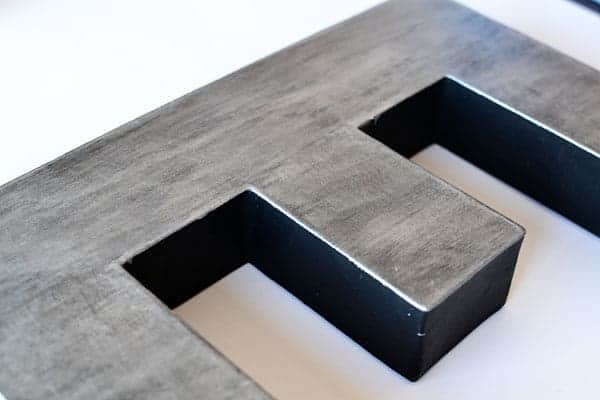
It doest look horrible but seeing as wood is now rounded on the edges, I might square the edges off for a cleaner look and possibly place the front 1×2 edge on top of the bottom.
With a squared bottom it would be a cleaner look and should help the records stand a little more upright. In fact, I might actually recommend only 1×3 and then ripping them square and then in half where you use the 1×2. I’ll try it and let you.know the results.
That’s a great idea, makes a ton of sense and something I didn’t think of! Plus would have saved me time sanding. Let me know how your project goes!