
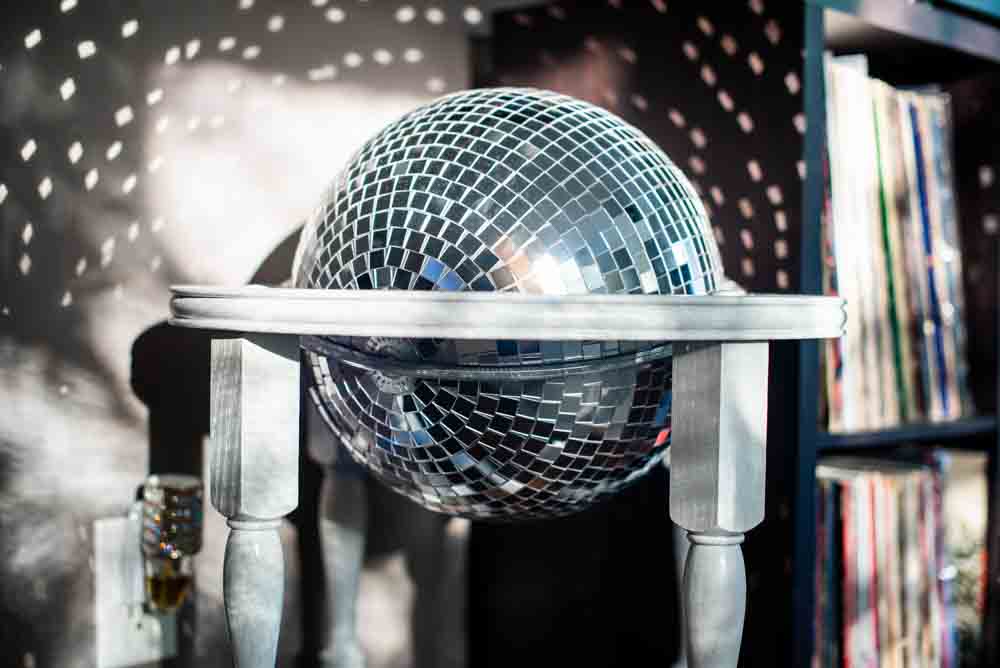
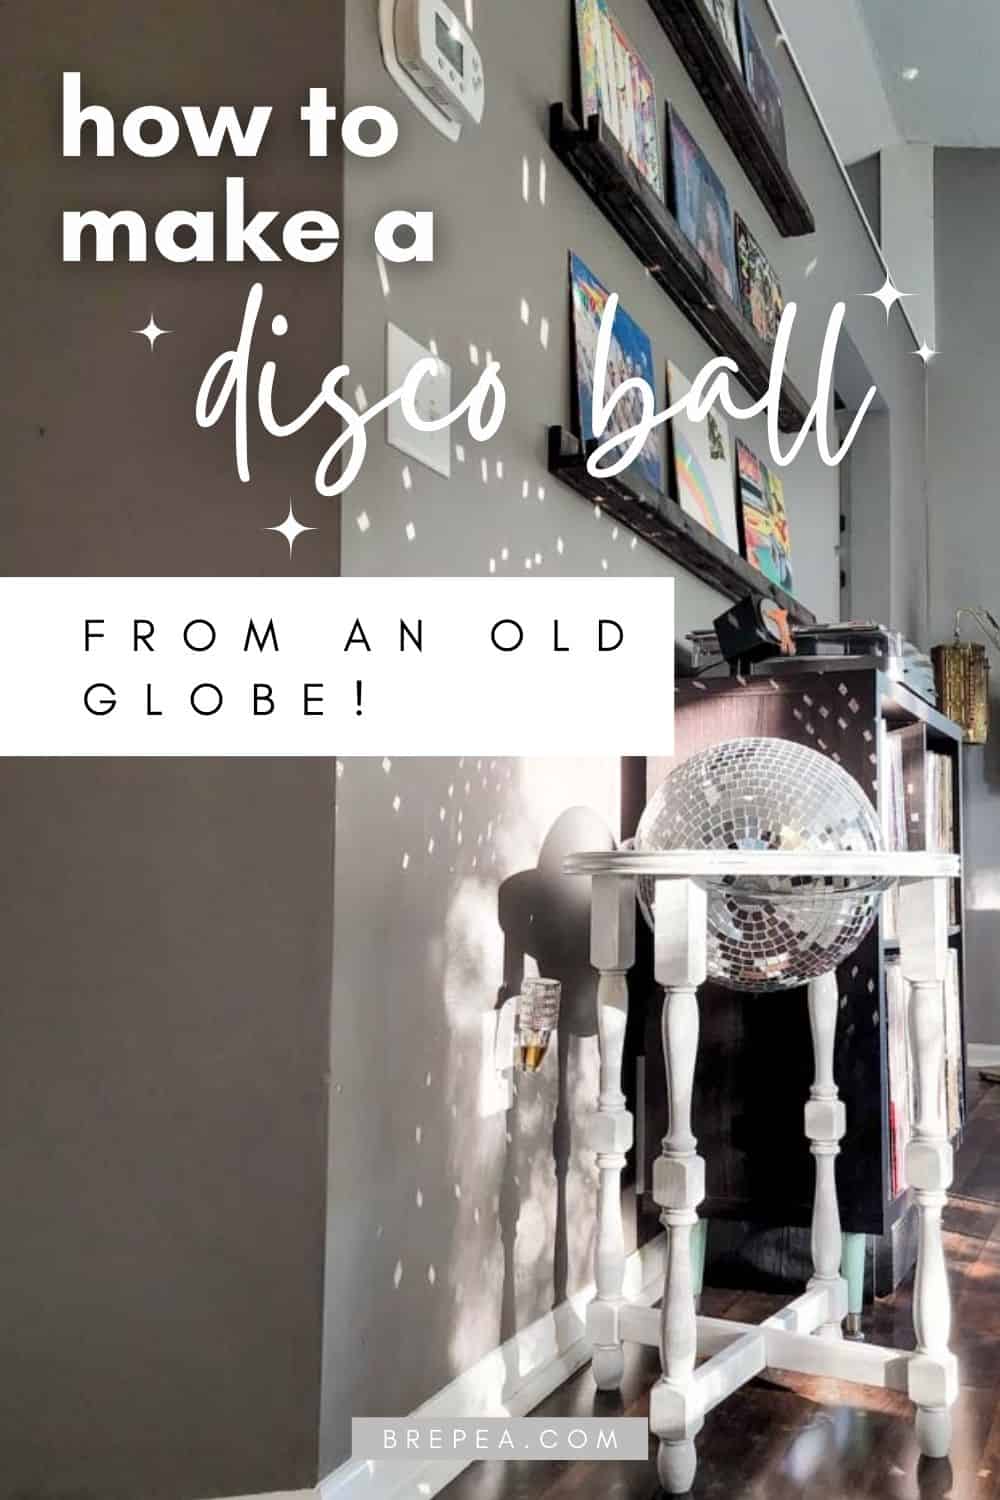
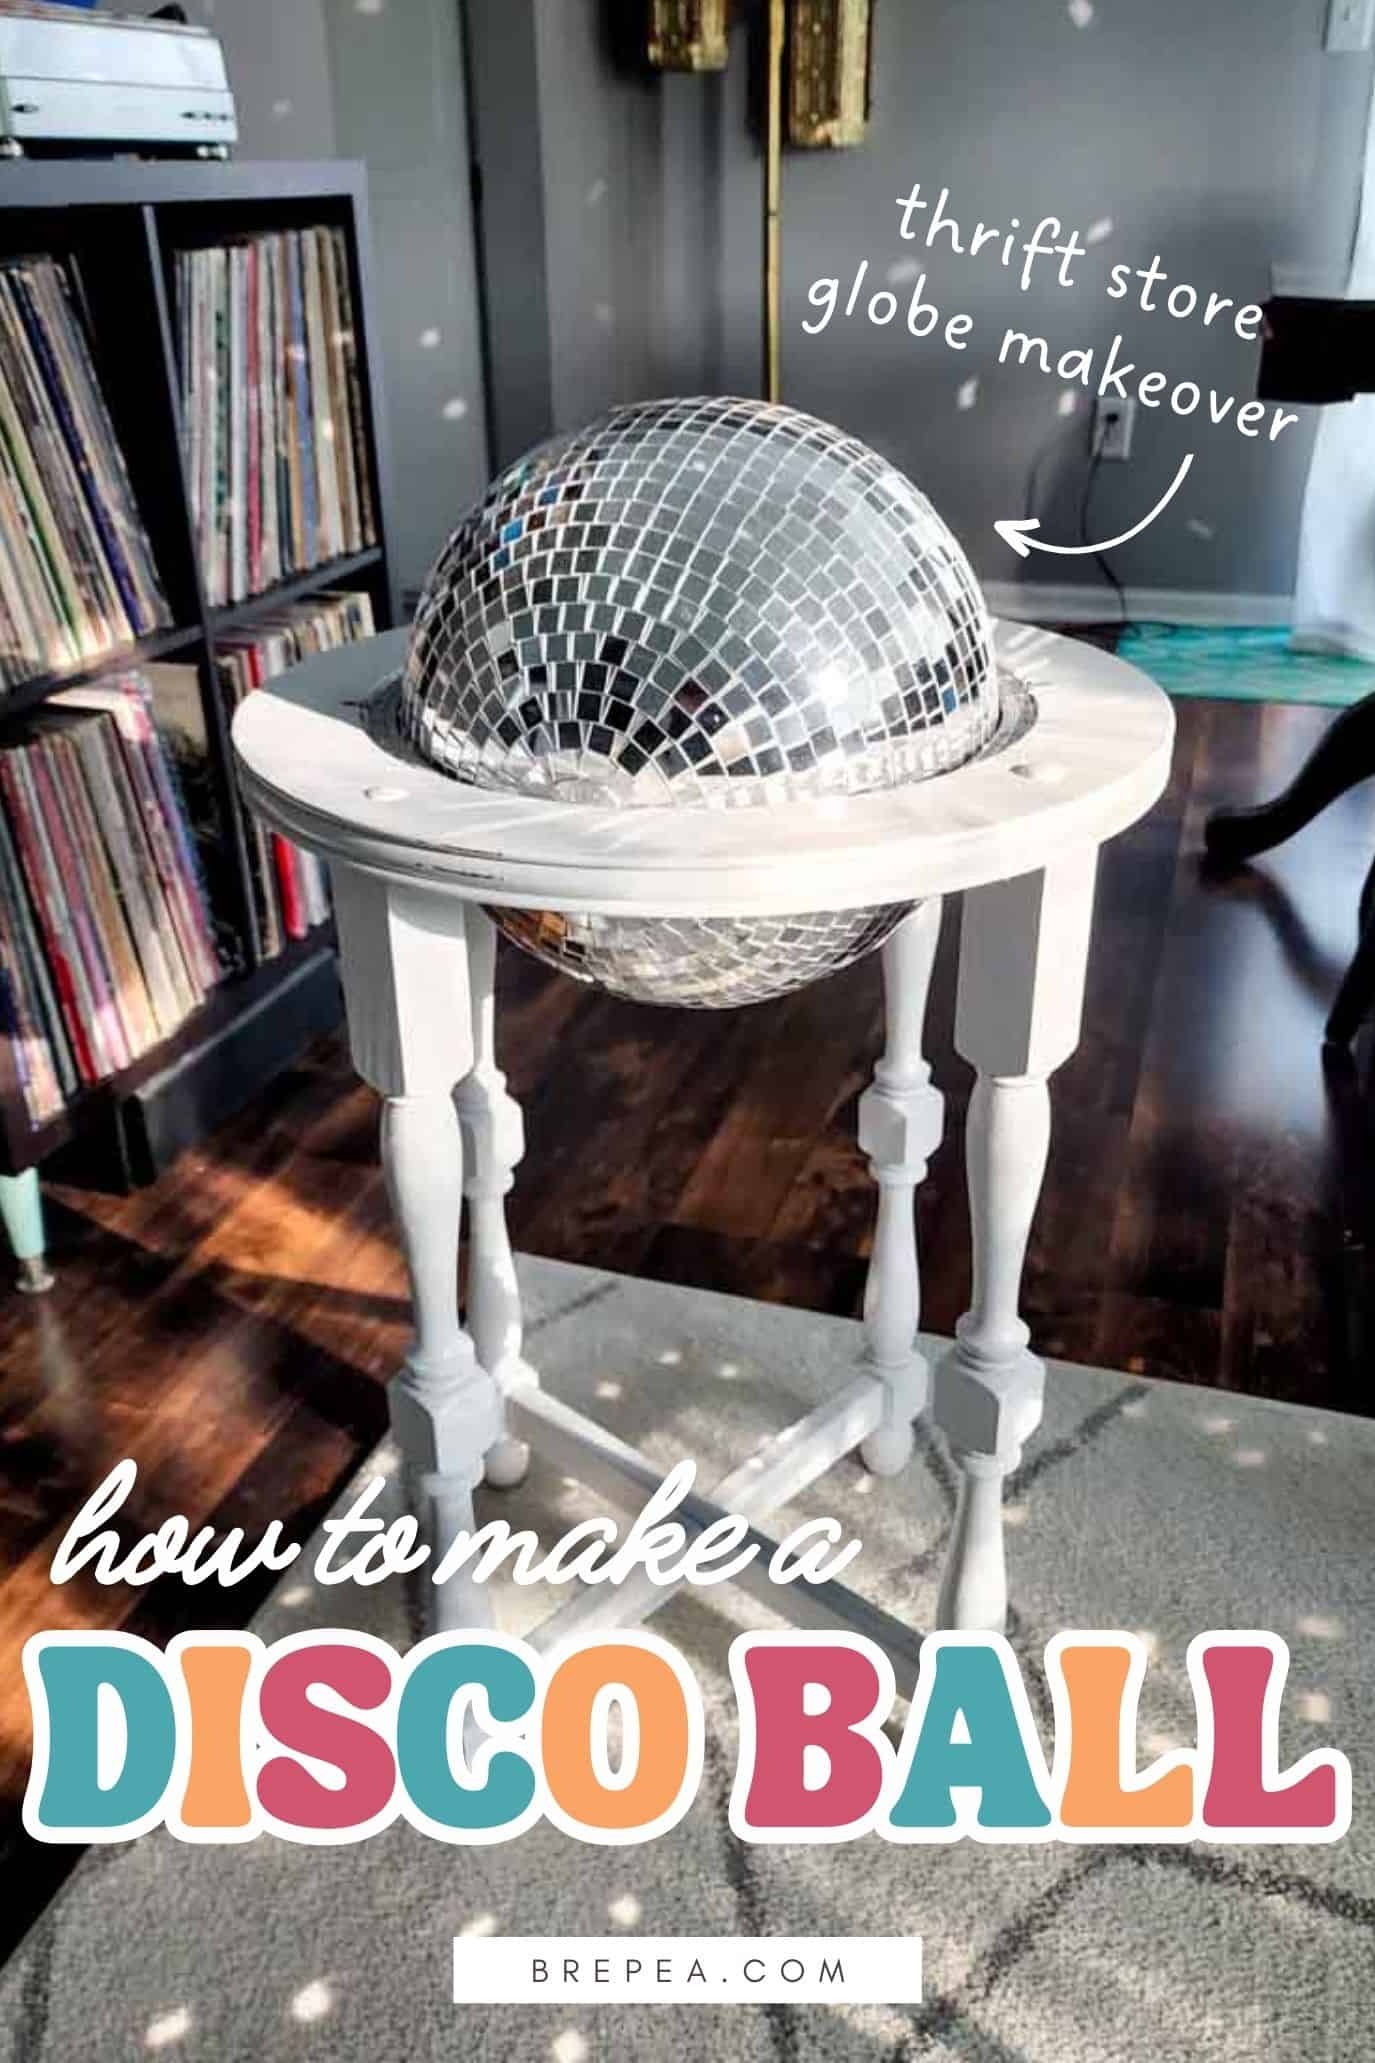
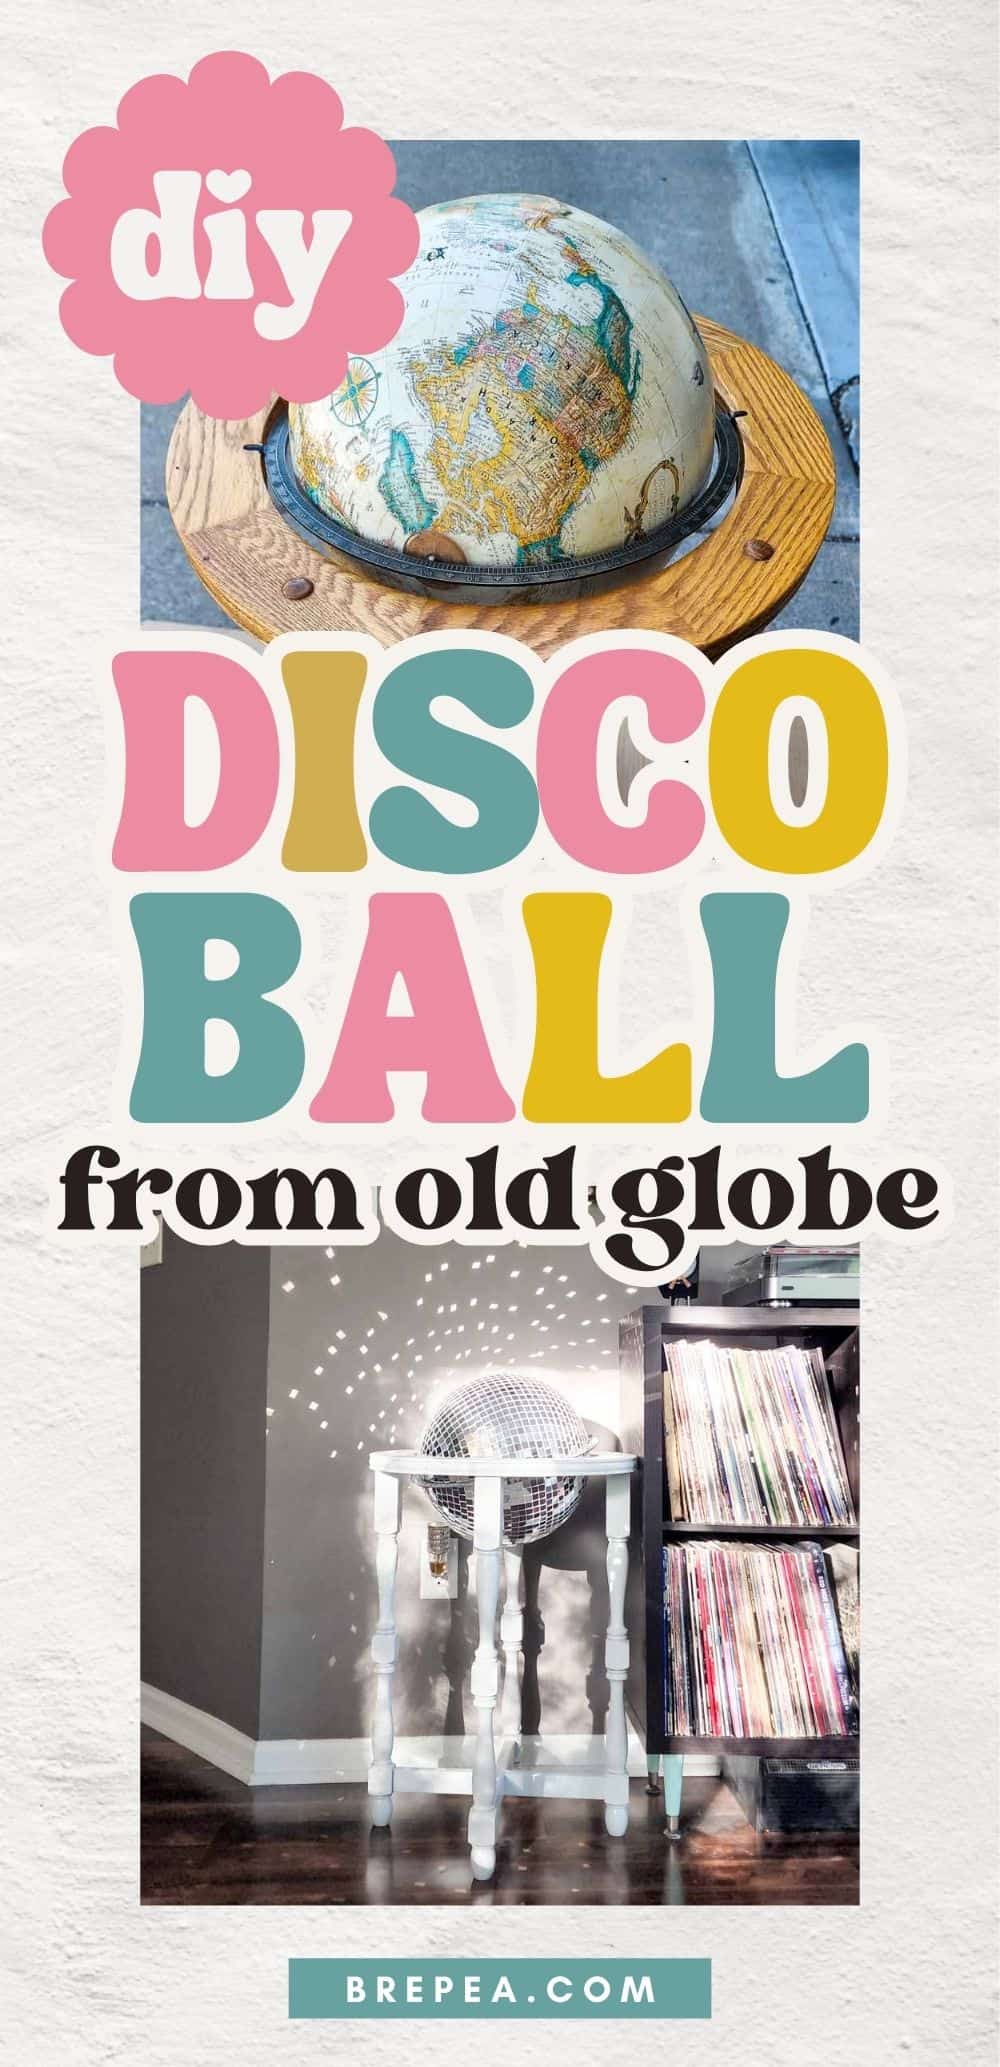
Turn a thrifted globe into a sparkly piece of retro home decor using spray paint and peel-and-stick mirror tiles. The globe gives you a sturdy, ready-made sphere, while the original stand makes it easy to display when you’re done.
Want to make your own disco ball without building the round base from scratch? A thrifted globe gives you the perfect sturdy sphere, and the stand turns it into one seriously fun piece of retro home decor.
In this tutorial I’ll show you how to make a DIY disco ball using an old globe, peel-and-stick mirror tiles, and spray paint. The process itself is simple, but I’m not going to lie: sticking on all those tiny mirrors takes some time.
The final result? Completely worth it.
A few years ago, I saw a disco ball bar cart on TikTok and immediately decided I needed to find a globe and cover it in mirrors. Because apparently being an adult does not mean I have to resist putting a disco ball in my living room. 😉
It took some searching, but I eventually found the perfect globe at my local thrift store.
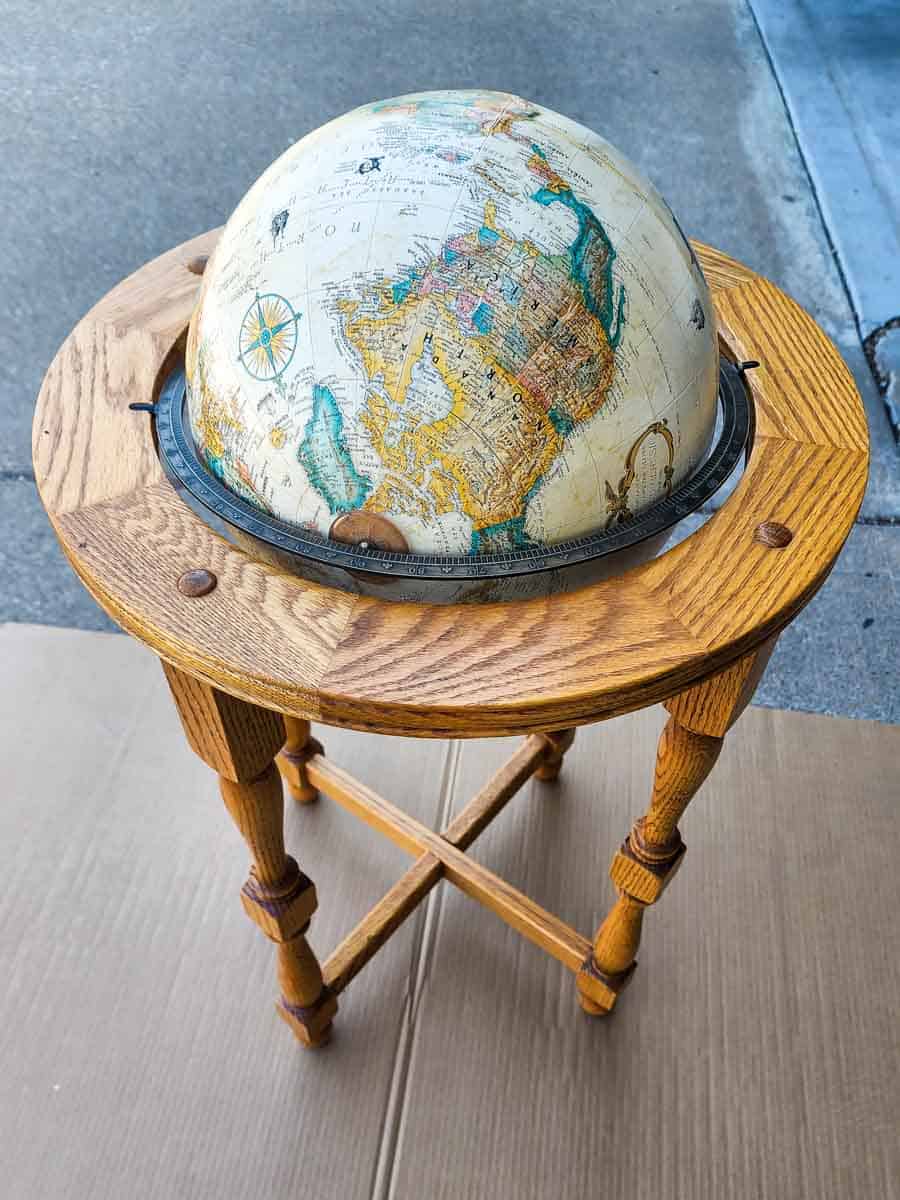
I had no plans to turn mine into a working bar like the original inspiration. I just wanted a sparkly, slightly ridiculous piece of decor to sit next to my record player and it turned out even better than I imagined.
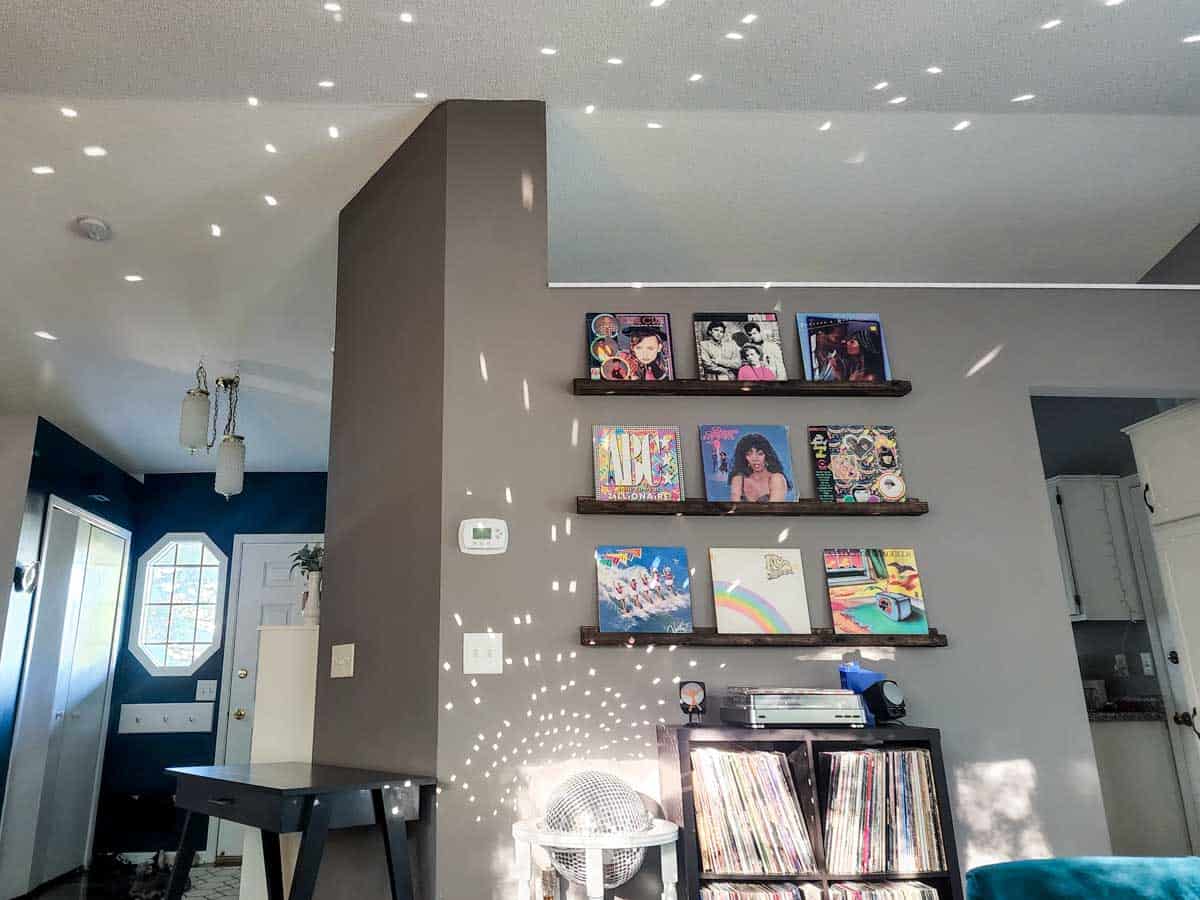
It fits perfectly next to my DIY vinyl record wall shelves, too.
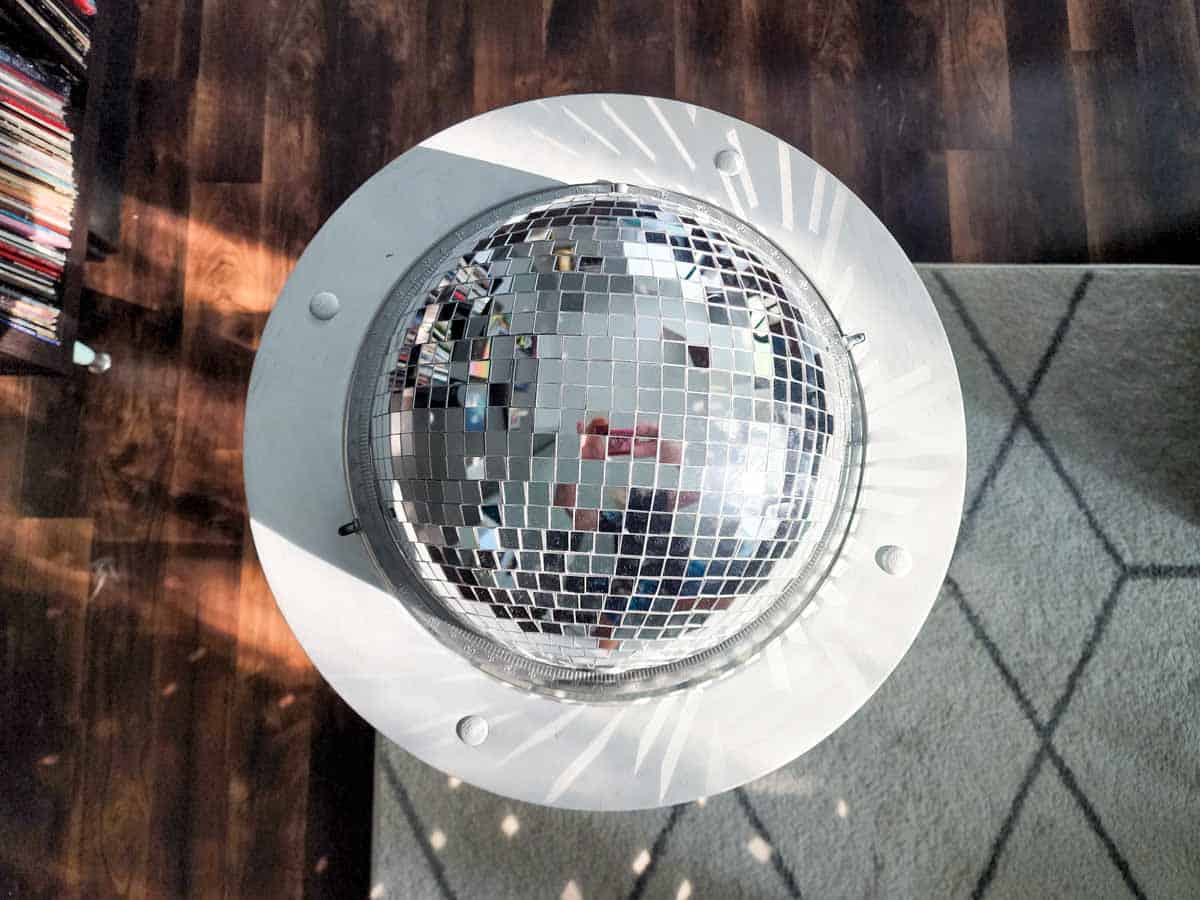
Why Use a Globe to Make a DIY Disco Ball?
A foam or craft ball may be the more obvious base for a homemade disco ball, but an old globe has a few major advantages:
- It is already perfectly round.
- It has a firm surface for attaching the tiles.
- The existing stand makes it easy to display.
- You can rotate it as you apply the mirrors.
- Globes are fairly easy to find secondhand.
- Cosmetic damage doesn’t matter because you’ll be covering the entire map.
The stand is what really makes this project special. Instead of creating a traditional hanging disco ball, you end up with a freestanding disco ball globe that can sit on a shelf, bar cart, party table, or anywhere else that could use a little more sparkle.
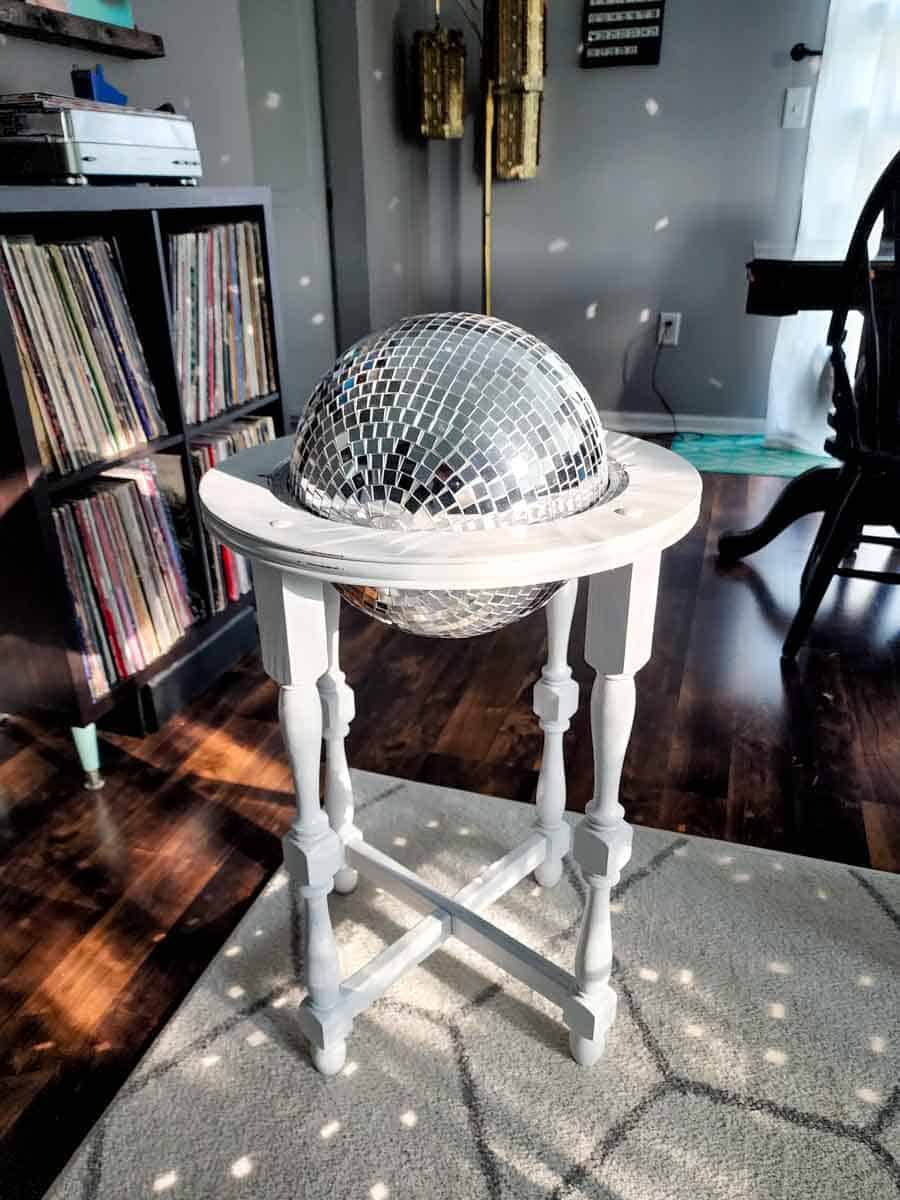
What Size Globe Works Best?
My globe measured approximately 20 inches in diameter.
A medium-size globe works especially well because it creates a substantial decor piece without requiring quite as many mirror tiles as a giant globe. Smaller globes will be faster and less expensive to cover, while larger globes will require more tiles, more time, and possibly a little more patience than you knew you had.
Whatever size you choose, look for a globe that:
- Turns smoothly on its stand
- Does not wobble or fall out of its supports
- Has a sturdy base
- Can be removed from the stand for painting
The condition of the map itself doesn’t matter. Scratches, outdated borders, and ugly colors are all welcome here. We’re covering the whole thing anyway!
DIY Disco Ball Globe Tutorial Snapshot
EASE: Great for the patient beginner
PROS: It’s glorious, sparkly, and fun!
CONS: It’s pretty time consuming
WOULD I MAKE THIS AGAIN? Absolutely, and I am!
DIY Disco Ball Globe Supplies You’ll Need
Any links below to supplies or tools used may be affiliate links and might earn me a small commission if you decide to purchase, thank you!
How to Make a Disco Ball Out of a Globe
Step 1: Remove the Globe from Its Stand
Carefully remove the globe from its stand and set aside any hardware or small pieces you’ll need when it’s time to put everything back together.
Before painting, wipe down the globe and stand to remove dust, dirt, or thrift-store mystery grime. Let everything dry completely.
If there are parts of the globe or stand you don’t want painted, cover them with painter’s tape.
Step 2: Spray Paint the Globe and Supports Silver
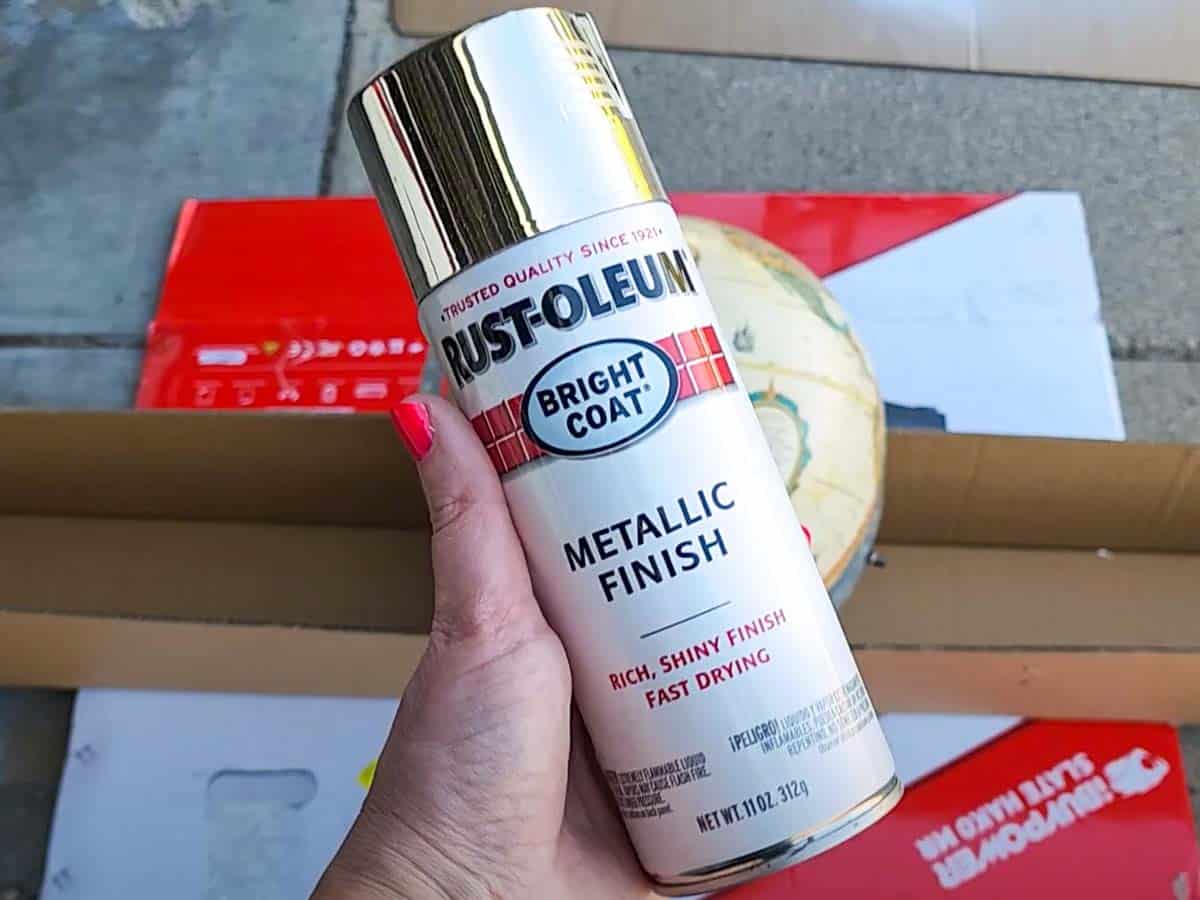
Give the globe a few light coats of chrome metallic spray paint, following the drying and recoating instructions on your specific can.
The silver paint helps camouflage the small spaces that will naturally appear between the mirror tiles. Without it, pieces of the original map may peek through and make those spaces much more noticeable.
I also painted the metal supports that wrap around the globe silver. You can do the same, or cover them with painter’s tape if you want to keep their original finish.
Use several light coats rather than one heavy coat to help prevent dripping.
Step 3: Paint the Globe Stand
I wasn’t a huge fan of the original wood tone on my globe stand, so I gave it a few coats of white semi-gloss spray paint.
You can:
- Leave the stand in its original finish
- Paint it white like mine
- Paint it silver to match the globe
- Choose a bright color for an even funkier finished piece
This part is completely optional, but paint is an easy way to make a secondhand globe feel more like your own.
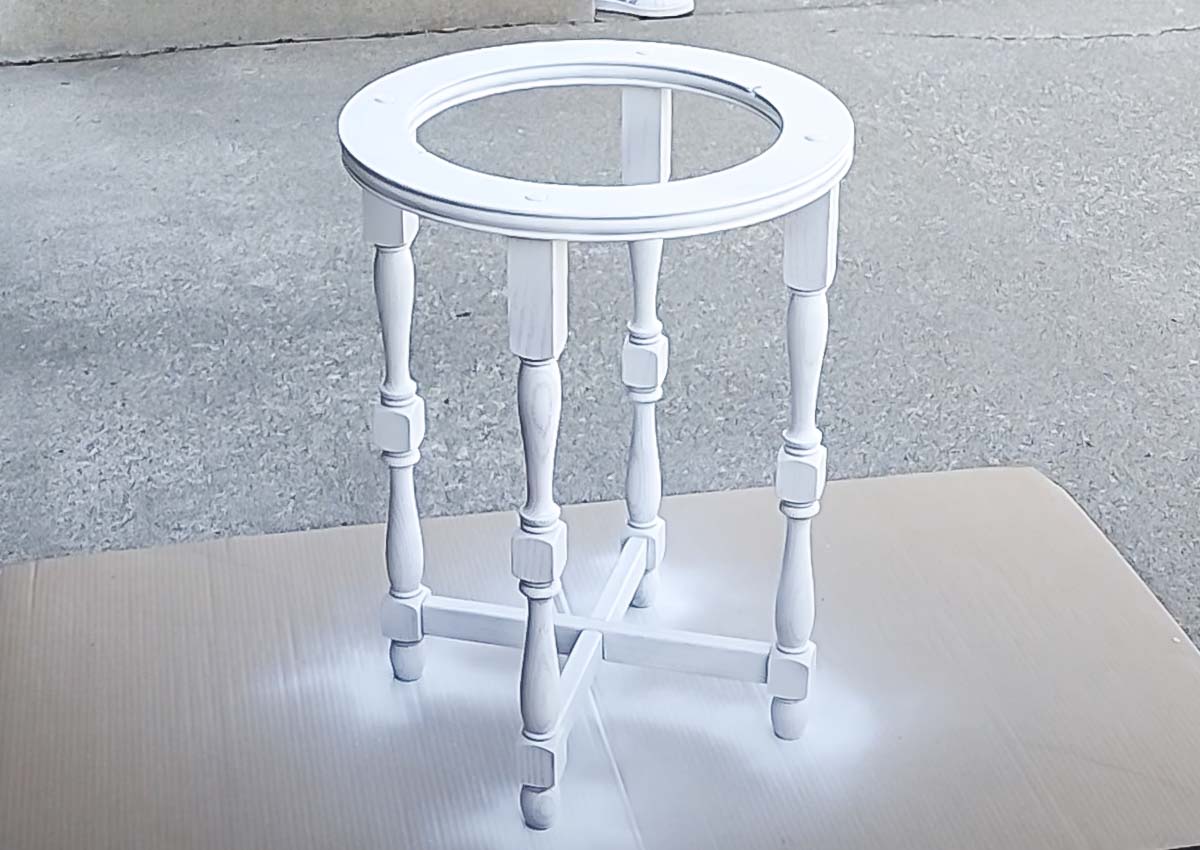
Allow the globe and stand to dry completely before attaching any mirror tiles.
Step 4: Begin Applying the Mirror Tiles
Start at the center of one end of the globe and place the first mirror tile directly over the pole.
Continue adding tiles around it, working in complete rows as you slowly move toward the opposite end of the globe.
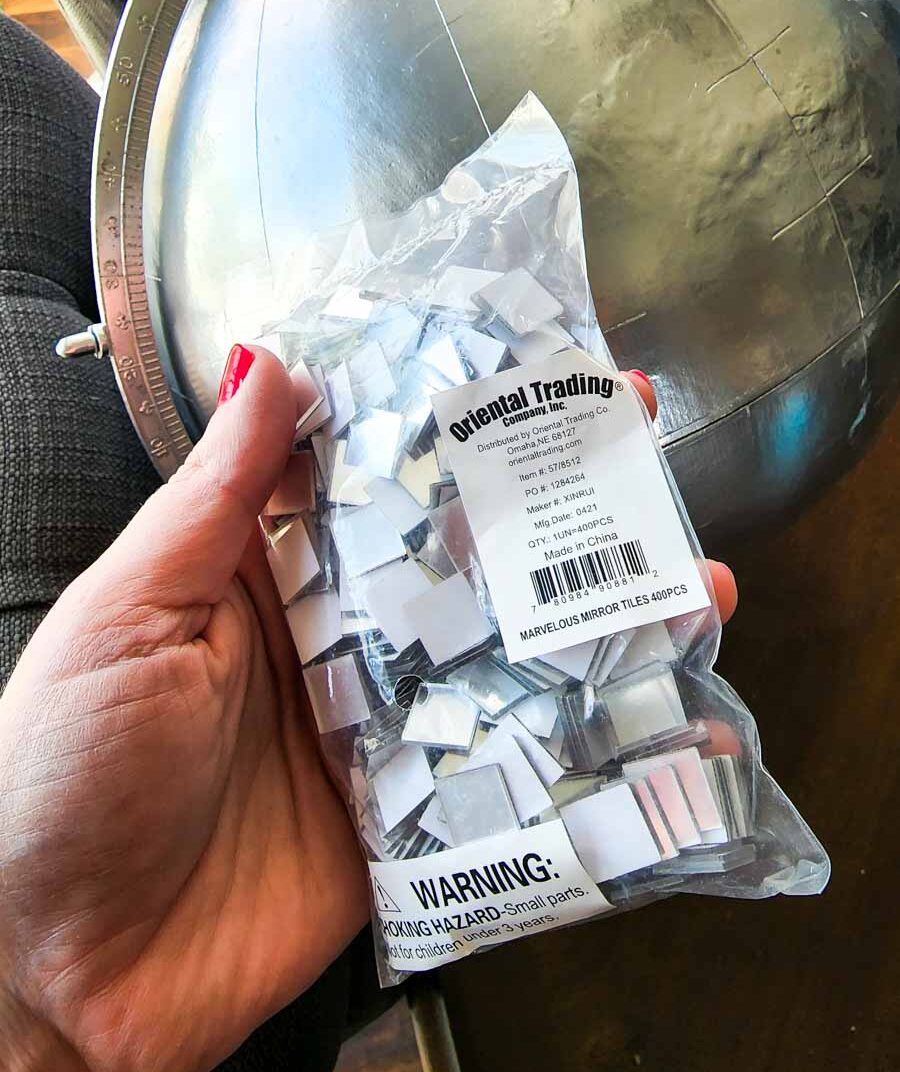
My tiles were peel-and-stick, so I did not need additional adhesive.
Here is my most important piece of advice:
Start at one end and keep working in the same direction.
Do not get bored halfway through and decide to start again from the opposite end.
Ask me how I know.
Starting from both sides can cause the rows to meet unevenly and make it much harder to maintain a consistent tile pattern. Work from one end all the way to the other, even when you’re very tempted to change things up.
Step 5: Adjust the Spacing as You Work
The tiles near the top and bottom of the globe will naturally have slightly larger, triangle-shaped spaces between them.
That is normal.
A globe is curved in multiple directions, while the tiles are flat and square. The gaps will gradually become smaller as you move toward the widest part of the globe.
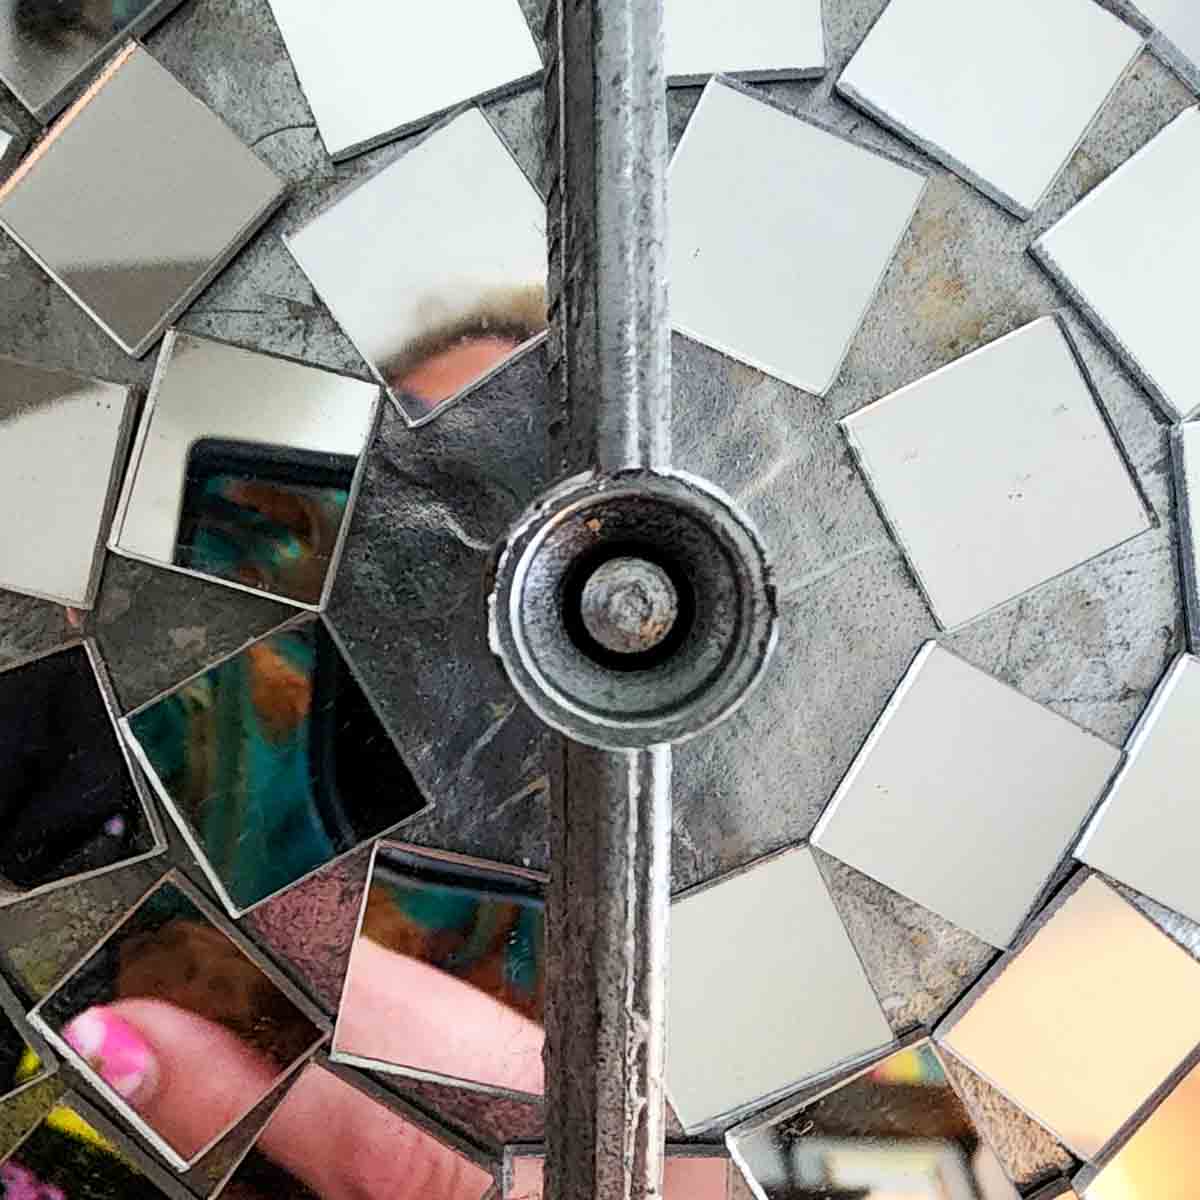
Some rows may line up almost perfectly. Others may leave too much space between the first and last tile in the row.
When that happened, I gently removed a few tiles and spaced them slightly farther apart around the row. Making tiny adjustments between several tiles looks much better than leaving one large gap at the end.
This is another reason I liked using peel-and-stick tiles. I could reposition them before pressing everything down firmly.
Step 6: Continue Until the Globe Is Covered
Continue applying the tiles row by row until you reach the opposite end of the globe.
This is the part that takes the most time, so put on a movie, podcast, or playlist and settle in.
You do not need every space to be mathematically perfect. Once the entire globe is covered, all the mirrors and reflections make tiny differences in spacing much less noticeable.
Take your time, but do not let perfectionism steal the fun of the project.
Step 7: Remove the Protective Film
Once the globe is completely covered, remove the protective plastic film from every mirror tile.
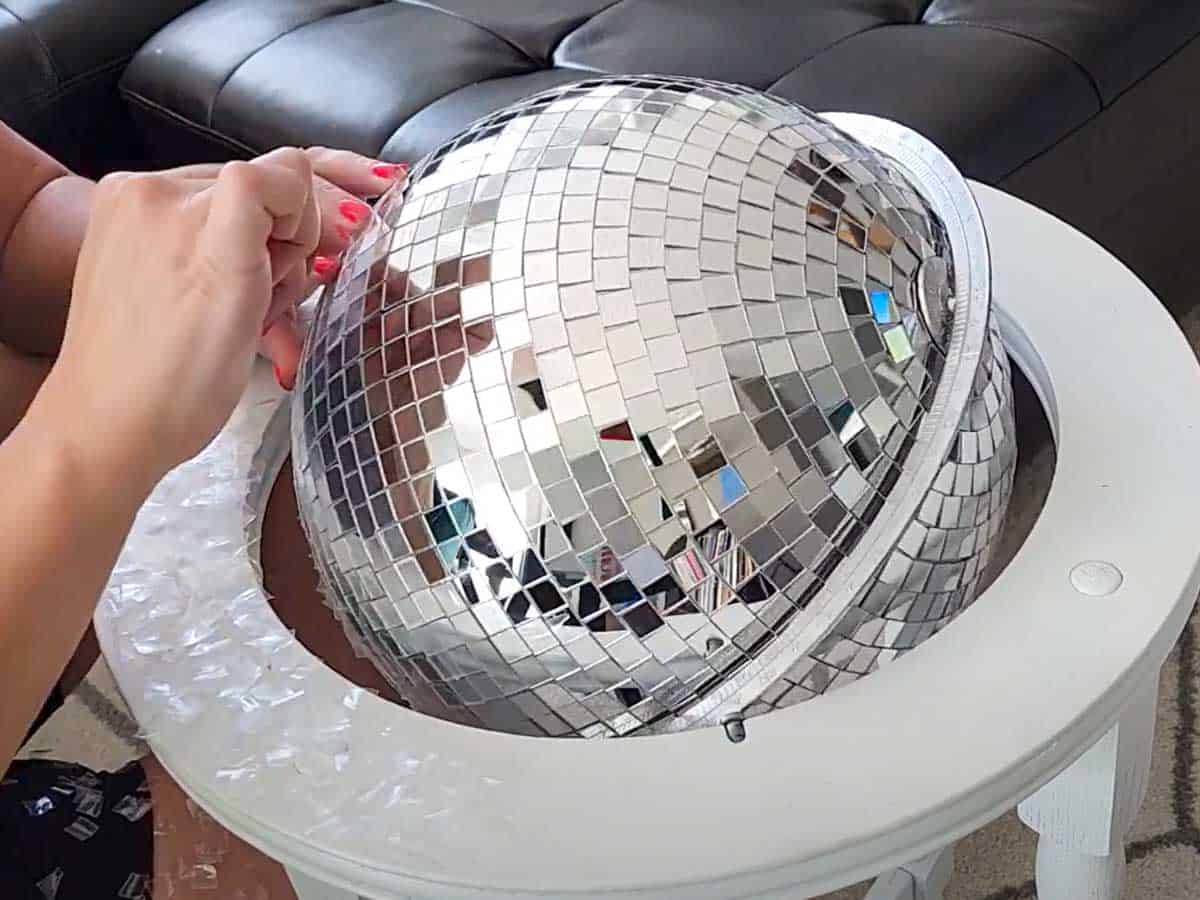
Is this tedious? Yes.
Is it also extremely satisfying when all those cloudy little squares suddenly turn into shiny mirrors? Also yes.
If your tiles do not have protective film, you can skip this step.
Tips for Applying Mirror Tiles to a Globe
Here are the things I would want to know before starting this project:
Buy More Tiles Than You Think You Need
I originally ordered two bags and ended up needing four. Having to pause midway through the project while waiting for more tiles was not ideal.
The amount you need will depend on your globe size, tile size, spacing, and the number of tiles in each package.
Work from One End to the Other
Do not begin at both poles and try to meet in the middle. Maintaining one continuous tile pattern will give you a much more consistent result.
Expect Small Gaps
Flat square tiles cannot sit perfectly flush on every part of a round globe. Small triangular spaces are normal, especially near the poles.
Painting the globe silver first helps those gaps blend in.
Check Each Row Before Moving On
Before pressing the tiles down firmly, look at where the final tile in the row will meet the first. If the gap is too large, reposition several tiles and distribute the extra space around the entire row.
Take Your Time
This is not a difficult DIY, but it is a time-consuming one. Rushing will not make it go dramatically faster, and you’ll probably be happier with the result if you accept that this is a put-on-a-good-show-and-settle-in kind of project.
Do Peel-and-Stick Mirror Tiles Need Extra Adhesive?
I did not need to add any adhesive to my peel-and-stick mirror tiles. They attached directly to the painted globe and could still be gently repositioned while I worked.
Before covering your entire globe, attach a few test tiles and make sure they stick securely to your painted surface.
If your tiles don’t have adhesive backing, use an adhesive recommended by the tile manufacturer and make sure it is compatible with both the mirror backing and the surface of your globe.
I wouldn’t automatically add hot glue or another strong adhesive to peel-and-stick tiles. Extra adhesive could make them difficult to reposition and may create bumps underneath the mirrors.
How to Display a Disco Ball Globe
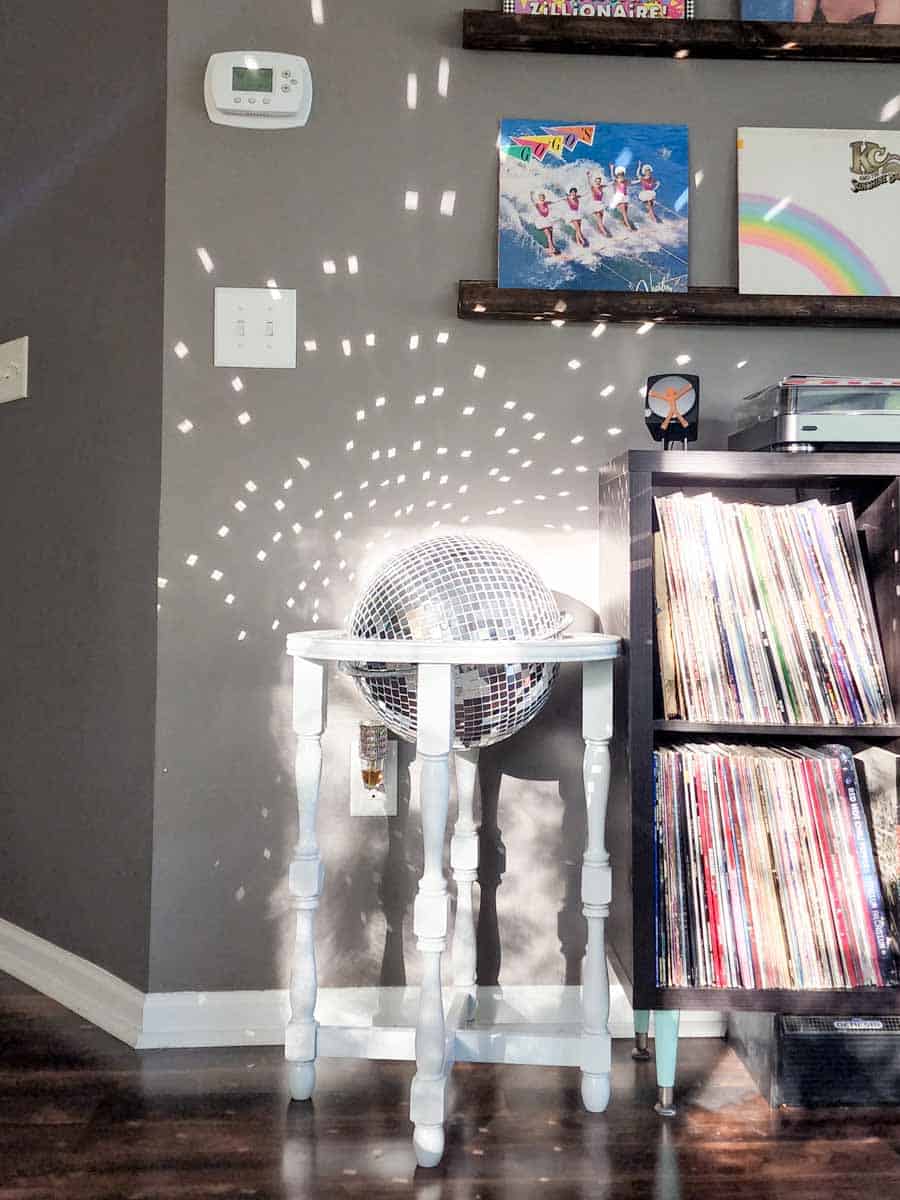
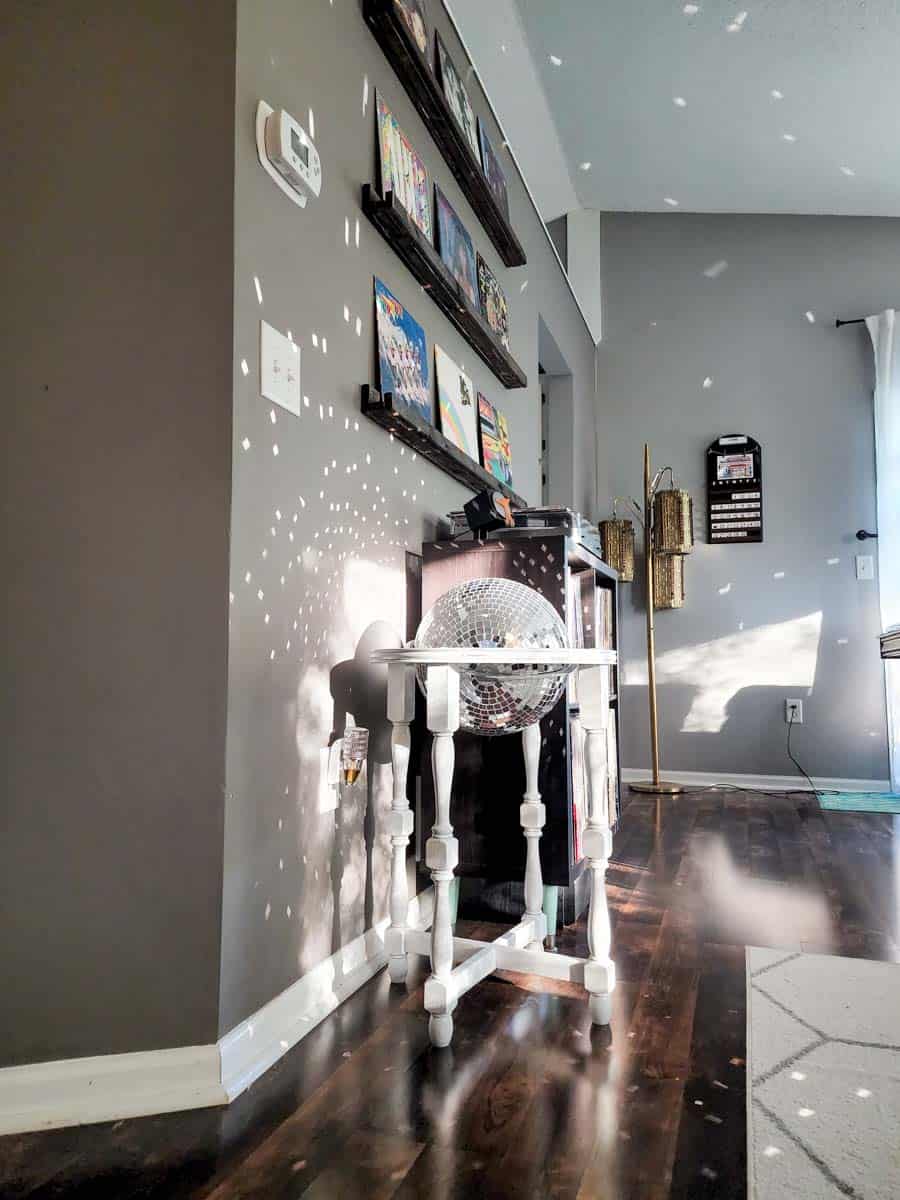
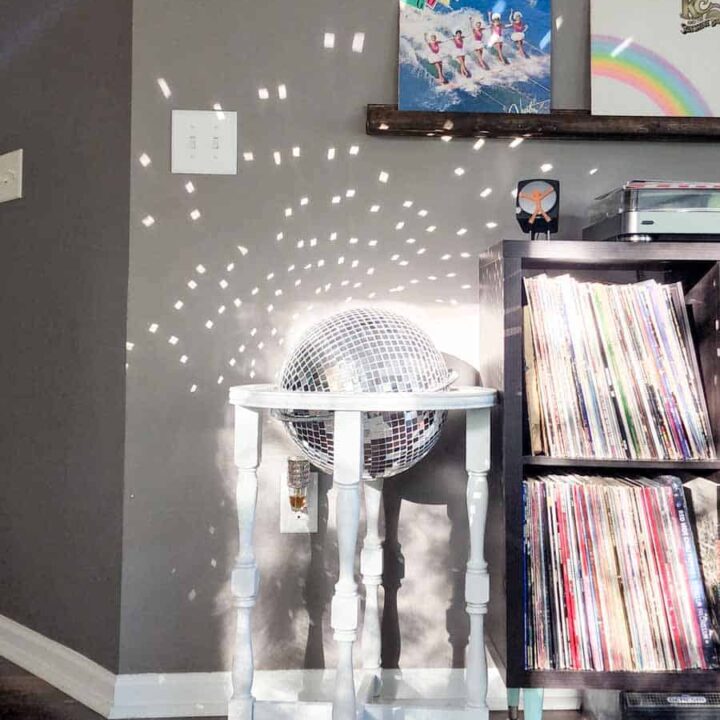
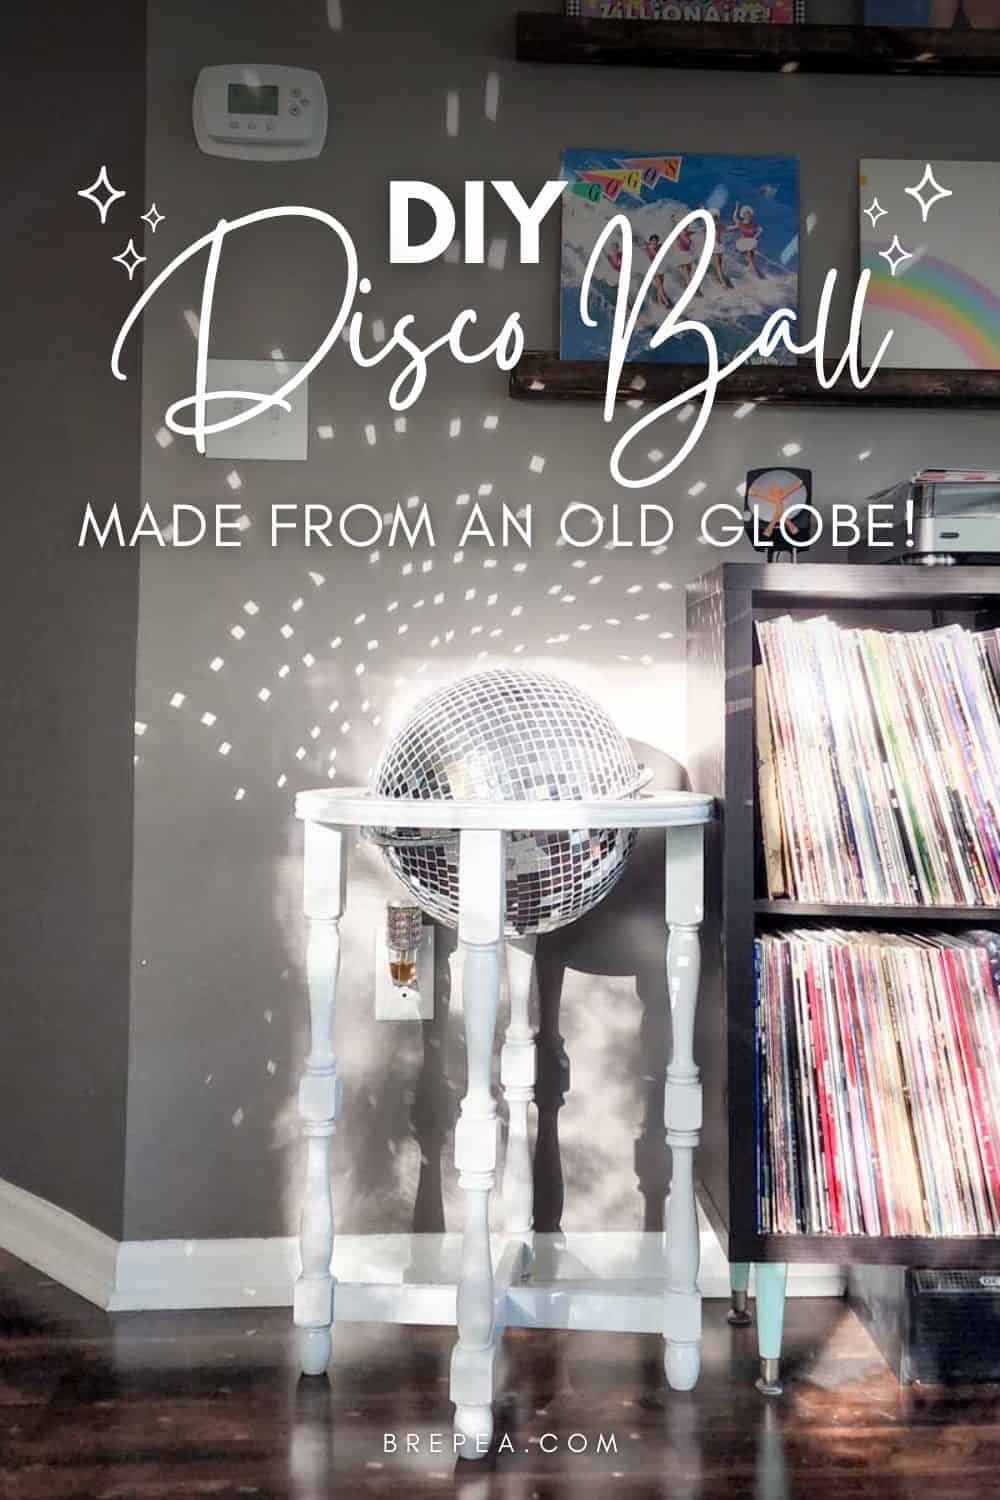
My disco ball globe sits next to my record player, which feels like exactly where it was meant to be.
You could also display yours:
- On a bar cart
- On a bookshelf
- In a sunny corner
- On an entryway table
- In a creative studio or craft room
- As party or wedding decor
- In the center of a retro-themed tablescape
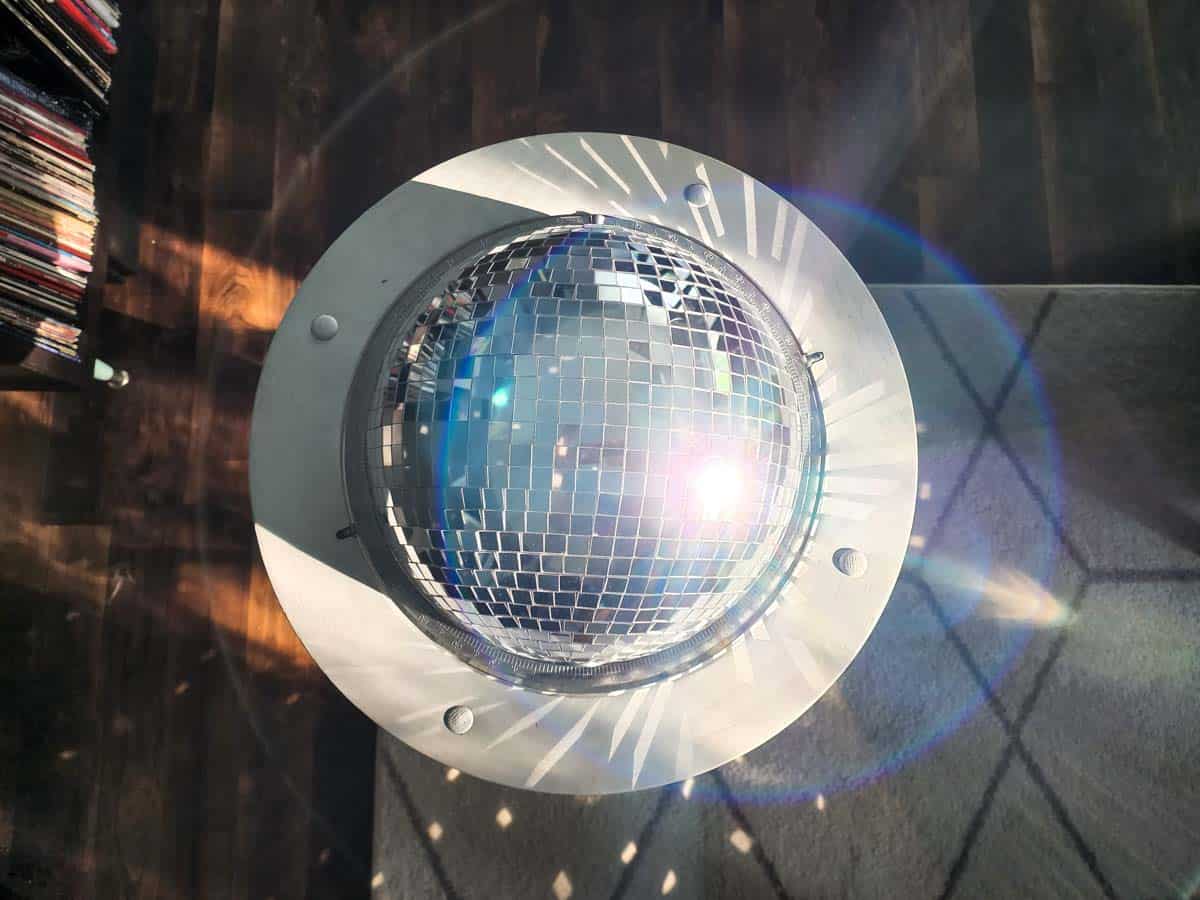
Place it somewhere that receives direct sunlight or a strong beam of light. When the light hits the mirrors, it throws tiny reflections around the room and makes the whole thing even more fun.
It also spins in its original stand, which my nieces and nephews discovered approximately three seconds after seeing it.
FAQs About Making a Disco Ball
Q: How long does it take to make a DIY disco ball?
A: Plan on several hours of hands-on work, depending on the size of your globe and how quickly you apply the tiles. The project is simple, but covering the globe and removing all the protective film takes time.
Q: Can I use any type of adhesive for the mirror tiles?
A: Peel and stick mirror tiles work best for this project, as they are easy to adjust and reposition if needed.
Q: Do I need to paint the globe and stand?
A: Painting the globe and stand with silver and white spray paint helps camouflage gaps and create a cohesive look, but you can customize it to your preference.
Q: Where can I find an old globe for this project?
A: Check thrift stores, garage sales, estate sales, flea markets, and online marketplaces.
Don’t worry about finding a globe with a beautiful or current map. Focus on whether the globe and its stand are sturdy and in good working condition.
Is Making a Disco Ball from a Globe Worth It?
If you want the fastest possible way to get a disco ball, buying one will obviously be easier.
But where is the fun in that?
This project turns a common secondhand find into a completely unexpected piece of decor. It is sparkly, nostalgic, a little over-the-top, and exactly the kind of thing that makes a room feel more personal.
Yes, applying all the tiles takes some patience. But every time the sunlight hits mine and sends tiny reflections across the room, I’m glad I made it.
So go find yourself an old globe, turn on a good playlist, and make something good.
Your daily disco party is waiting!
DIY Disco Ball Globe
Turn an old thrifted globe into a sparkly DIY disco ball using spray paint and peel-and-stick mirror tiles. The built-in stand makes it a fun retro decor piece for a shelf, bar cart, party table, or music room.
Materials
- Old globe
- Silver spray paint
- Peel-and-stick mirror mosaic tiles
- White semi-gloss spray paint (optional)
Instructions
- Carefully remove the globe from its stand and set aside any hardware needed for reassembly.
- Clean the globe and stand to remove dust and dirt. Allow them to dry completely.
- Apply several light coats of chrome metallic spray paint to the globe. Paint the metal supports silver as well, or cover them with painter’s tape to preserve their original finish.
- Leave the stand as-is or paint it with white semi-gloss spray paint. Allow all painted pieces to dry completely.
- Beginning at the center of one pole, attach the peel-and-stick mirror tiles in complete rows. Continue working in one direction from one end of the globe to the other.
- Check the spacing before pressing each row down firmly. When necessary, reposition several tiles to distribute any extra space evenly rather than leaving one large gap.
- Continue adding tiles until the globe is completely covered. Small triangular gaps near the poles are normal.
- Remove the protective film from each mirror tile.
- Carefully return the globe to its stand and replace the hardware.


This is such a fun and creative idea, love the mix of retro vibes and sparkle. Who says adults can’t have a little disco in their decor. this is soo amazing dear.
That’s right! Just because you’re an “adult” doesn’t mean you have to follow any sort of boring decor rules 😉