Learn how to make melted plastic popcorn Halloween decorations with polymer clay to recreate that bumpy vintage look! Follow the step-by-step tutorial and join my email list to download the free printable ghost, cat, and pumpkin patterns.
I’m pretty sure every house in the 80s had these, and we were one of those houses. I’m talking about those bumpy, melted plastic popcorn holiday decorations that everyone seemed to have hanging on their walls!
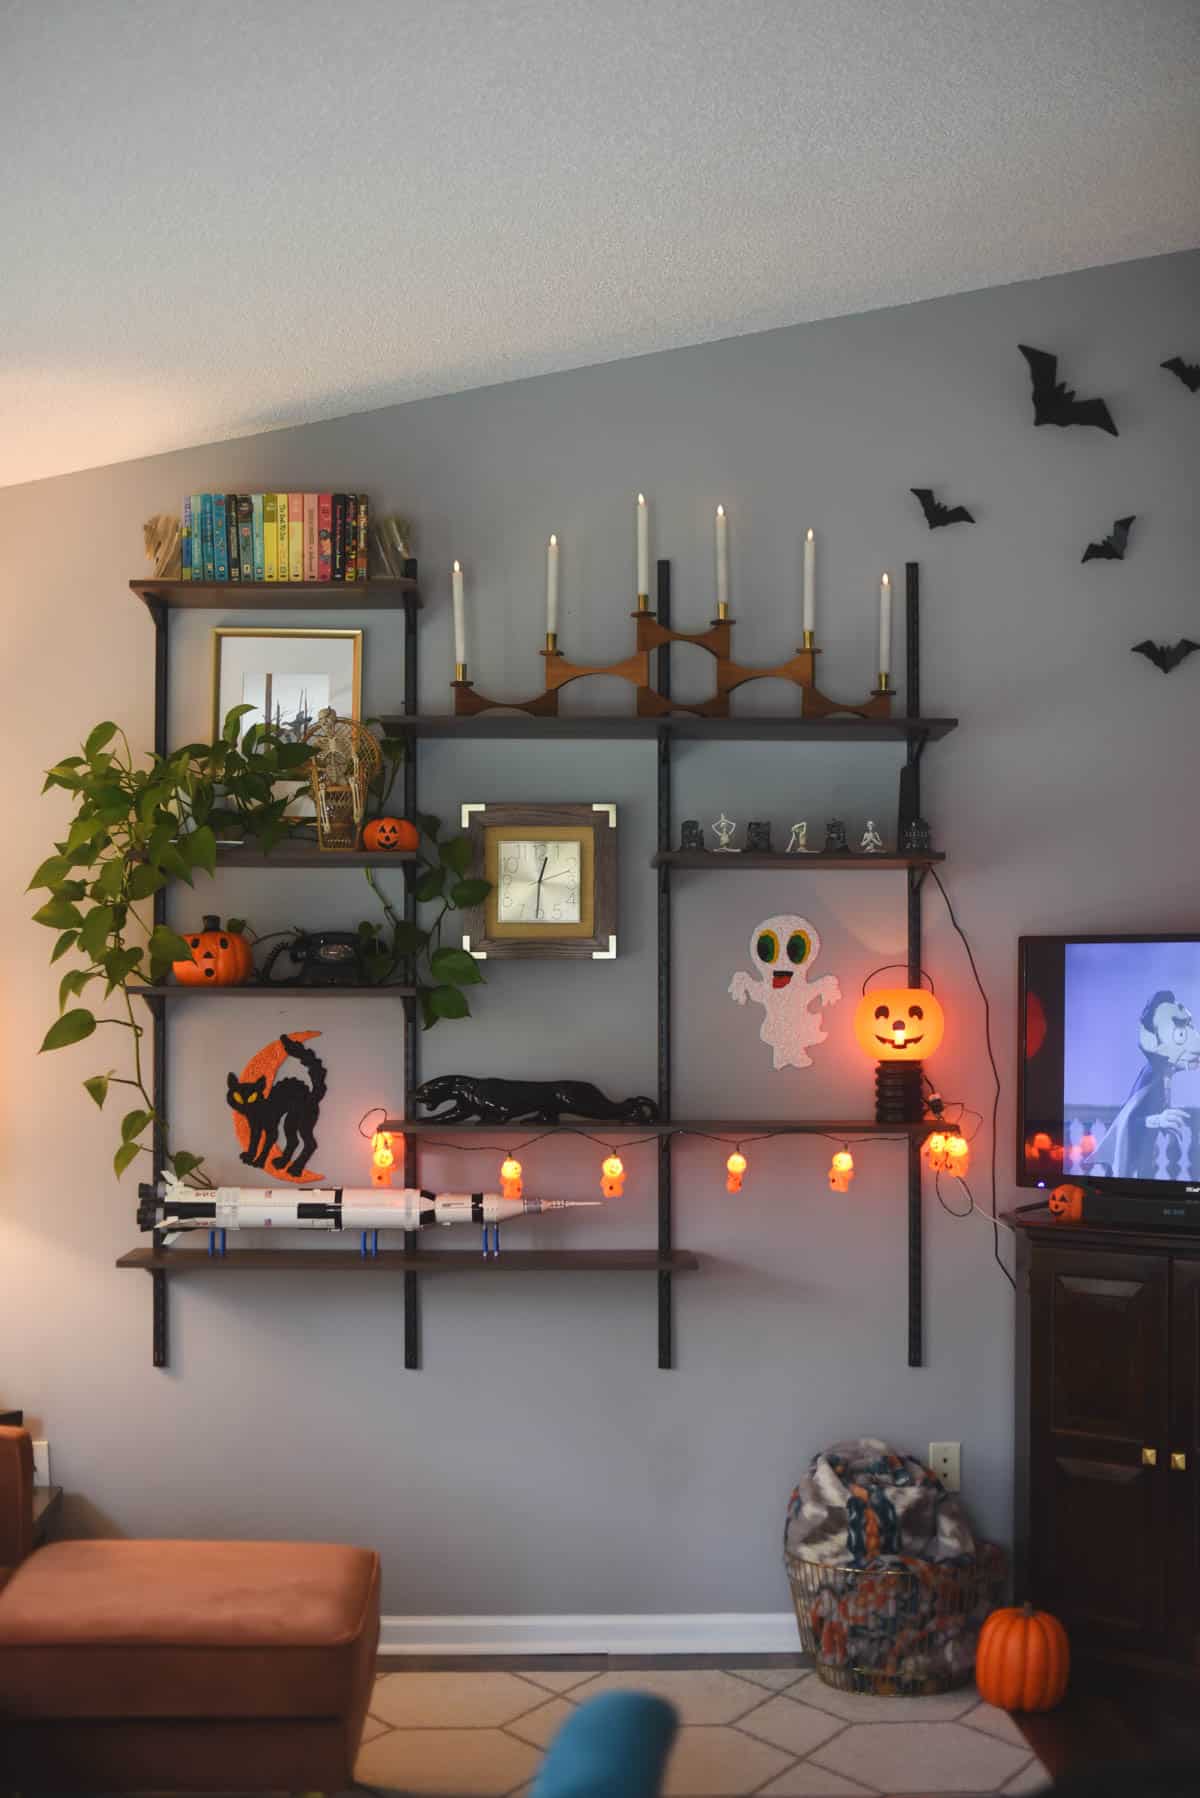
There was a sad period of time where they seemed to disappear. I actually pretty much forgot about them.
Until my mom found a few Christmas ones at a garage sale in Florida, and my passion to collect them was reignited!
I currently own just 3 Christmas designs because a. they tend to be a little expensive (in my opinion, especially when you consider that these things originally came in the mail for a whopping $0.25!). But for some reason I could never find any Halloween ones whenever I was out and about antiquing.
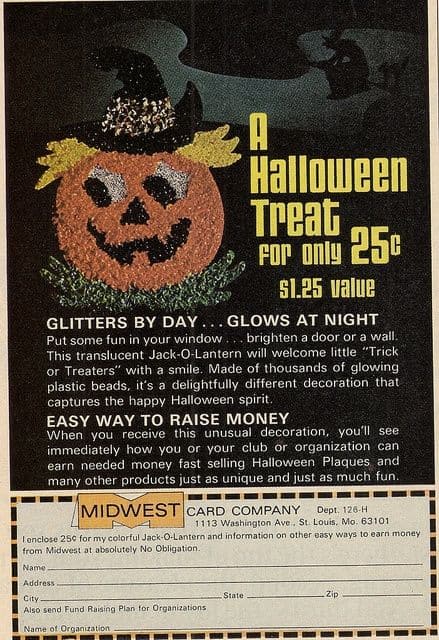
And then I thought, why don’t I try to make my own? I wouldn’t be limited to whatever design I stumbled upon in the wild. I could make a version of all my favorites!
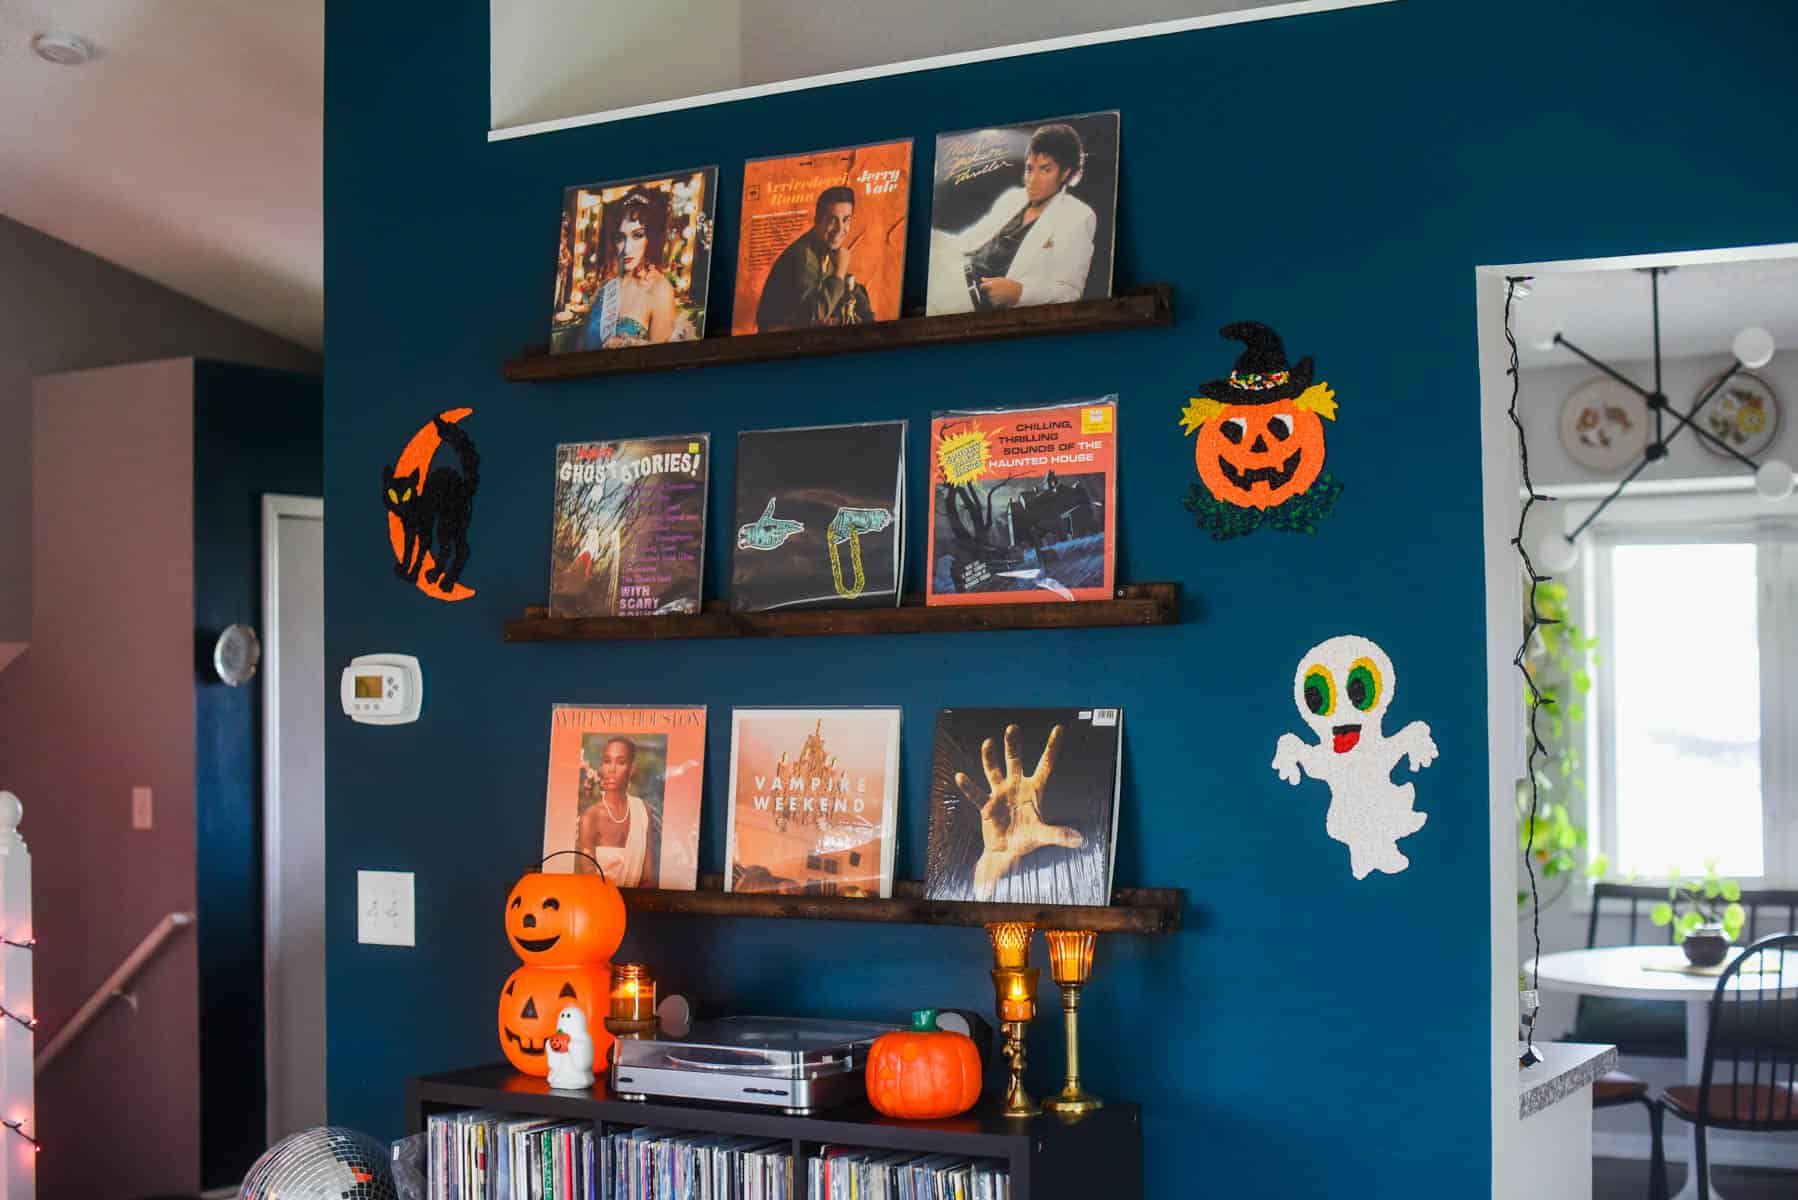
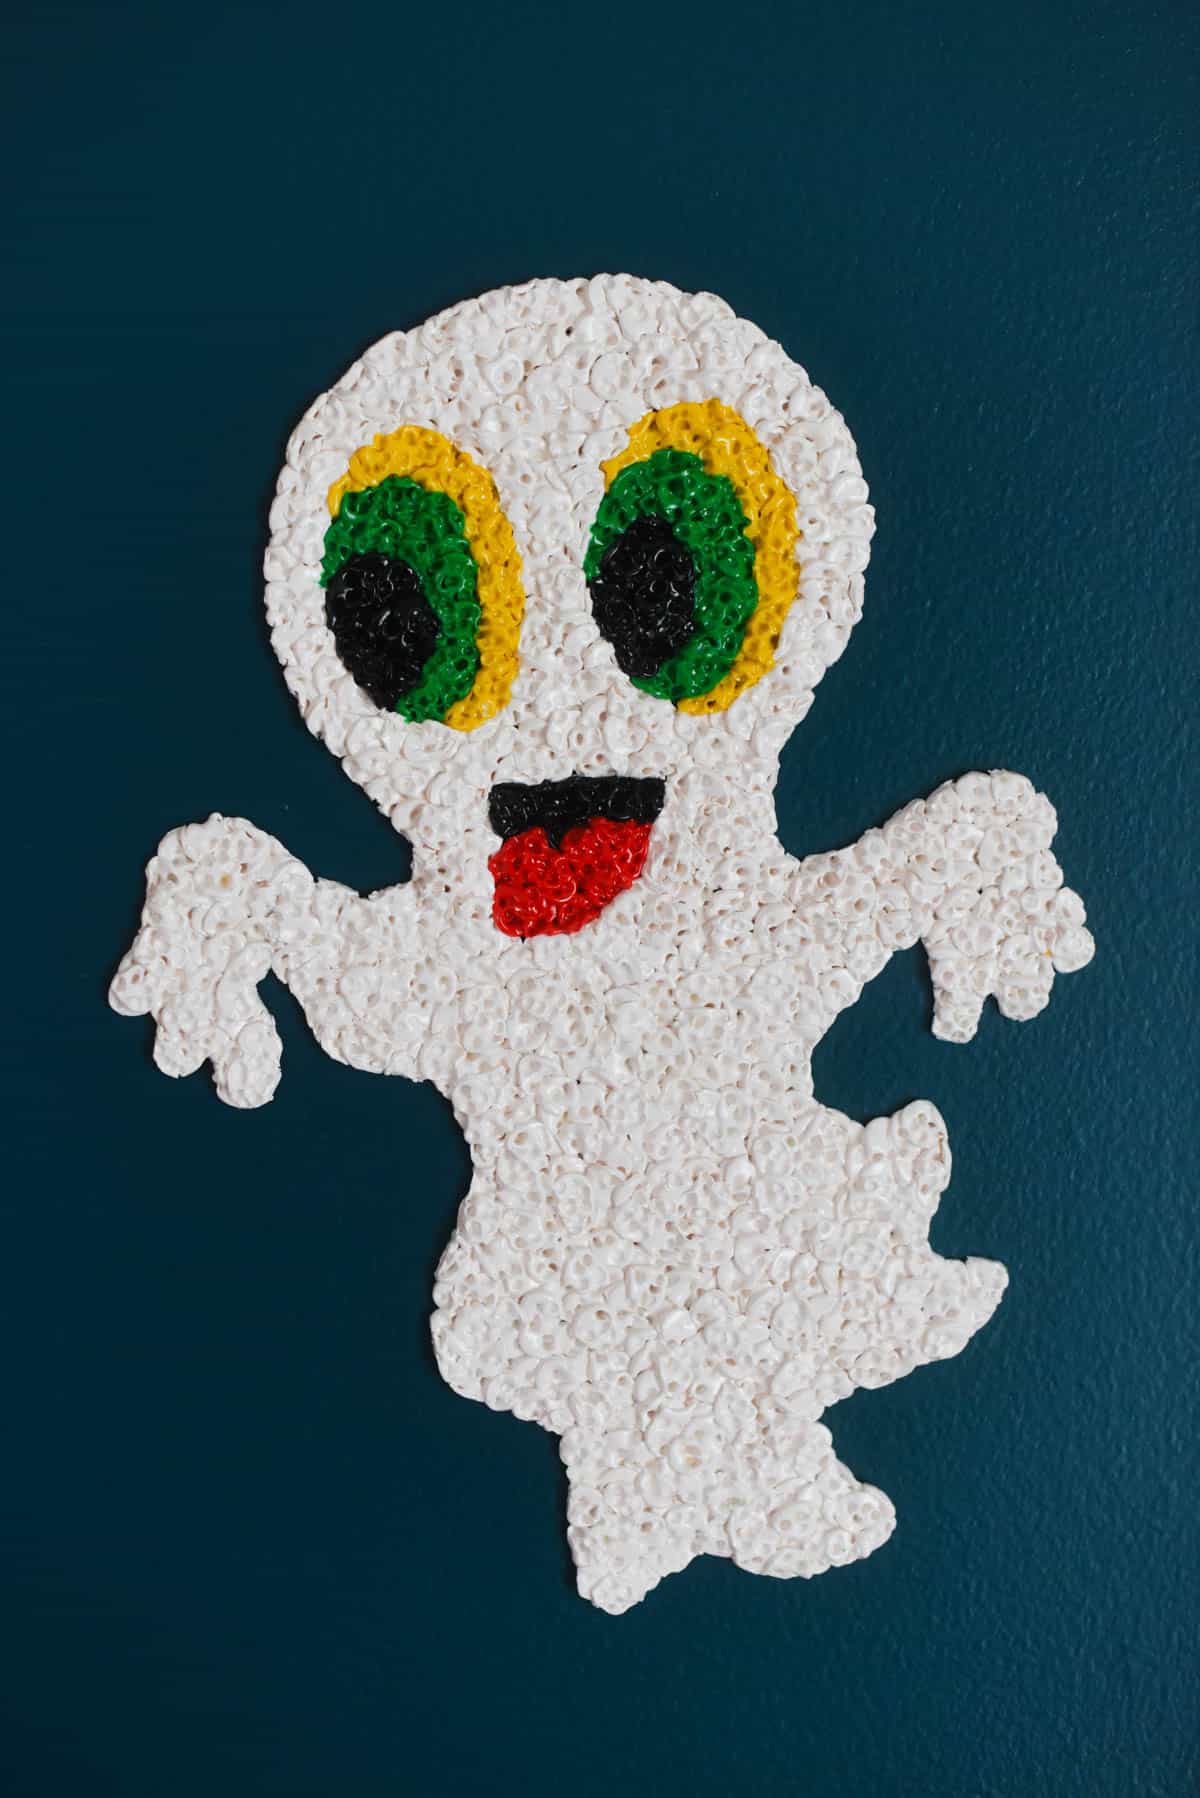
The originals used plastic, and the thought of trying to find a bunch of plastic in the right colors, not to mention finding a way to cut them into pellets PLUS baking them in the same oven that I use to cook all of our family meals in (which seemed like a biohazard), didn’t sound too appealing.
Then I realized that Sculpey is technically a version of plastic in clay form. I knew it had to be done!
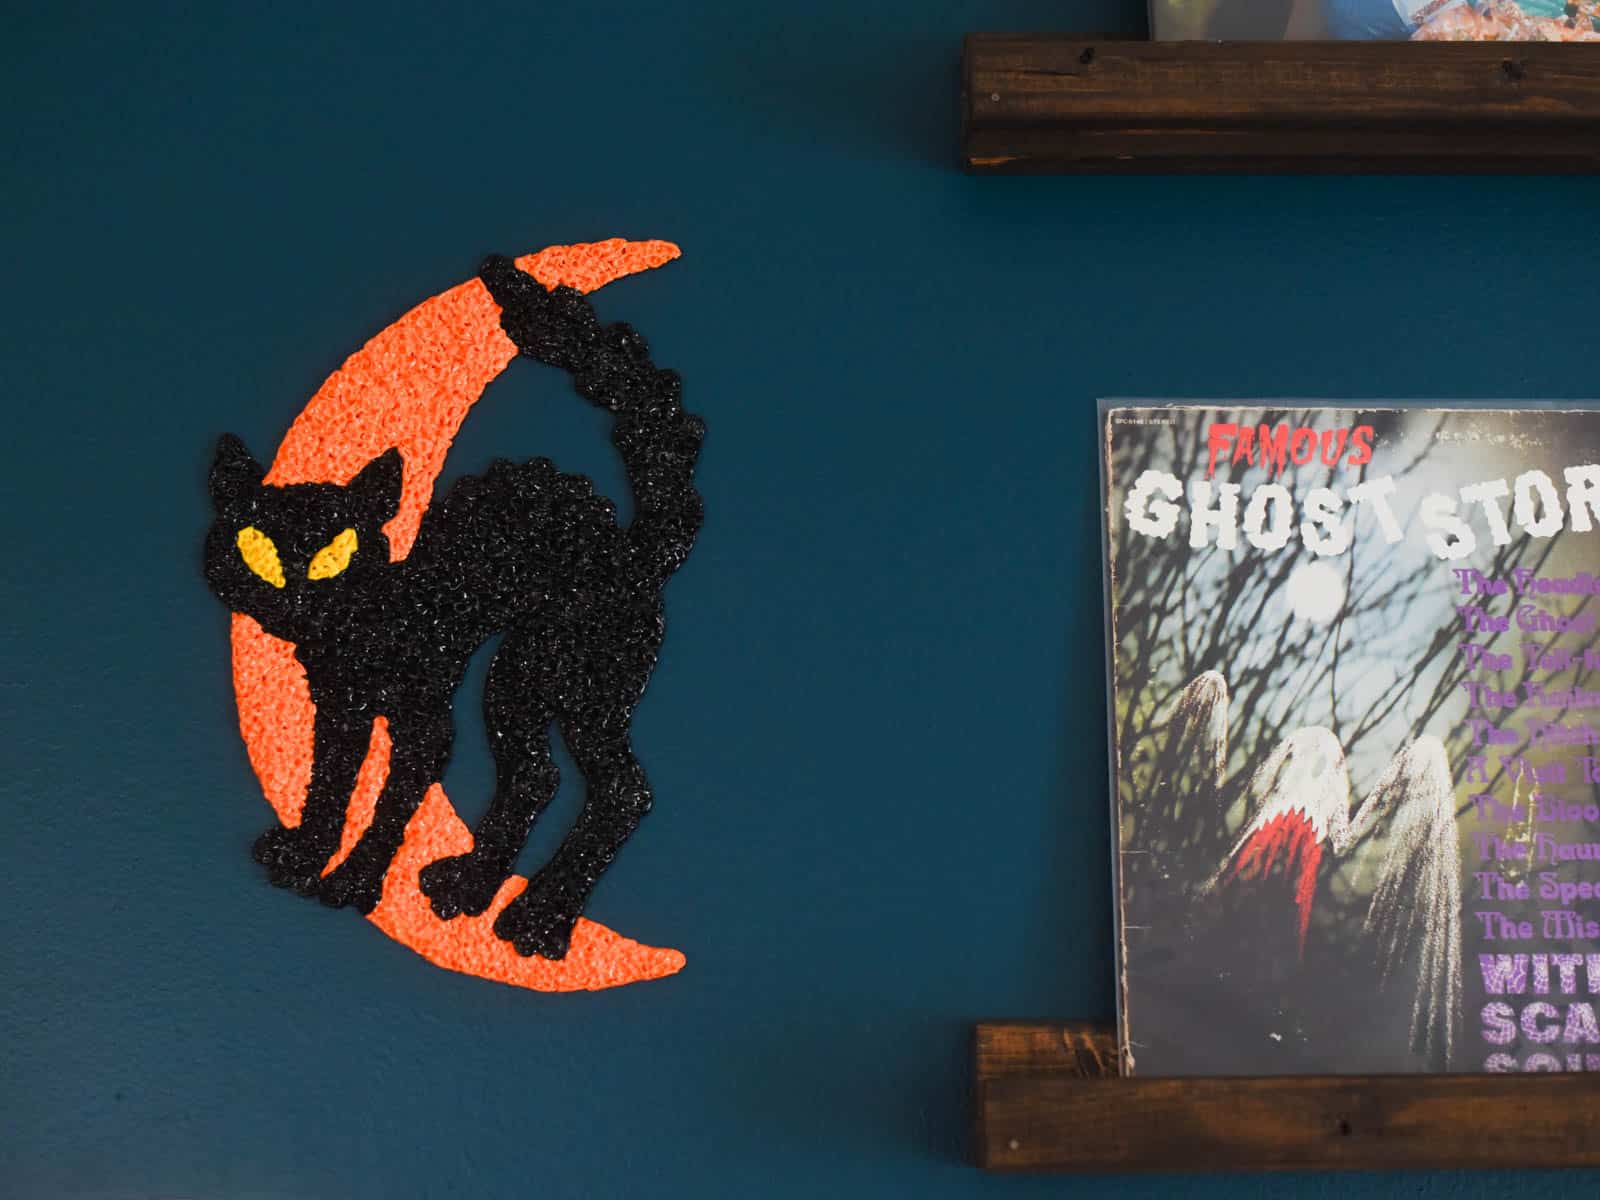
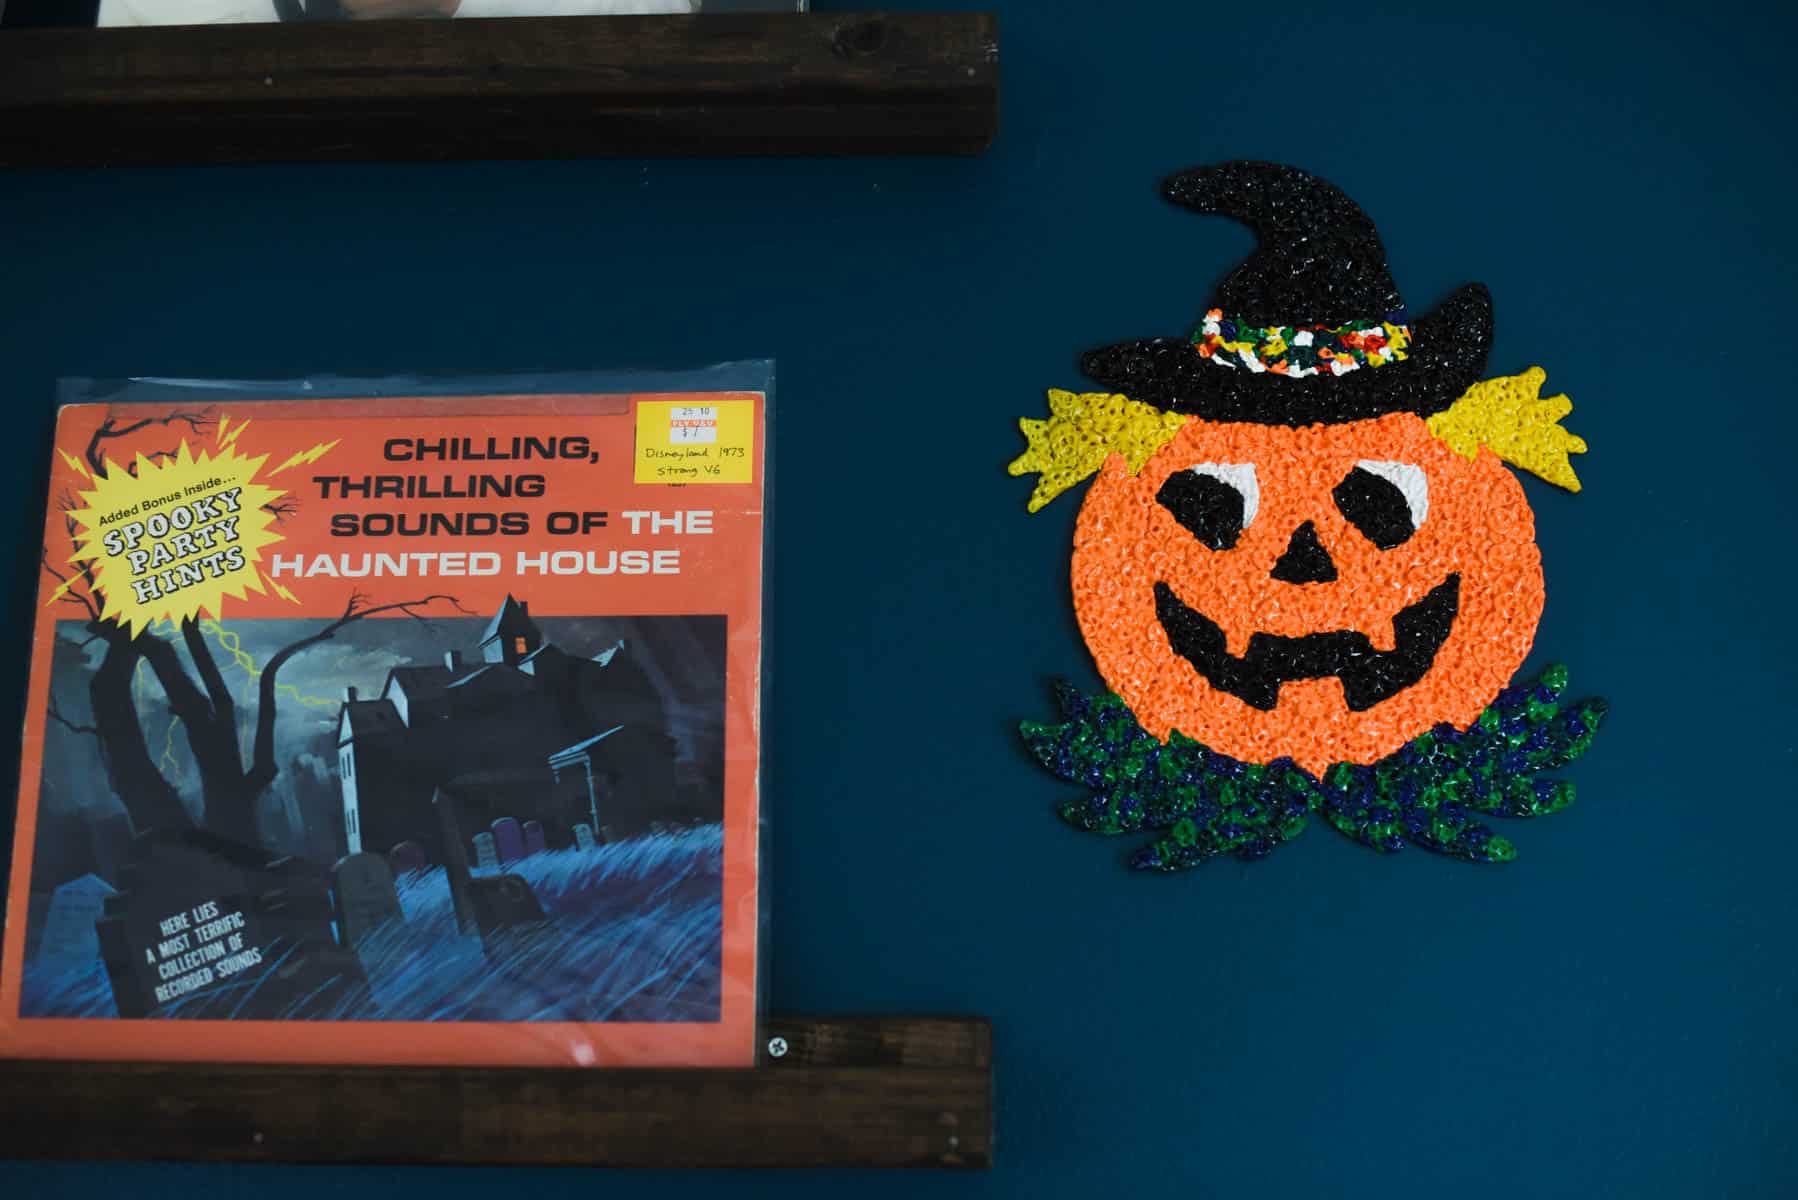
I chose Sculpey Premo over any other polymer clay brands for many reasons. First, I’ve been a Sculpey user since before I could drive. Second, Premo is their line that is a little more sturdy and durable when baked but still workable. Plus, it comes in a wide variety of colors so that I could color match my designs as close to the originals as possible.
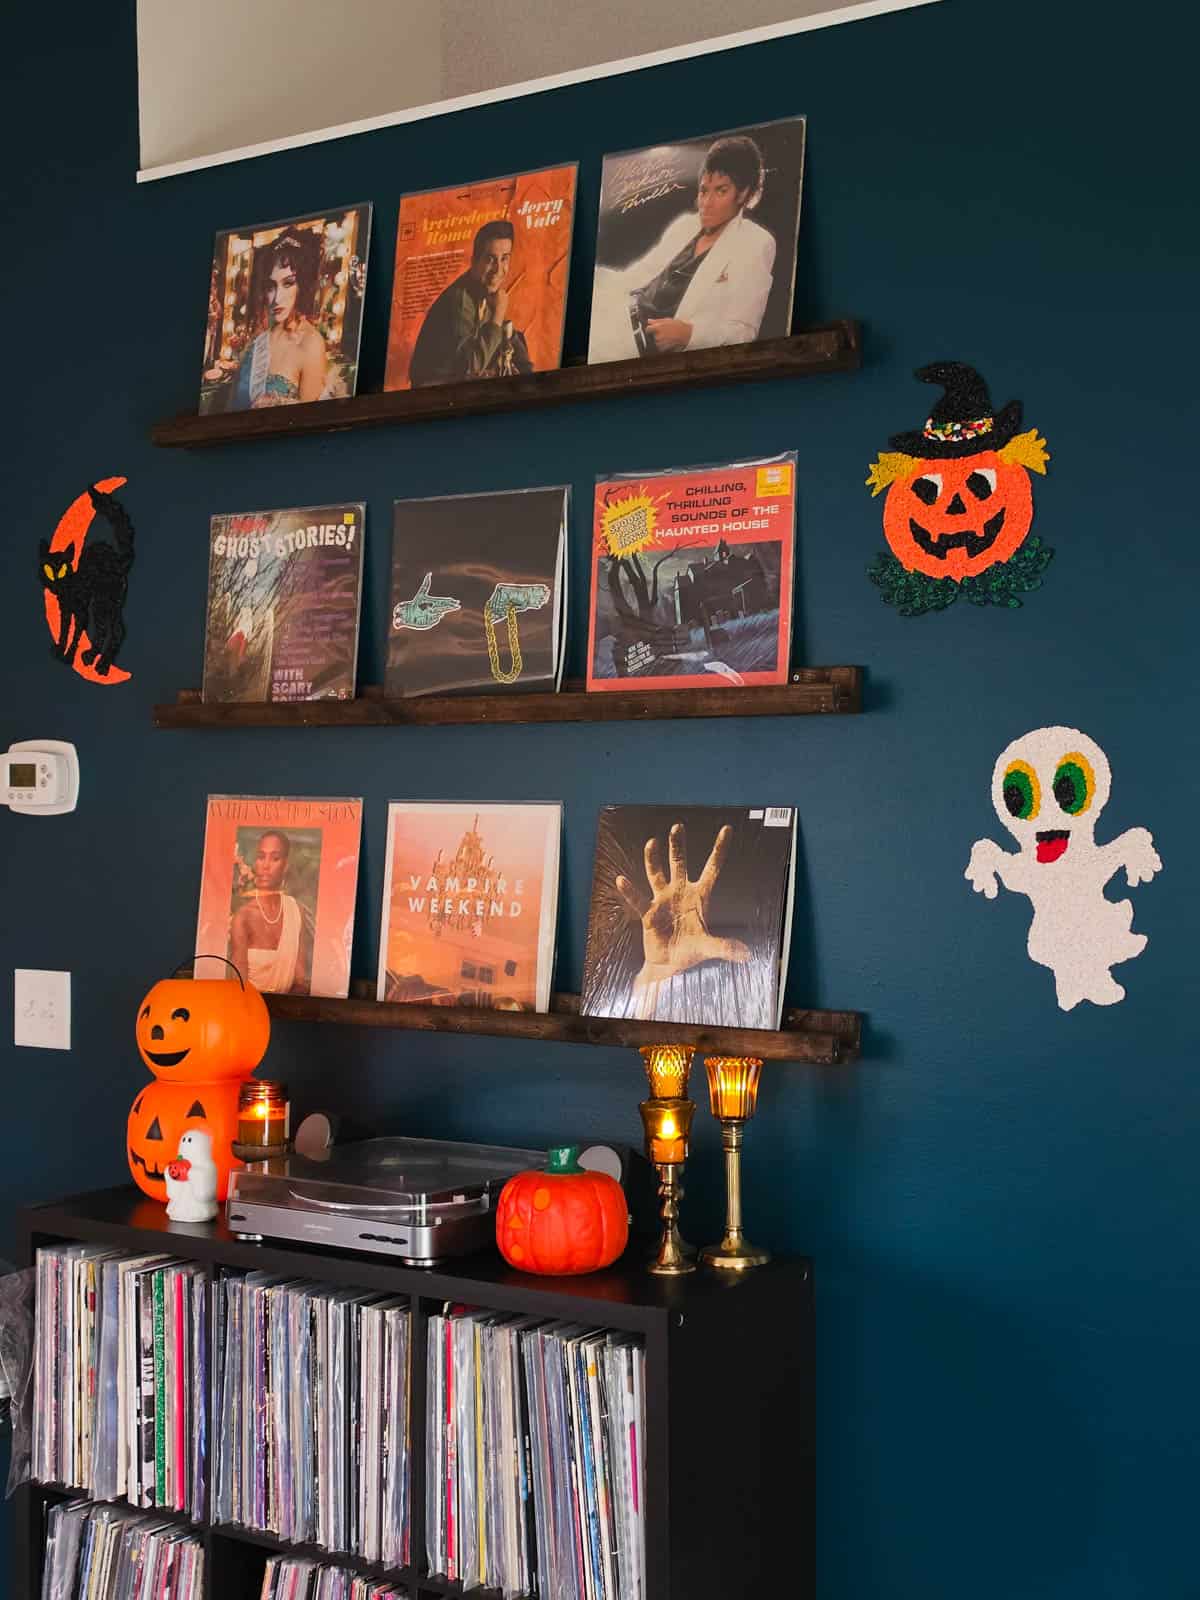
Before You Start
EASE: Easy, but time-consuming. The process is pretty therapeutic, though!
ASSEMBLY TIME: Approximately 1 1/2-2 hrs per decoration.
BAKE TIME: Approximately 30-60 minutes, depending on thickness and according to Sculpey’s instructions, plus cooling and glaze drying time.
FINISHED TEXTURE: Slightly flexible and comparable to the original plastic decorations, store with care.
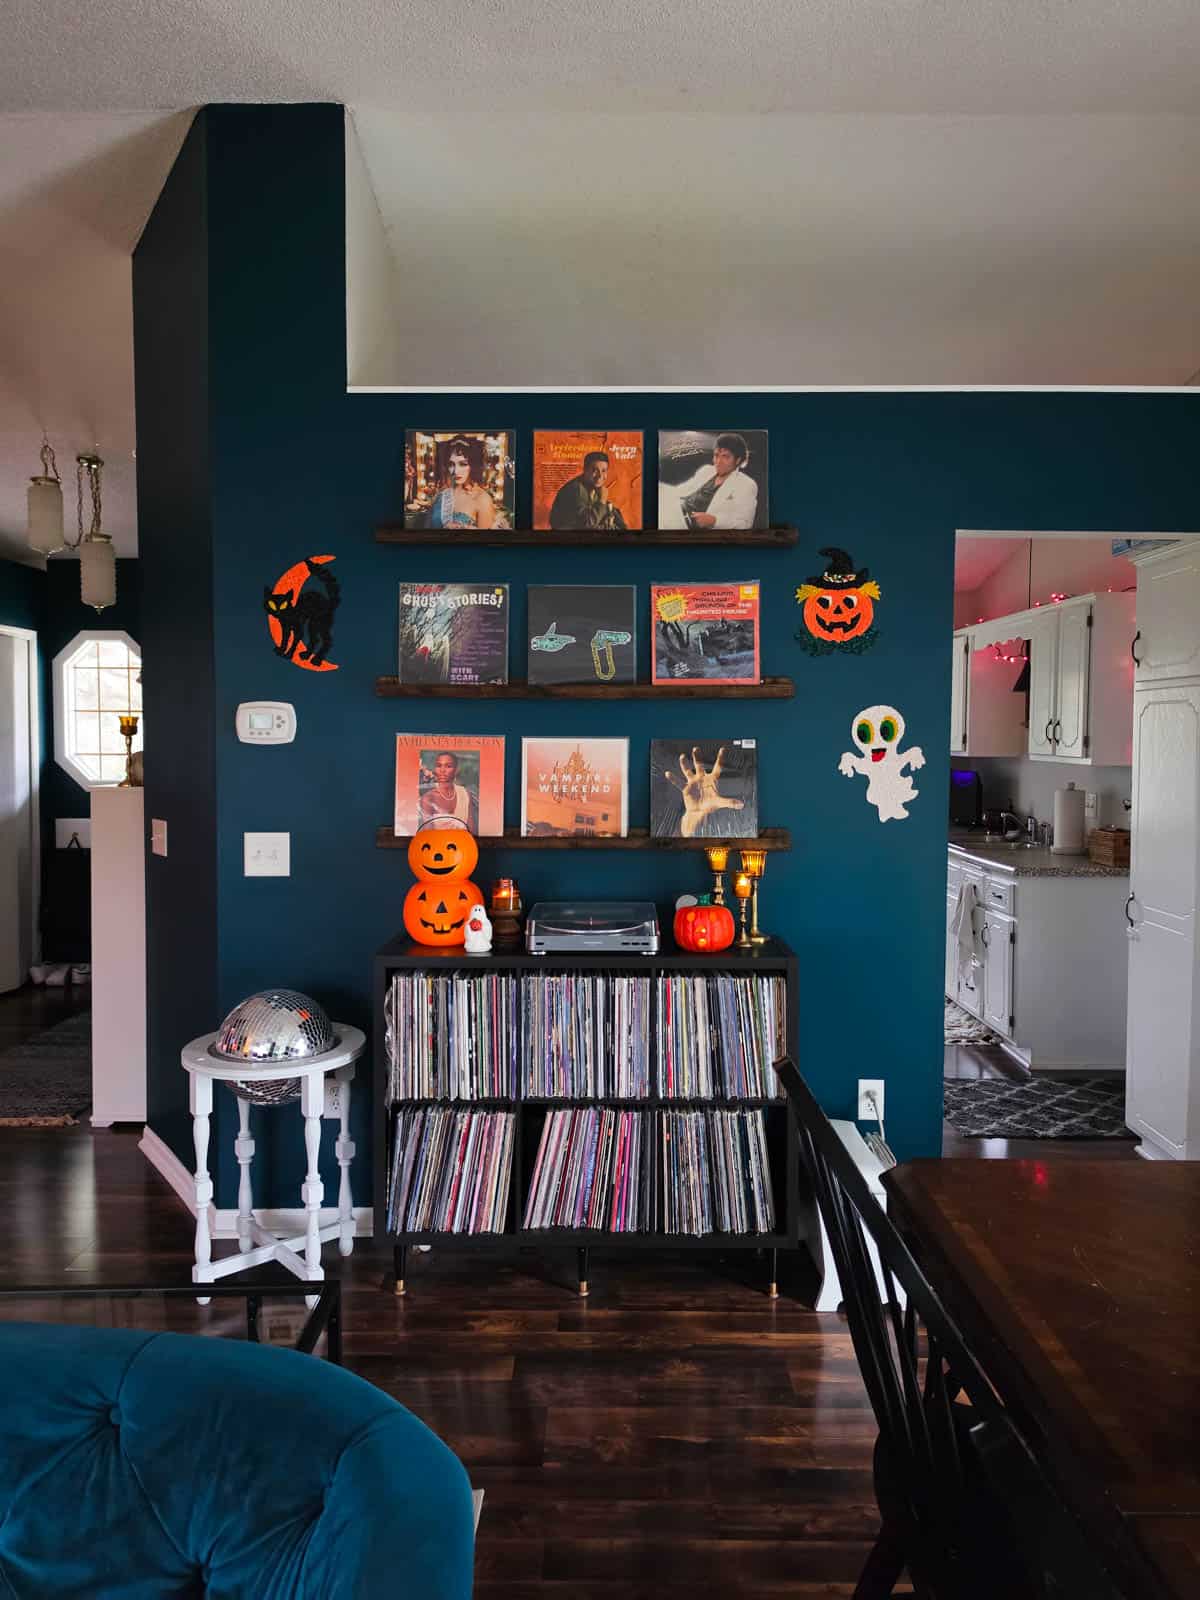
Supplies for Clay Popcorn Halloween Decorations
Ready to make melted plastic popcorn inspired Halloween decorations? This post contains some affiliate links for your convenience! Read my full disclosure policy.
Materials you’ll need
Tools you’ll need
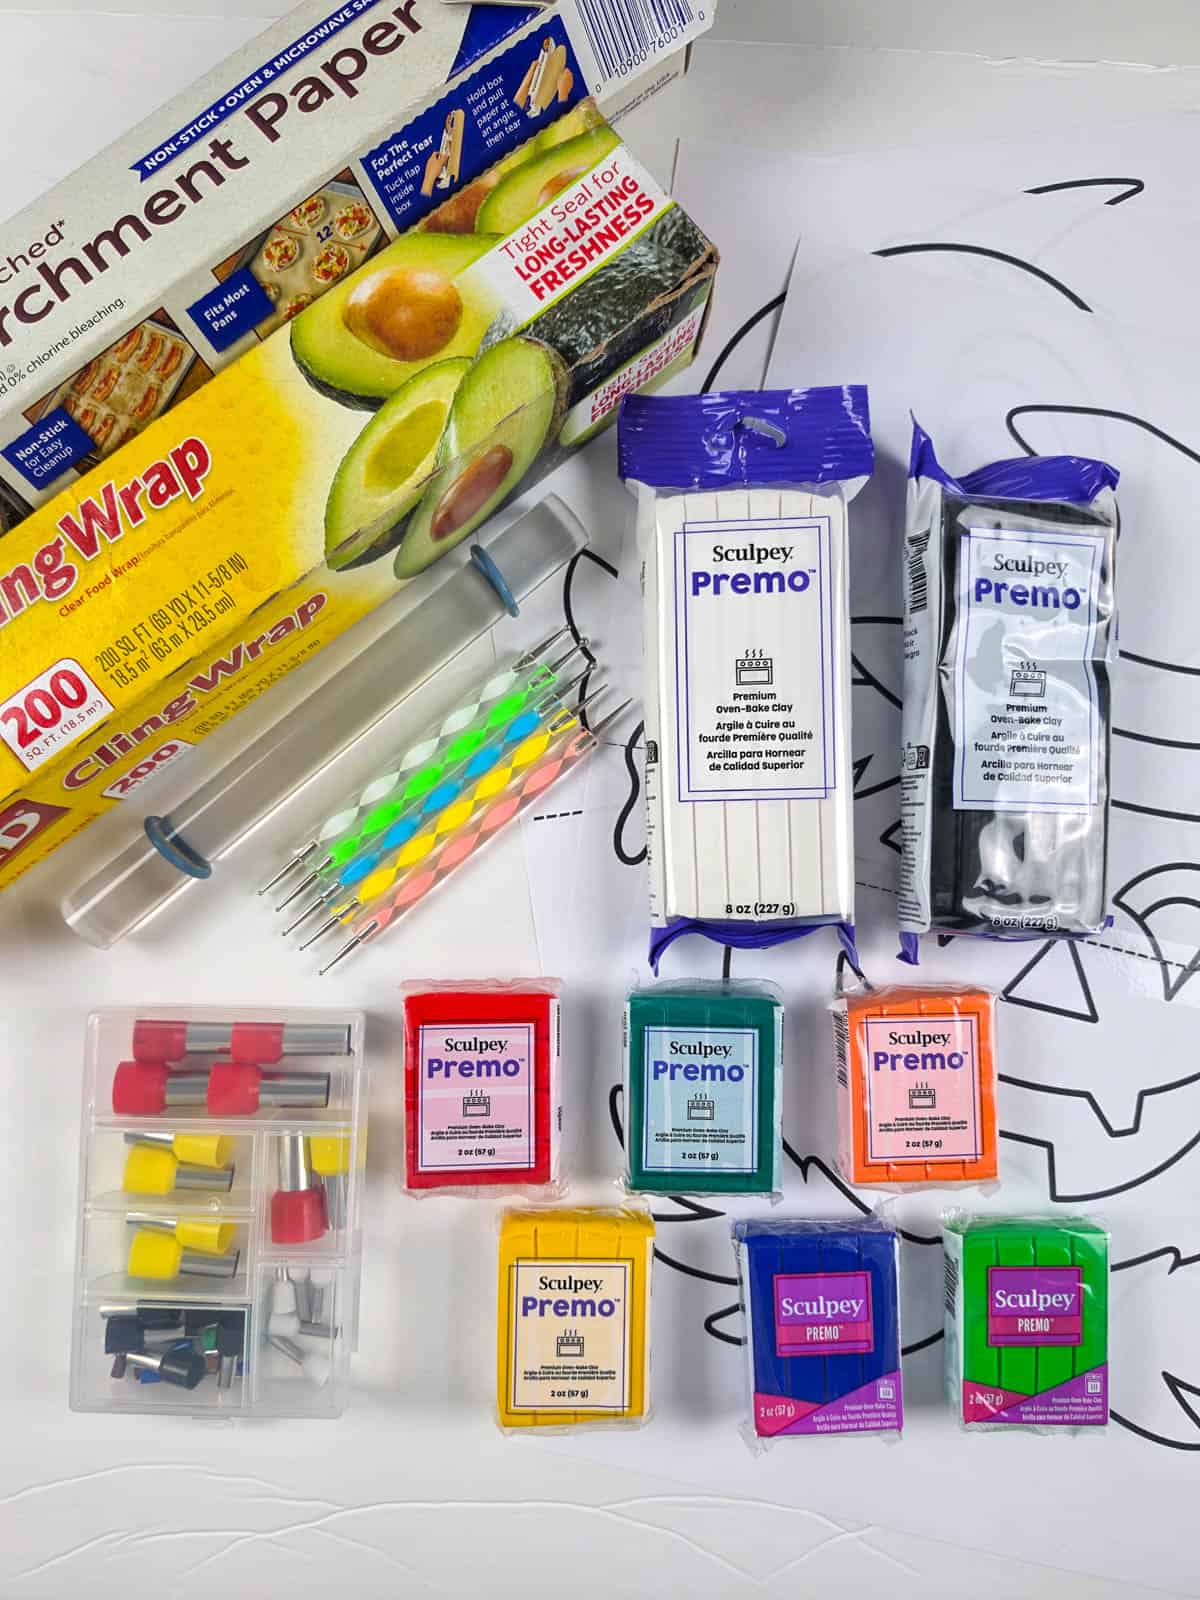
If you only want to make one of the designs, here are the exact colors and approximate amounts of Sculpey that you will need.
Note: Amounts are approximate and will vary depending on the thickness of your decoration. Round up to the next available package size when purchasing clay.
| Design | Colors/Amounts Needed | Finished Size |
| Ghost | White- 6 oz, approx 1/4 oz of the following: Cadmium Yellow, Green, Red, Black | 13.5″ x 10″ |
| Cat | Black– 6 oz, Orange– 2 1/2 oz, Cadmium Yellow– 1/8 oz. | 13.5″ x 9″ |
| Pumpkin | Orange– 2 oz, Black– 1 oz, Cadmium Yellow– 1 oz, Green– 2/3 oz, Forest Green– 2/3 oz, Ultramarine Blue– 2/3 oz, Red– 1/8 oz, White– 1/8 oz | 12.5″ x 10″ |
Download the Ghost, Cat, and Pumpkin Patterns
Want to make your own? Join the Bre Pea Creative Library to get the free printable ghost, cat, and pumpkin patterns! Once you sign up, check your inbox for instructions on how to access the patterns (plus a bunch of other free printables!).
Each pattern is designed to be printed at home and taped together to create a full-size guide for your decoration. No guessing at the shapes or proportions required!
Already a subscriber? You can find the patterns in the Creative Library using the password from my emails.
Want to make your own vintage-inspired Halloween popcorn decorations?
Get the free printable ghost, cat, and pumpkin patterns when you join the Bre Pea email list!
How to Make Melted Plastic Popcorn Halloween Decorations with Clay
Step 1: Prepare the Pattern and Baking Sheet
Print the pattern, making sure your printer settings are set to 100% Custom Scale so the design prints at the correct size.
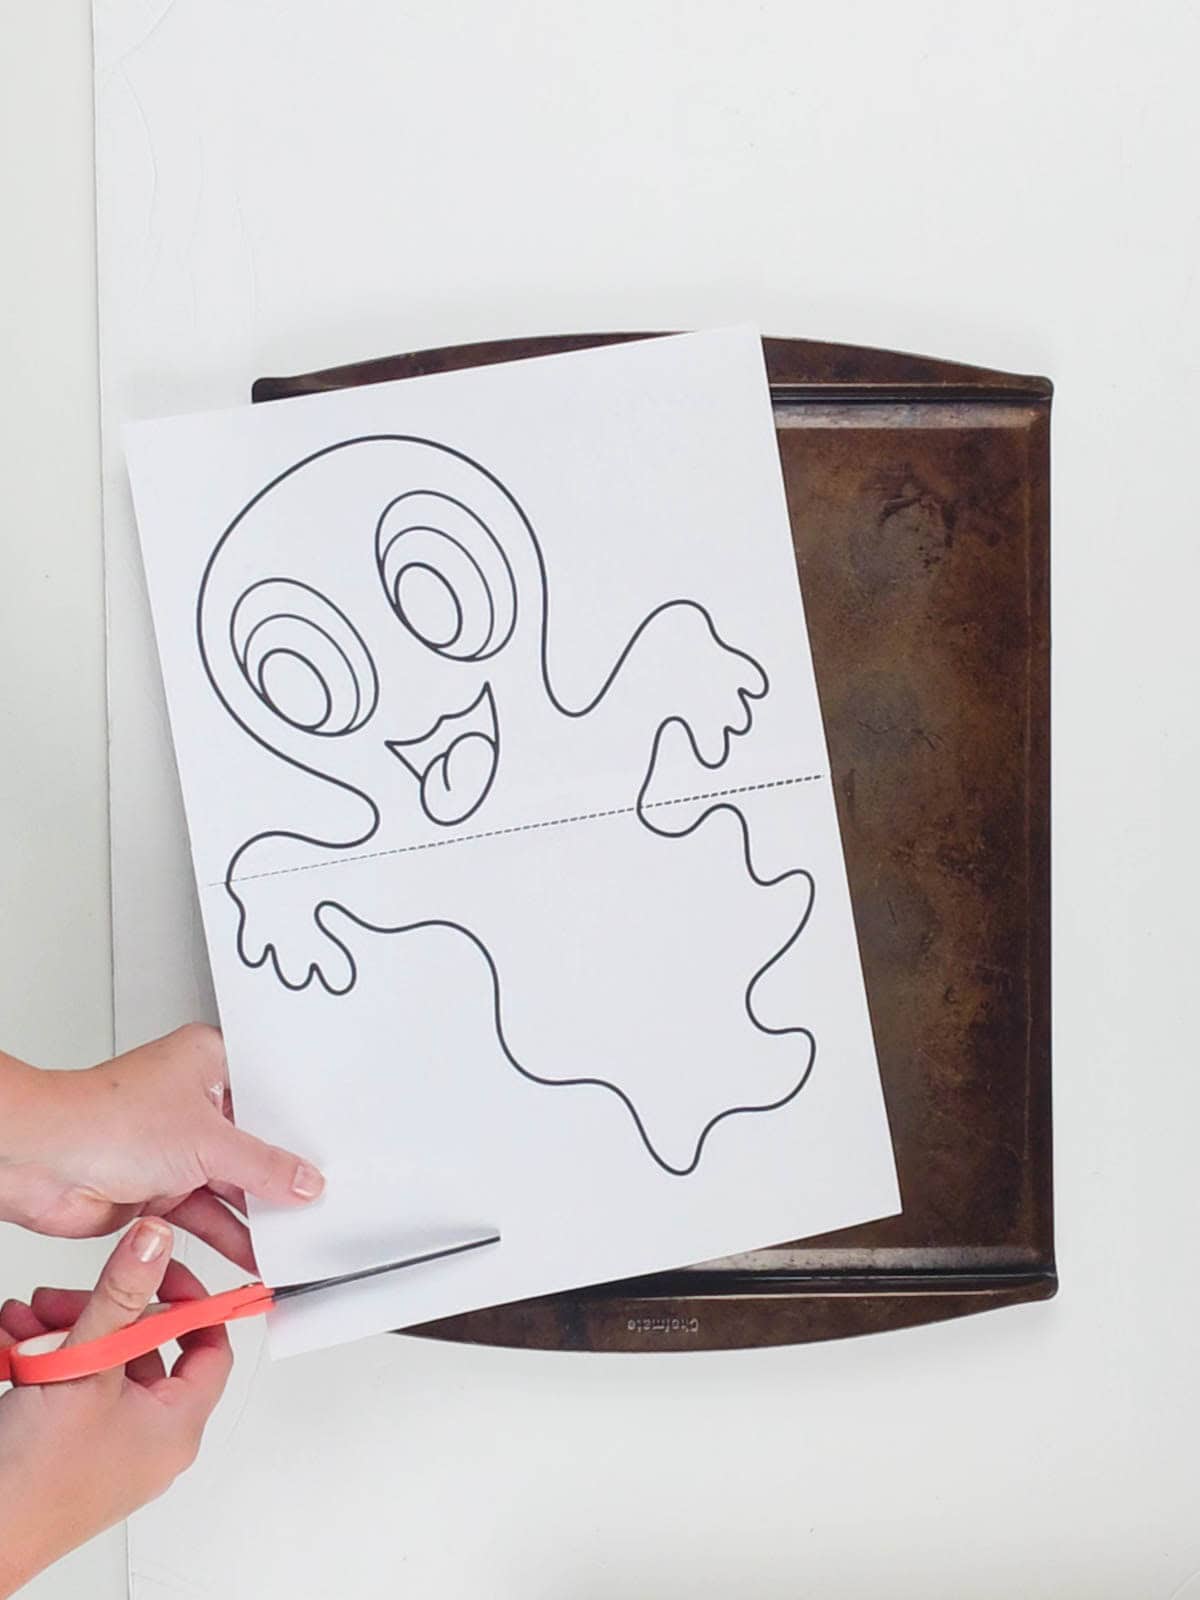
Once printed, cut the top of the design at the dotted line, line it up with the dotted line on the other piece of the pattern, and tape the pieces together.
Grab your 14″x15″ baking sheet and trim any excess pattern paper if needed so that it lays flat. Attach the pattern to the baking sheet with a few pieces of painter’s tape.
Then, place parchment paper over the pattern and secure that with scotch tape. Painter’s tape tended to slip on the parchment.
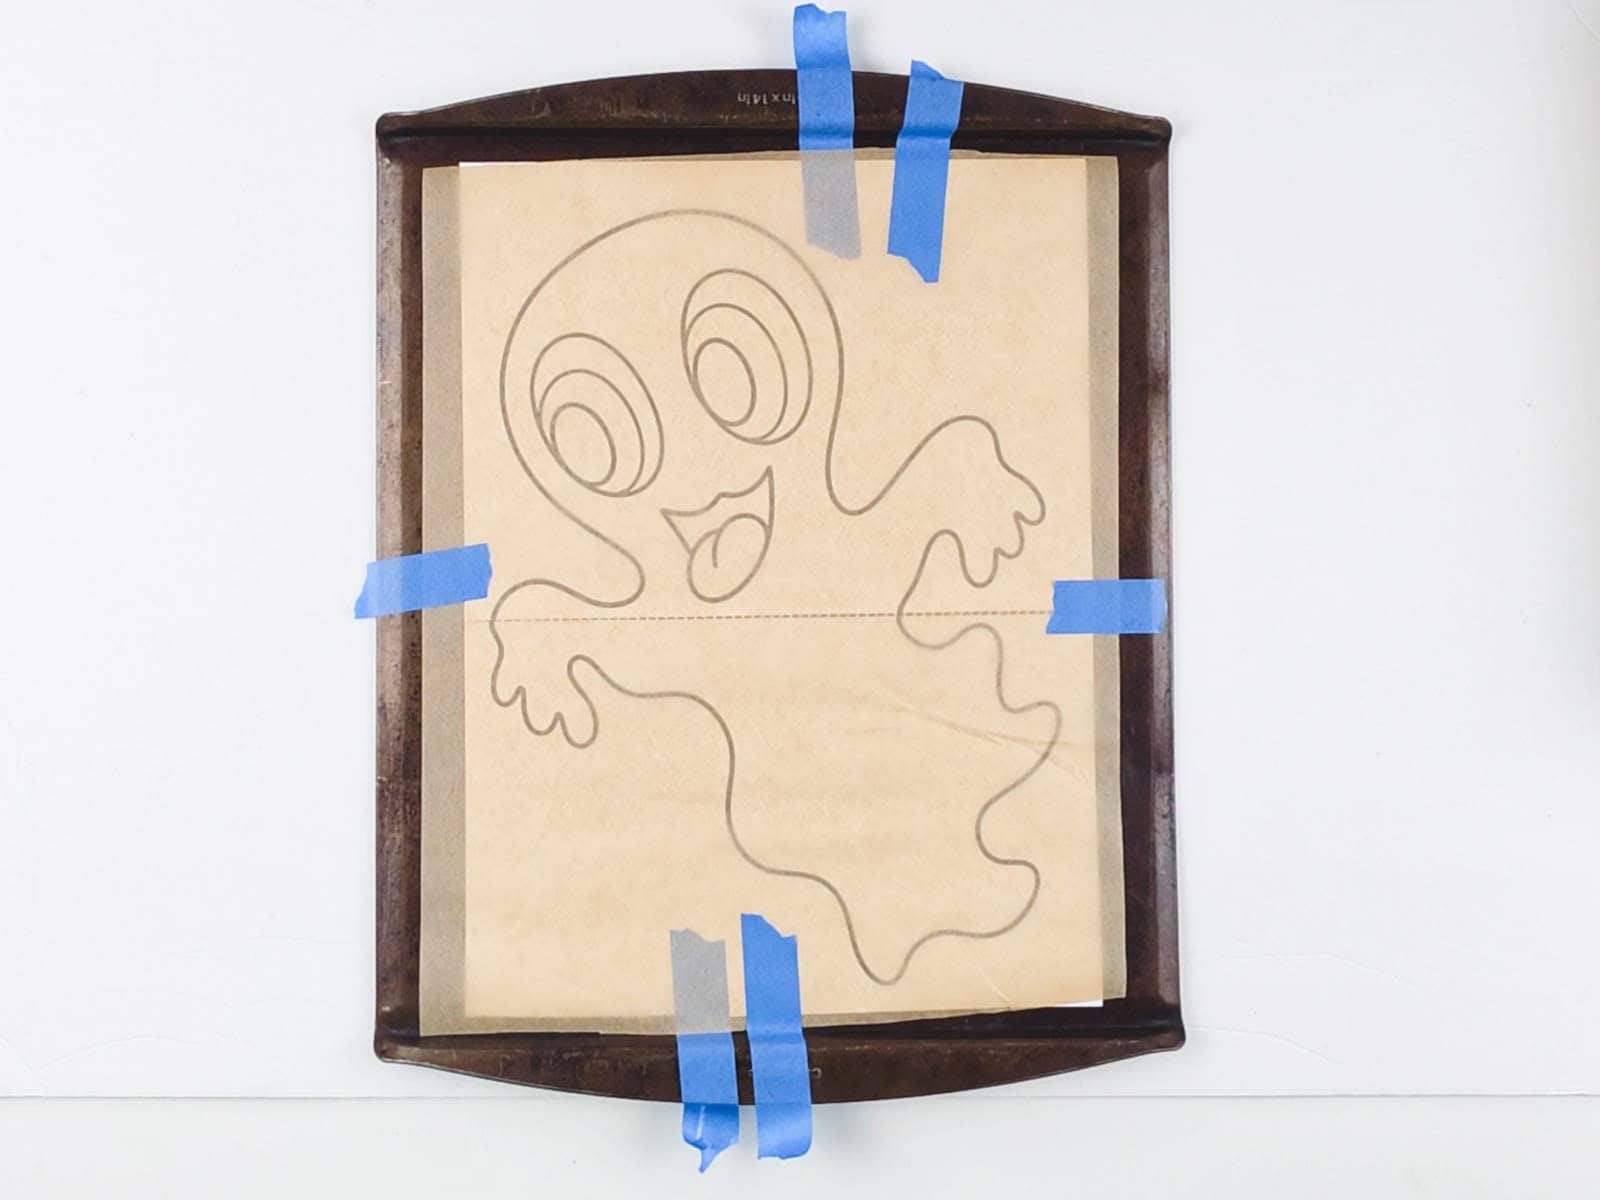
Note: all tape and the paper pattern must be removed before baking.
Step 2: Condition and Roll the Lightest Clay Color
Begin with the lightest color in the design. Condition the clay by warming it up and rolling it into a ball in your hands.
Stop when it becomes workable. Warming it too much made it too stretchy, sticky, and hard to work with for this project.
Using your clay roller, roll it out on parchment until it is about 1/8″ thick. My roller had nifty guides so that the clay rolled out to an even thickness.
Step 3: Cut Circles Without the Cutter Sticking
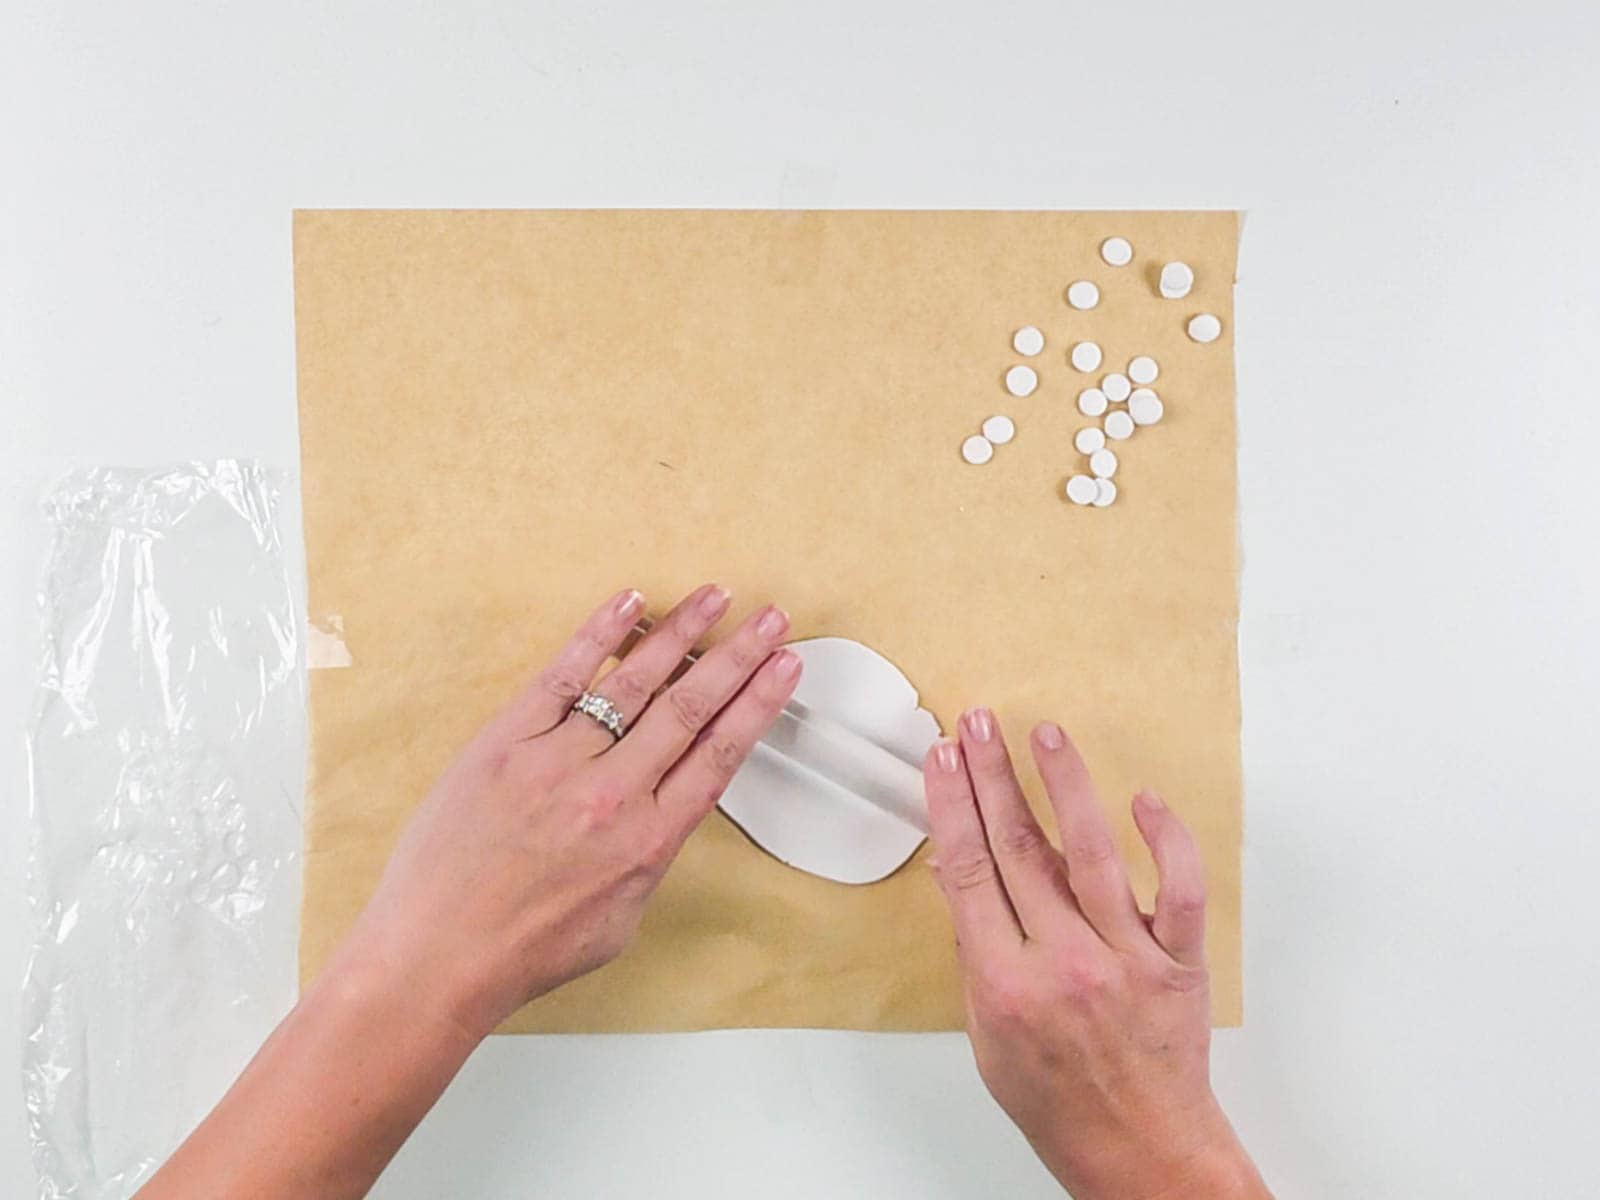
Lay plastic wrap over the rolled clay. This will prevent the cutter from sticking to the clay.
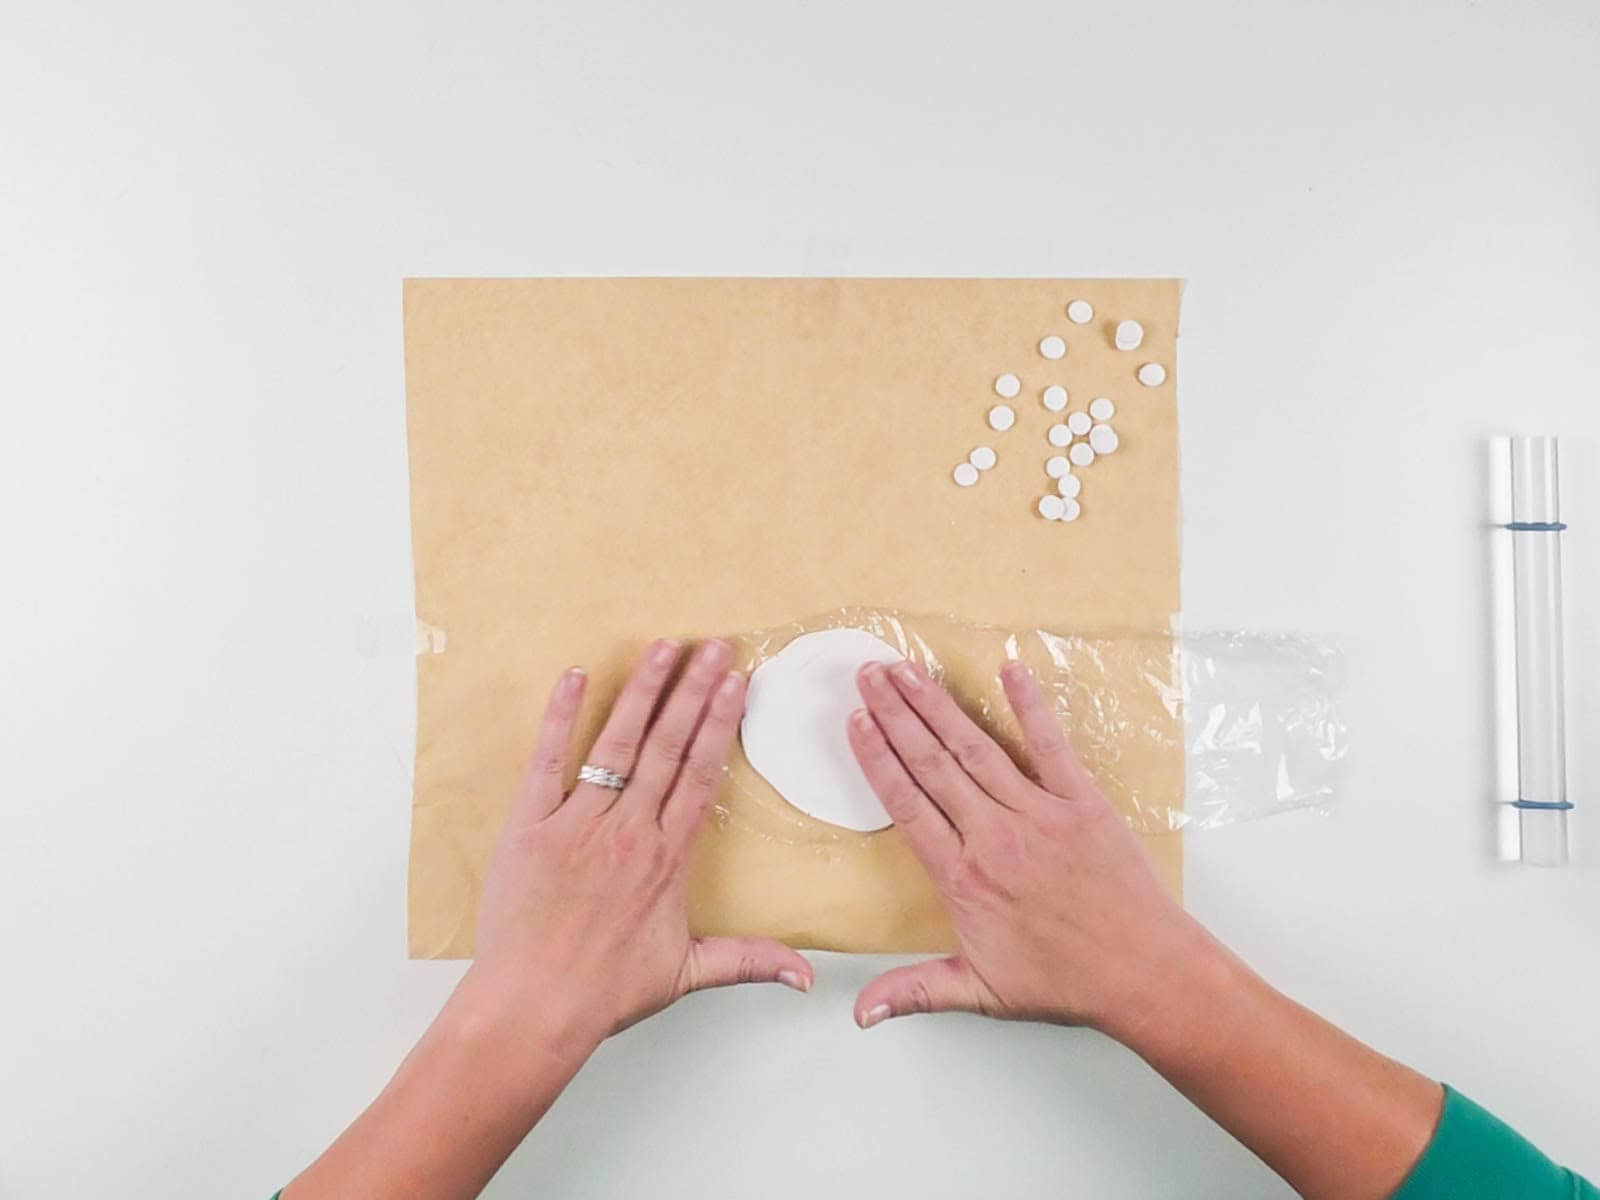
Punch out circles through the wrap making sure not to press too hard or you will cut through the wrap.
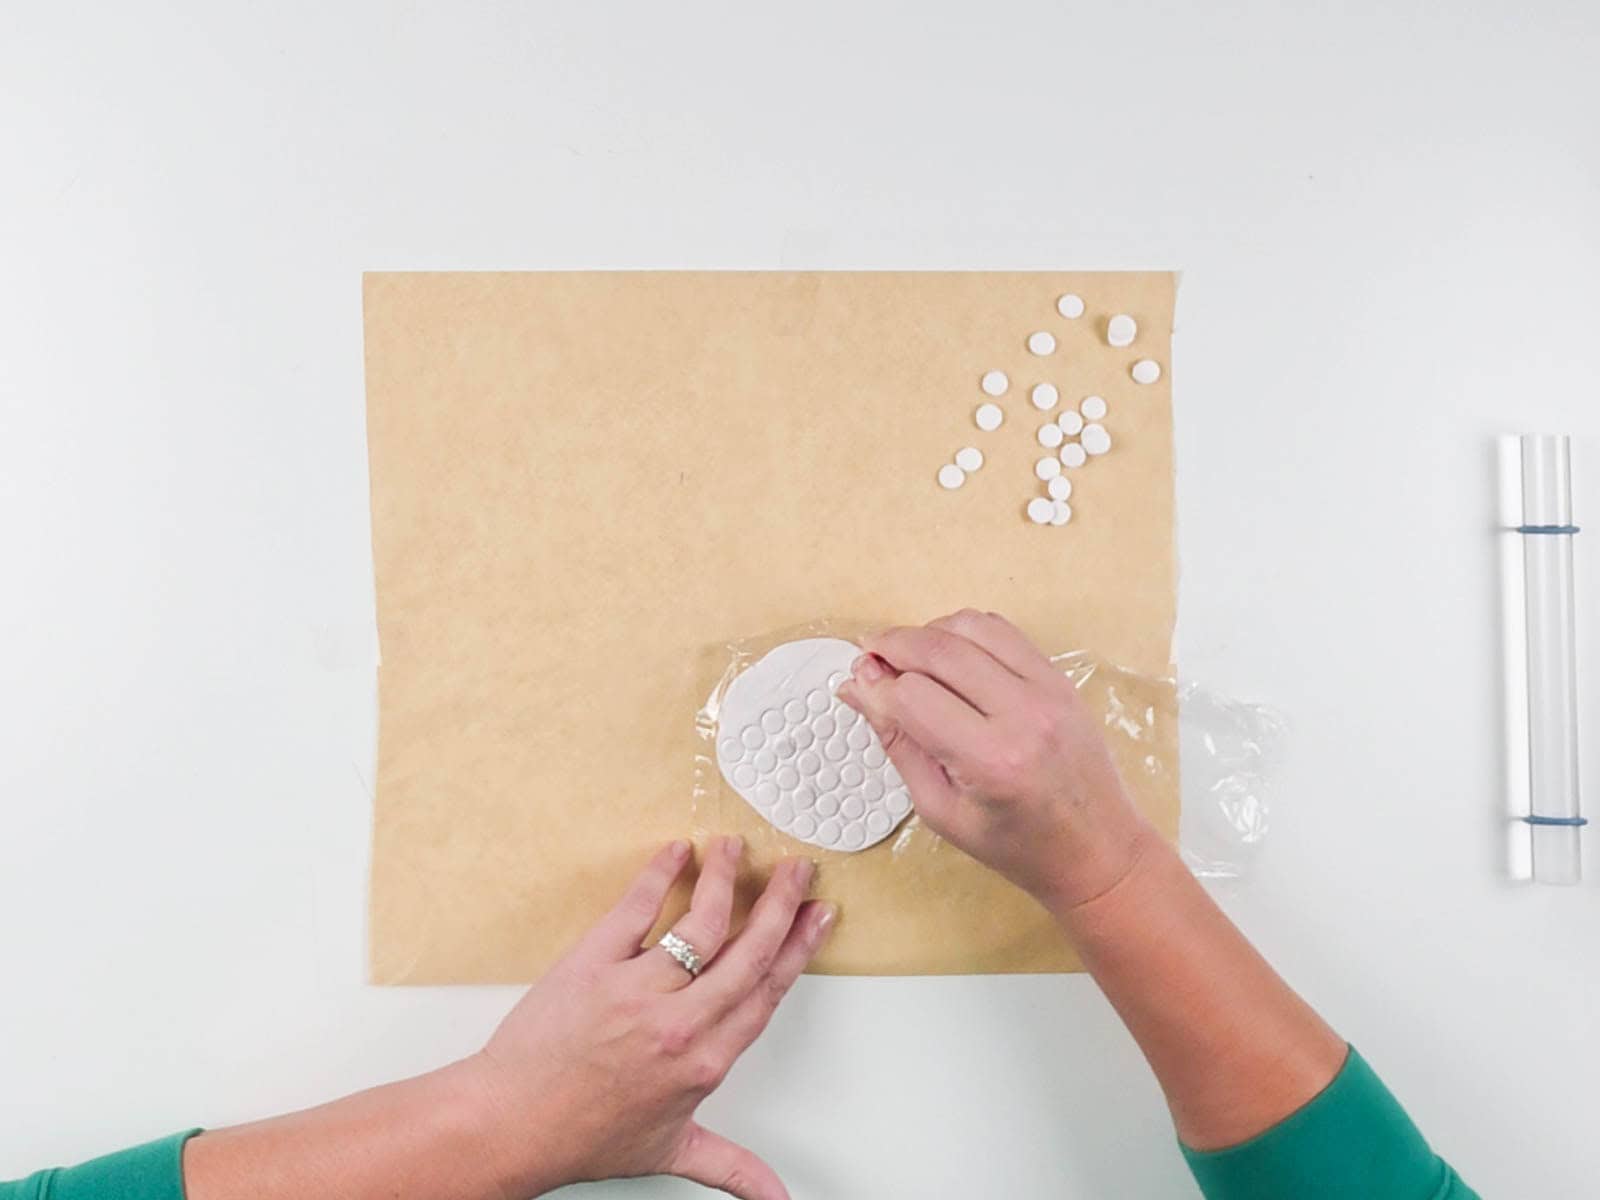
Remove the plastic wrap and make a separate pile of both the circles and the surrounding scraps.
You will need to revisit this step multiple times, especially when working on filling large sections of the designs.
Step 4: Fill the Pattern and Create the Popcorn Texture
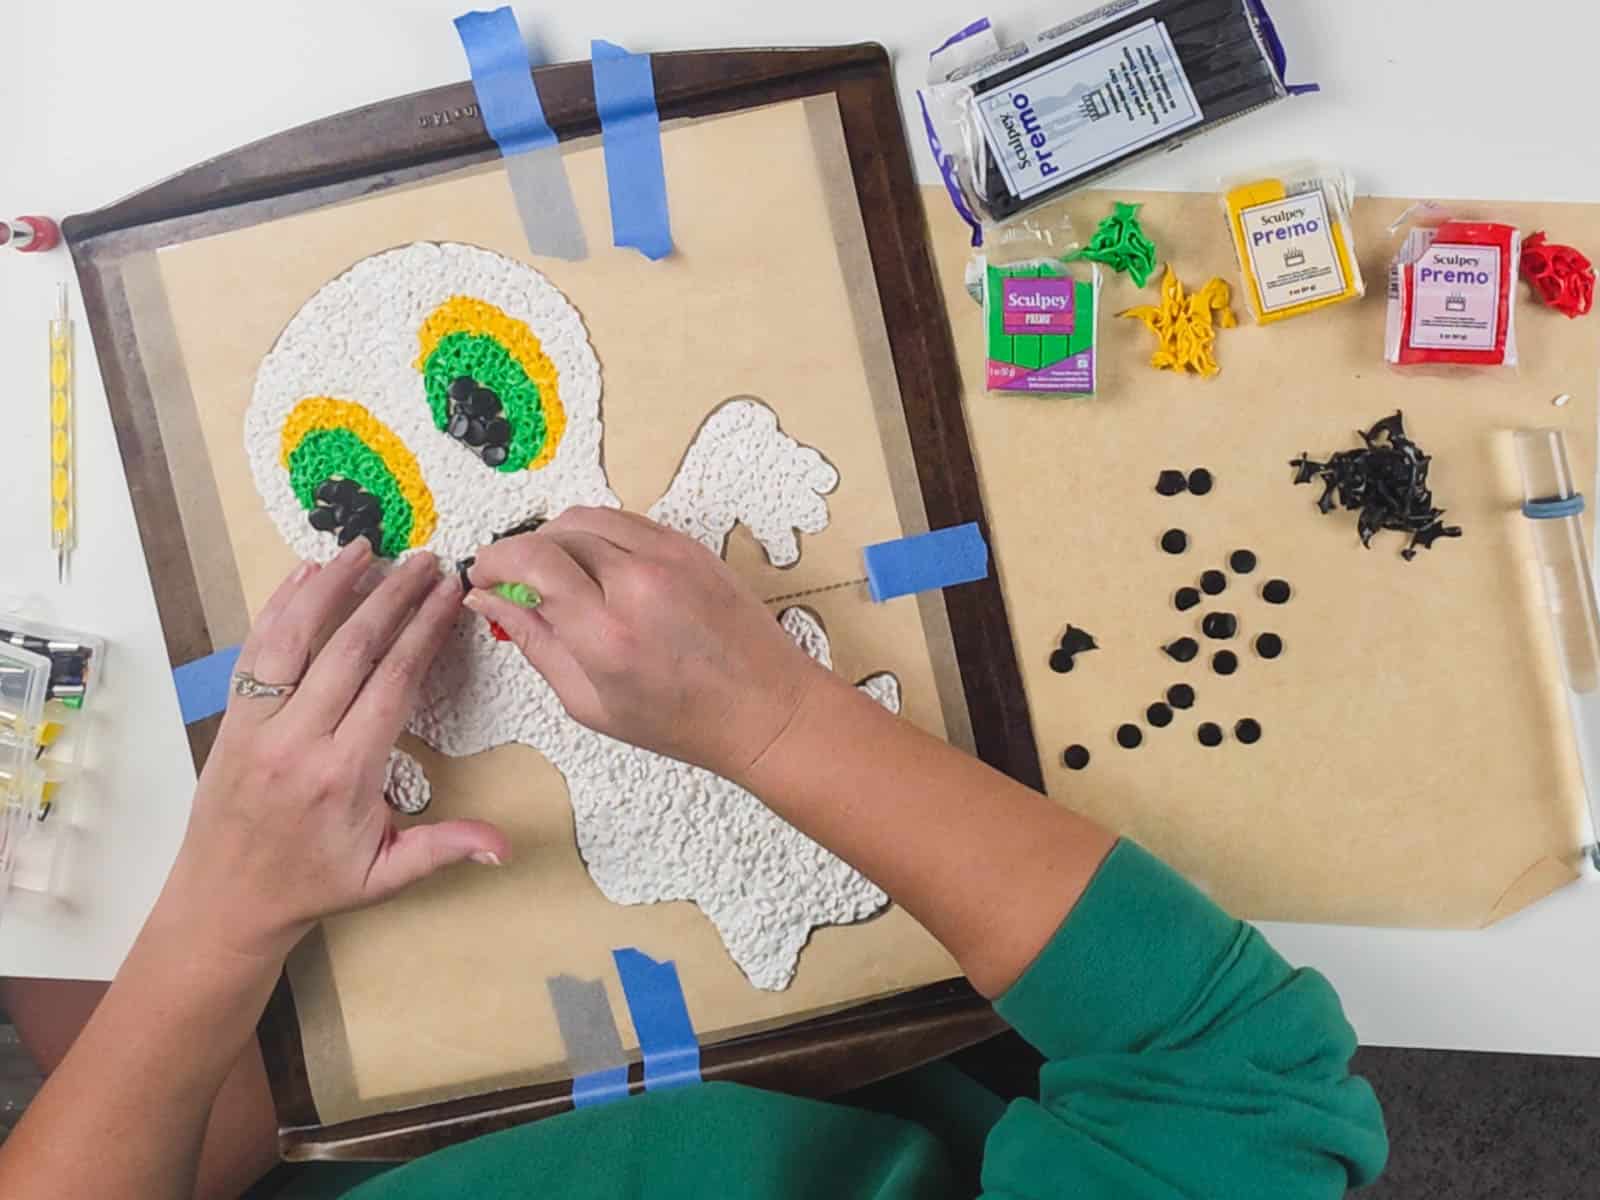
Start at the top of the section of color you’re using. Place scraps first to fill larger areas quickly. Then, fill remaining gaps with circles.
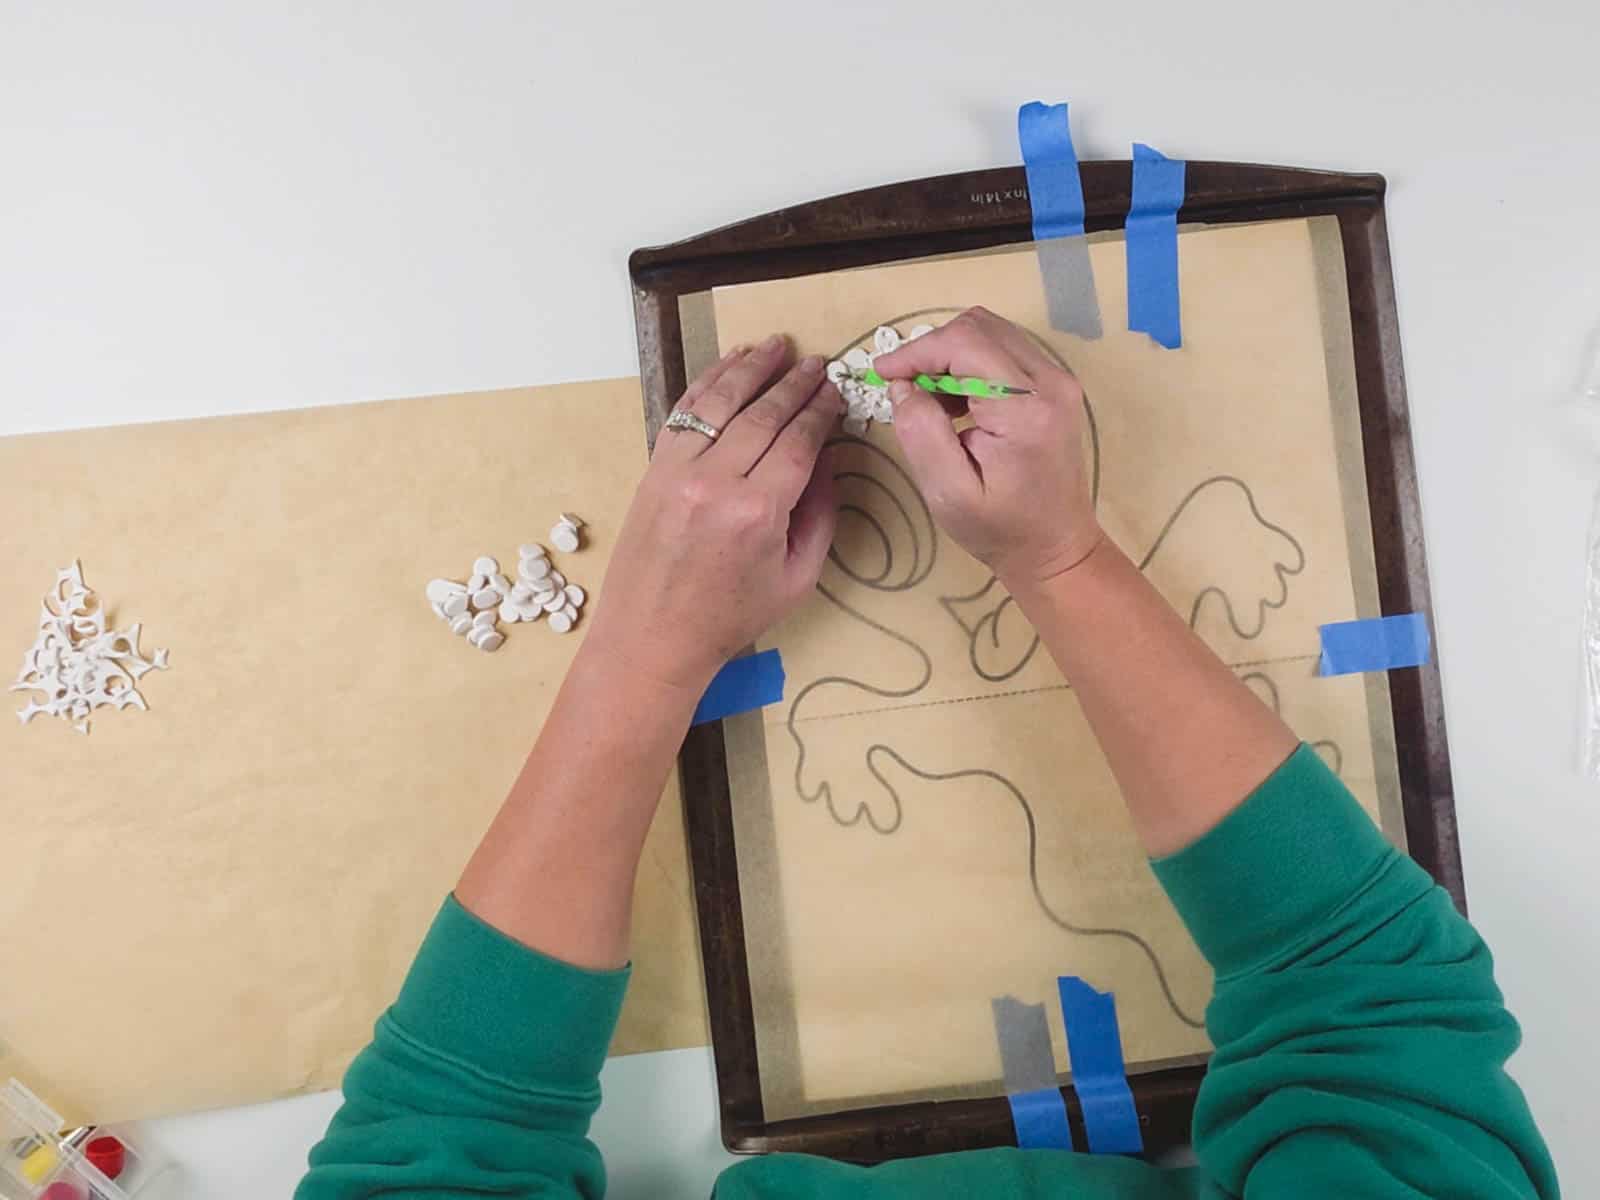
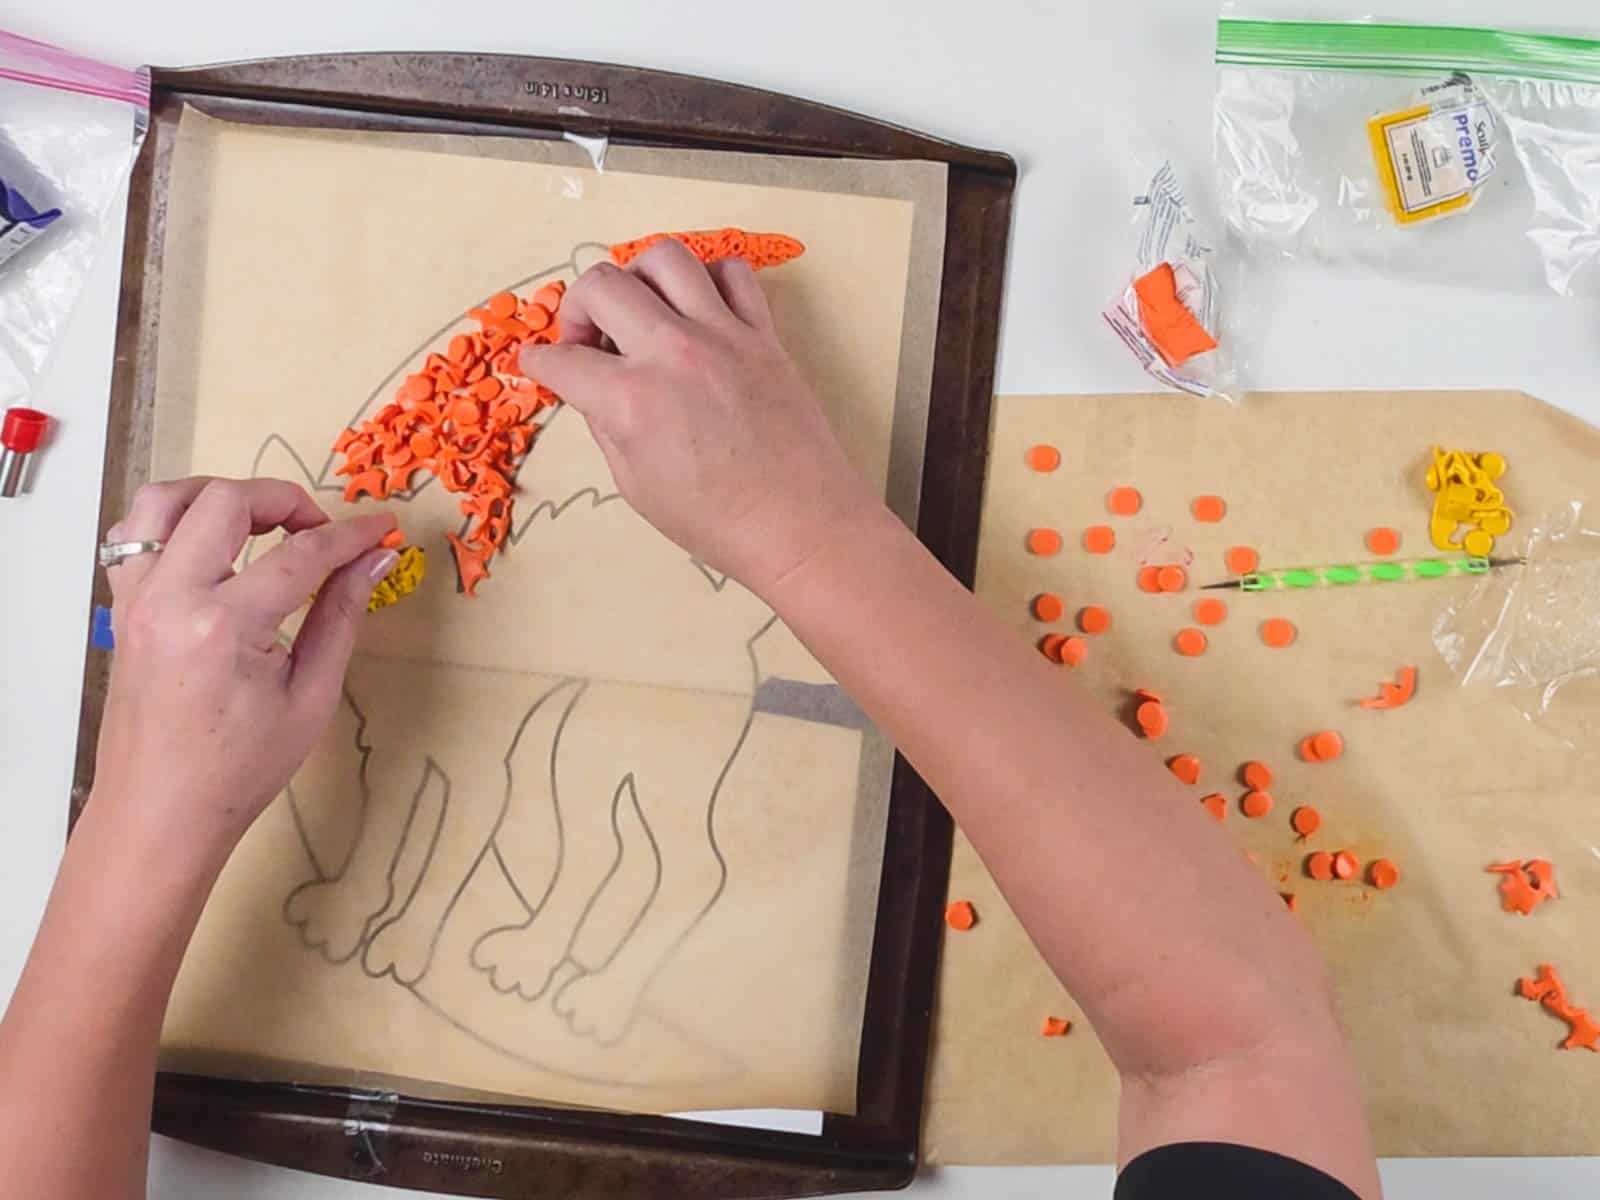
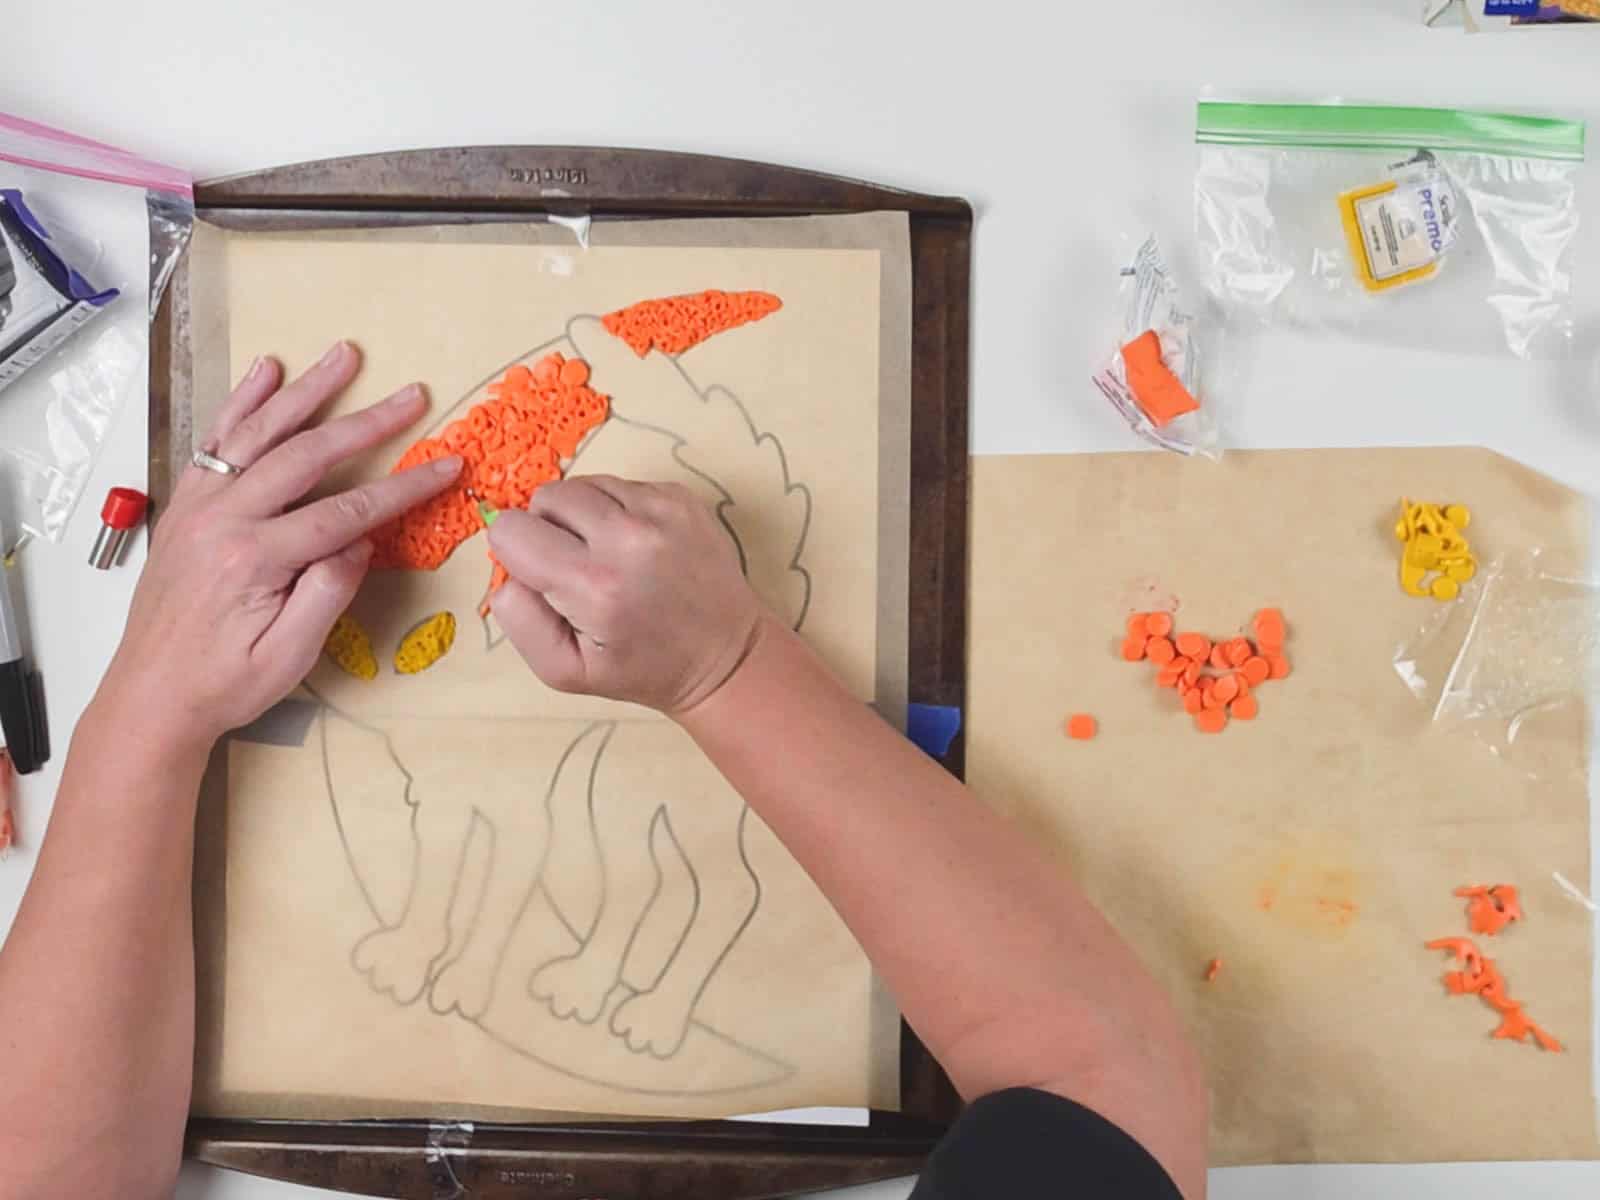
Using your hands and the rounded detailer, press neighboring pieces together. Preserve bumpy edges to recreate the textured appearance. If an area appears too smooth, go in with the detailer to add more bumps creating the popcorn effect until you have achieved your desired look.
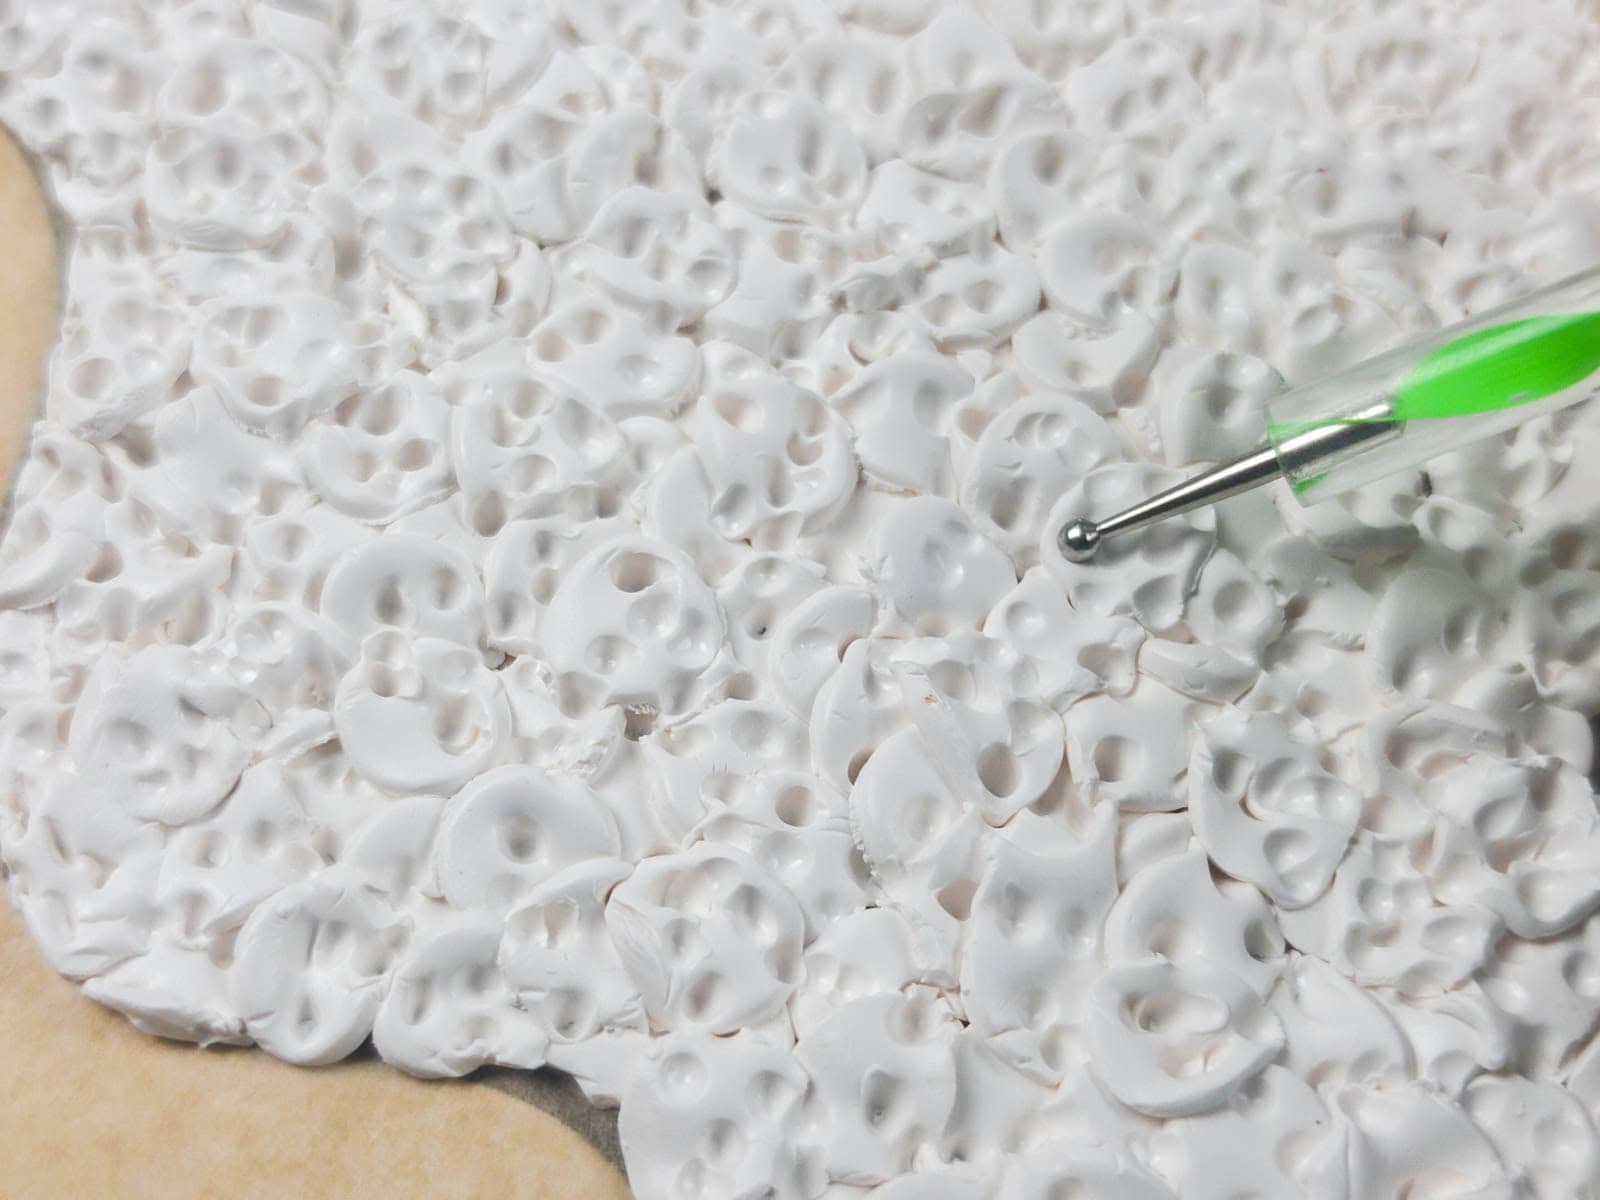
Each section of the design should be at least 1/4″ and no more than 1/2″ thick. Add clay circles as needed to create an even overall thickness.
Step 5: Repeat with the Remaining Colors
Continue filling the design working from the lightest to darkest colors and top to bottom.
To prevent unwanted color transfer, make sure to wash your hands thoroughly between colors.
Repeat the scraps-first method to fill the bulk of each section of the design, then fill gaps and join pieces using your hands and the clay detailer.
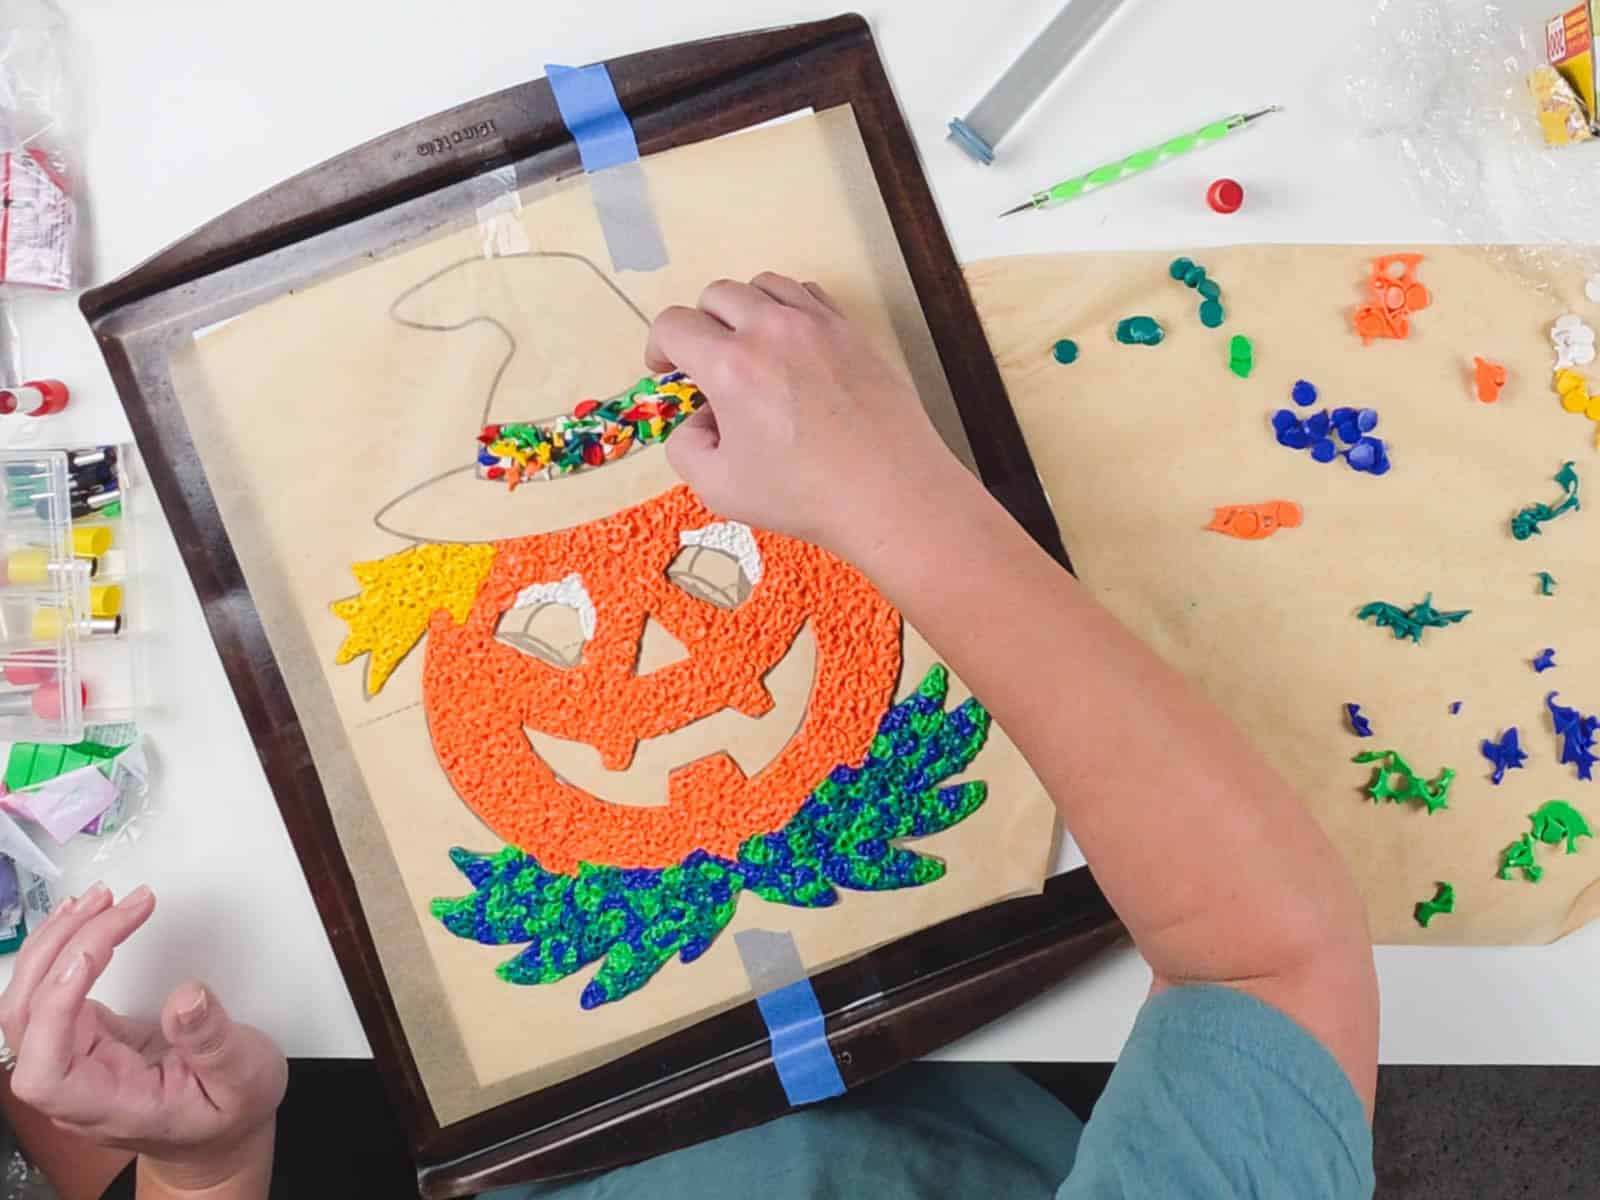
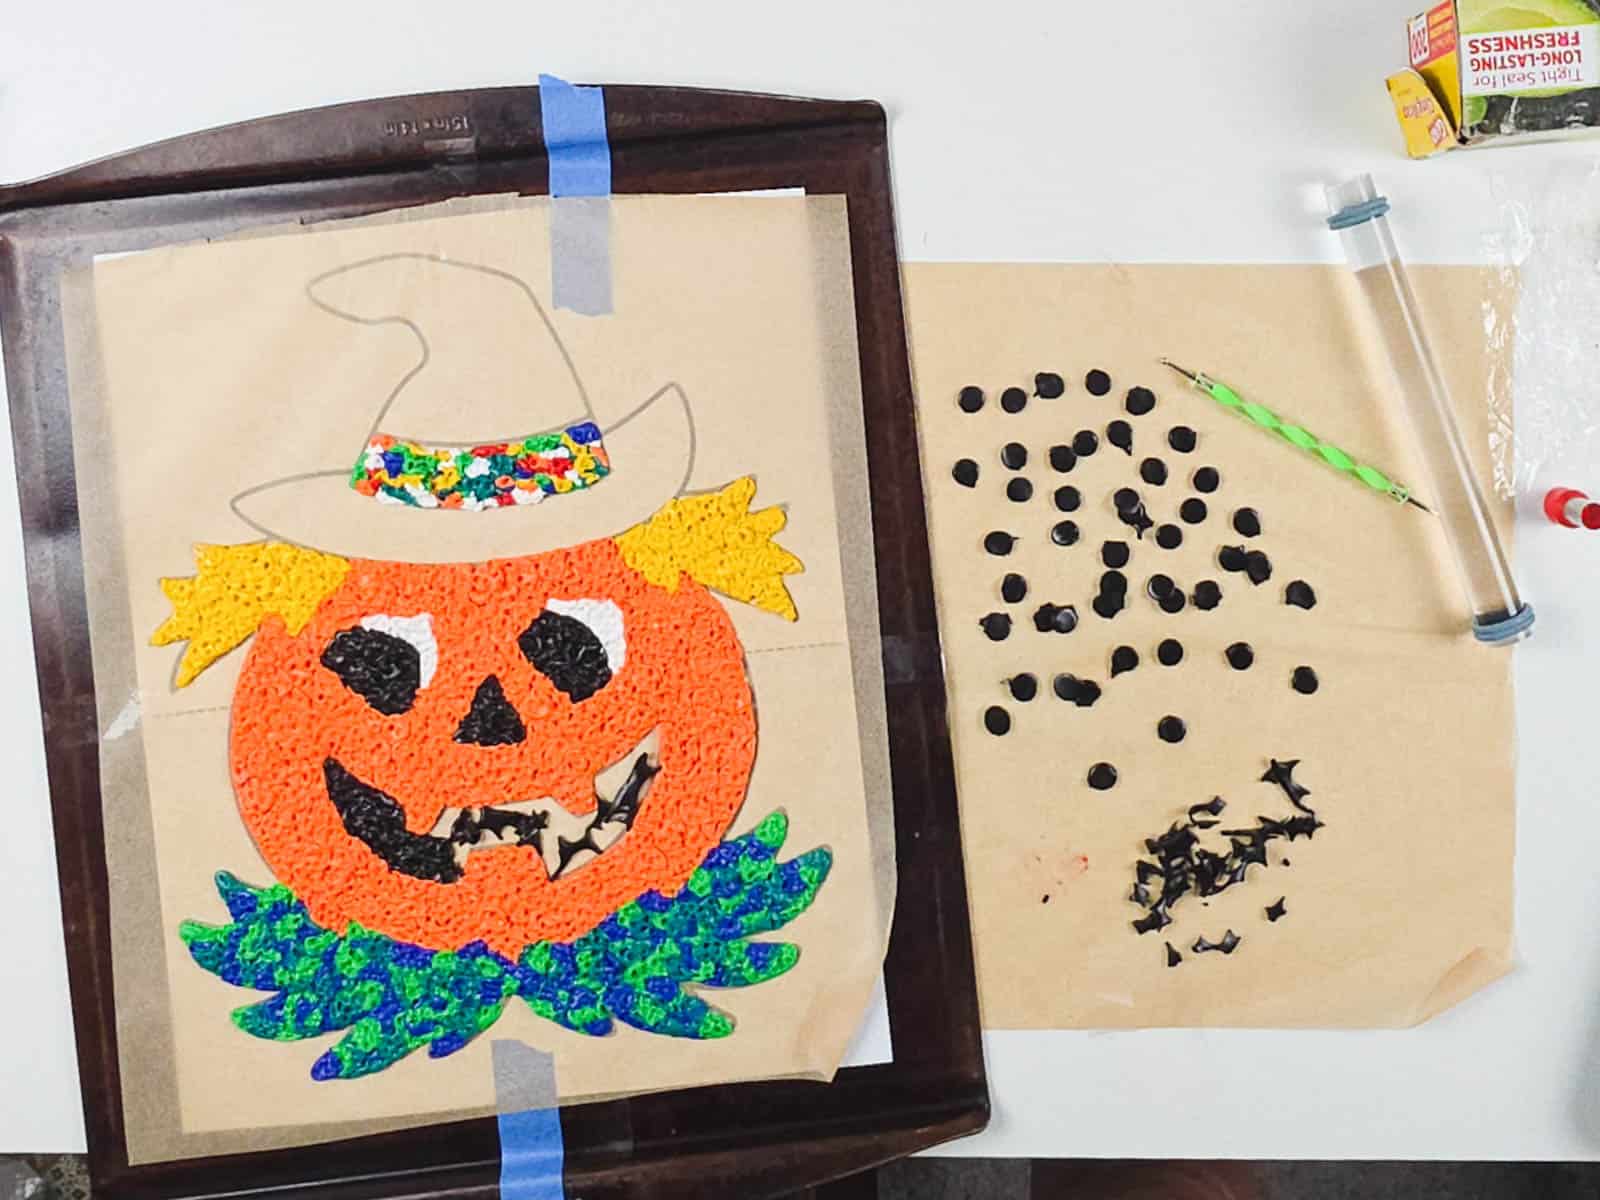
Check connections to make sure that each colored section of the design is thoroughly attached to the areas surrounding it. If any of the areas have gaps, apply a few more circles of clay and use the detailer to connect the sections.
Double check the overall thickness of the design before baking. If any areas appear thinner than others, apply a few more circles of clay using the detailer and blend in.
Step 6: Remove the Paper Pattern and Bake
Remove all tape from the pattern and parchment paper.
Carefully slide the paper pattern out from beneath the parchment. Leave the assembled clay decoration on the parchment and baking sheet.
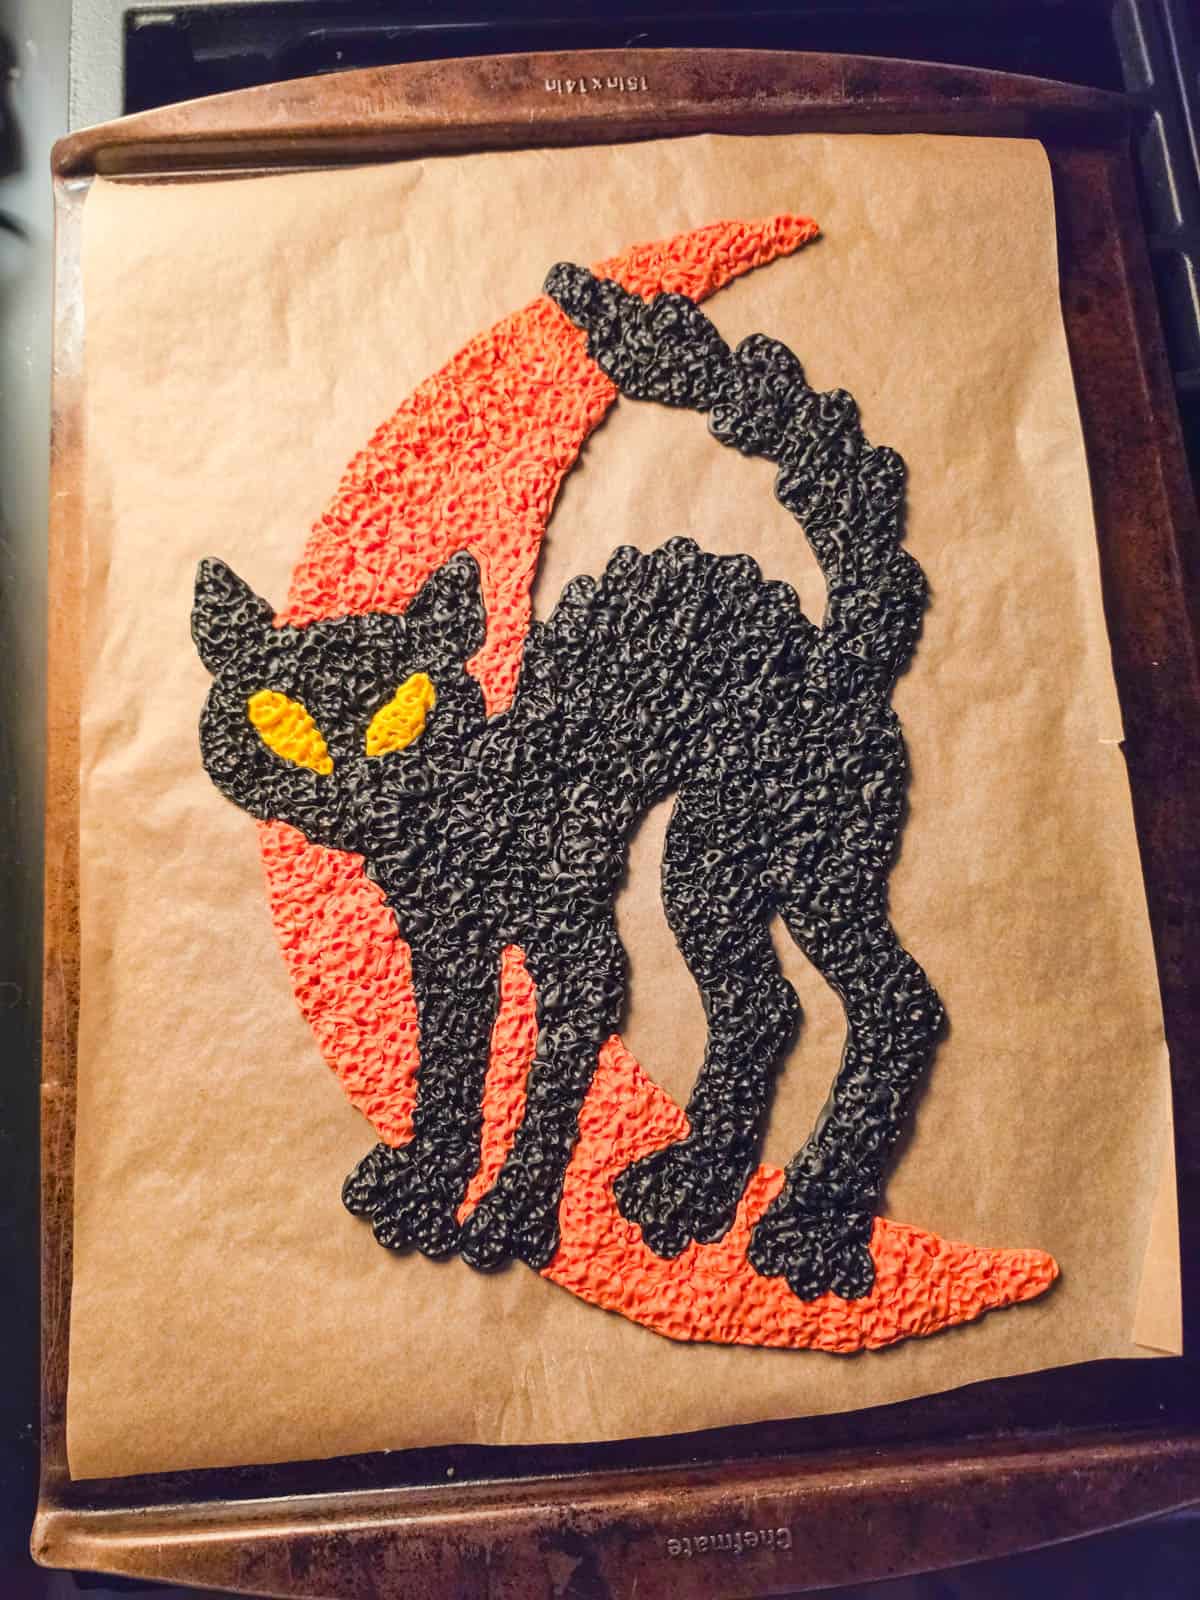
According to the directions on the Sculpey Premo clay, you should bake at 275°F for 30 minutes per each 1/4″ of thickness. My decorations landed somewhere between 1/4″ and 1/2″ thick, so I went with their guidelines for 1/2″ thickness, which is 60 minutes.
I had also heard a tip to bake for an extra 30 minutes for added durability, so all in all each of my decorations actually baked at 275°F for about 90 minutes.
However, Sculpey recommends sticking to the baking times listed on their packaging, so I recommend following their directions based on the thickness of your own decoration instead of adding that extra time. I’d also recommend using an oven thermometer to double-check that your oven is actually at the temperature it claims to be!
Unfortunately I did learn a few valuable lessons on baking through trial and error.
I wasn’t aware that one of the oven racks had been lowered between rounds of my decoration making and baking, so my pumpkin scorched after the rack had been lowered near a hotter area of the oven.
The majority of the design was fine, but the lighter yellow clay showed the burning on the side of the design that was closest to where the heat enters my oven.
Check your oven rack placement and avoid positioning the decoration too close to your oven’s heat source. I would also recommend using an oven thermometer to double-check the temperature. And make sure to wait until your oven is fully preheated before putting your decoration in to bake!
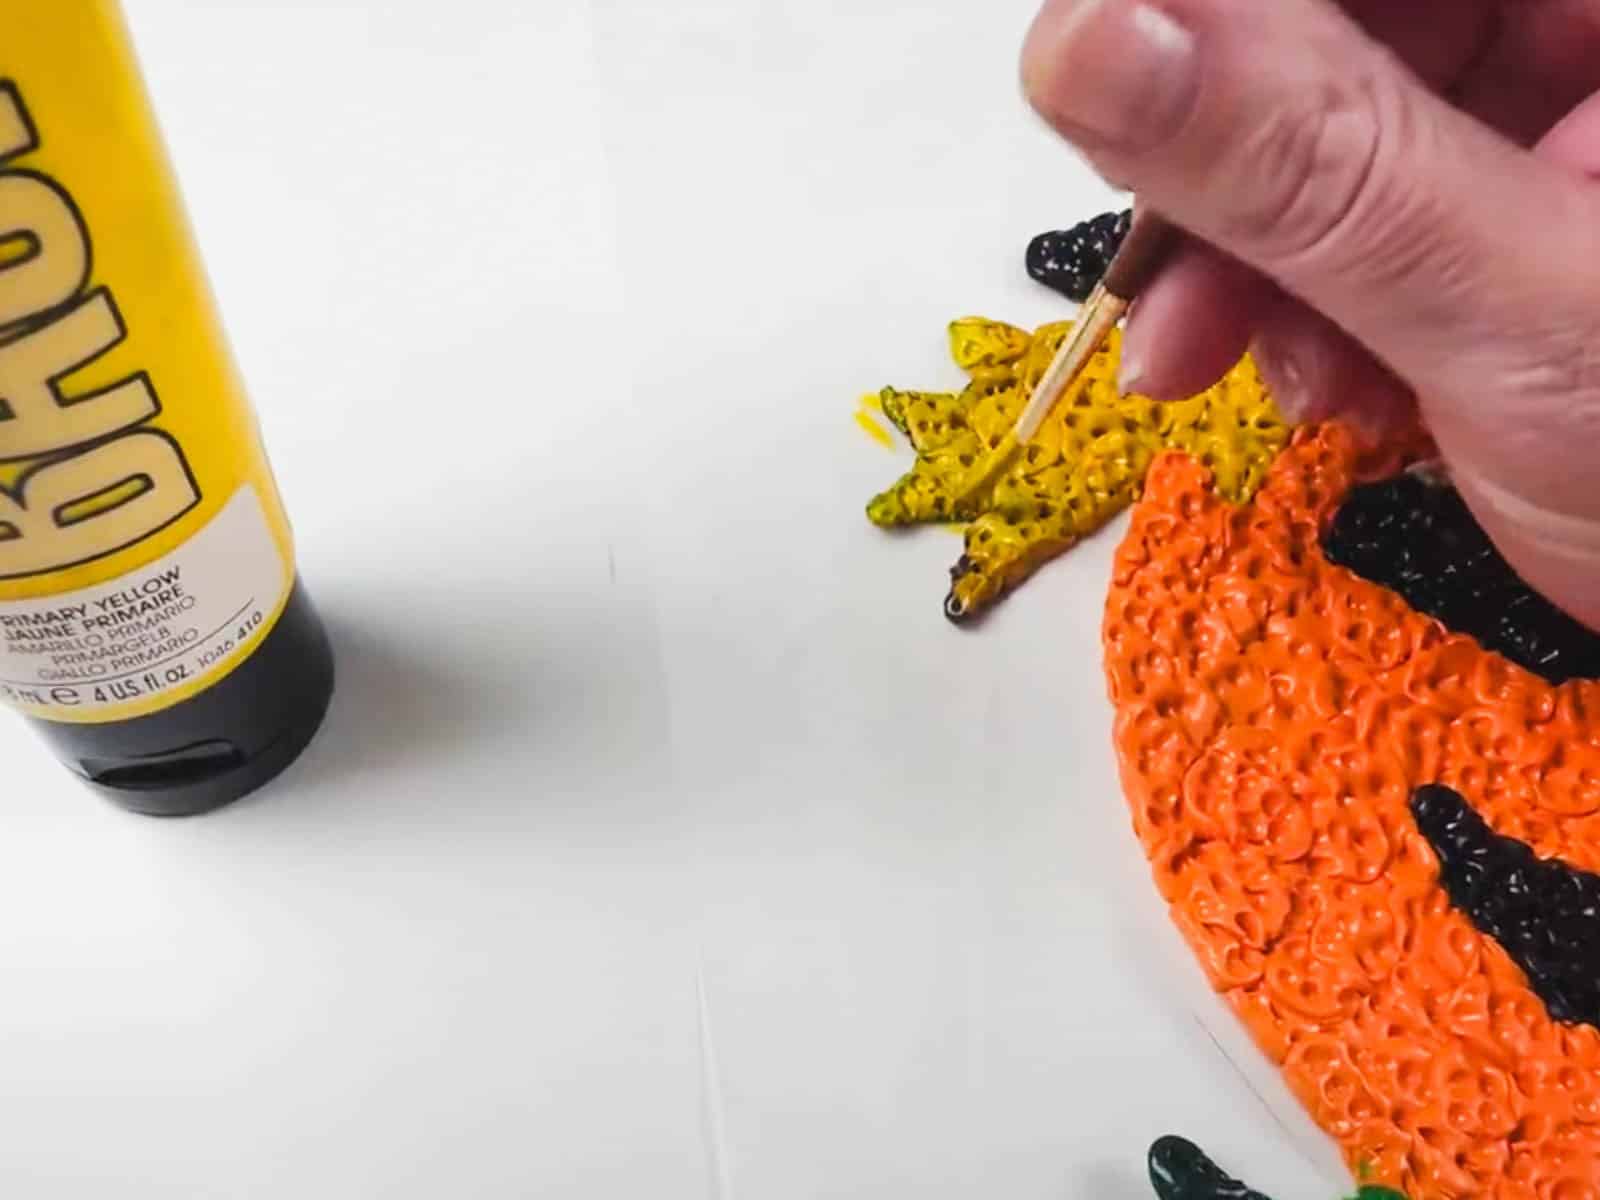
Luckily I was able to cover the scorched areas with a little acrylic paint. It’s not perfect, but you can’t really tell when it’s up on the wall!
Step 7: Cool and Apply the Gloss Finish
Once fully baked, remove from the oven and let the decoration cool thoroughly on the pan.
Once cooled, brush on a coat of the Sculpey gloss finish making sure to work it into all of the grooves and crevices with the paint brush.
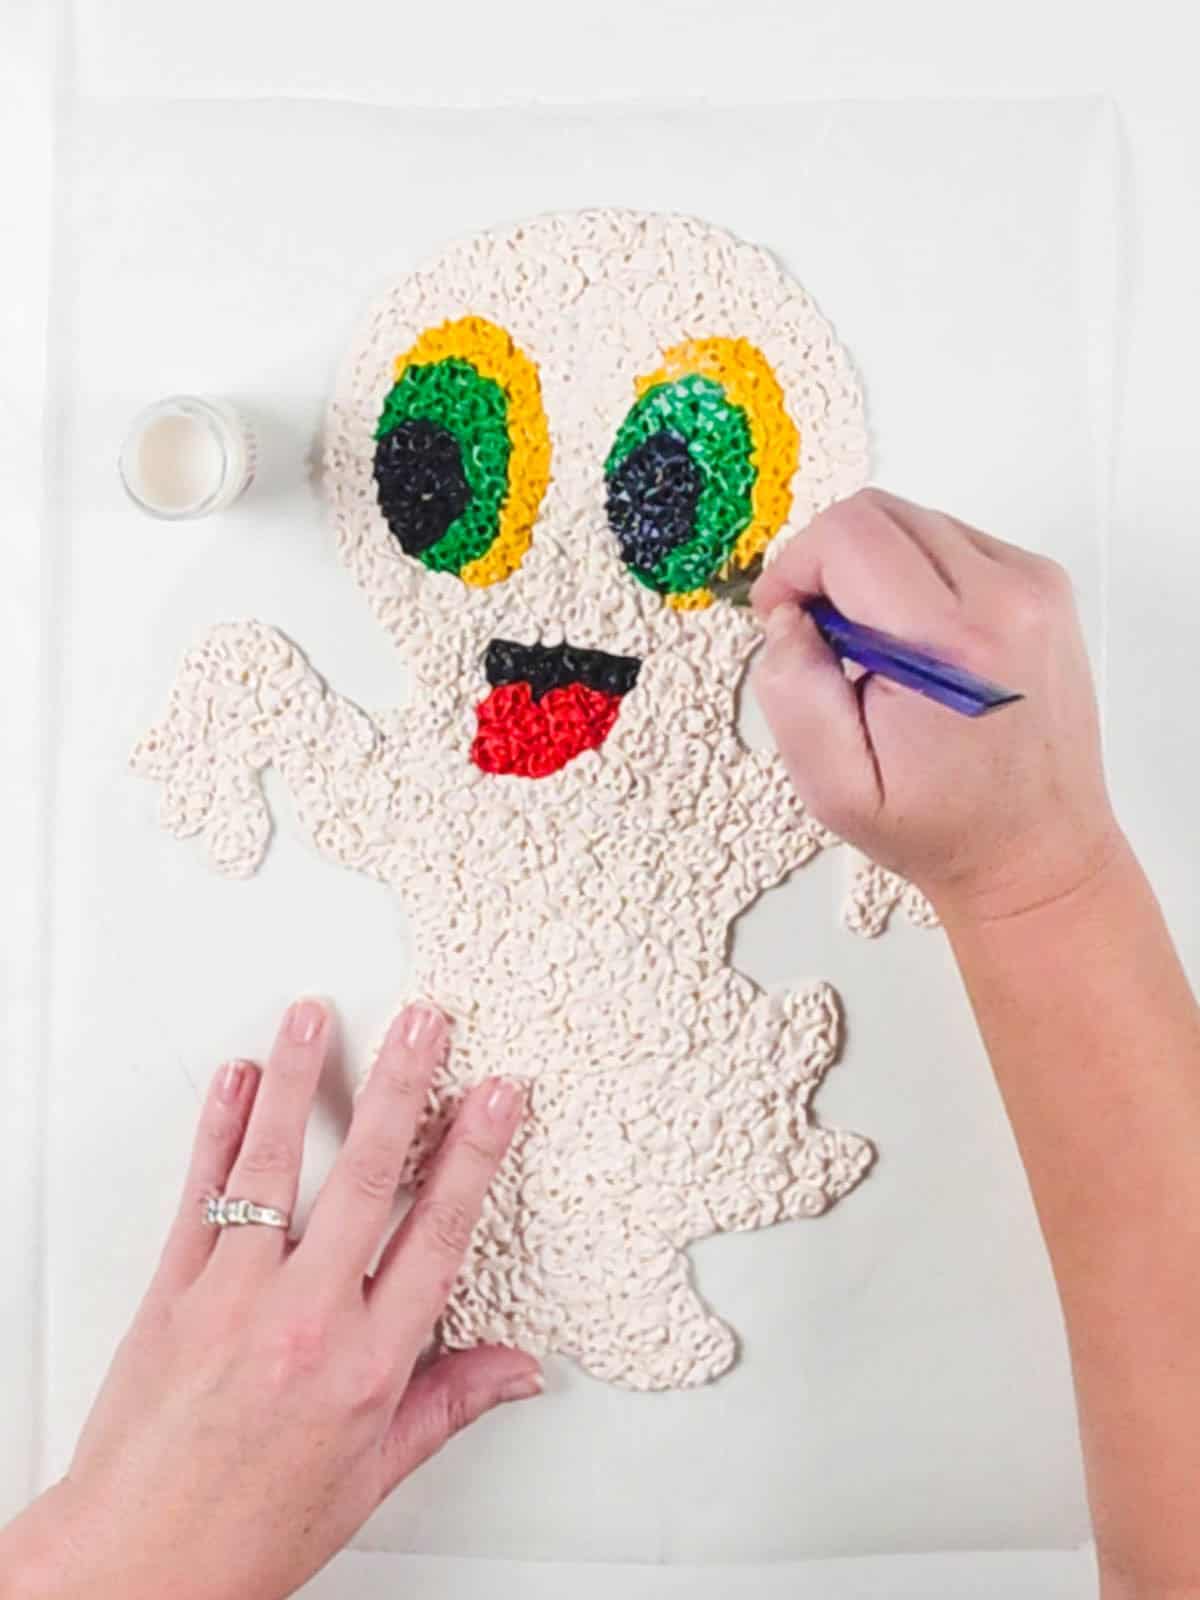
Let it dry thoroughly according to the product directions. I ended up letting mine dry for a full 24 hours before hanging.
Hanging and Storing Your HAlloween Decorations
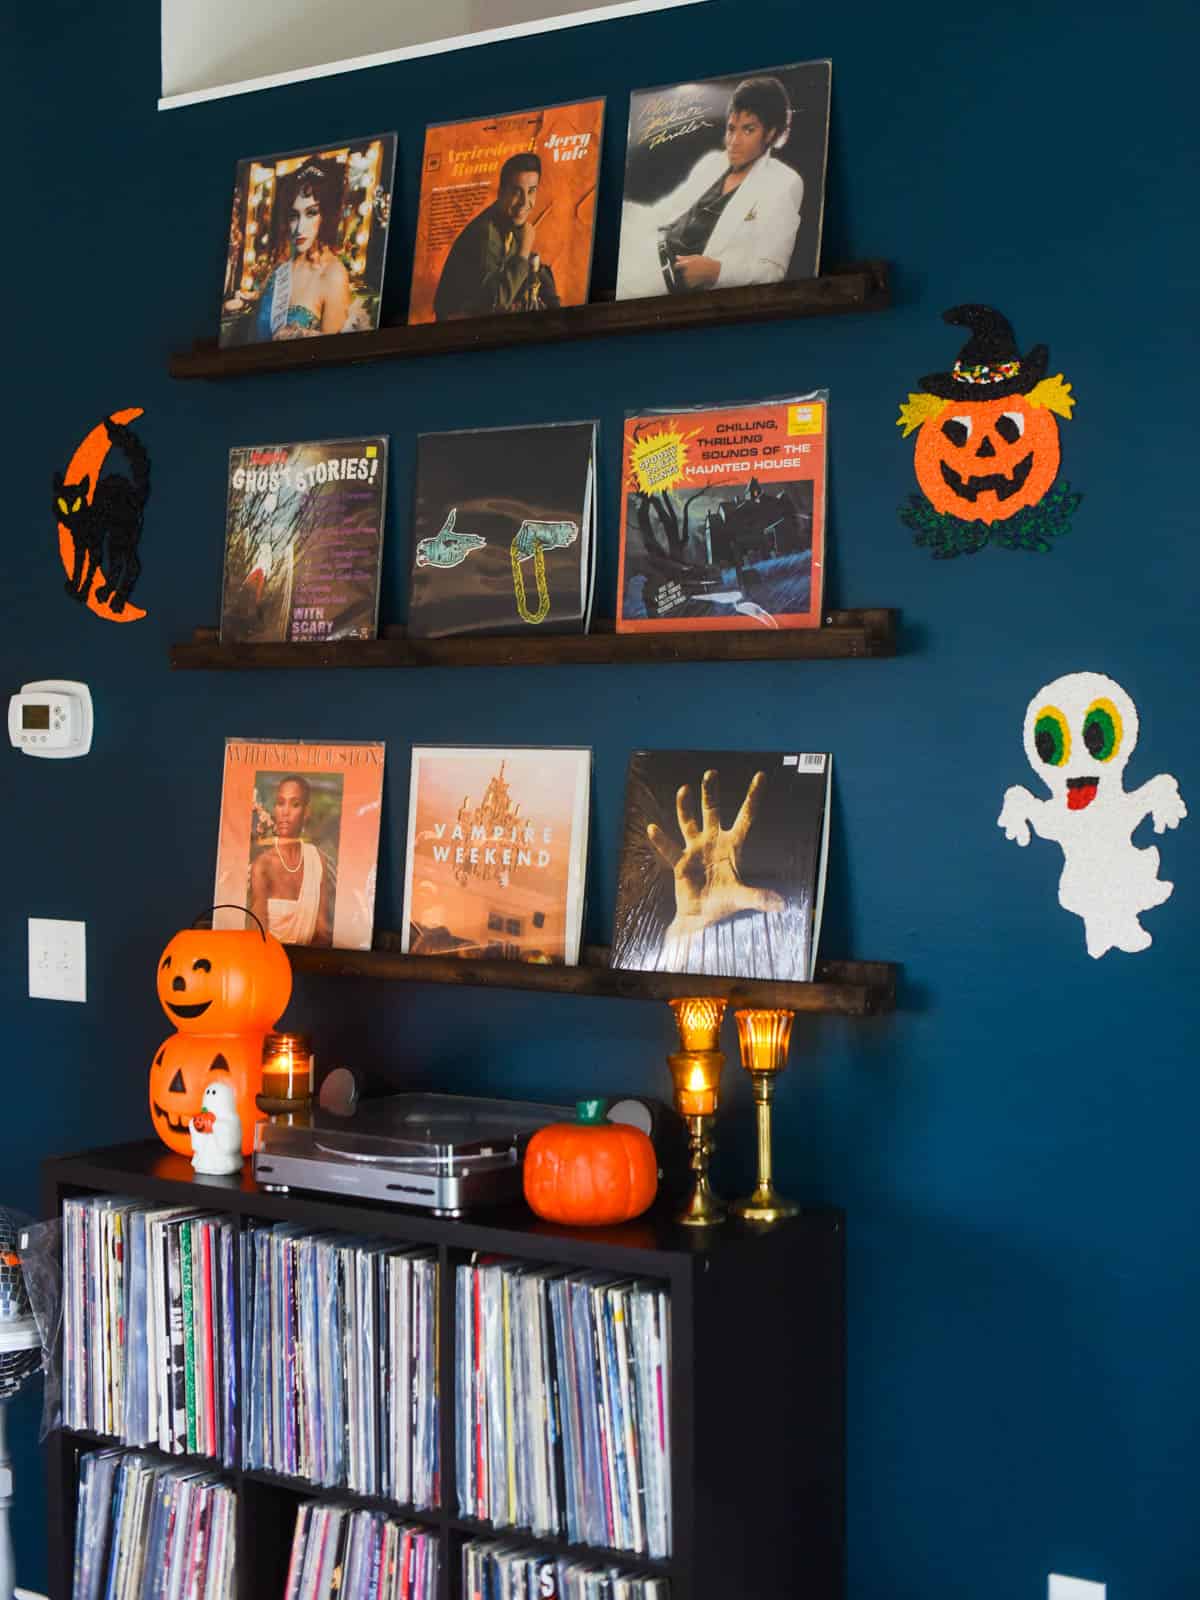
Due to the nature of the project, there will probably be some little holes left behind in the design. Sometimes these end up in places that are perfect for hanging, other times not so much.
You might also not like how you can barely see the nail through the design when it’s hung. Luckily there’s another option, 3m picture hanging strips!
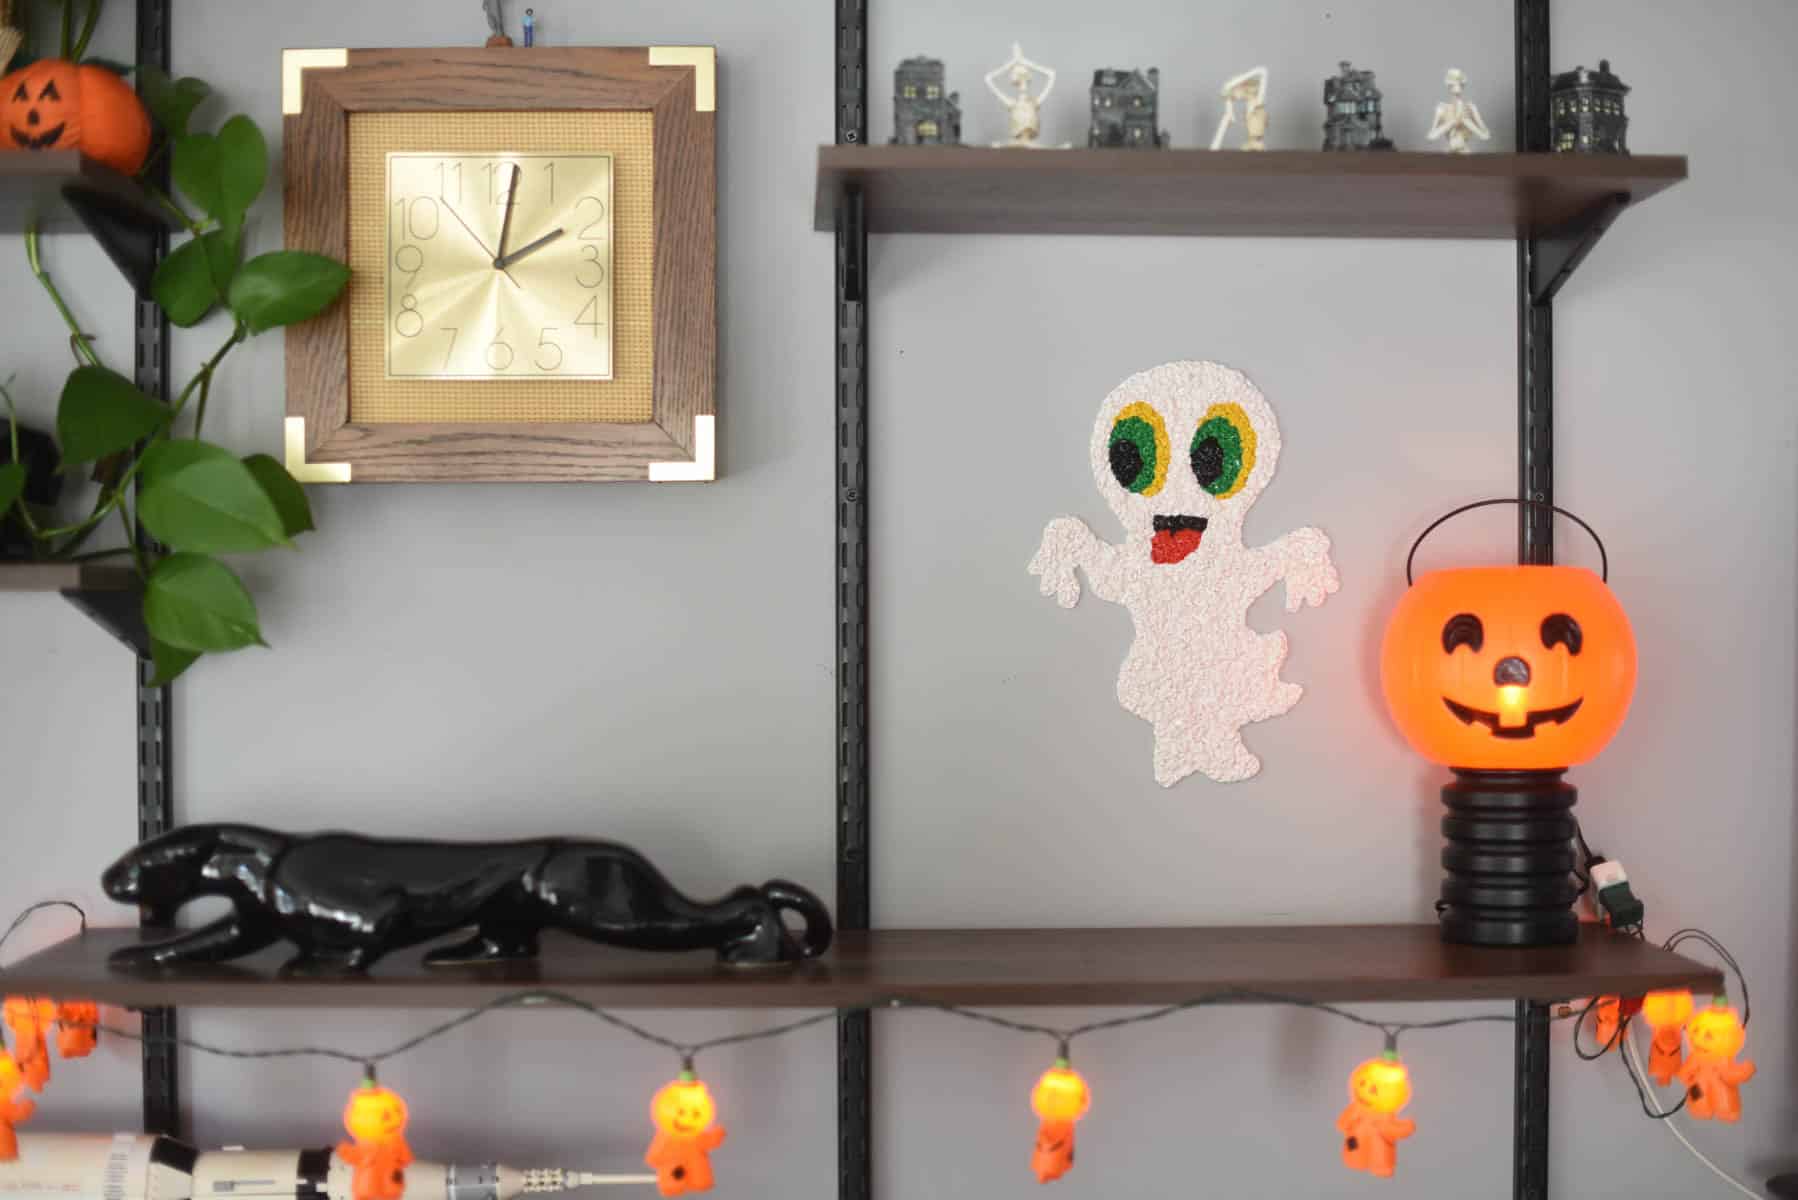
The finished decorations have some flexibility that felt very similar to the authentic popcorn decorations that I had. I plan on storing these just like I store my Christmas ones, laying flat and wrapped in bubble wrap.
Tips I Learned While Making All Three
- Use scraps first to save assembly time. Trust me on this one! Plus, the scraps add to the authentic, rough popcorn look.
- Use plastic wrap when cutting circles. Before I tried the plastic wrap method, I was spending needless time poking the circles out of the cutter as they inevitably got stuck inside.
- Warm clay only until workable.
- Work from light to dark and wash hands thoroughly between colors. You could also wear gloves and replace them between colors, but washing my hands worked just fine for me!
- Check oven rack placement before baking. Make sure that you place the design away from your oven’s heat source.
Make Your Own Vintage Halloween Popcorn Decorations
You know you want to hang these in your home to add a touch of warm, vintage Halloween nostalgia!
Grab the free printable patterns from the Bre Pea Creative Library and make your own ghost, cat, or pumpkin (or all three, because why not?!).
Want to make your own vintage-inspired halloween wall decorations?
Download the Free Printable Patterns in the Creative Library!
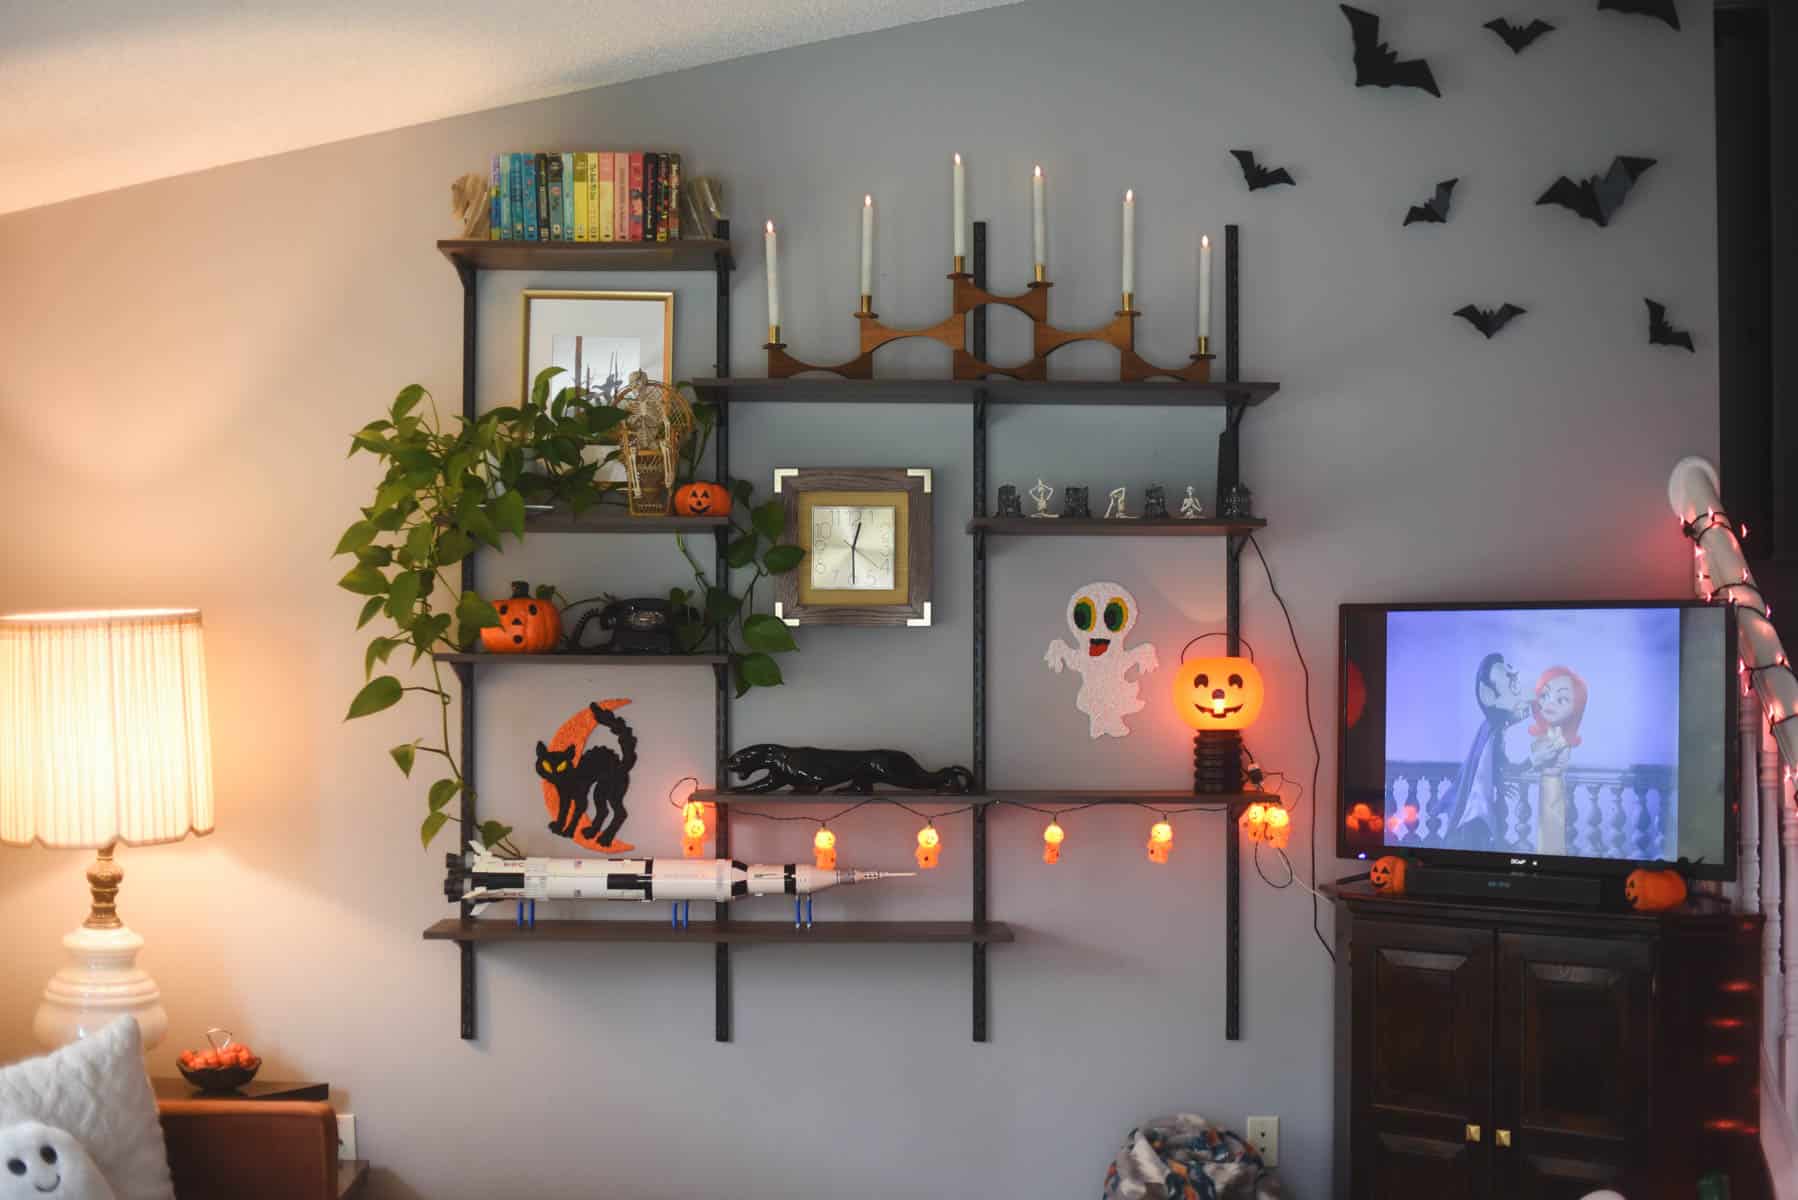
Did you make this craft?
We would love to see what you have created so mention us @brepeablog or tag us using #BrePeaMadeMeDoIt so we can see your creations!