We are lucky enough to live in the Land of 10,000 Lakes, otherwise known as Minnesota, which means we spend a LOT of time around water during the summer.
Between swimming at Grandma and Grandpa’s house, heading out on the boat, and trying to squeeze every last drop out of our very short Minnesota summers, we have collected quite the assortment of life jackets.

The problem? When those life jackets weren’t being used, they were usually haphazardly thrown onto a shelf in the boat house. And because life jackets are somehow both bulky and impossible to stack nicely, that shelf turned into a wet, tangled mess approximately five minutes after I organized it.
So, I decided to build something.
This DIY life jacket rack is made with PVC pipe and a simple wood base. It gives each life jacket its own place to hang, helps wet jackets get more airflow, and keeps them from taking over an entire shelf.
The rack has five separate arms, so it can hold several children’s or adult life jackets at once. Because I assembled the PVC without glue, the arms can also twist and move around depending on what we need to hang on them.

It is a simple, affordable project that would work great in a:
- Boat house
- Lake cabin
- Garage
- Pool house
- Covered patio
- Storage area near the dock
Best of all, you don’t need any fancy woodworking skills to make it! If you can measure, cut PVC pipe, and use a drill, you can make this life jacket organization rack in an afternoon.
How to make a DIY Life Jacket Rack Step by Step
Materials Needed
Tools Needed
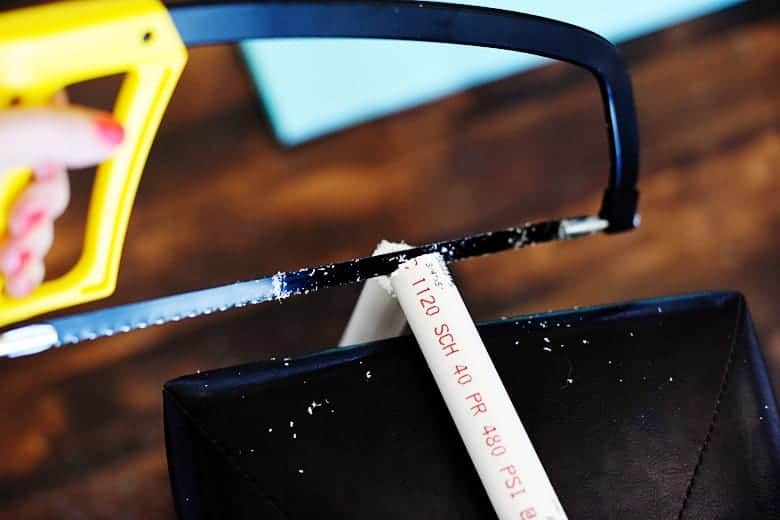
A hacksaw will work perfectly well for cutting the PVC (it’s what I used because it’s what I had), but a ratcheting PVC cutter makes the cuts faster and cleaner if you plan to make more PVC projects!
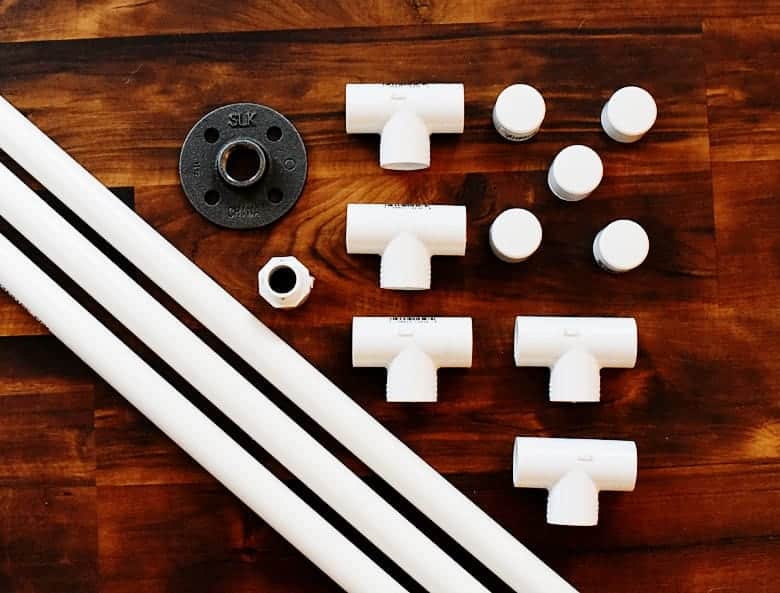
PVC Cut List for the Life Jacket Rack
Before assembling the rack, cut the PVC pipe into the following pieces:
- Five 4-inch pieces
- Five 16-inch pieces
- One 20-inch piece
The 20-inch piece creates the main vertical post. The five 4-inch pieces separate the hanging arms, and the five 16-inch pieces become the arms that hold the life jackets.
Measure each piece carefully and mark your cutting lines with a pencil or permanent marker before cutting.
You may also want to lightly sand any rough edges after cutting the PVC. The pieces will fit together more easily, and you will not have sharp plastic edges rubbing against the life jackets.
Step by Step DIY Life Jacket Rack Instructions
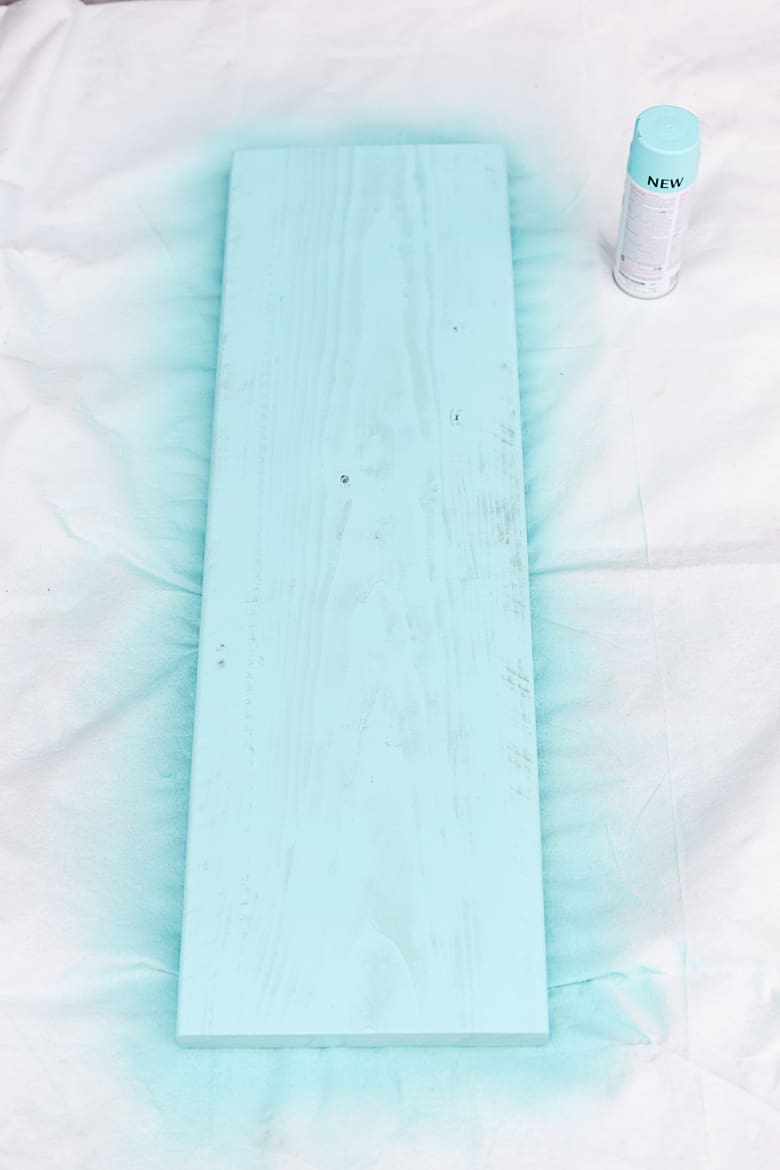
Step 1: Prepare the Wood Base
Sand the wood board paying special attention to the edges and corners. You don’t need to make it perfectly smooth, but you should remove any rough areas or splinters.
If you want to customize the rack, paint or stain the board before attaching the PVC.
Because this rack may be around damp life jackets, I recommend sealing the wood if it will be kept in a garage, boat house, pool house, or another humid area. Allow the paint, stain, or sealer to dry completely before moving on.
You can also add small non-slip rubber feet to the bottom of the board. These help protect the floor and can keep the base from sliding when someone pulls a life jacket off the rack.
Step 2: Find the Center of the Board
Use a measuring tape to find the center of the wood board.
My board measured approximately 12 inches by 36 inches, so I measured halfway across both the length and width and marked where the lines met.
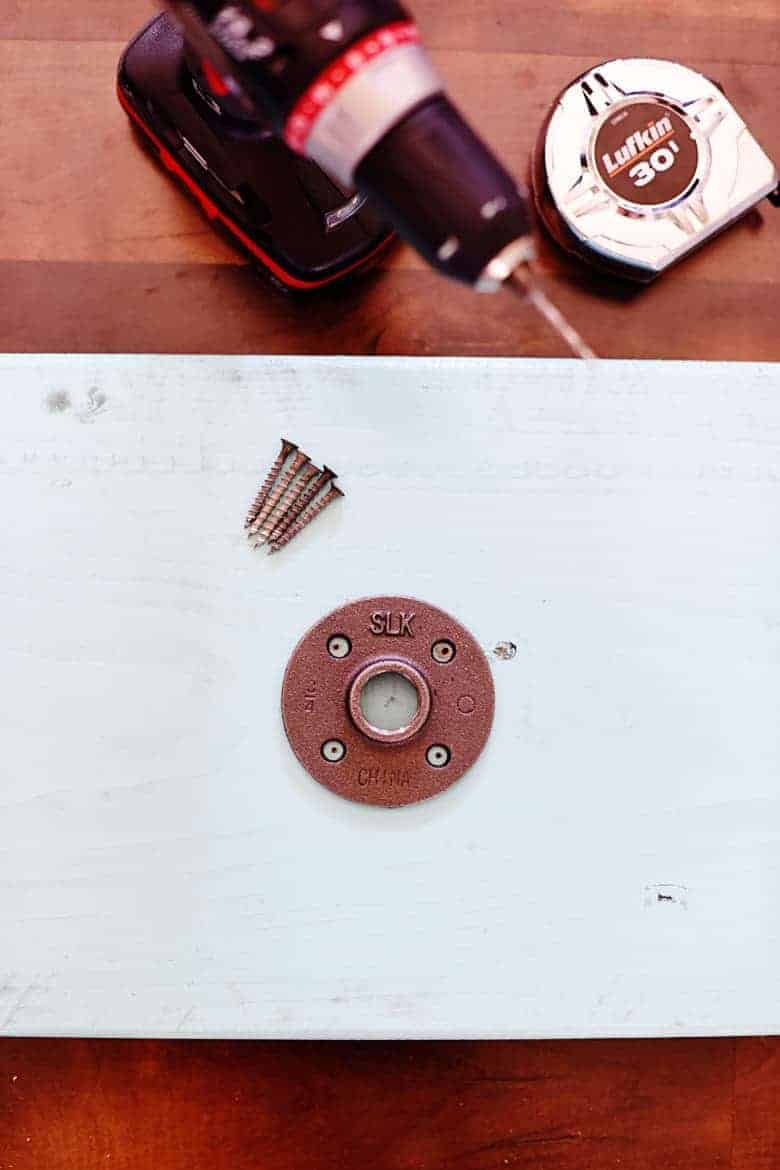
Place the metal floor flange over the center mark. Use a pencil to mark the location of each screw hole.
Centering the flange is very important because it helps distribute the weight of the life jackets more evenly across the base.
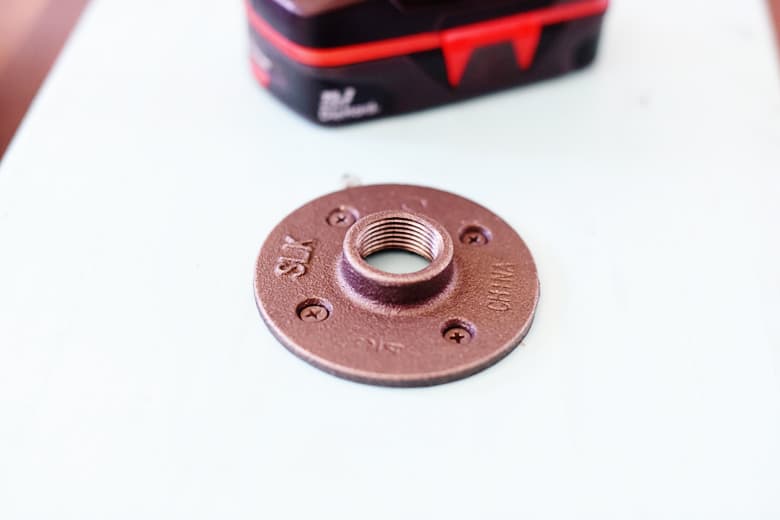
Step 3: Attach the Metal Floor Flange
Predrill the four screw holes using a drill bit that is slightly smaller than your screws. Predrilling is not absolutely required, but it makes the screws easier to install and reduces the chance of splitting the wood.
Place the metal floor flange back over the holes and secure it to the board with four 1½-inch screws.
If your rack will be stored in a humid or covered outdoor area, use exterior-rated or rust-resistant screws.
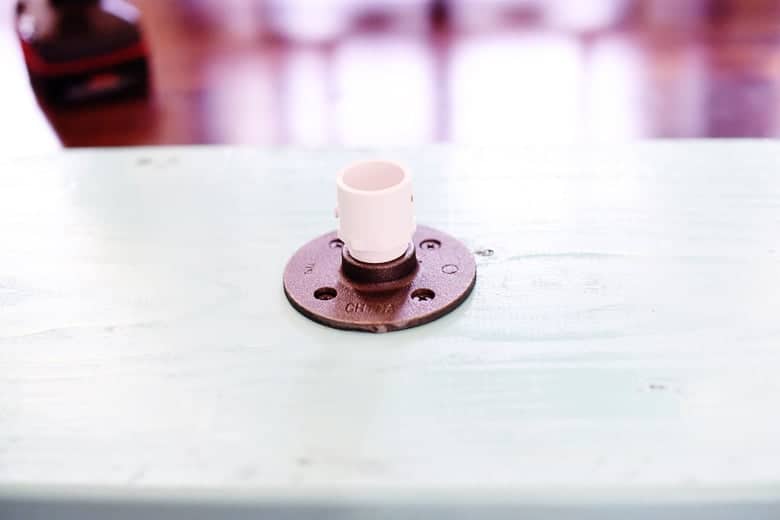
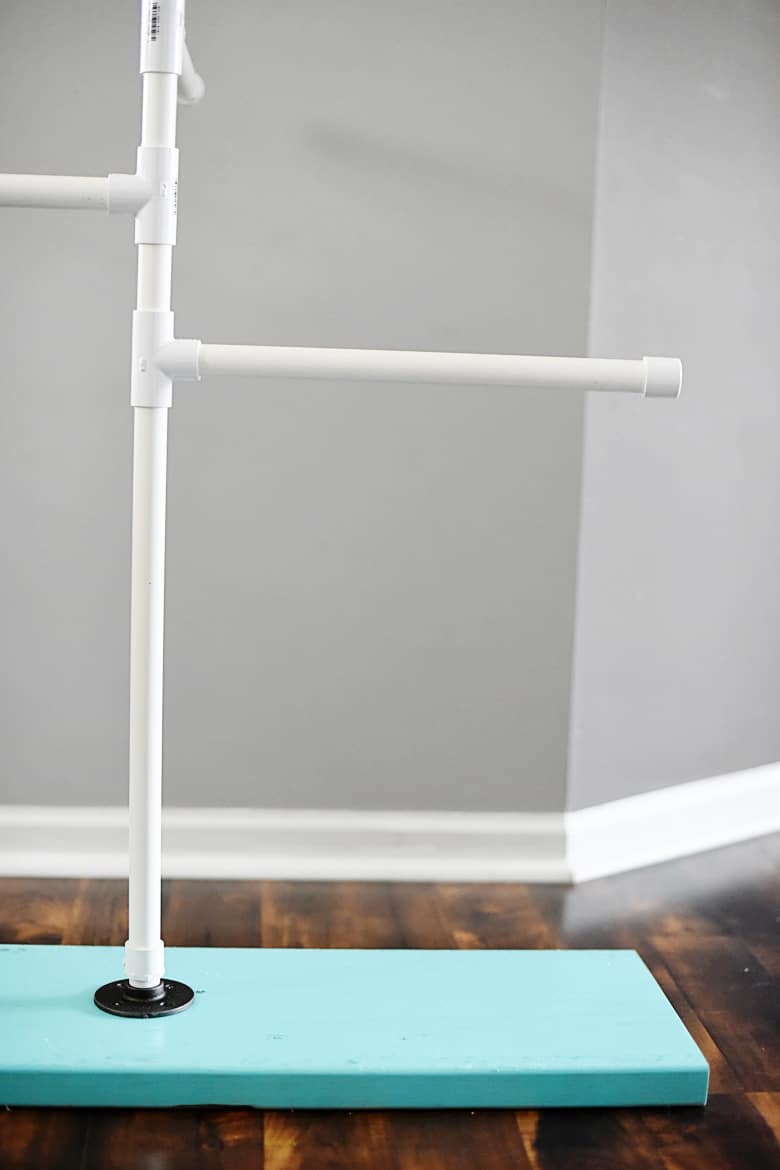
Step 4: Install the PVC Adapter
Thread the male PVC adapter into the center of the metal floor flange.
Tighten it by hand until it feels secure. The threaded side should screw into the flange, while the smooth opening should face upward. This adapter connects the PVC portion of the life jacket rack to the wood base.
Step 5: Add the Main Vertical PVC Pipe
Push the 20-inch piece of PVC pipe into the smooth opening of the male adapter.
Press it down firmly so the pipe is fully seated inside the fitting. This piece creates the lower vertical section of the rack.
Stand back and make sure the pipe looks straight before continuing. If it leans, check that the adapter is threaded evenly into the flange and that the PVC is pushed in completely.
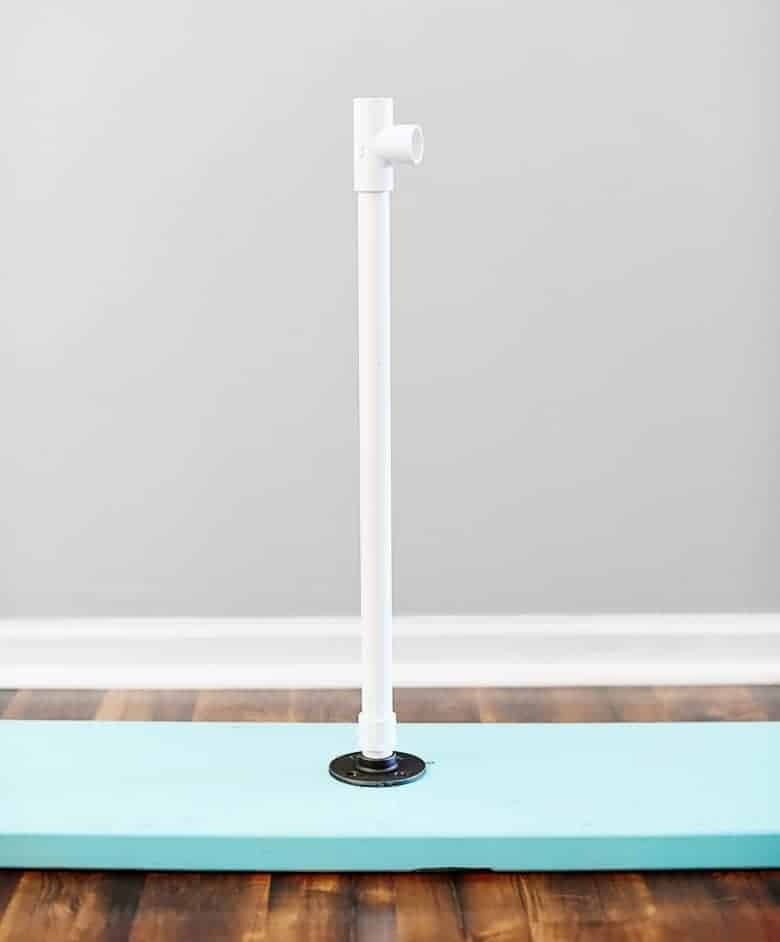
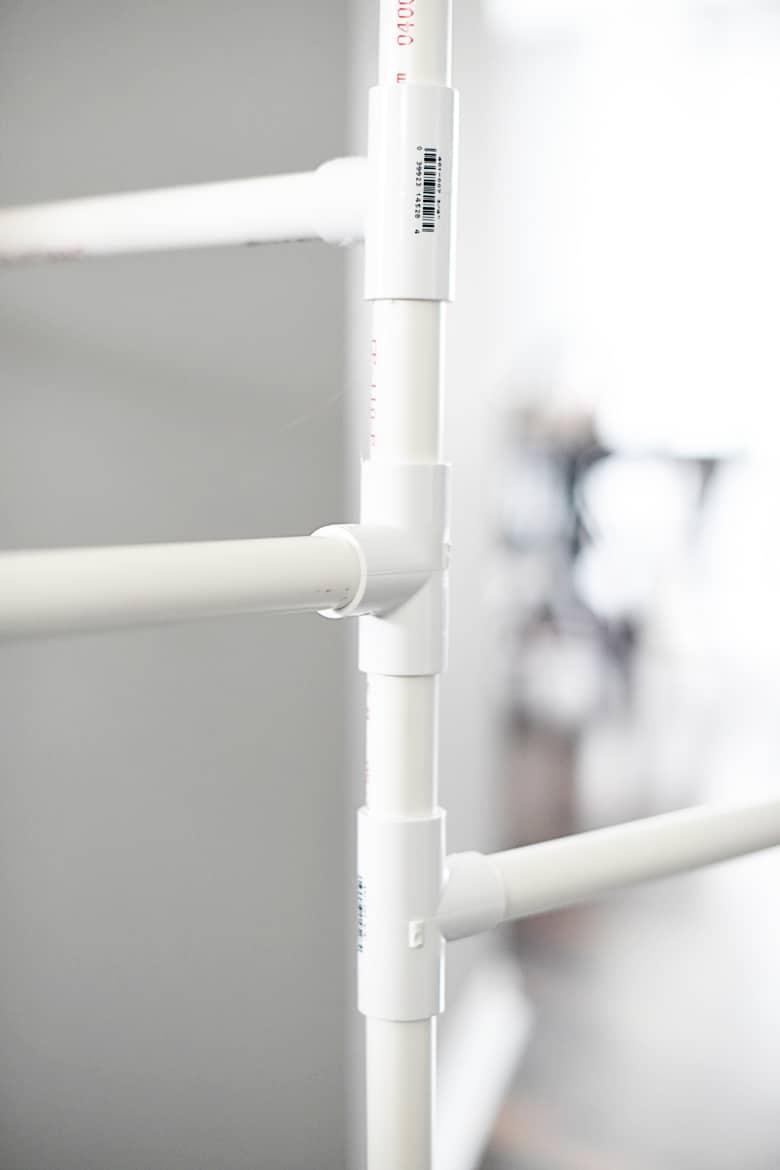
Step 6: Assemble the First Hanging Arm
Place one PVC tee fitting onto the top of the 20-inch vertical pipe. Turn the side opening of the tee so it points outward.
Push one 16-inch PVC piece into the side opening of the tee. Add one PVC end cap to the open end of the 16-inch piece. This creates the first arm of the life jacket rack.
Press each connection together firmly. Because the pieces are not glued, you may need to twist them slightly while pushing to get a snug fit.
Step 7: Add the Next Vertical Spacer
Push one 4-inch PVC piece into the top opening of the first tee fitting. This short piece creates space between the first and second hanging arms.
Attach a second tee fitting to the top of the 4-inch piece. Turn the side opening in the direction you want the next arm to face.
You can line all five arms up in the same direction, alternate them from side to side, or arrange them in a spiral around the center post. I prefer turning the arms in slightly different directions because it gives the life jackets more room and helps distribute the weight around the rack.
Step 8: Continue Building the Rack
Repeat the same process for the remaining levels:
- Add a 16-inch PVC arm to the side of the tee.
- Place an end cap on the end of the arm.
- Add a 4-inch PVC spacer to the top of the tee.
- Attach the next tee fitting.
- Turn the fitting in the direction you want the next arm to face.
Continue until you have installed all five tee fittings and all five hanging arms.
After installing the fifth and final tee, you do not need to add another 4-inch vertical spacer unless you want to modify the design and add a cap or decorative topper.
Step 9: Adjust the Arms
Once the rack is assembled, rotate the arms until they are evenly spaced.
One of my favorite parts of this design is that the PVC pieces are press-fit instead of permanently glued. That means I can twist and reposition the arms depending on the size and number of life jackets we need to hang.
Just make sure the arms are pushed securely into the fittings before adding any weight.

Step 10: Test the Life Jacket Rack
Place one life jacket on the lowest arm, followed by another jacket on an arm facing the opposite direction.
Continue adding life jackets while distributing the weight as evenly as possible around the rack. Avoid loading all five jackets on the same side. Even with a sturdy wood base, uneven weight can cause a freestanding rack to become unstable!
If the rack feels wobbly, try:
- Repositioning the arms
- Spreading the jackets around the rack
- Using a wider or heavier wood base
- Adding non-slip feet
- Gluing only the main vertical connections
Test the rack before allowing children to remove life jackets from it on their own.

Should You Glue the PVC Pieces Together?
I did not use PVC glue because I wanted to be able to twist and adjust the arms.
Also, leaving the pieces unglued also makes it easier to take the rack apart for storage or change the design later!
However a press-fit rack may loosen over time, especially if it is used frequently. If you need a more permanent rack, you can use PVC cement on selected connections. I would test the full design before gluing anything. Once PVC cement is applied, those pieces are not going to change their minds later.
You might want to permanently secure:
- The male adapter to the main vertical pipe
- The vertical spacer pieces
- Any fittings that repeatedly work loose
Leave the horizontal arms unglued if you still want to rotate or remove them.
Common Life Jacket Rack Mistakes to Avoid
Using a Base That Is Too Small
The wood base needs to balance the height and weight of the loaded rack. If you plan to hang several large adult life jackets, use a wider or heavier board.
Placing All the Arms on One Side
A spiral or alternating arrangement distributes the weight more evenly and gives each jacket more breathing room.
Skipping the Wood Sealer
Bare wood can absorb moisture in a humid pool or boat area. Seal the board if the rack will regularly be around wet equipment.
Gluing Before Testing the Layout
Assemble the rack without glue first (if you are using pvc glue). Add the jackets, rotate the arms, and make sure you like the spacing before permanently attaching anything.
Leaving Rough PVC Edges
Sand or smooth rough cut edges so they do not snag the fabric of the life jackets.
Storing Soaking-Wet Jackets Without Draining Them
Let excess water drip off before placing the jackets on the rack, especially if the rack sits on a wood or finished floor.
Did you make this craft?
I would love to see what you have created, so mention me @brepeablog or tag me using #BrePeaMadeMeDoIt so I can see your creations!


That is a great and amazing. Great job.
Wow! Very informative and awesome directions. Nice job!
Such a great idea! I am all about DIY projects! My parents live by a lake and could really use this!
Hello! How did you know how much I needed this. We had a lake house and I’m constantly picking up scattered, muddy lifejackets and swim vests and trying to find places to lay them to dry out. It’s the worst! This is so brilliant. Thanks!
Ok. I’m sharing this to my hubby and it’s our weekend project. Our kids wear life jackets, both with swimming in the pool, and on the boat. I always have difficulty with where to put them when they are still wet. Perfect solution. Love it!
Wow. I love this rack and it really looks awesome absolutely looks perfect for summer
This is genius! And so cute too!
This is genius! I need to share this with my mom to build one for her pool!
What a perfect idea! This is so smart!
This is a genius idea! Thank you for breaking it down so even a non-crafty person, like me, could do it!
This is awesome!! I love this! So perfect for summer too!
XOXO
http://fromunderapalmtree.com/
What a cool and useful DIY! I like how simple it is. No one likes a smelly life jacket ?
Such a great DIY!! I love the photos and it seems super helpful when trying to dry lifejackets.
This is such an awesome idea! We need one for our garage!
Paige
http://thehappyflammily.com