This is a sponsored post written by me on behalf of Cricut. All opinions are 100% mine.
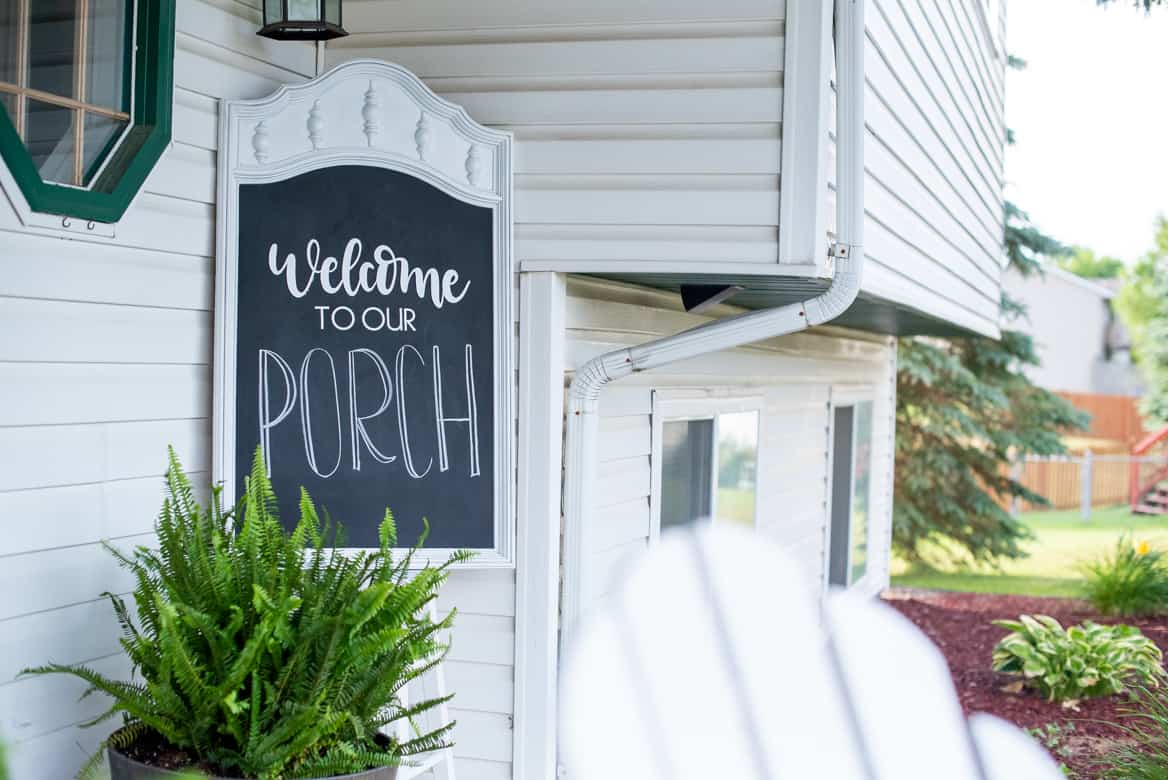
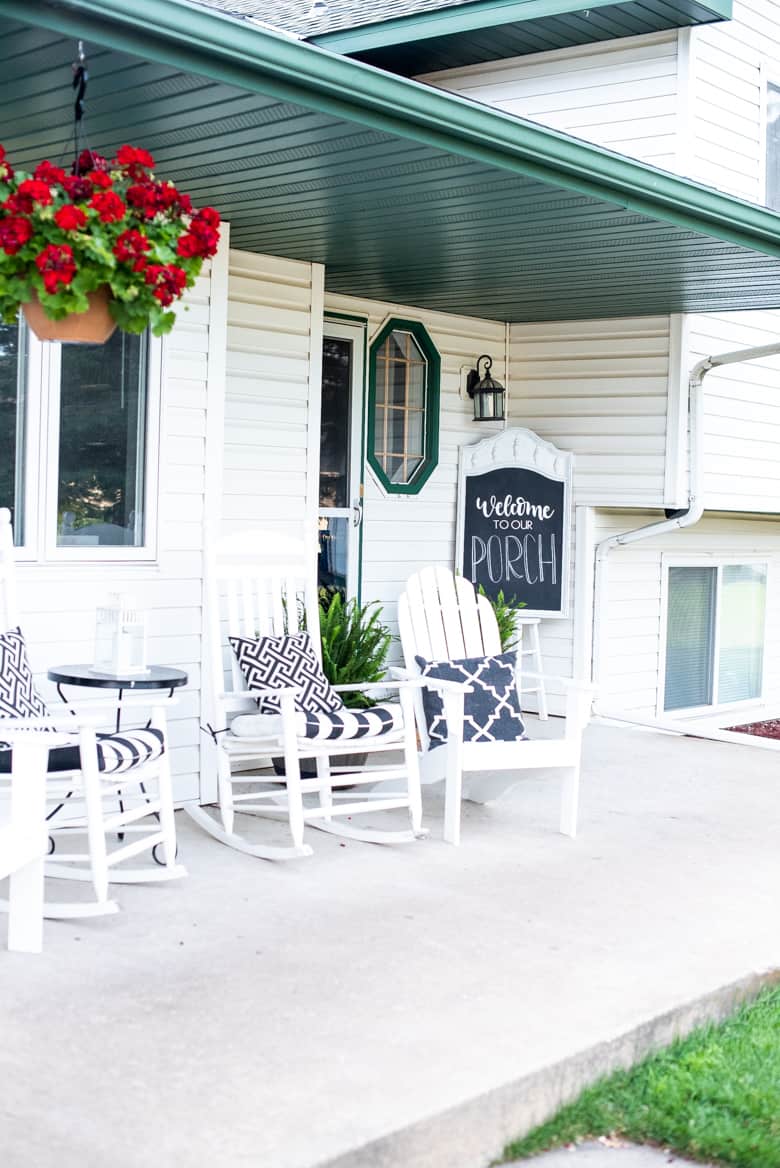
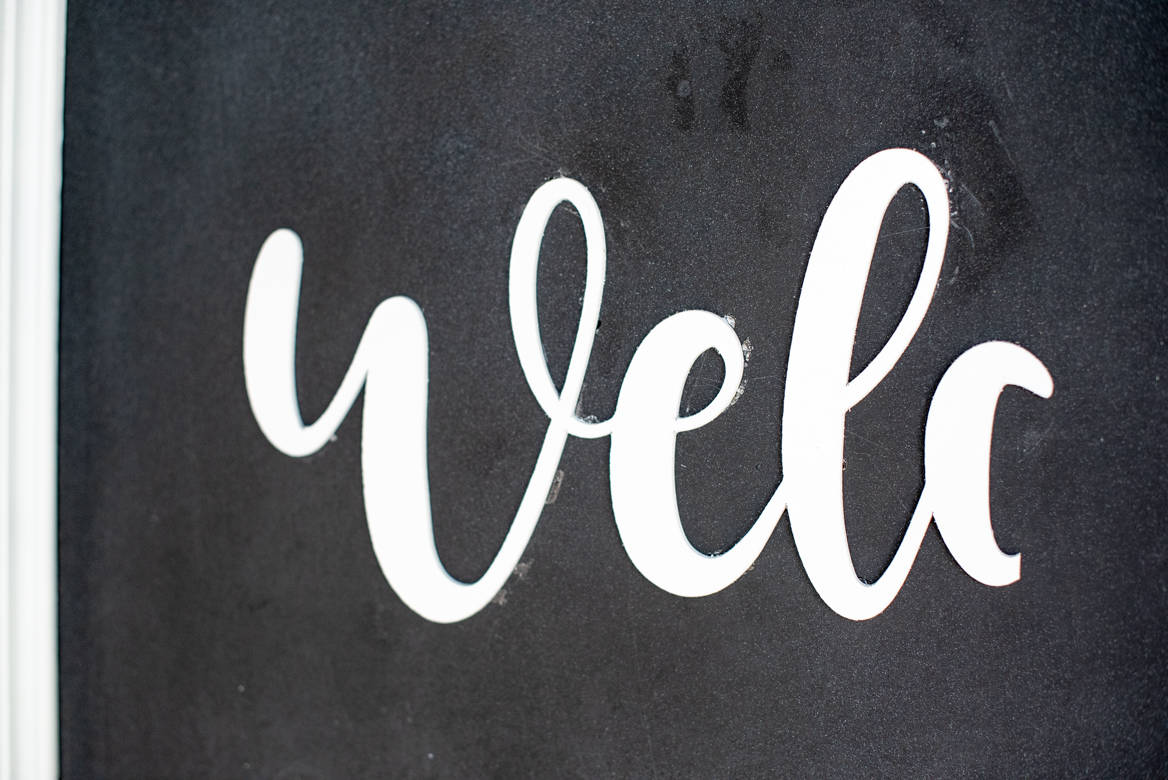
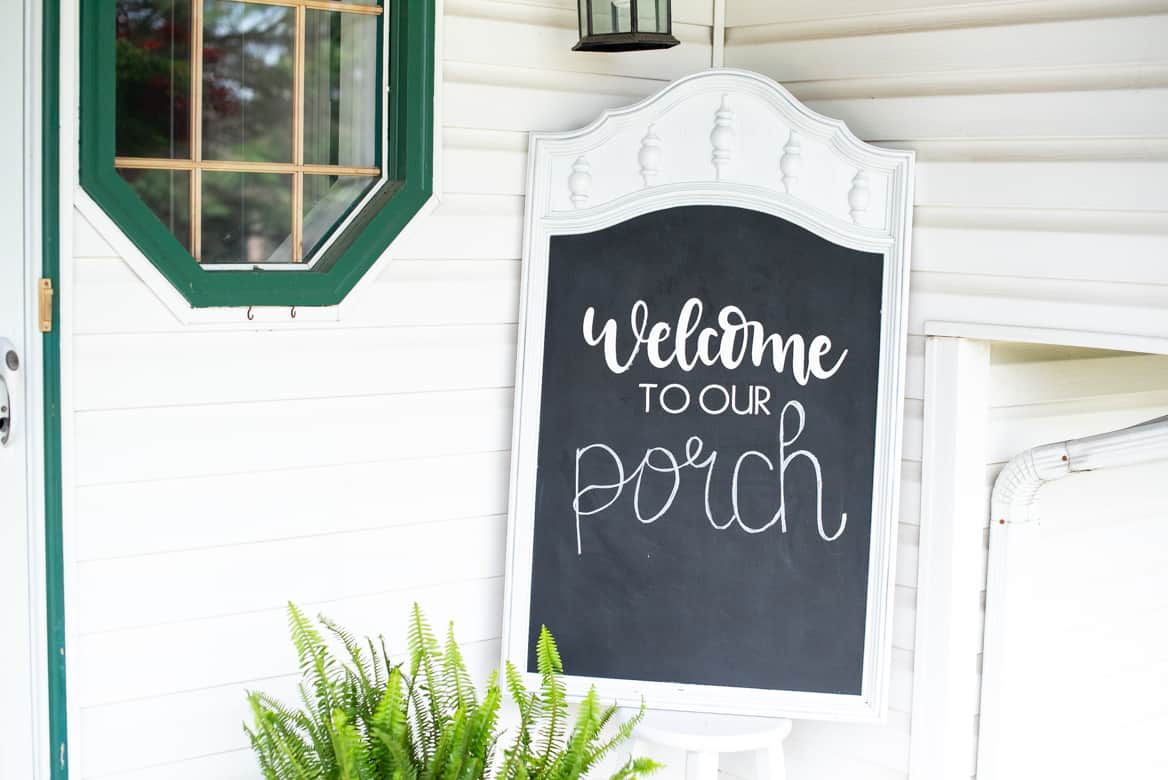
Don’t look like every house on your block. You can make this unique DIY Front Porch Welcome Sign Chalkboard out of a thrift store mirror using just your Cricut Maker!
Look around your neighborhood. I guarantee you’ve seen them.
You know, those long and tall “Welcome” signs leaning up against every house on your street?
Don’t get me wrong, I really liked them when they first came out. Until everyone had one.
But I have an alternative. One that allows you some room to change it up every once in awhile and give your porch some personality!
I made this DIY front porch welcome sign using my Cricut Maker and a thrift store mirror.
Yes, the ones that used to come with a giant bedroom set from the 70s & 80s.
How to Make a Front Porch Welcome Sign DIY Chalkboard
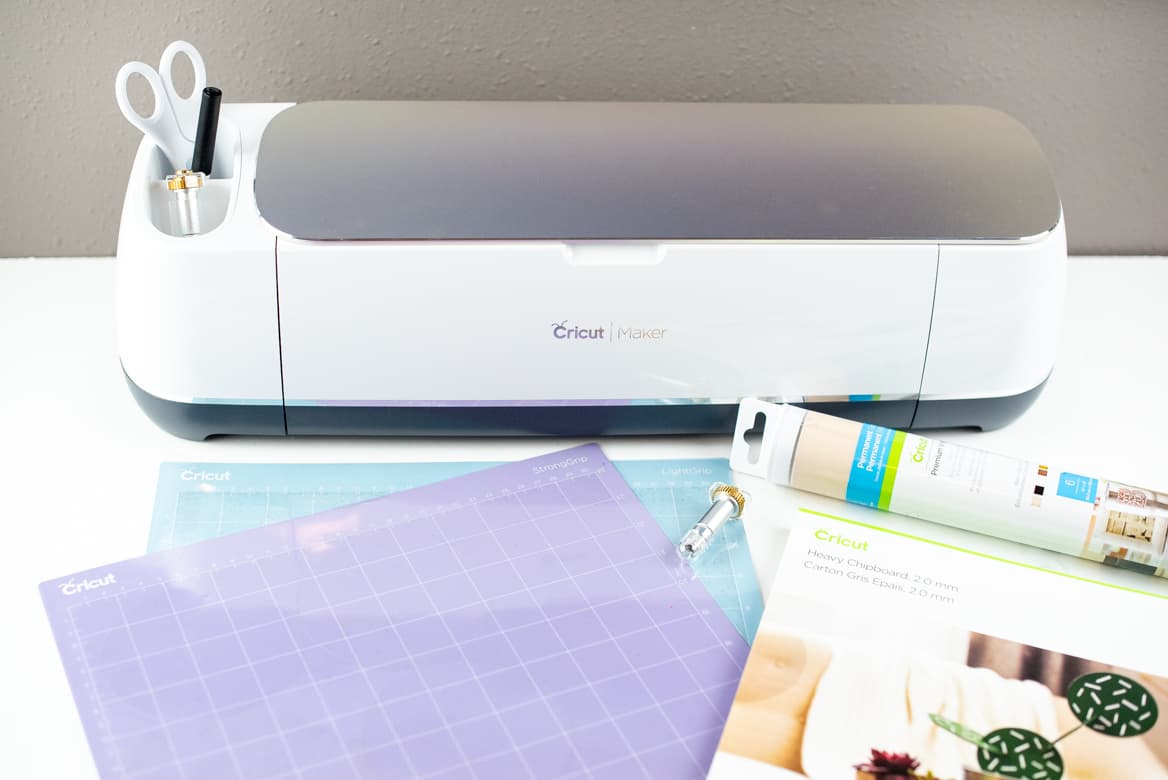
Supplies Needed:
- Cricut Heavy Chipboard (2mm)
- Cricut Premium Glossy Permanent Vinyl (White)
- Cricut Transfer Tape
- White Semi Gloss Spray Paint
- Chalkboard Spray Paint
- Chalk
- Thrift Store Mirror
- Painters Tape
Tools Needed:
- Cricut Maker
- Cricut Knife Blade
- Cricut Strong Grip Mat
- Cricut Light Grip Mat
- Screwdriver
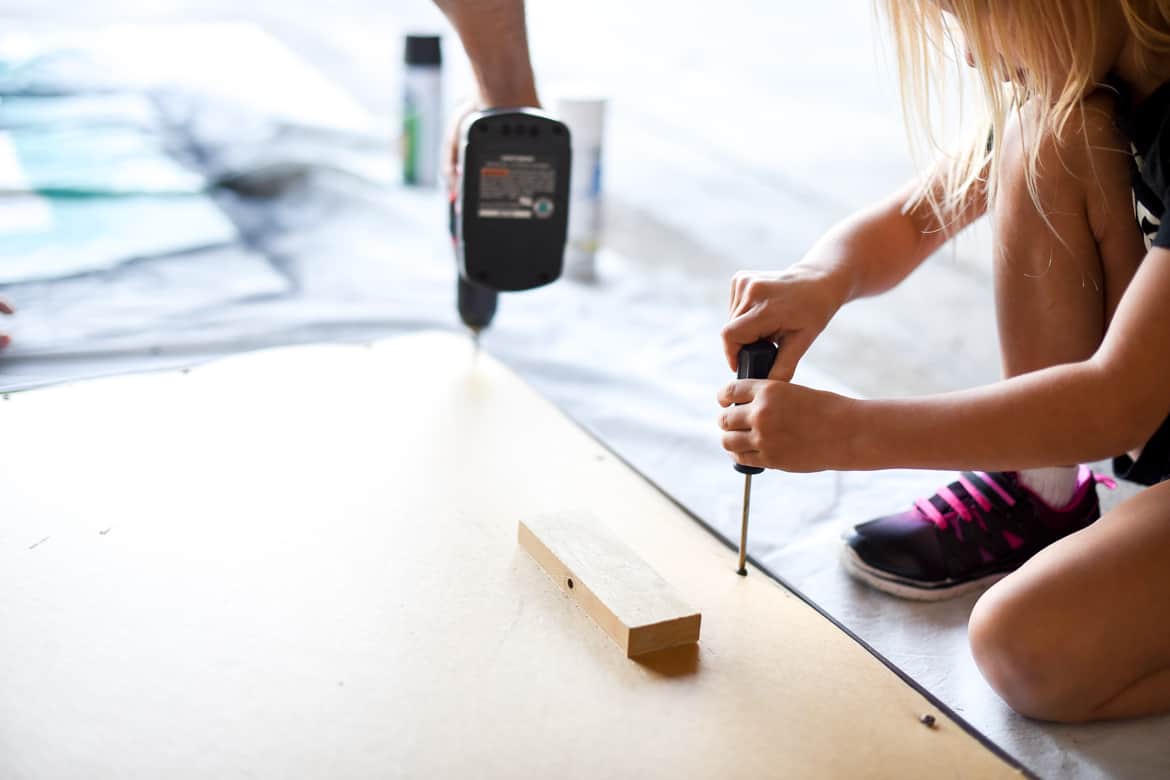
Step 1: Disassemble and paint your mirror and frame
Take apart the mirror according to the type of screws that hold it together.
The coolest thing is, once I got the back of my mirror apart I saw a timestamp from 1974. Made me very happy knowing I was giving this mirror new life 🙂
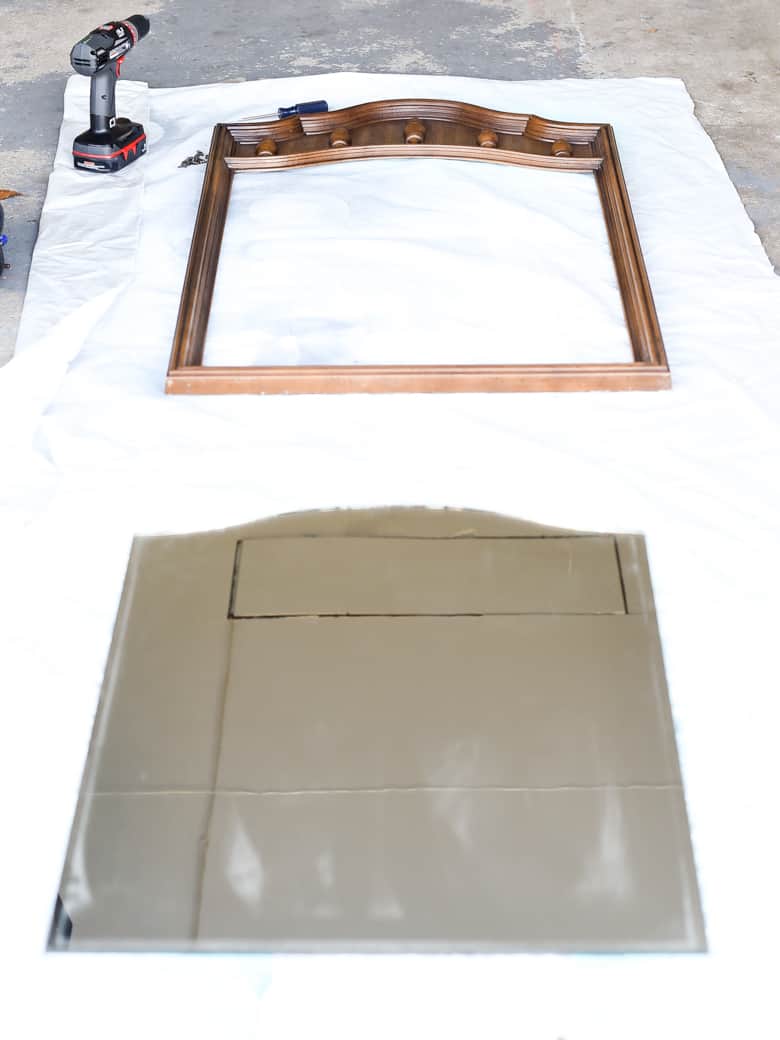
Once you’ve got the mirror apart from the frame, make sure the glass and frame are really clean.
Then, give the mirror a few coats of chalkboard spray paint and the frame a few coats of white semi-gloss spray paint.
Once dry, have your kids help you put it back together 😉
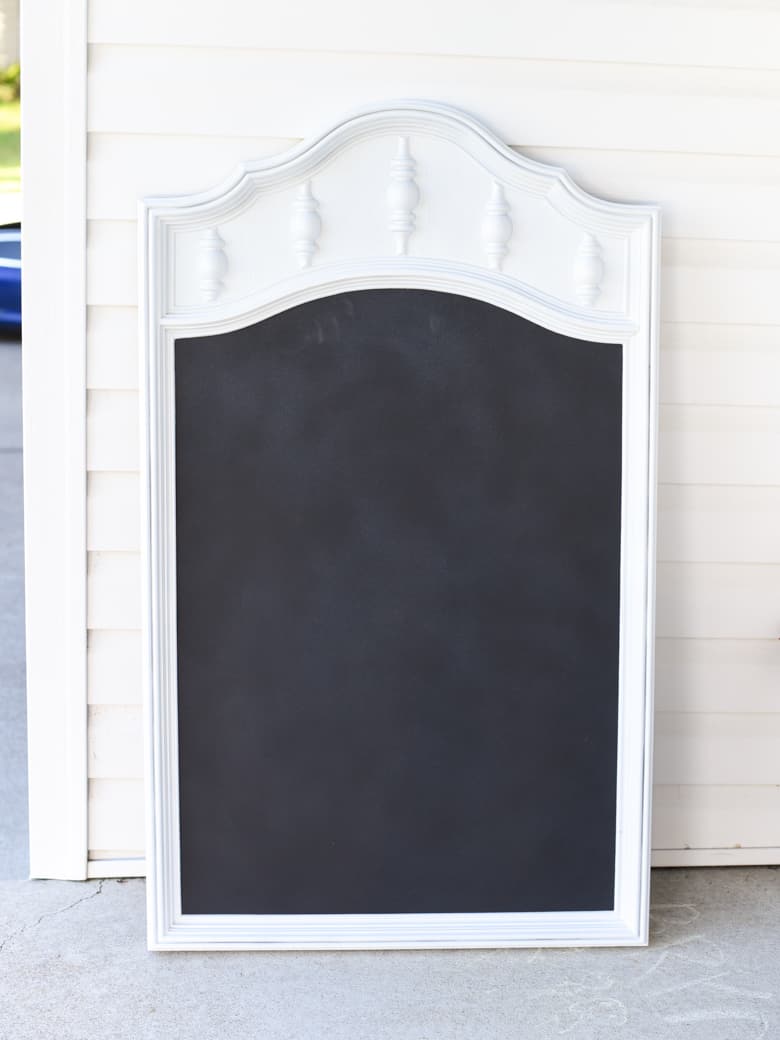
Now your chalkboard is ready for personalizing!
Step 2: Select your design in Cricut Design Space and slice it to fit
I found a “Welcome” graphic in Cricut Design Space that I loved.
I have a Cricut Access subscription so I have access to 100,000+ designs from my phone, laptop, desktop, wherever I use my Cricut Design Space app. I am loving it!
Because I wanted “Welcome” to be 18″ wide, and most Cricut machines can only cut up to about 11.5″ wide, I needed to use a slice technique in order for my Maker to be able to cut it.
This process is easier explained in video, so see how I made this work for my project here:
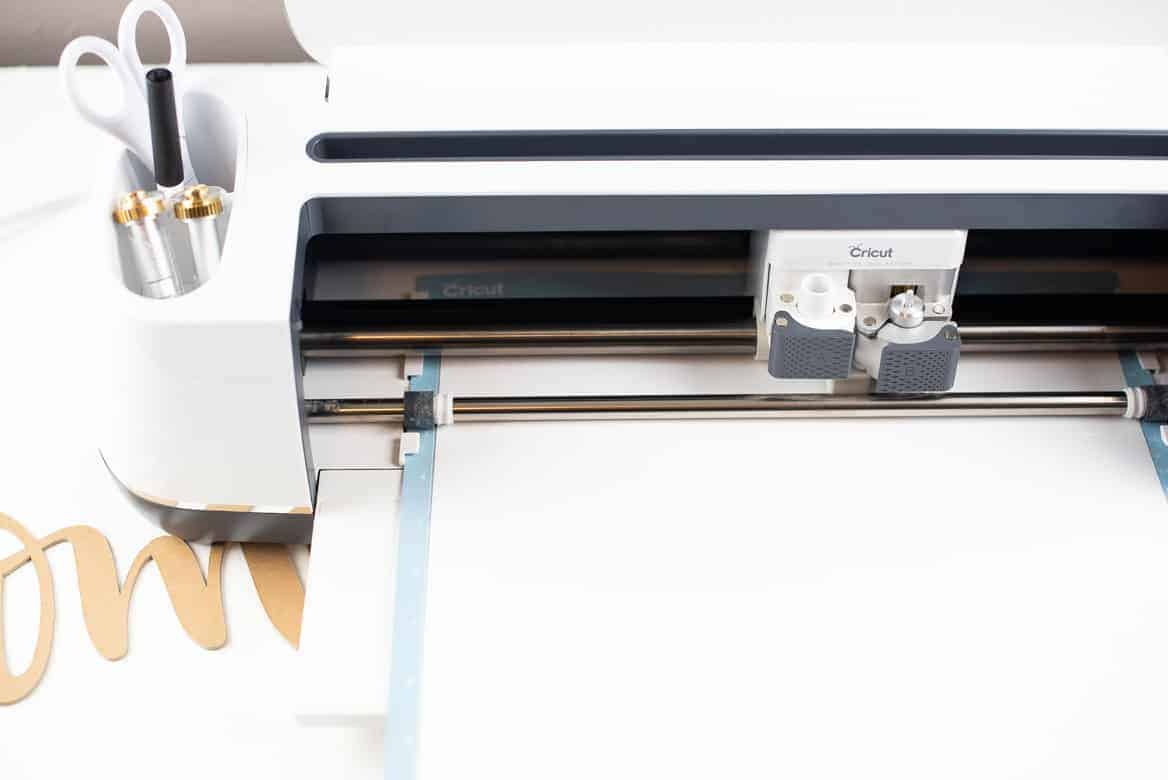
Step 3: Prepare your chipboard and cut using your Cricut Maker
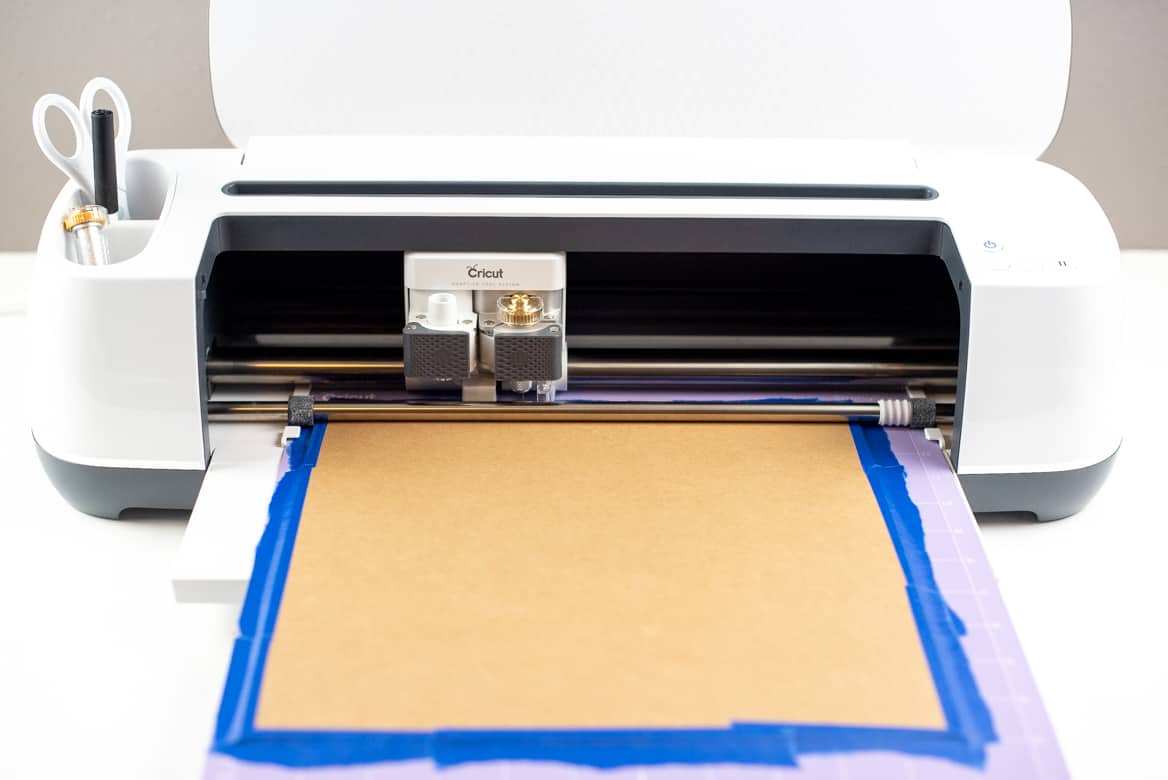
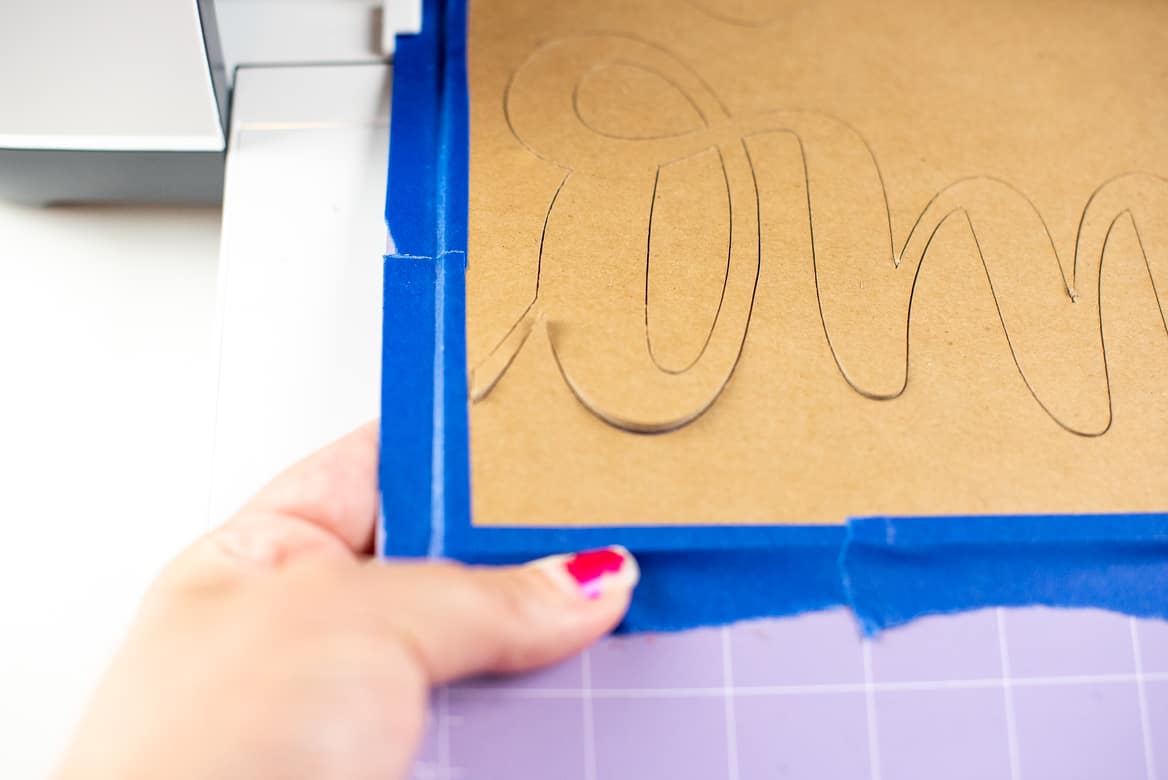
Once your sliced “Welcome” design is prepared and ready to cut, place a sheet of heavy chipboard on your strong grip mat.
Use painters (or masking) tape to line the outside of the chipboard to really secure it.
I have found that painters tape sticks to chipboard more than masking tape, so be careful how much you overlap it so it doesn’t peel the chipboard when you need to take it off the mat.
The Knife Blade will cut through painters or masking tape, so you won’t need to worry about that.
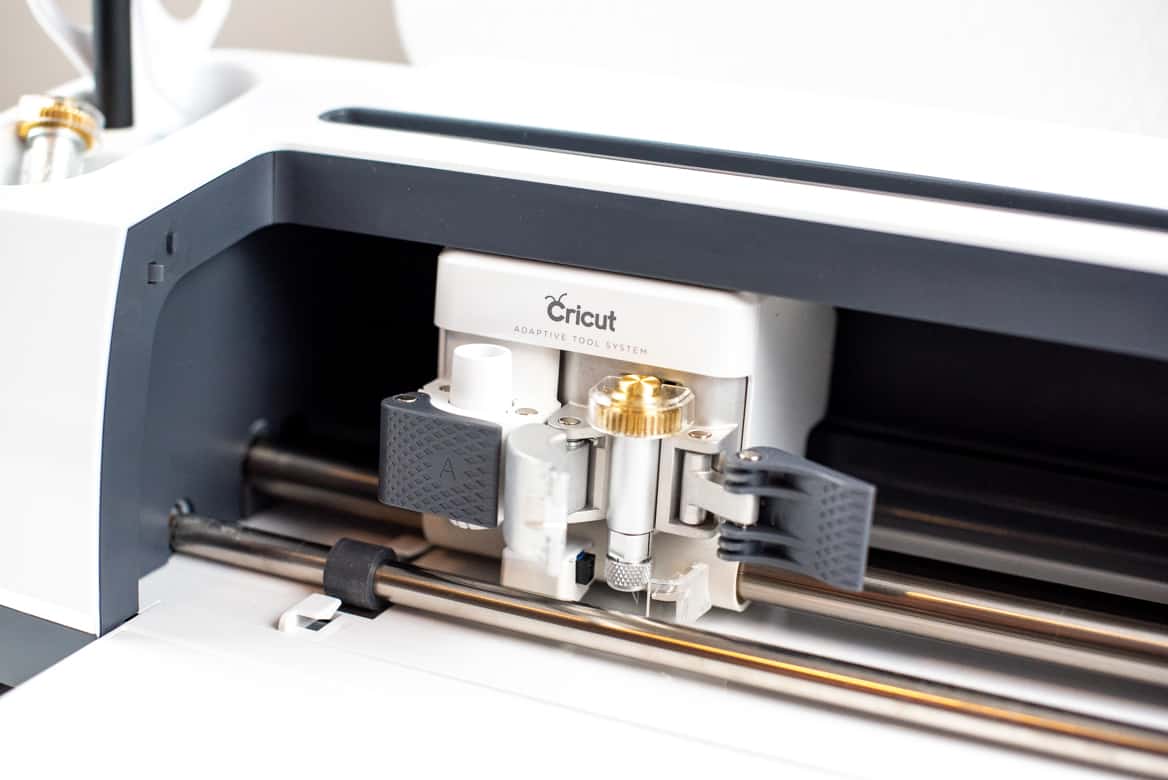
Install your Knife Blade (which is as easy as opening the B slot, placing it with the gears lined up, then closing again) and proceed…
Don’t miss this next step:
Move all of the star wheels (the white wheels on the roller) all the way to the right. You can easily slide them using your hand.
If you don’t do this, you won’t be able to cut the chipboard.
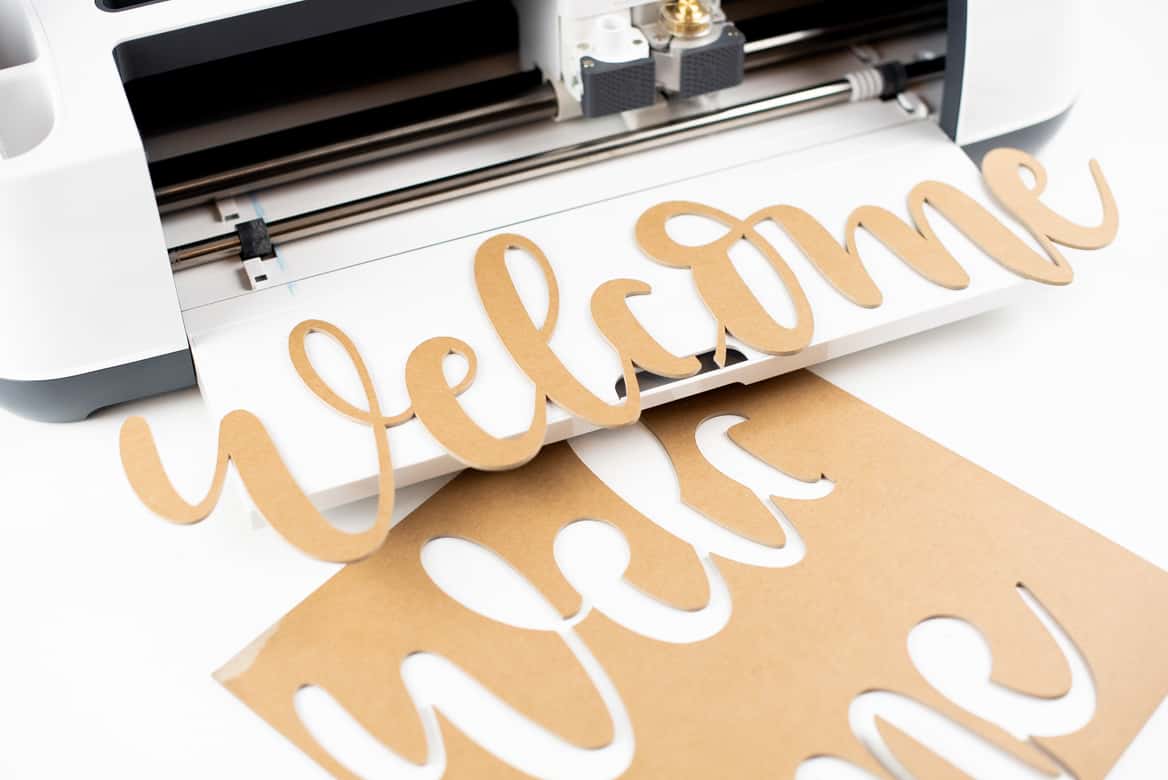
Then, cut out the chipboard “Welcome” word art using your Maker.
This next tip is so important:
Pause your machine and, without moving the mat, check your design when it has gone through half of the passes it says it needs! If you can lift the design off the mat when checking, it’s done.
If it needs more, resume the cut and then pause again after every 2 passes to check if you can lift the cut design off the mat.
This is the biggest lesson I have learned when using the Knife Blade with my Maker.
I have never needed to let it go through more than half the cuts it says it needs. And when I did, it cut through my mat 🙁 Totally my fault.
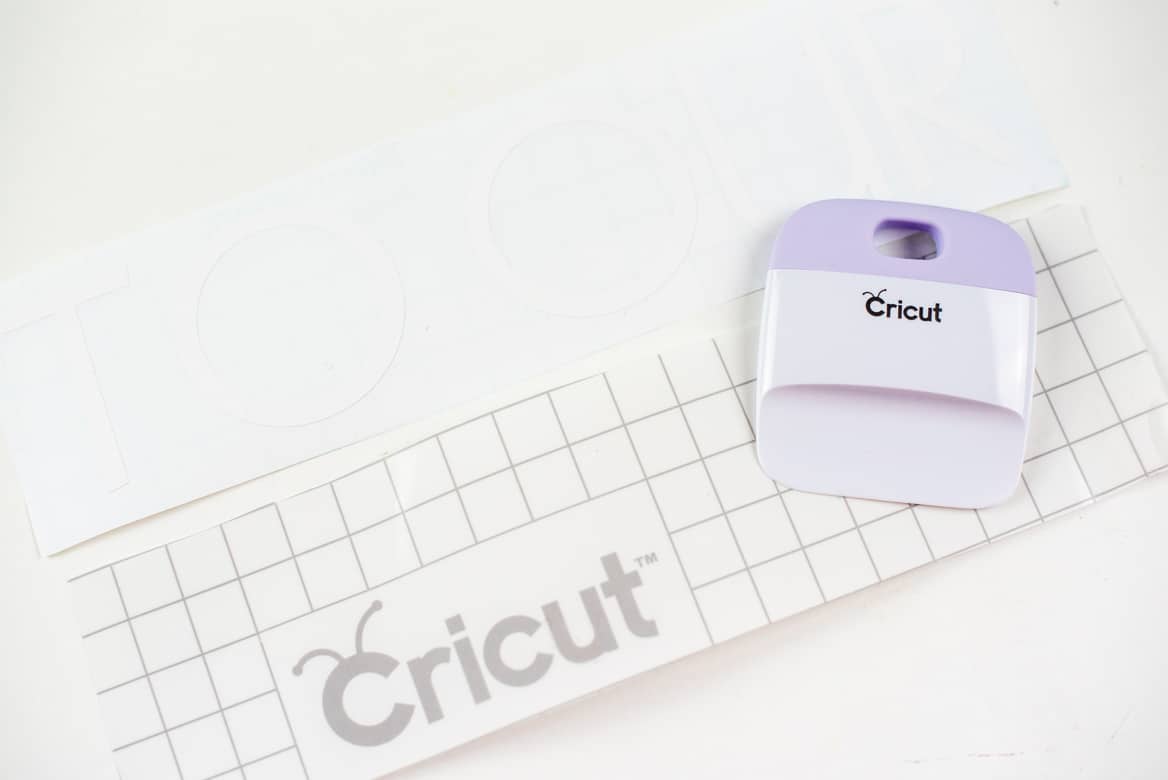
Step 4: Cut out the rest of the vinyl sign design
For this next step you can use whatever font you would like. I used the font Kabel also available with my Cricut Access subscription.
I knew I wanted this part of the design to be 9″ wide, so I sized it accordingly.
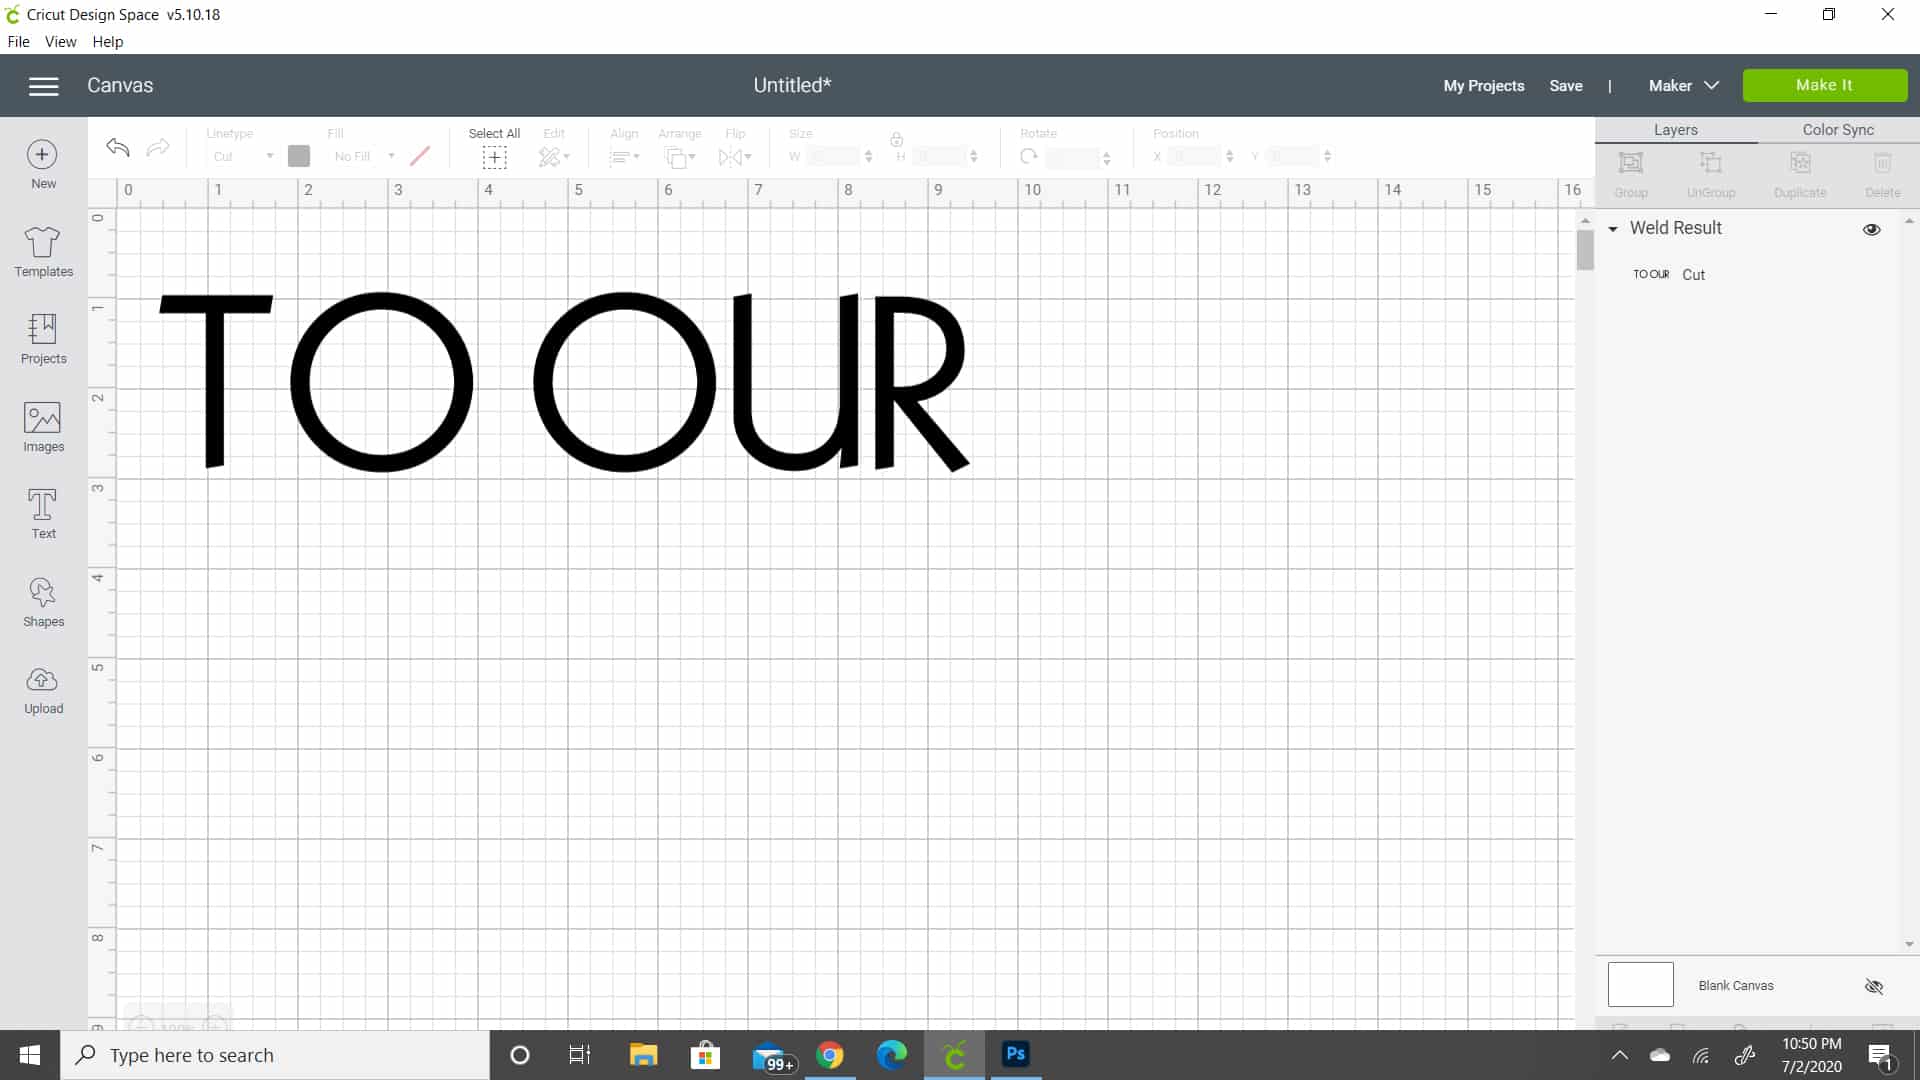
Make sure you hit “weld” or “attach” before you go to cut so the letters don’t move around.
Install your Cricut Fine Point Blade (which is just another simple swap like you did with the knife blade), place your vinyl on a light grip mat, and then cut.
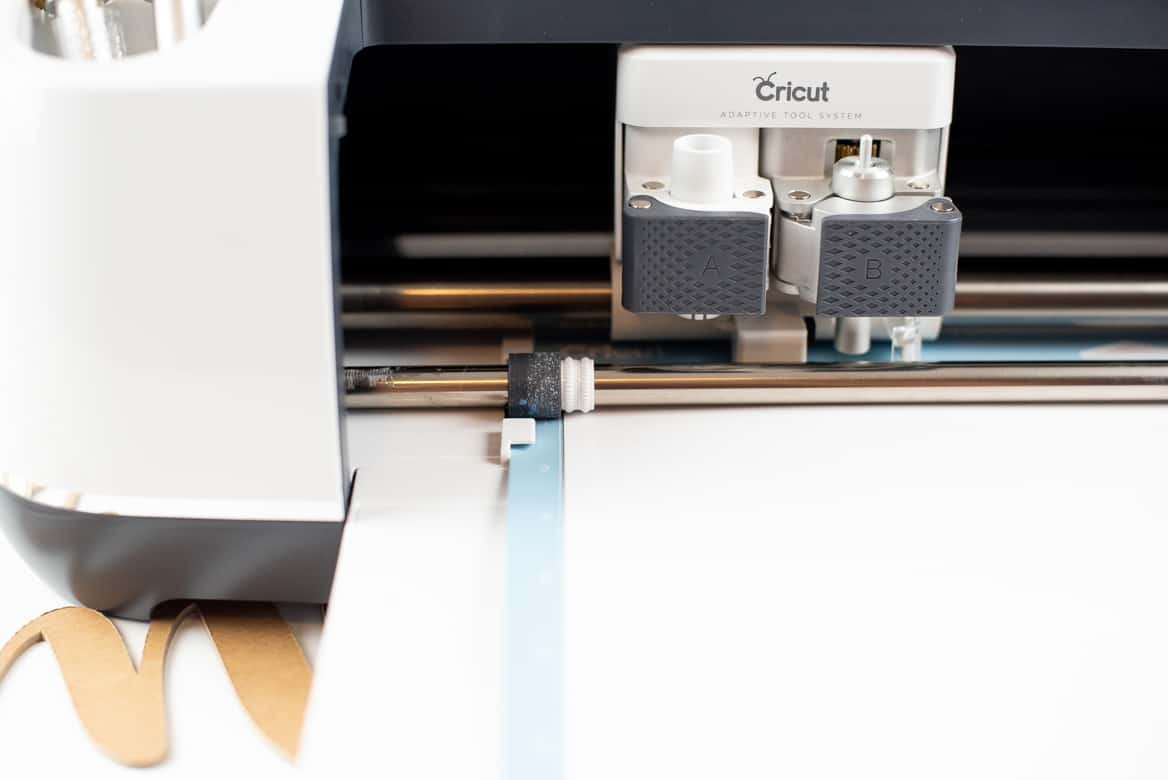
This is one of the biggest reasons why I love my Maker, I can easily put a new blade in the machine and was able to cut a new material right away.
With the Maker, you can cut over 300 materials with just one machine. That’s insane!
You know I’m a huge fan of cutting chipboard with the Knife Blade, but I can’t wait to experiment with materials like…
- acetate
- leather
- basswood
- tulle
- suede
- denim
- and crepe paper!
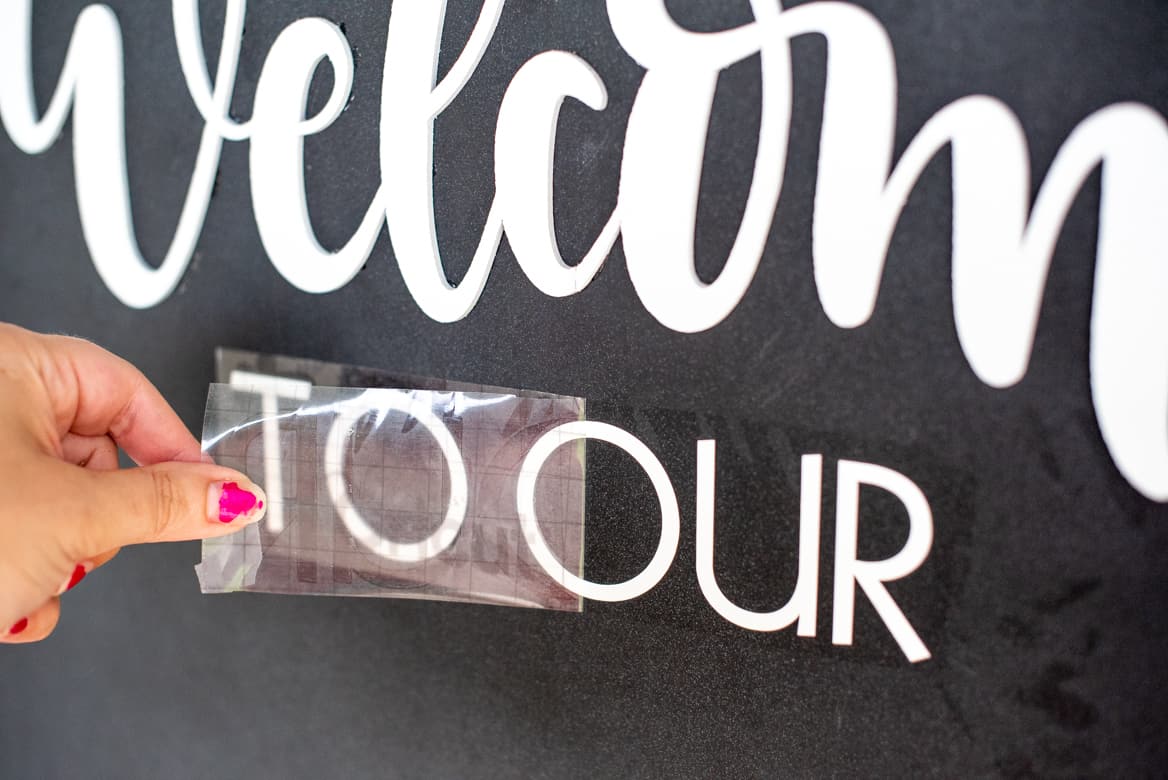
Once you cut out your vinyl design, weed the excess vinyl and apply Cricut transfer tape.
Burnish with the scraper tool so the design adheres to the transfer tape well.
Step 5: Attach the designs to the mirror
Using industrial strength adhesive, glue the chipboard “Welcome” to the top of the mirror working one part of the word at a time. Let it dry thoroughly.
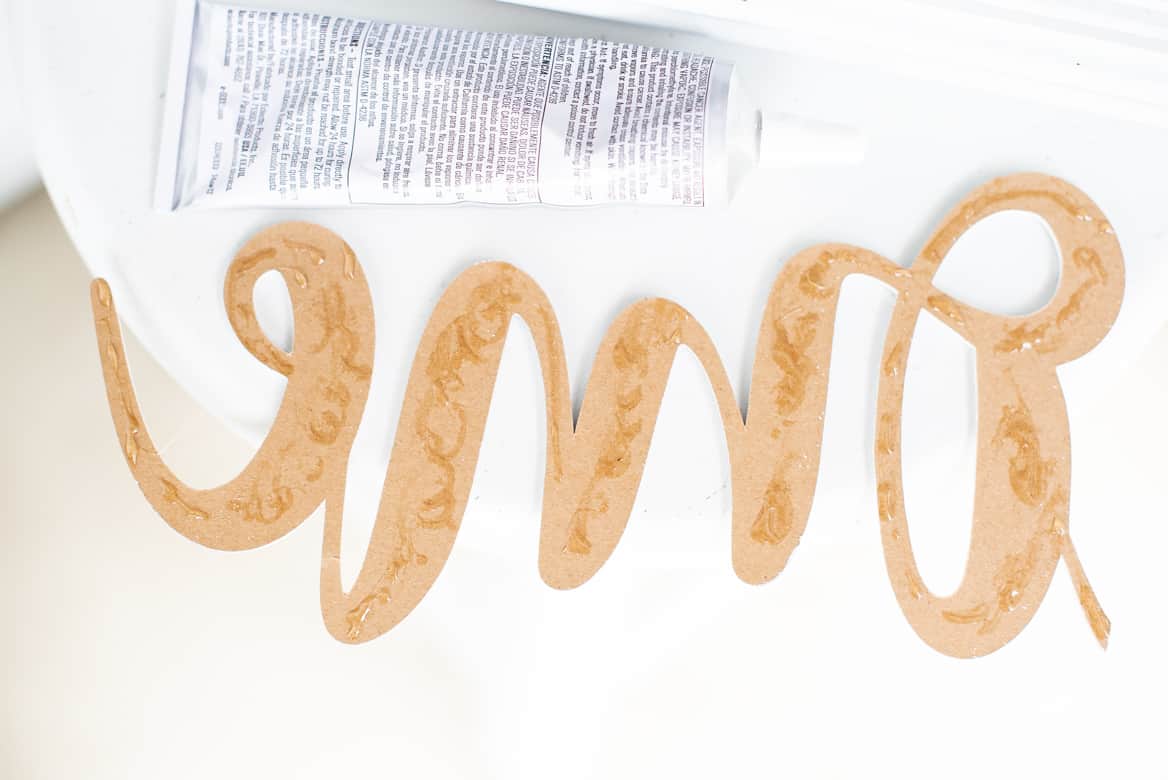
At first you could see the glue a tiny bit, but it’s transparent and once it fully dried you couldn’t see it anymore.
Make sure you line up the sections of the word so you can’t see the cut line.

Then, take the vinyl “to our” design and peel off the backing. Attach the vinyl using Cricut Transfer Tape.
My Cricut Maker made this project so quick and easy because I was able to cut both thick/heavy materials and thin/lighter materials using one machine.
Cricut is always expanding their suite of tools compatible with the Maker to offer endless crafting and DIY opportunities. So when you invest in a Maker, the value of your investment actually goes up with every new add-on they introduce 🙂
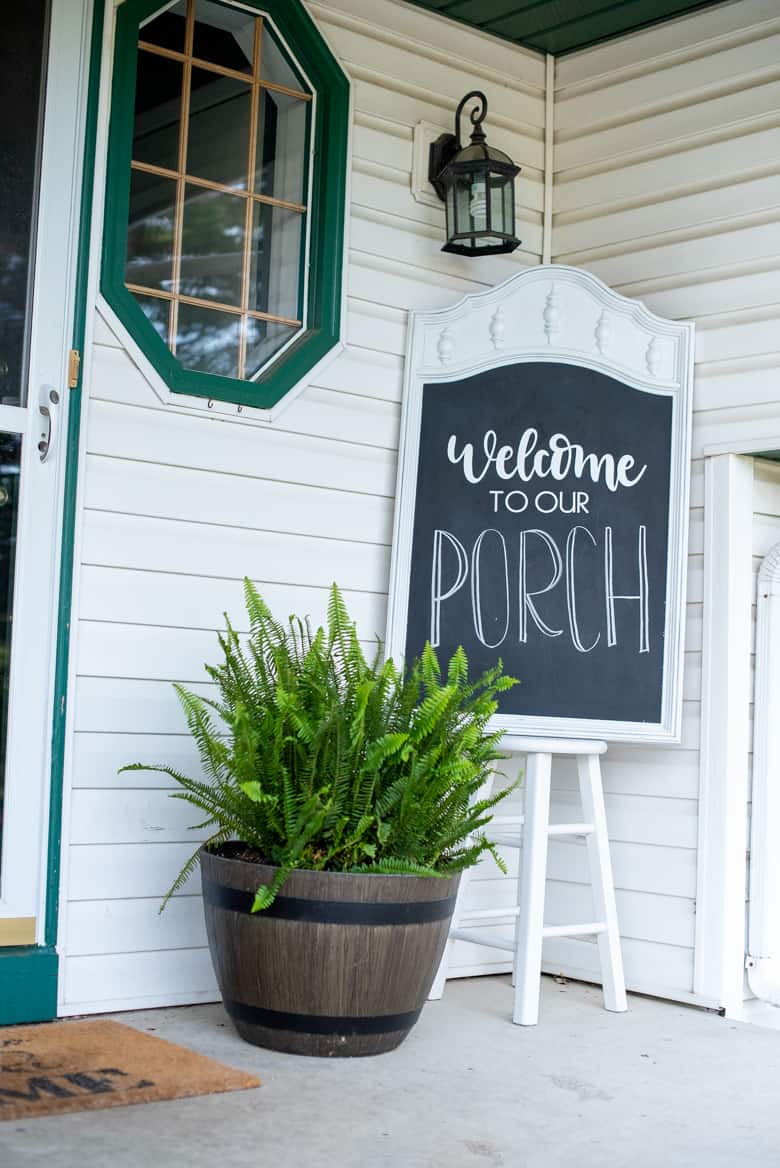
Now you can personalize your sign to say whatever you want… along the lines of welcoming someone 😉
I tried a few designs before I came upon one I liked…

That’s the beauty of a chalkboard sign. If you don’t like it, change it 😀

Now it’s your turn… if you’re already the proud owner of a Maker, pull it out and start cutting some awesome stuff with the Knife Blade to give your porch some personality!
Or if you’ve been on the fence about getting a Maker, just do it, you won’t regret it.
And then make sure you check out the Cricut blog for weekly home renovation projects and tutorials to make with your new awesome machine 😉


This is so cute! I’ve always wanted a cricut. They look like fun!
That’s really creative and I love how detailed your explanation is! Thanks
This is super cute! I love how versatile it is, and especially that you upcycled and old mirror to make it. Making DIY projects is so fun, and I love that it really makes your home and porch feel so welcoming. I can think of plenty of places to use something like this in my own home.
You’re making it quite clear to me (all over again) that I NEED a Cricut! They’re so handy for so many different projects. Your sign turned out absolutely gorgeous. I love that you were able to DIY it and make it totally custom for your home.
This is a great idea! I love all the different layers you get with using different materials for each section. I love projects that recycle older items still in perfectly good condition!
It seems like everyday i get another reason to buy a cricut! This turned out amazing. Very detailed post
I love this idea. My mom has an old mirror in her garage. I think I might need to go visit her and help her clean out her garage. 🙂
Such a great idea. Looks really nice. Your porch is a dream 🙂
This is amazing! So creative and crafty! I’ve never seen a Cricut before.
Ok that is the cutest sign ever! I love it!
I love this idea, I really would love to have one soon!!! A fall themed one would be great!! Thanks for all the great tips!
This is so nice! I really need to dust off my Cricut and start doing projects.
what a creative idea! Love how it turned out