This is a sponsored post written by me on behalf of Cricut. All opinions are 100% mine.
There’s no better time to get organized than when you’re getting ready for back to school. Whether you’re a home schooling parent or sending your kids to school, these ideas and tips for back to school organization using your Cricut Joy are so quick to accomplish and make your life easier!
This upcoming back to school season is probably going to look different in a way than any of us have ever experienced or expected.
That’s why I think it’s even more important now to prepare ourselves as parents and get as organized as possible heading into back to school.
As I’ve said many times before, one of my favorite mantras for getting organized is a quote from Benjamin Franklin…
“A place for everything, everything in its place.”
And what’s better for telling things where they should live than with LABELS 😀
If you’re also a fan of labeling, I’ve got something way better than the average label maker to help you get organized.
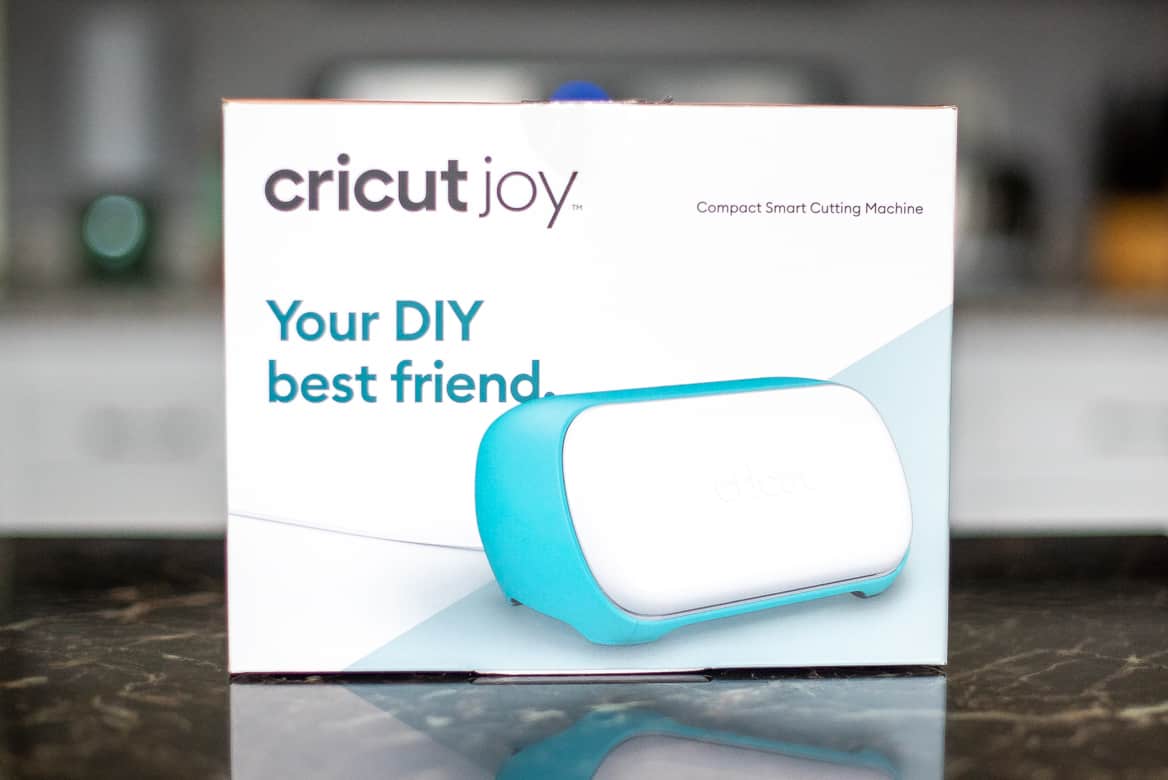
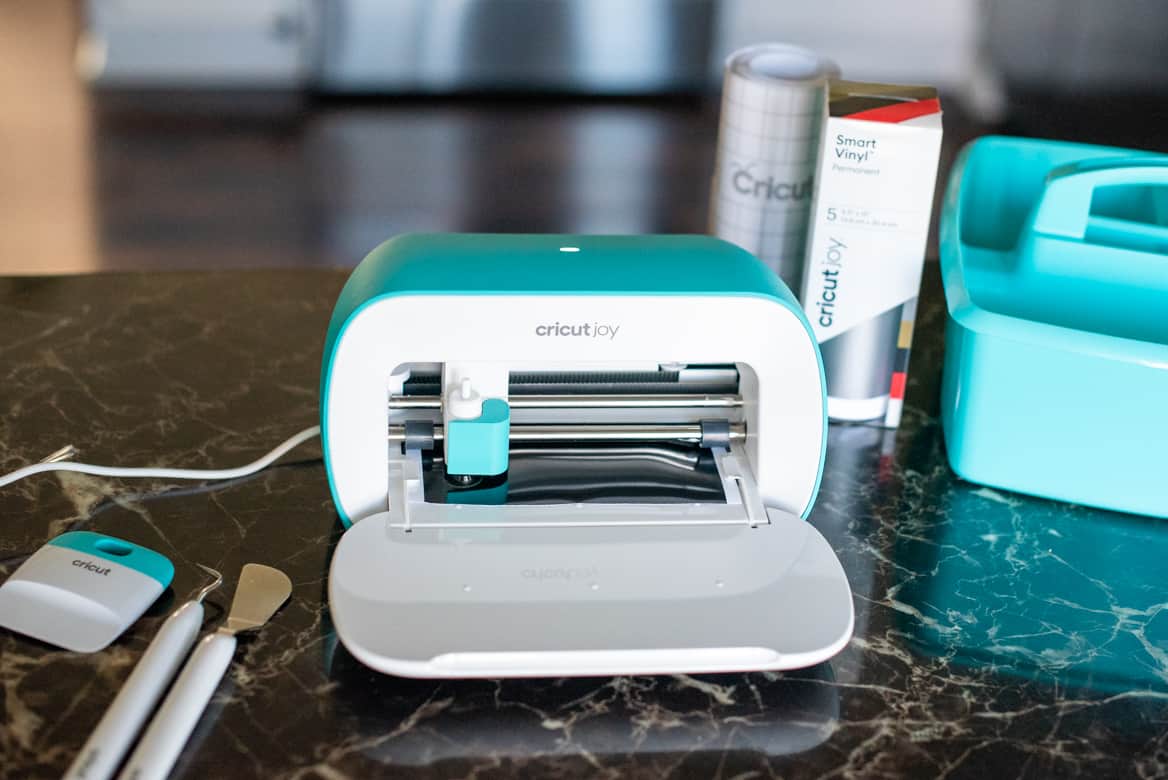
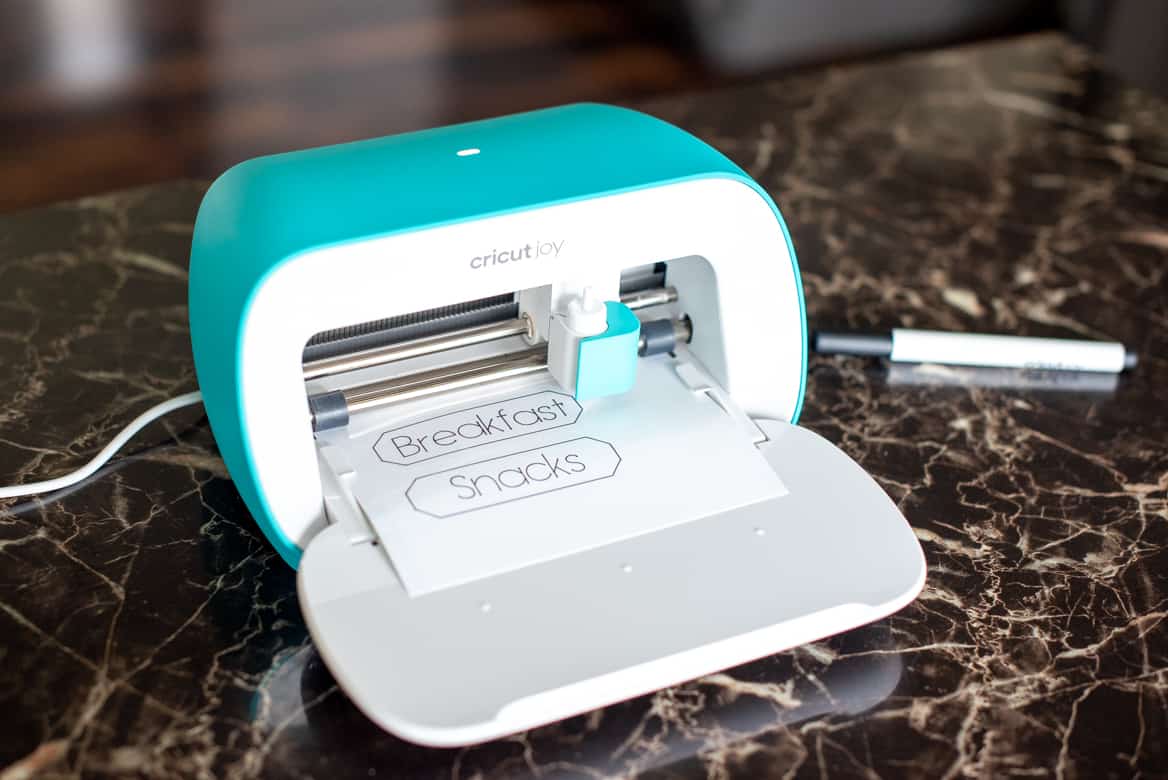
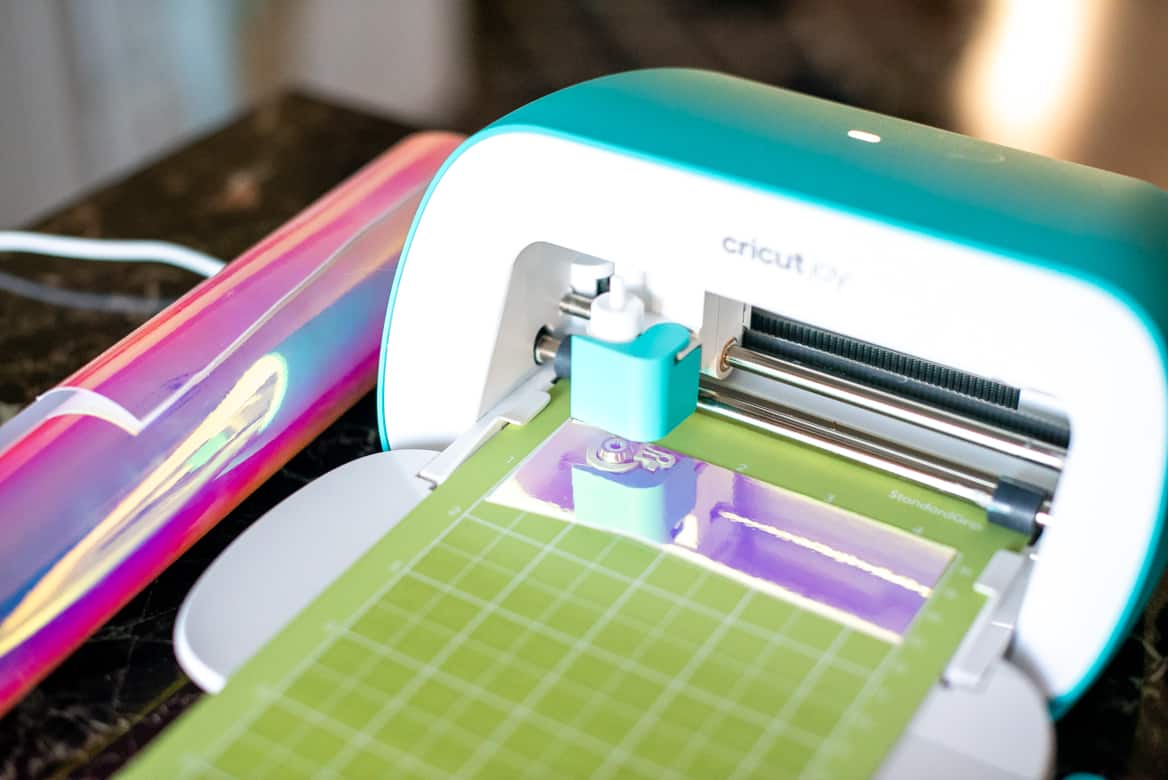
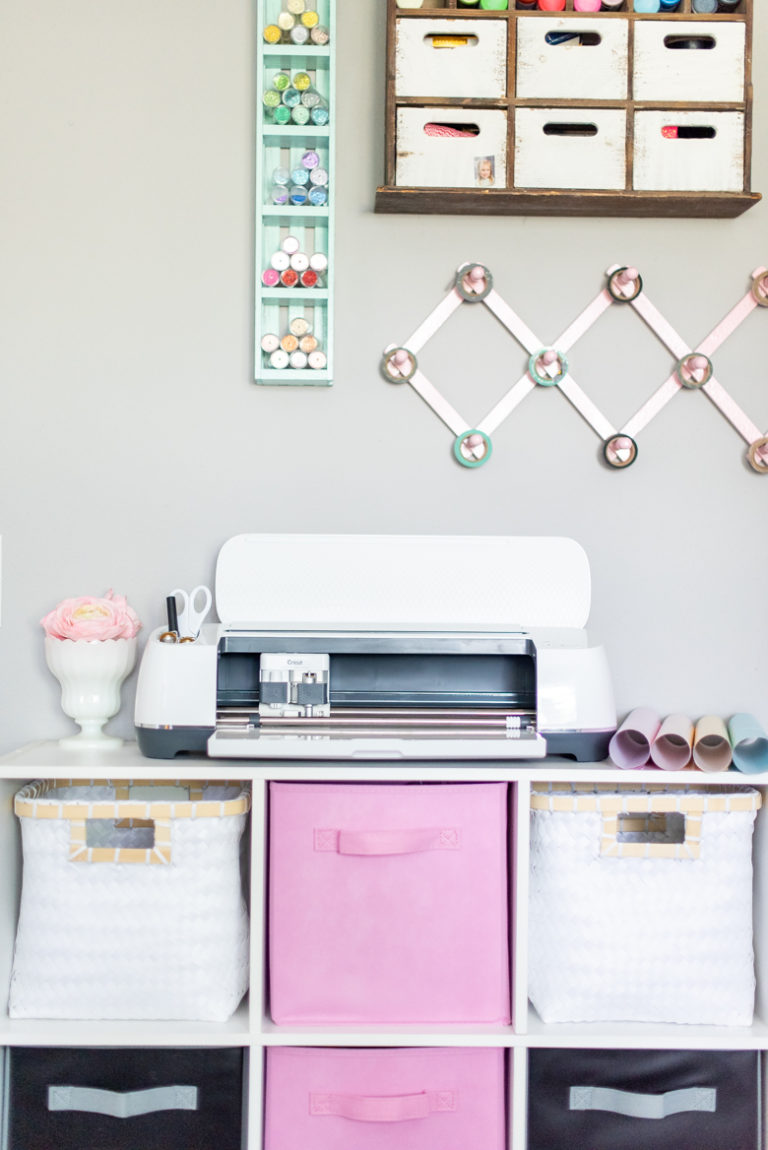
Enter the Cricut Joy.
You might be thinking… another Cricut machine?!
Yep. And this one is completely unique to the Explore Air 2 and the Maker.
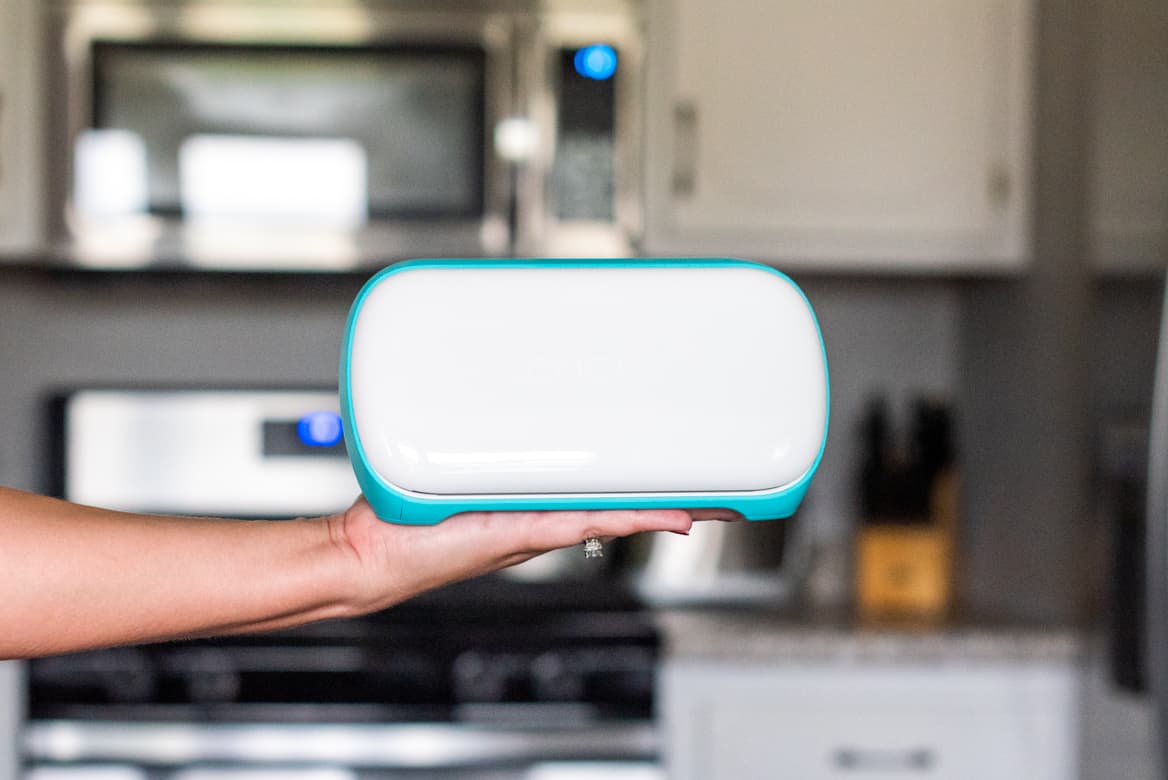
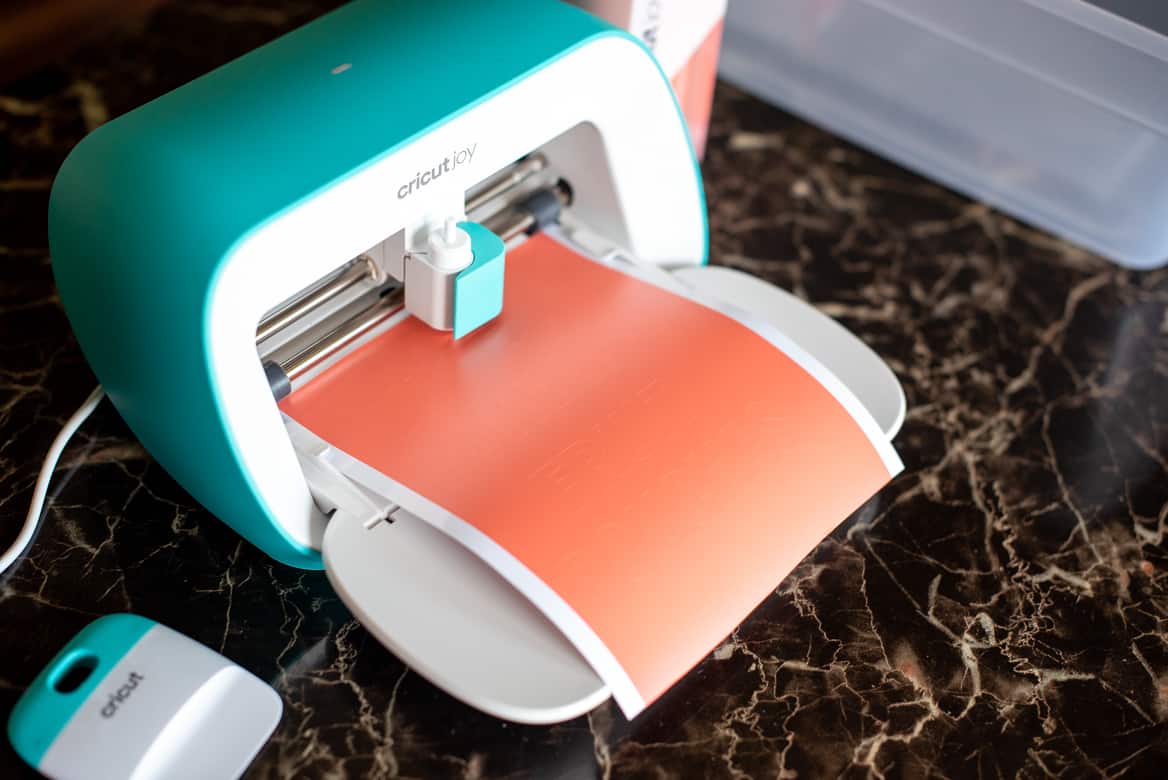
The Cricut Joy is Cricut’s smallest smart cutting machine ever, it literally fits in the palm of my hand. No need for a crafting room, I made all of the projects featured below on my tiny kitchen island in 15 minutes or less per project.
The Cricut Joy is so compact and portable, you can bring it practically anywhere! I can’t say the same for my Maker or Explore Air 2, although I still love them dearly 🙂
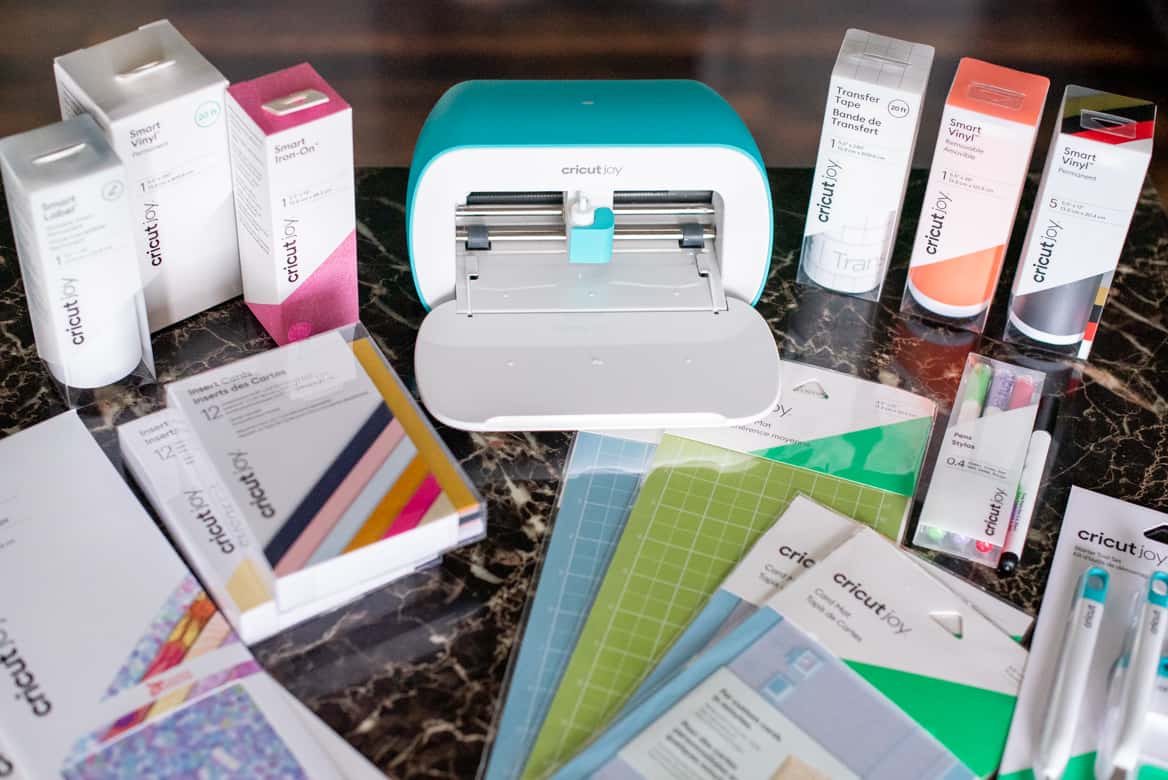
The coolest thing about the Cricut Joy (besides it’s compact size) is that you can cut things with or without a mat!
There is a full suite of brand new Smart Vinyl materials made just for the Cricut Joy that don’t require a mat. That means…
- less supplies to buy
- fewer steps to worry about
- quicker projects
But don’t worry, you can also use other Cricut vinyl you’ve probably already invested in with mats sized specifically for the Cricut Joy machine.
This was my very first time using my Cricut Joy and I wanted to share with you all how easy it is to jump right into it.
If you’ve been intimidated by Cricut machines in the past, this one is perfect for you!
Here is how I got our home organized for back to school season with these 5 DIY projects using only my Cricut Joy…
5 DIY Back to School Organization Projects with Cricut Joy
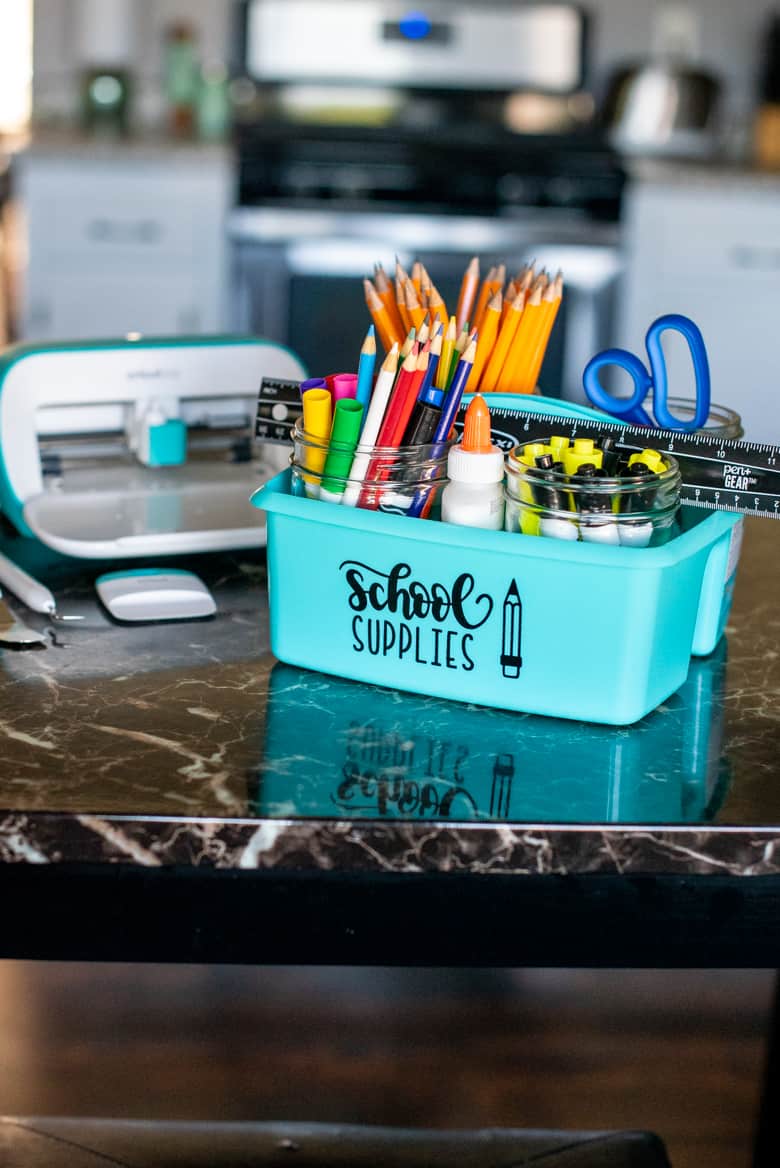
DIY Homework School Supply Organizer
Let’s be real, us parents might be navigating more distance learning in the fall.
I put together this DIY homework school supply organizer with mason jars and a caddy so that my daughter can access all her school supplies and transport them as needed.
Here’s how you can make your own DIY homework school supply organizer:
SUPPLIES
- Plastic Caddy
- Wide Mouth Pint Mason Jars
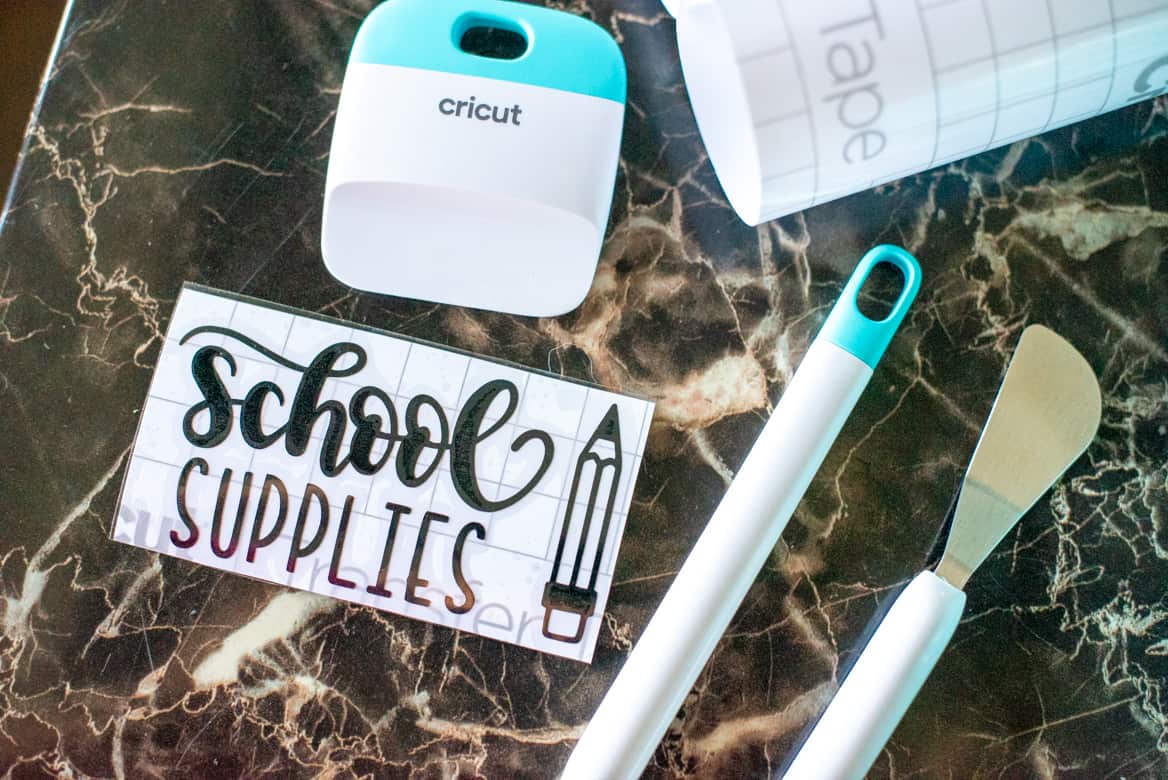
- Cricut Joy™ Smart Vinyl™ – Permanent in Black
- Cricut Joy™ Bulk Transfer Tape
- Create a new canvas in Cricut Design Space (or you can access mine for this project here)
- Select “Images” and type in “school” to select an image you like. With my Cricut Access Subscription I had plenty of fun options to choose from!
- Then, type in “pencil” to find a pencil icon you like. Once both your “school” image and “pencil” image are selected, tap “Insert Images” to add them to your canvas.
- Create a “Text” box using the font Kyden and type in “SUPPLIES”. I typed mine in all caps. Change the text type to “Bold“.
- Rearrange the elements as you would like. Then, select all of them (I click and then drag to create a box around the elements on my laptop) and select “Attach“.
- Resize the image to fit your caddy. I made mine approximately 3.75″ by 2″. Click “Make It” to start your cut.
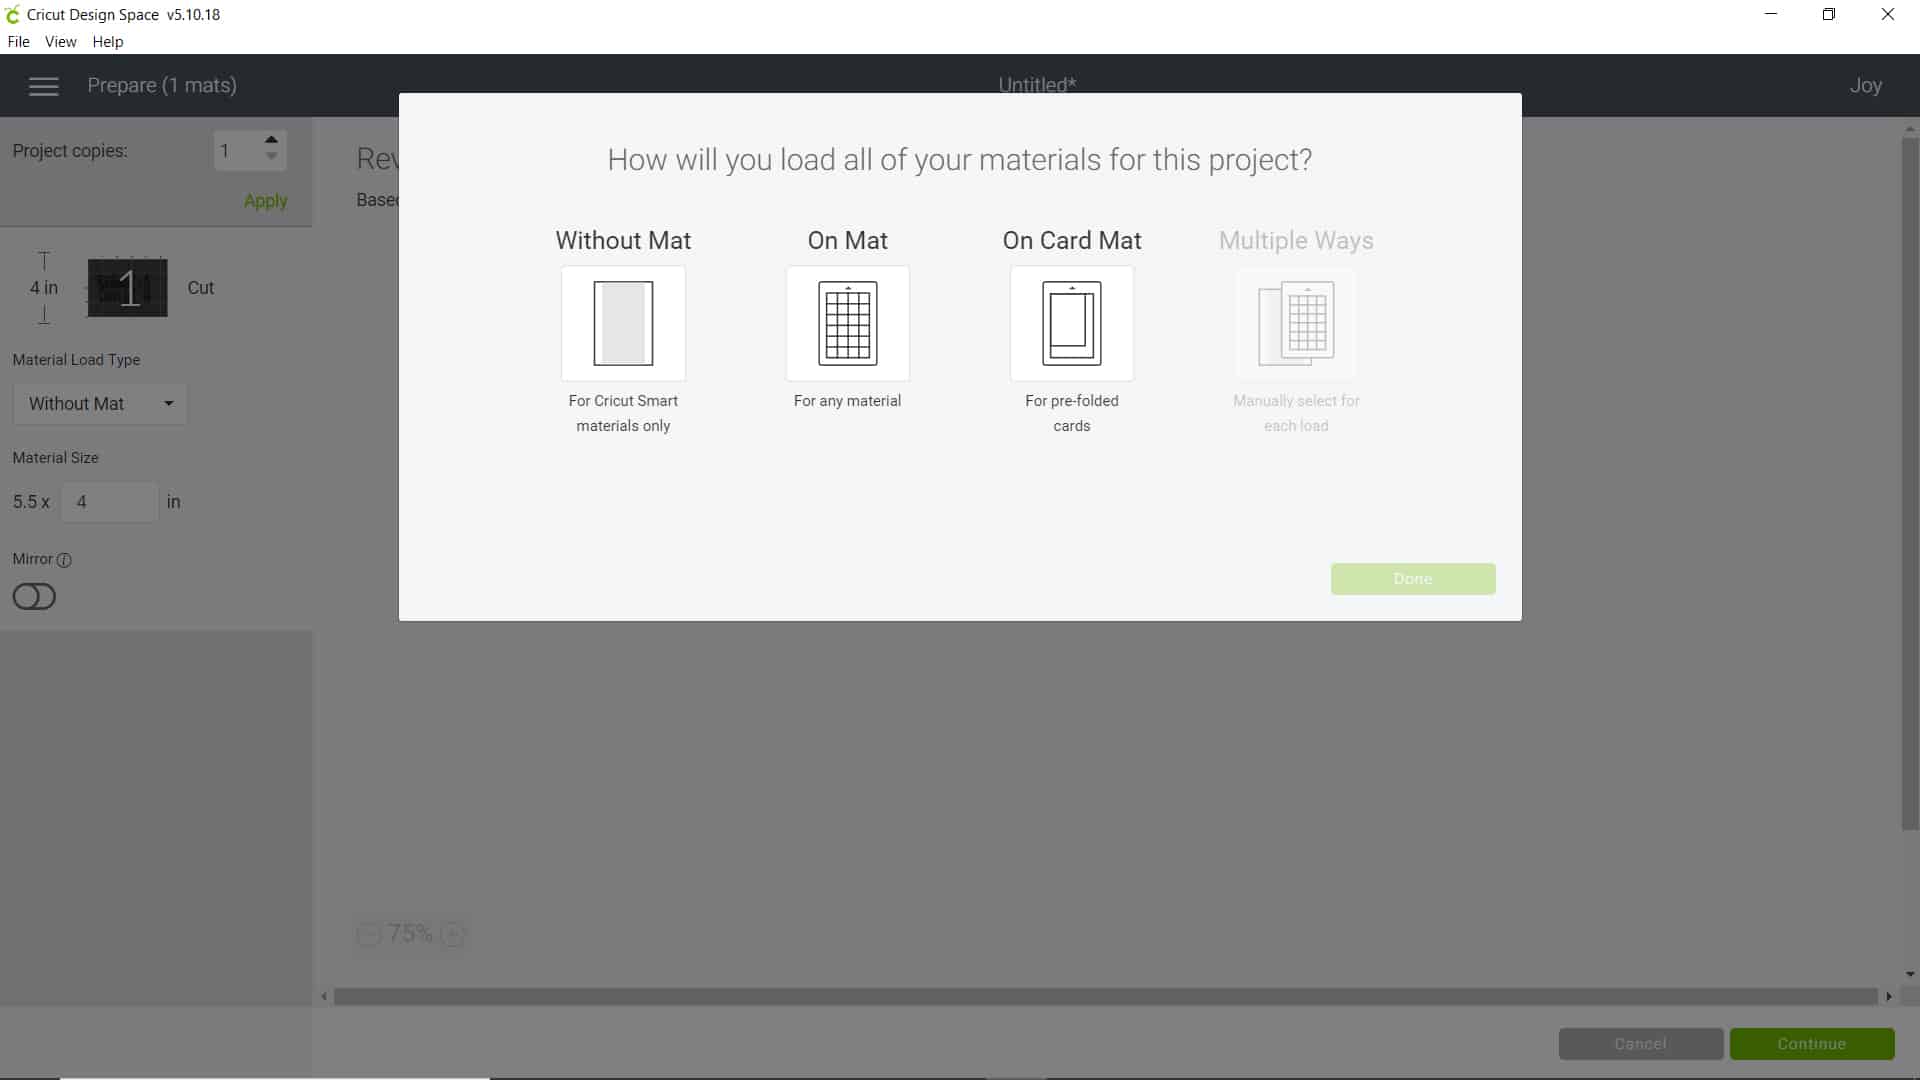
- Because I am using my Cricut Joy with Smart Vinyl, I selected “Without Mat” since you don’t use a mat with this type of vinyl. The program will tell you how long you should cut your Smart Vinyl to be. With this project, I needed to cut a 4″ long piece. Hit “Continue“.
8. Next the program will prompt you to connect to your Cricut Joy via bluetooth. Once connected, select the correct type of vinyl (Permanent Smart Vinyl) and the program will guide you through the next steps and let you know when to load your vinyl. Make sure your fine point blade is installed, and then let the Cricut Joy do it’s thing!
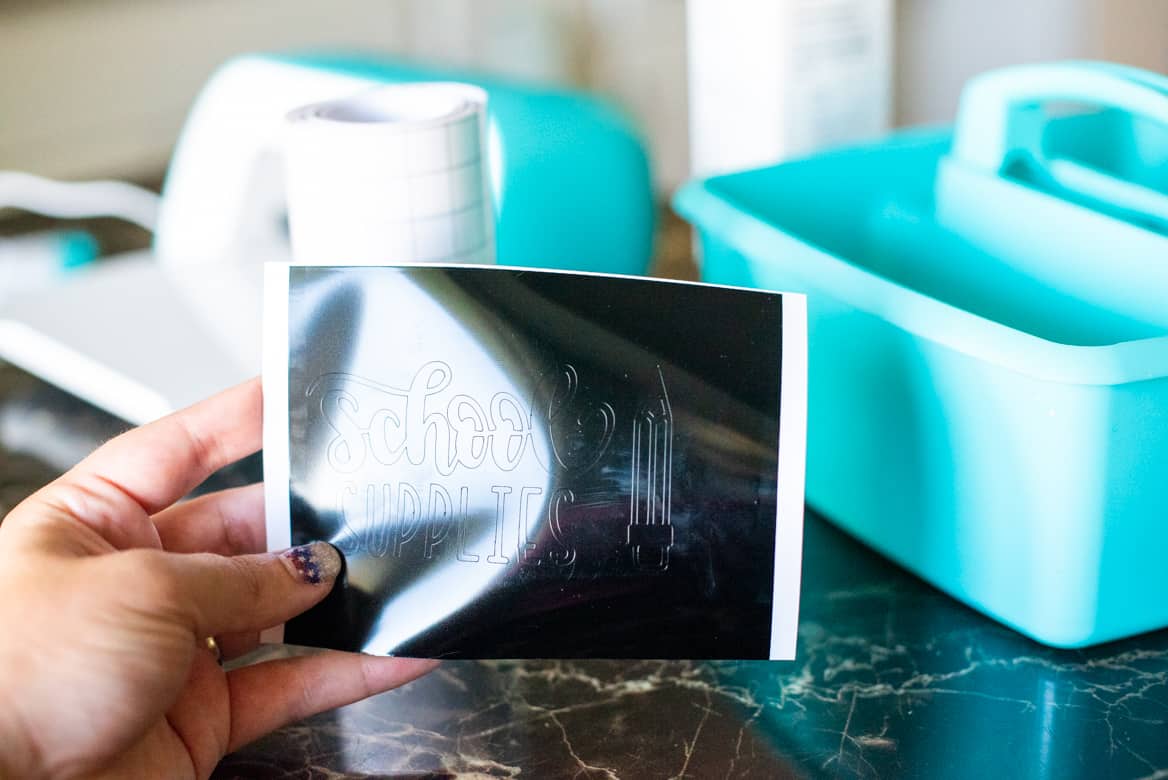
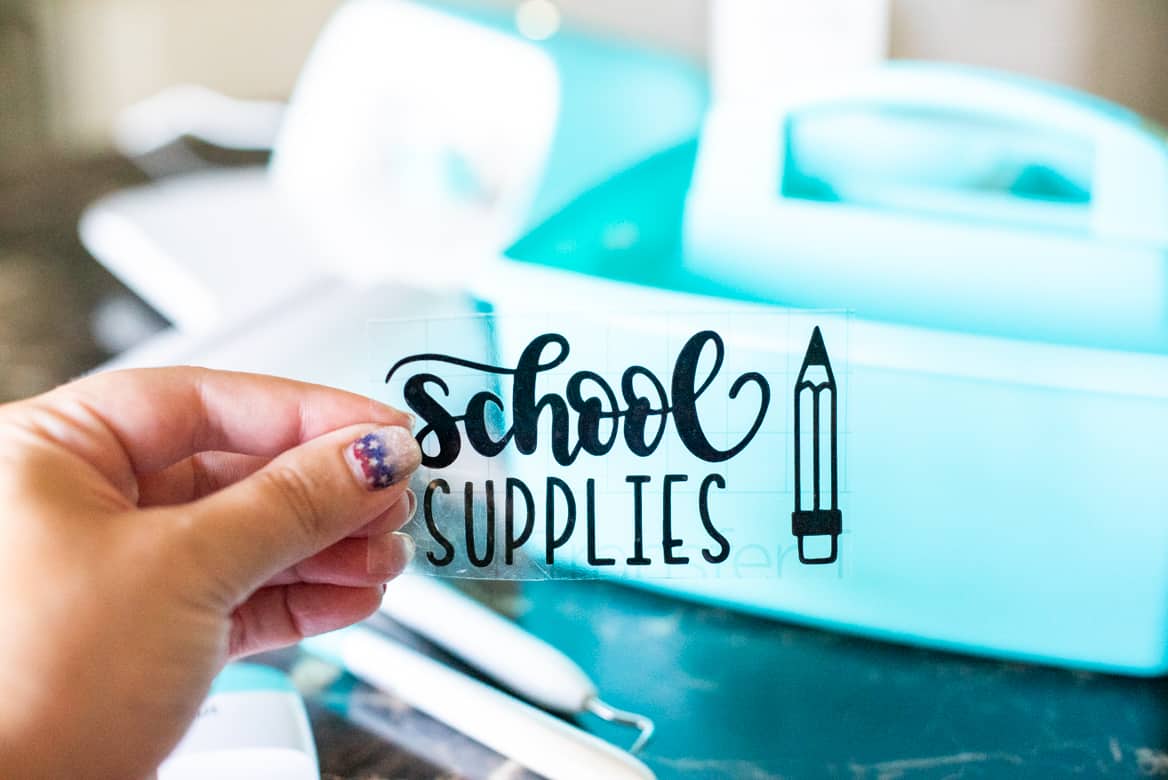
9. Once your design is cut, unload it and weed the excess vinyl. Use the Cricut weeding tools to get the tiny pieces out without ruining the rest of the design.
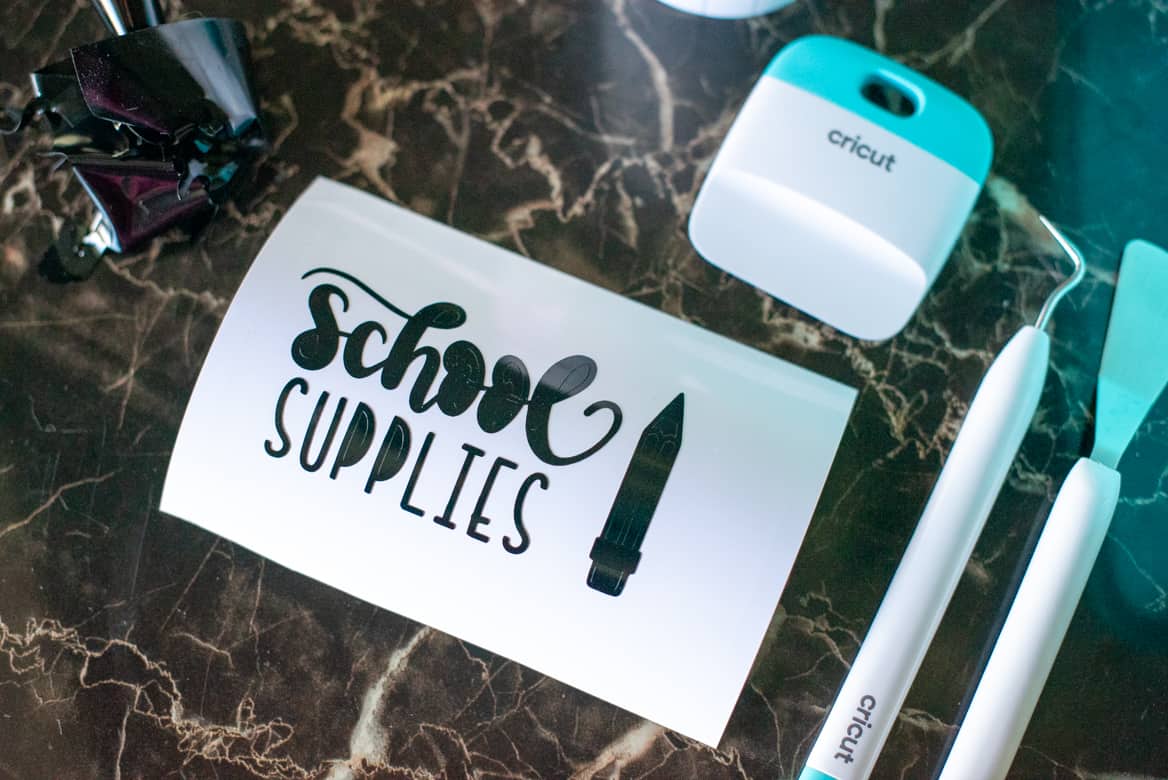
10. Apply Cricut Transfer Tape and burnish well with the burnishing tool. Speaking from experience, you need to burnish more than you think to make the design stick to the transfer tape!
11. Peel the design off the backing and apply to the caddy using the transfer tape.
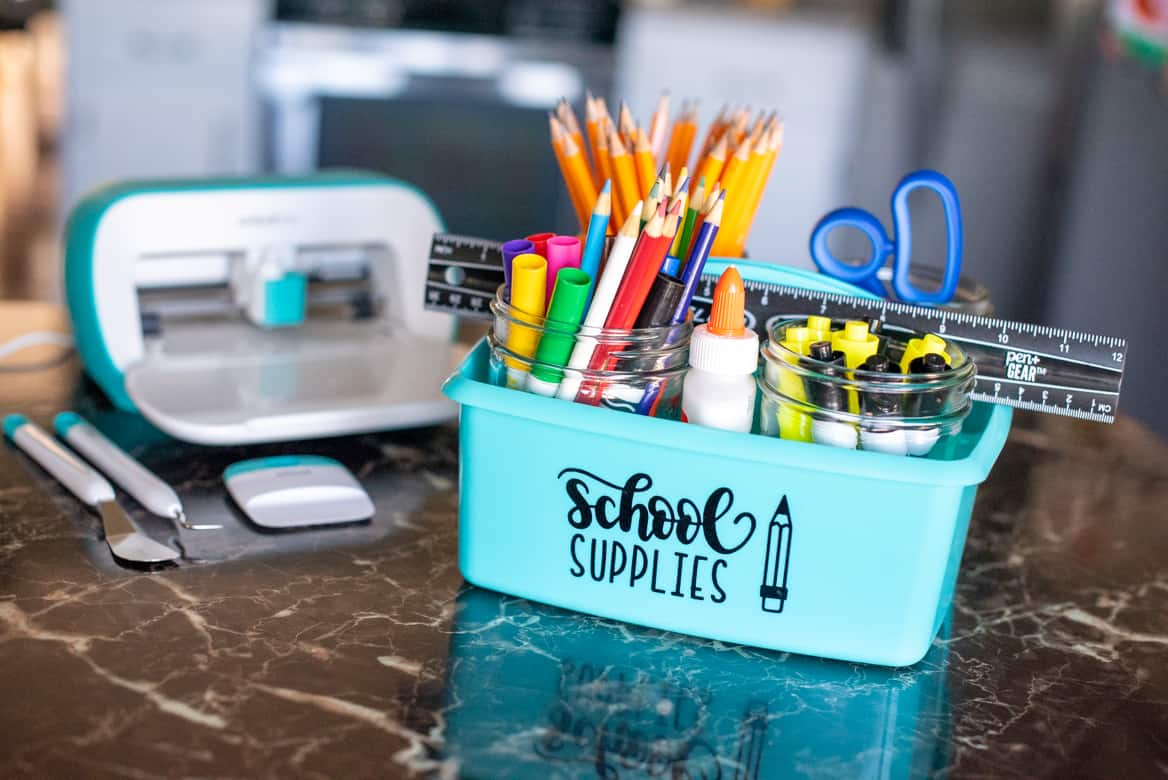
12. Use wide mouth mason jars to help organize various markers, pencils, and supplies in your school supply caddy.
Start to finish, including design time, this project took about 10 minutes. That’s what I love about the Cricut Joy, so quick and easy!
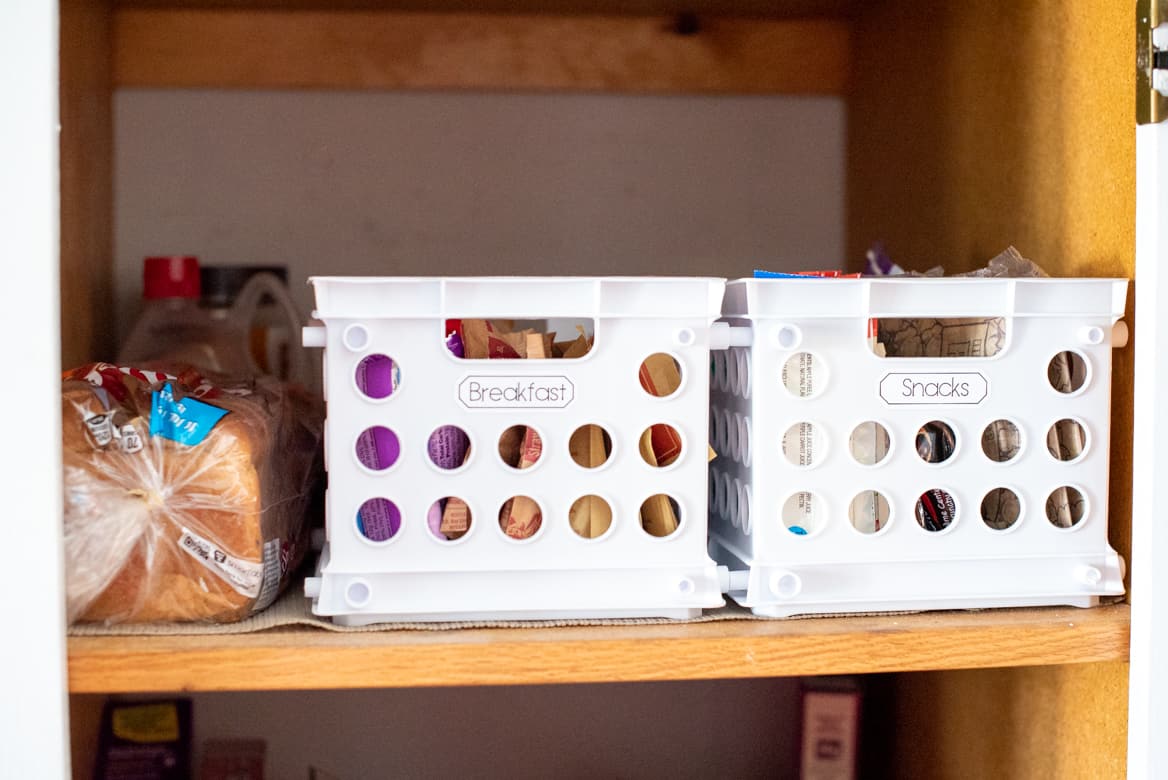
DIY Pantry Snack Organization Labels
Moms, I’m sure you can agree with me on this…
Kids are never more hungry than they are at breakfast and snack time.
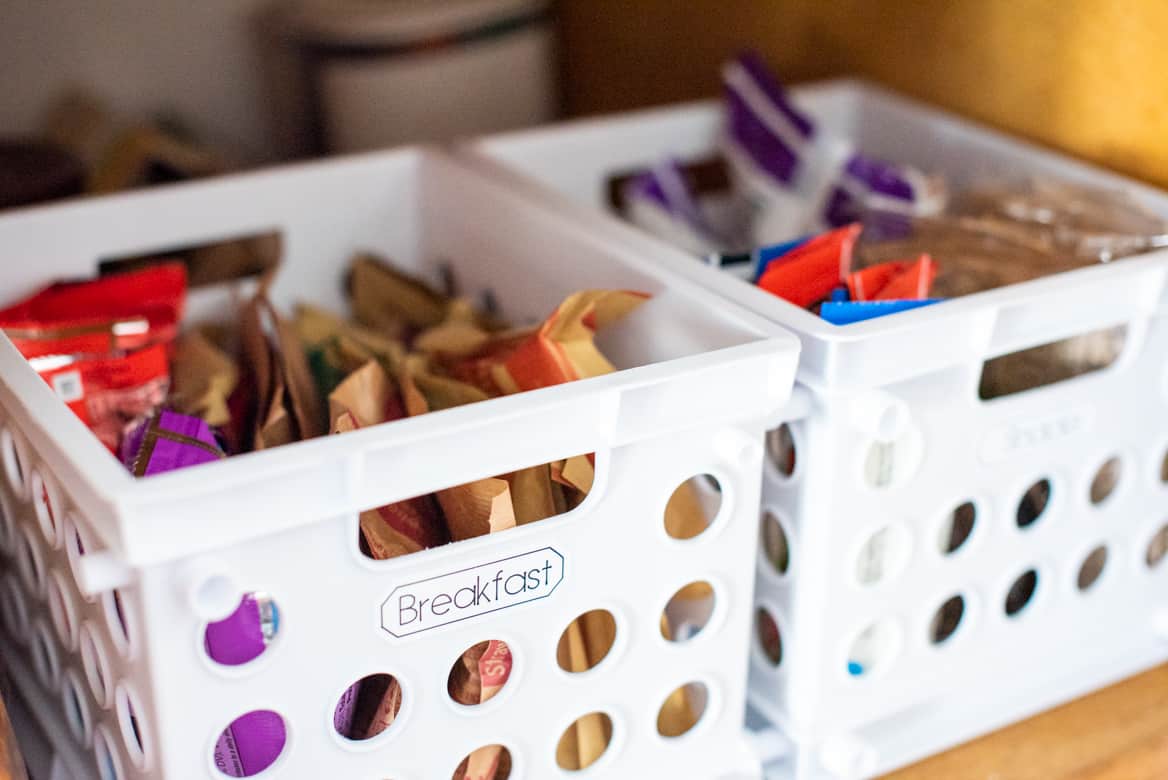
I created these breakfast and snack crate labels for our pantry to help keep the endless oatmeal packets, breakfast and granola bars, mini muffins, fruit strips, etc. contained and organized.
Here is how I easily made these DIY pantry labels using my Cricut Joy, and how you can make your own, too!
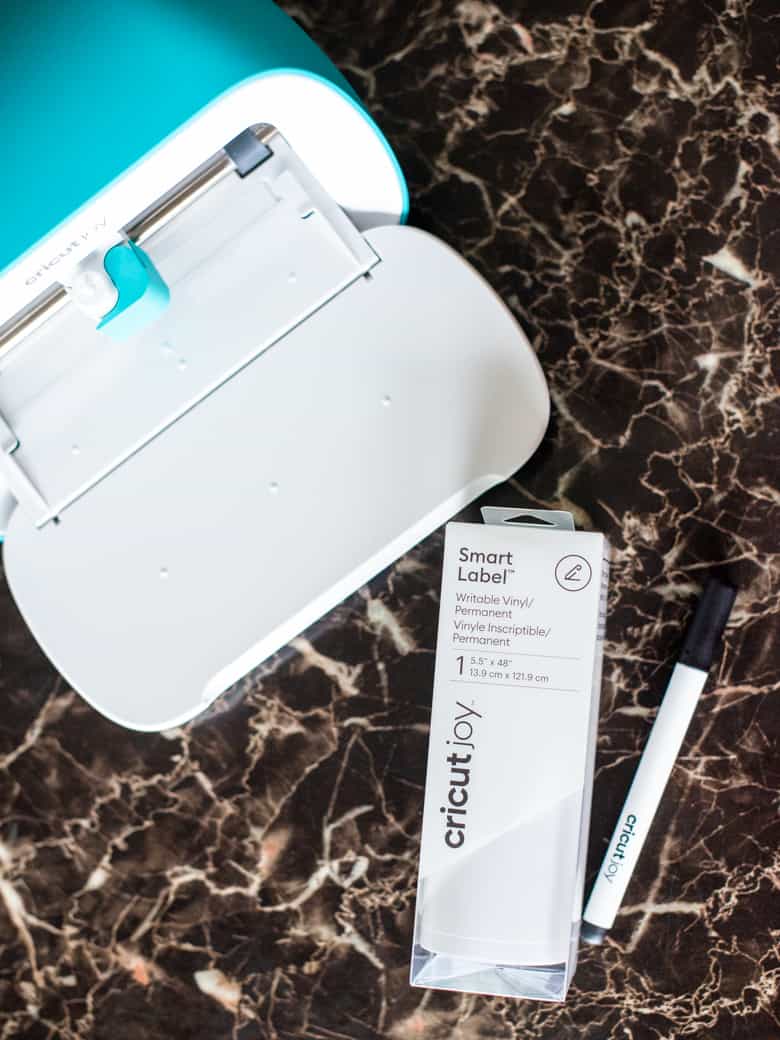
SUPPLIES:
- Create a new canvas in Cricut Design Space. Or, if you want to create labels exactly like mine, you can access the project here.
- Click on “Images” and type in “draw + cut labels” to find a label you like.
- Resize the label to fit your container. Then, you can click “Duplicate” to make as many labels as you want.
- Add “Text” using the font Elementary and type in whatever you would like. Make sure the style is set to “Writing” and the Linetype is set to “Draw“. Also make sure that the appropriate marker is selected, for this project I used the Fine Point 4mm black Cricut Joy Marker.
- Resize the text to fit inside the label. Then, draw a box around both the text and the label to select both elements. To center the text, under “Align” select “Center“. Then, while both elements are still selected, click “Attach“.
- Repeat steps 4 & 5 for each label. Then, tap “Make It“.
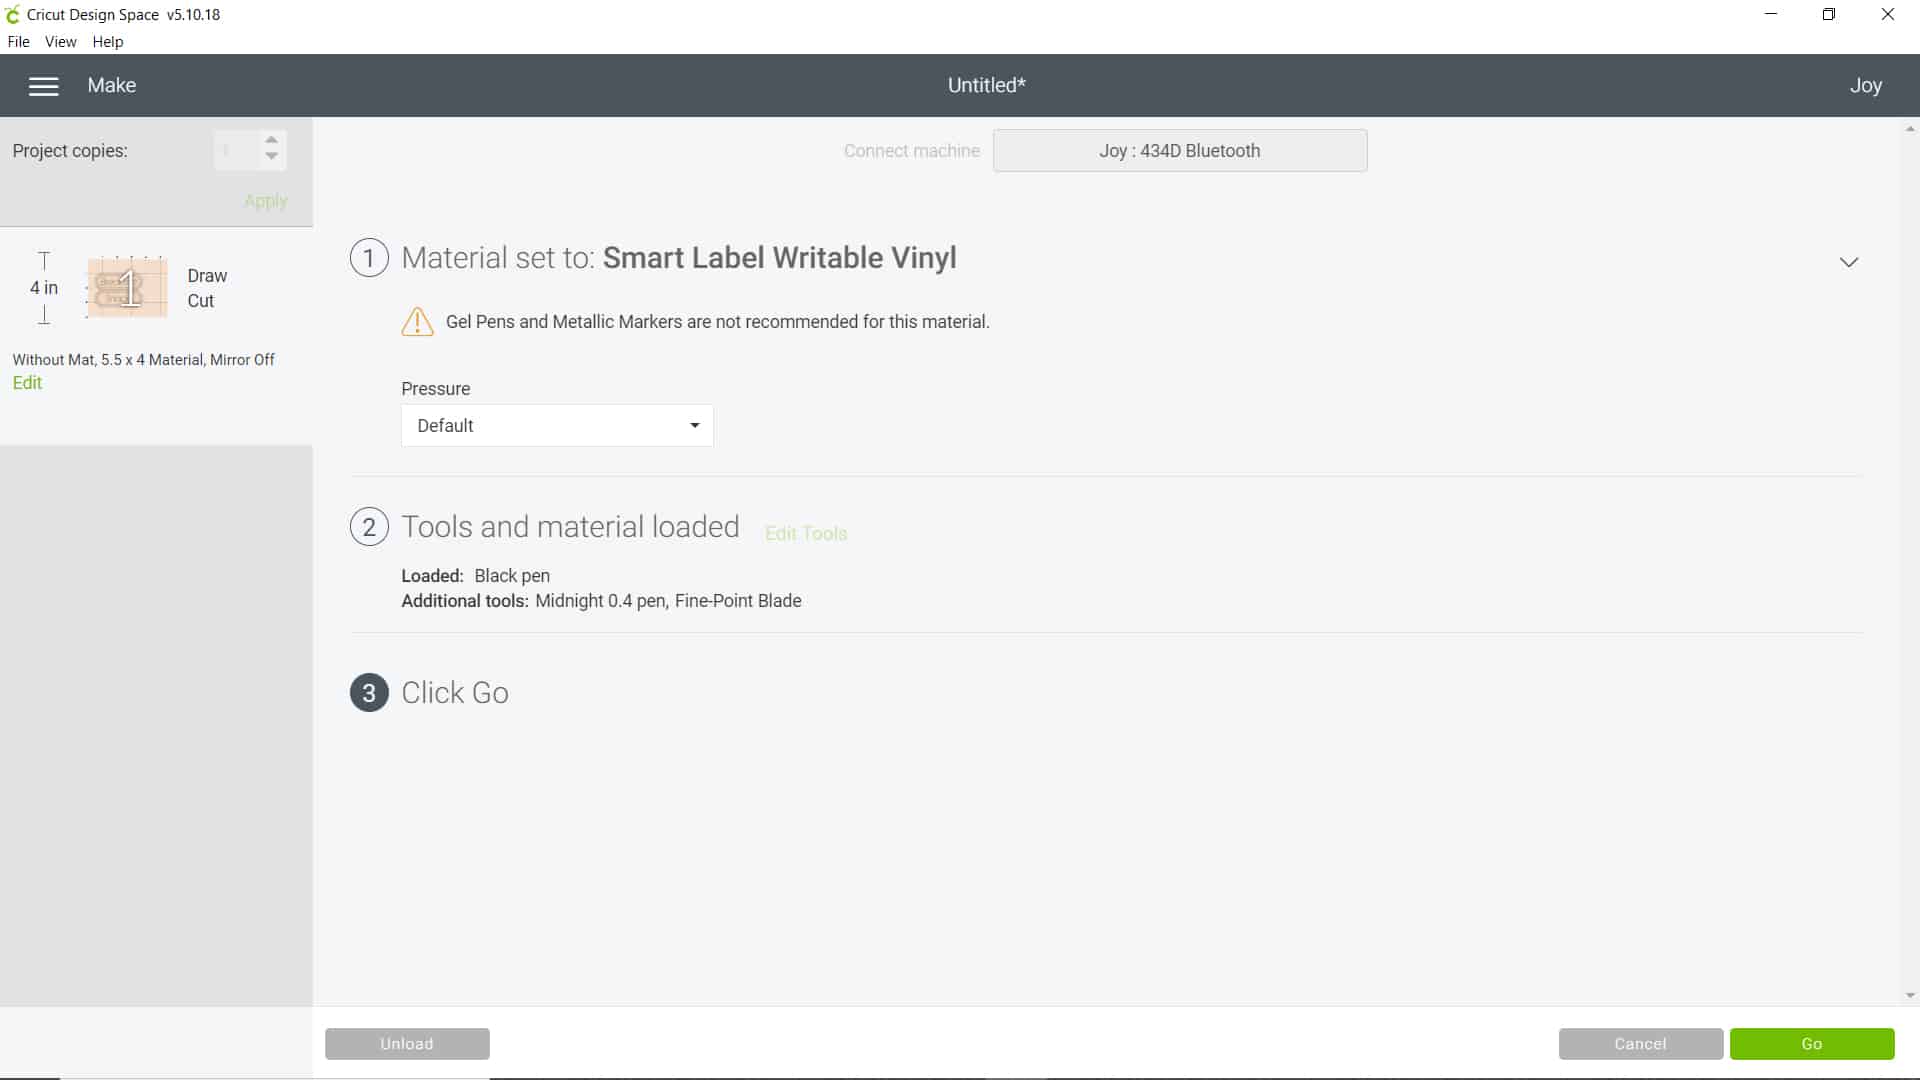
- Because I’m using Smart Label Writable Vinyl, I select “Without Mat“. Make sure you also select the correct material type, and then follow the guidance from the program as to how long a piece of vinyl you should cut. Then, insert the vinyl when the machine prompts you to.
- Insert the Cricut Joy marker, click “Go” and let it write.
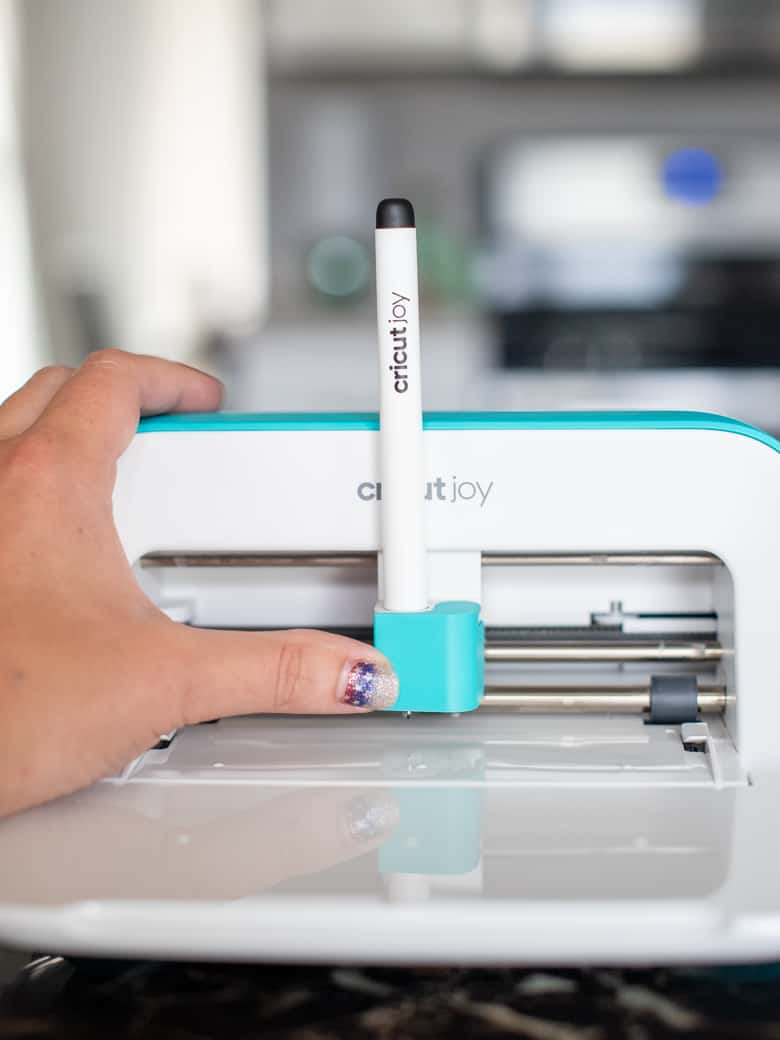

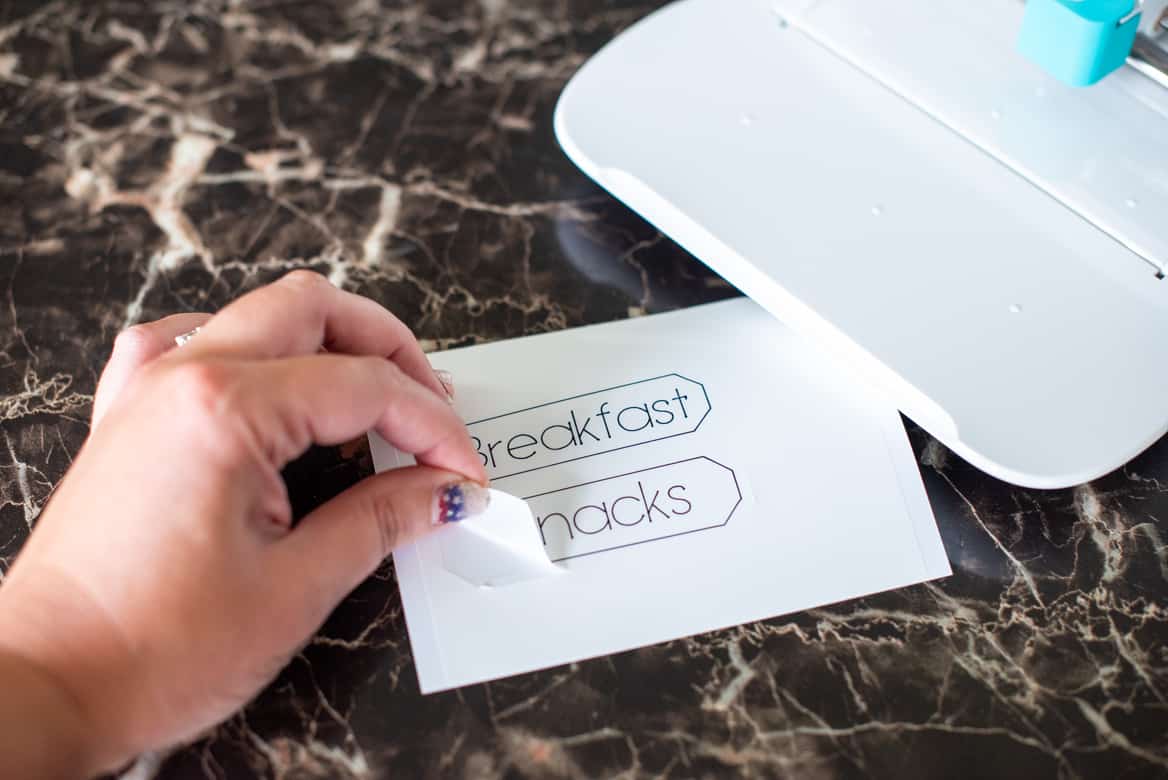
9. When prompted, remove the marker and insert the fine point blade.
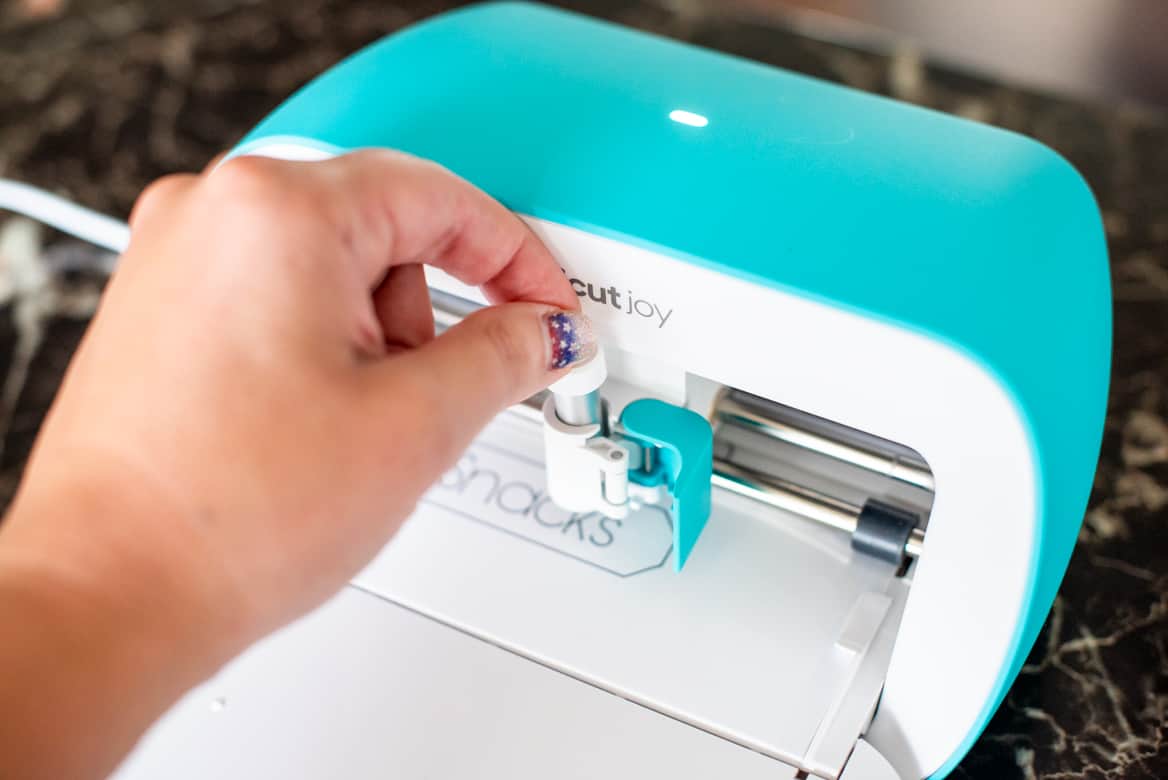
10. Let the Cricut Joy resume cutting the labels.
11. Peel off the labels and place them on the plastic crates.
Cricut Joy has a full suite of compatible pens with different line weights and styles, so if plain black isn’t your thing check out all the pen options they have to offer!
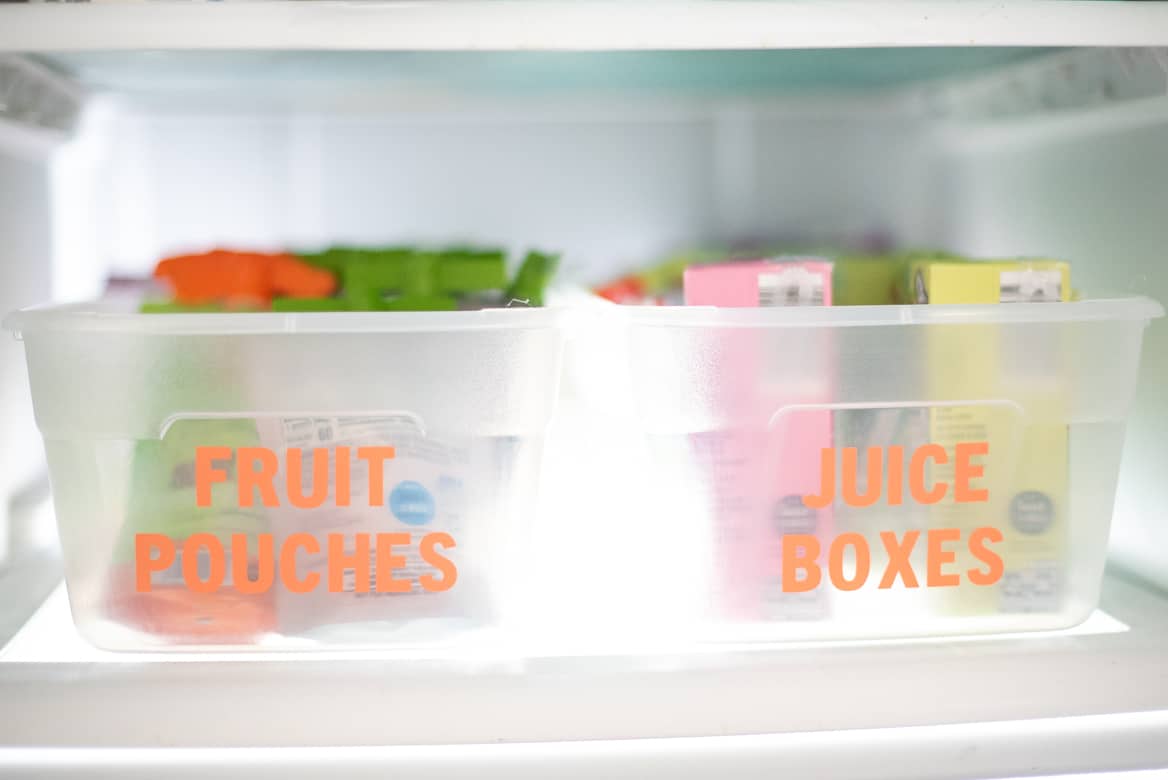
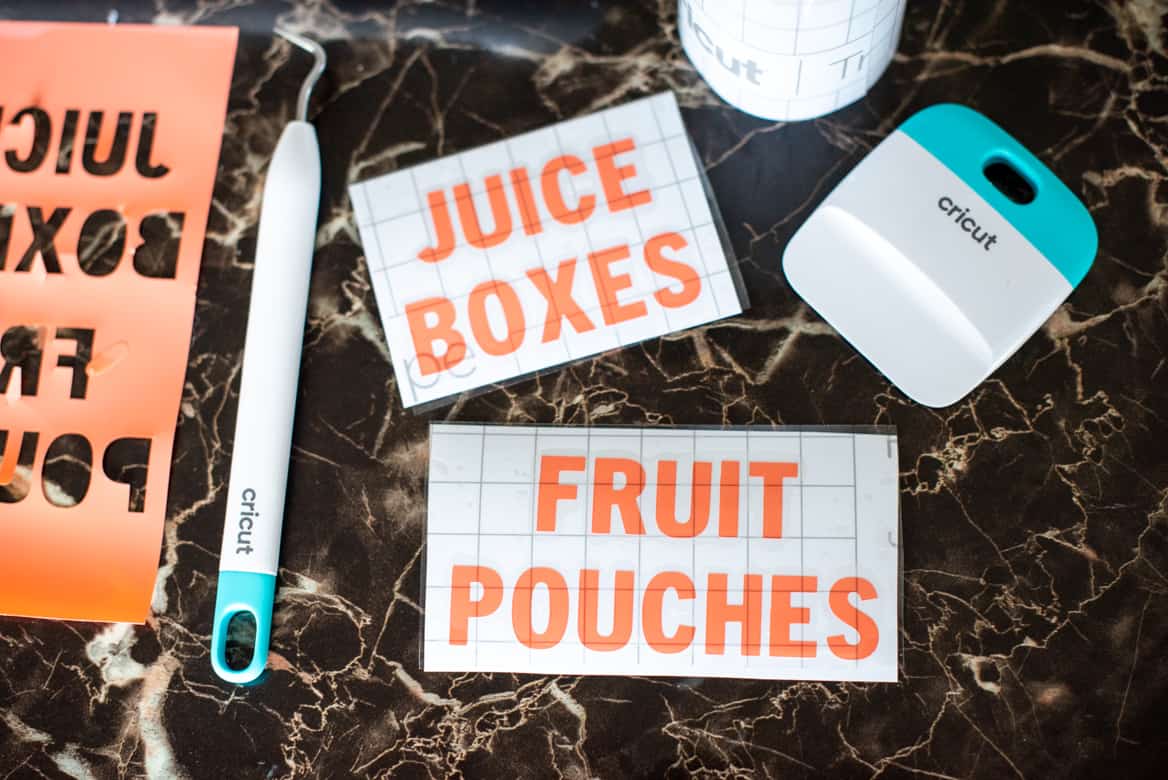
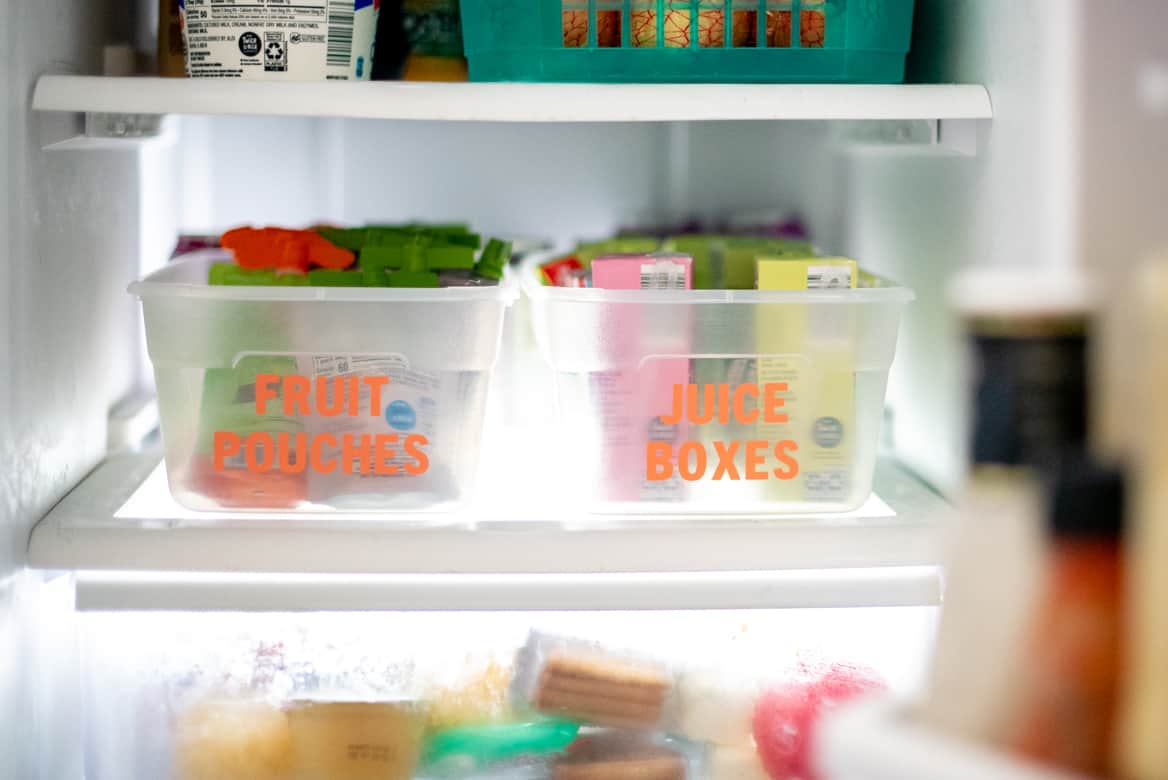
Removable Fridge Organization Labels
Another parent truth… fruit/veggie pouches are the best invention known to parents ever.
They take up a lot of space in our fridge drawer, so I decided to give them a designated home.
While I was at it, I created another spot for juice boxes, since we always seem to need to have a ton of those on hand.
Here is how I made removable labels for our fridge…
SUPPLIES:
- Cricut Joy™ Smart Vinyl™ – Removable (I wanted to be able to update the bins later on if needed)
- Cricut Joy™ Bulk Transfer Tape
- Plastic Clear Containers
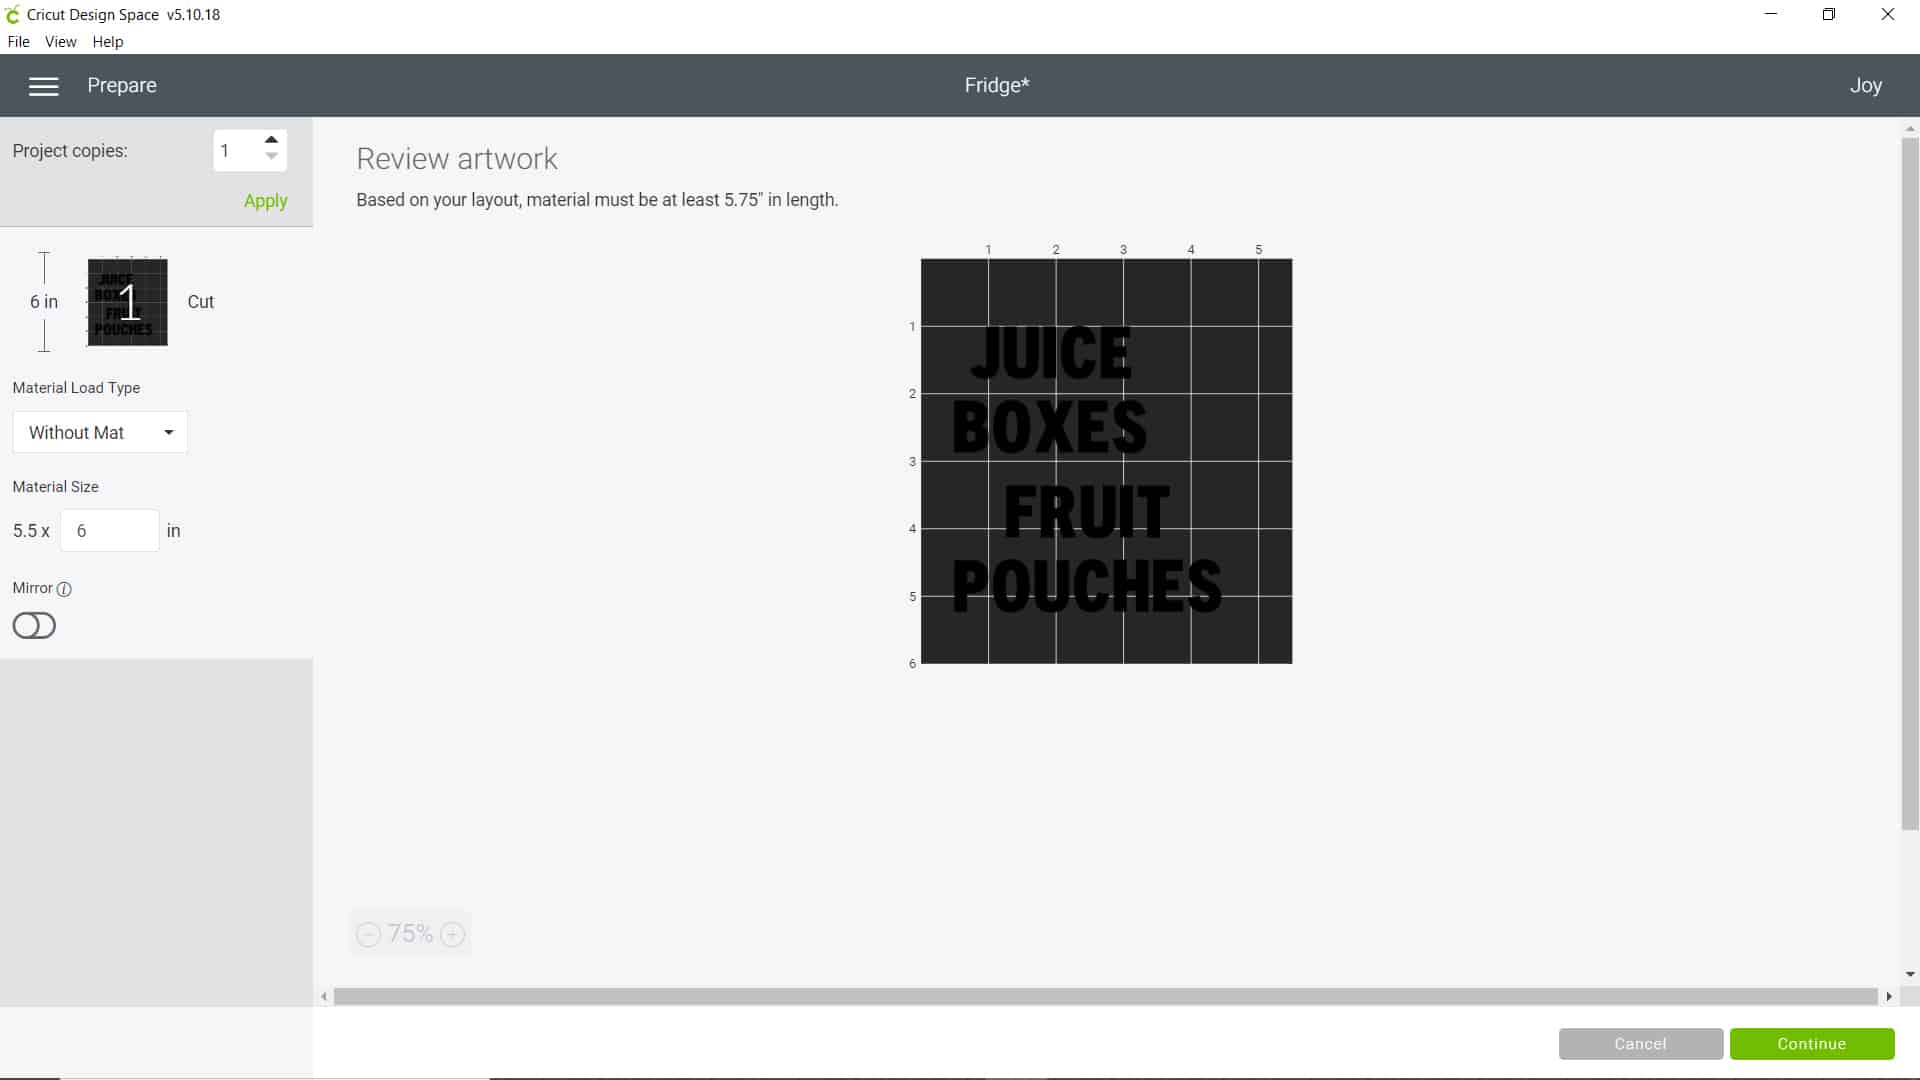
- Open a new canvas in Cricut Design Space. Or, you can access my exact project here.
- Select a new “Text” box. I used the font Trade Gothic Display for this project. Then, type in whatever you would like to label your containers as.
- I wanted my labels to be 2 rows and centered, so once I had my text typed in I selected “Center” under alignment. Then, click “Attach” so that the letters stay put.
- Repeat steps 2 & 3 for as many labels as you would like. Then click “Make It“.
- Because I’m using Smart Vinyl again, I selected “Without Mat“.
- I didn’t like how close the program put my labels, so I changed the length of the material size to be a little longer. Then, I rearranged my labels so they weren’t so close together. Make sure you cut your material to be the length that you set it at!
- Select your material type and click “Go“.
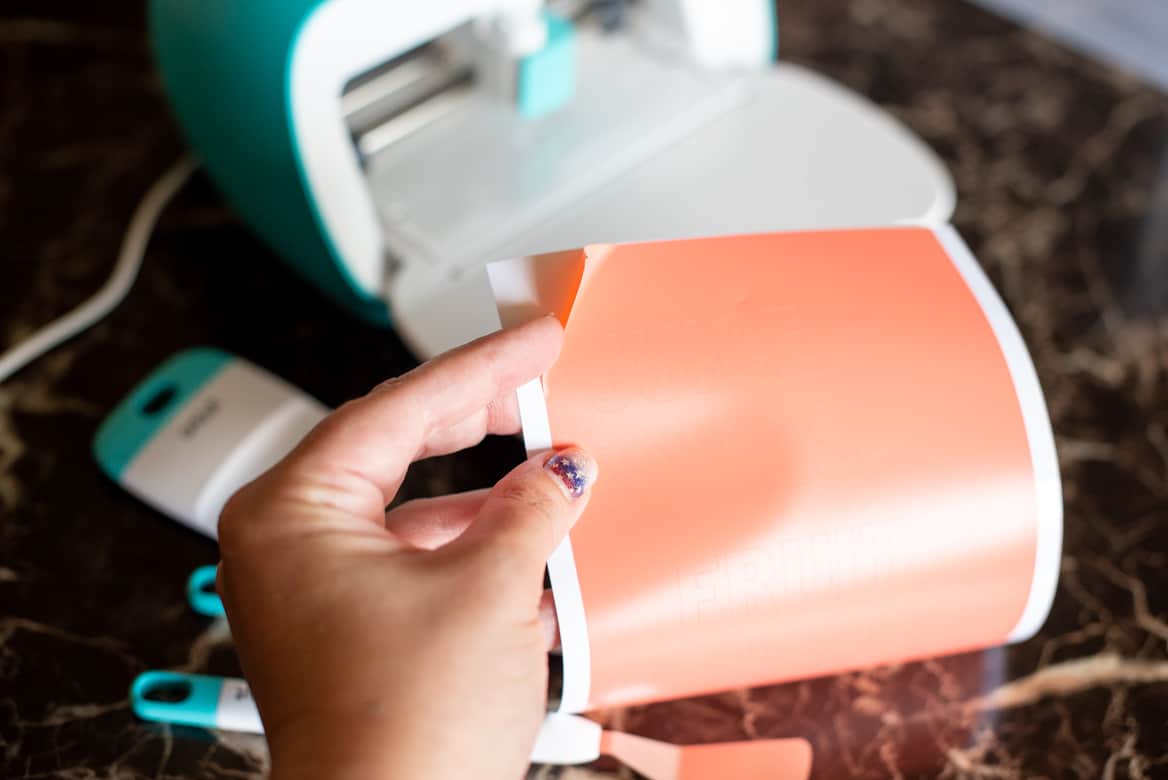
8. Once it’s done cutting, unload the material and weed the excess vinyl. Smart Vinyl is so easy to start weeding because of the extra edge that you can easily peel the vinyl away from.
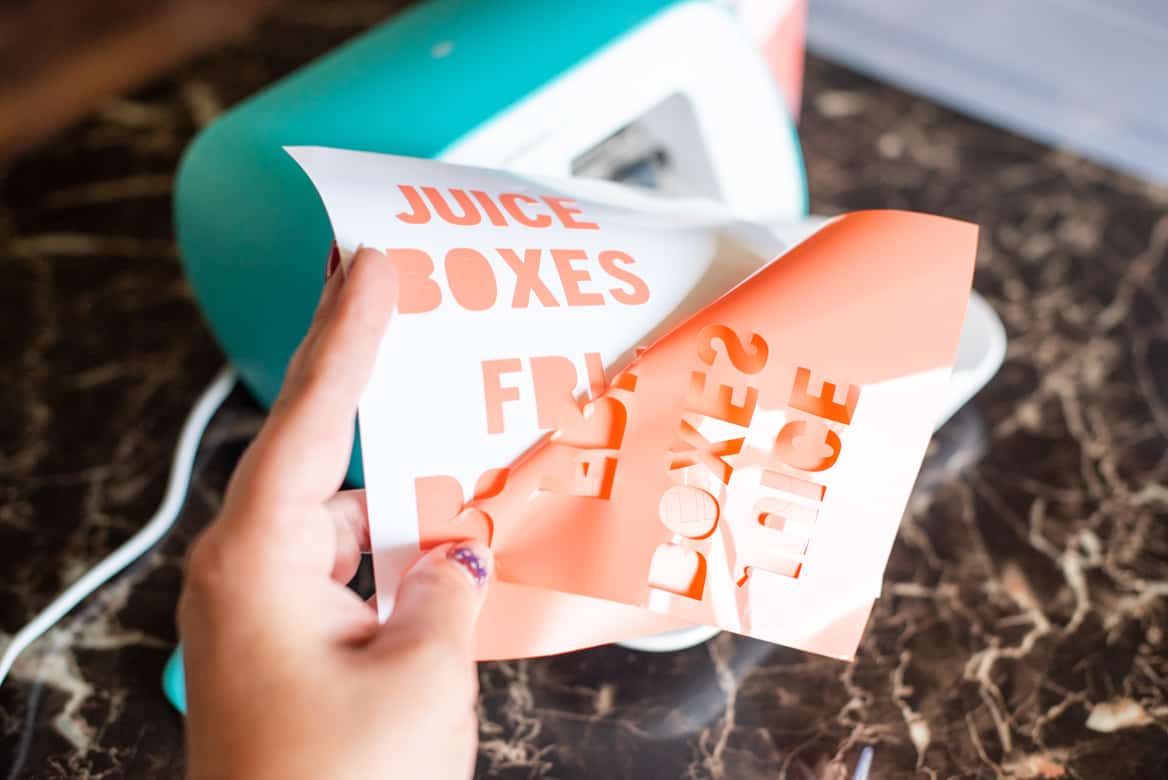
9. Cut the labels apart and then apply a layer of transfer tape to the top of the weeded designs. Burnish well so that the vinyl adheres to the transfer tape.
10. Remove the backing from the labels and apply using the transfer tape to your containers.
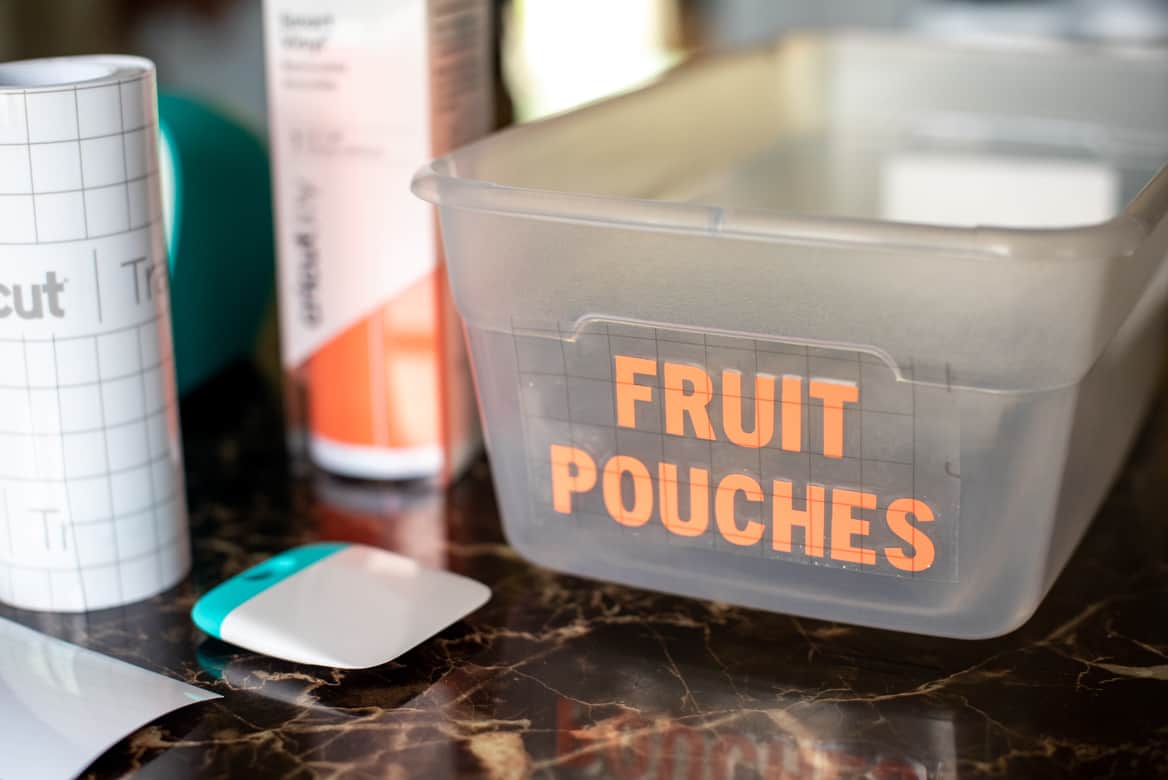
Remove the transfer tape, and you’re done!
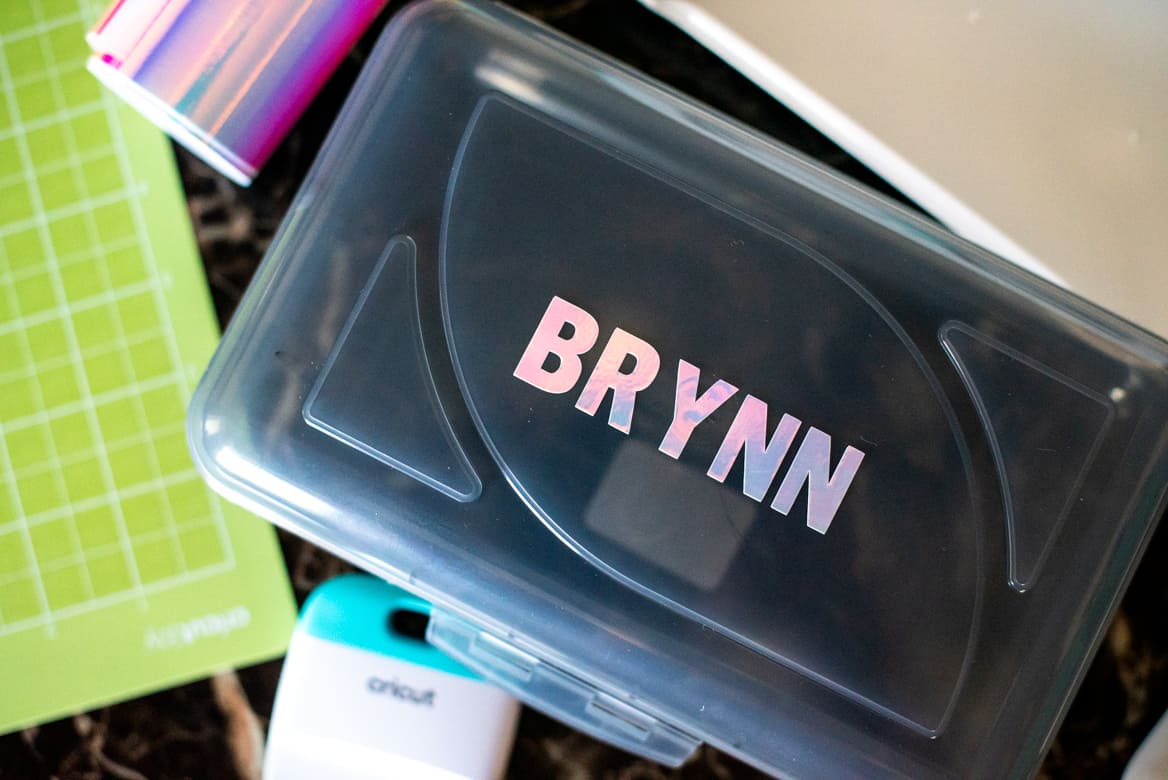
DIY Pencil Case Label
My daughter is notorious for losing things. When back to school season comes, I label EVERYTHING.
I used the Cricut Joy and the mat it came with to cut a label out of Cricut Holographic Vinyl for her pencil box.
I used the same techniques that I described above in Cricut Design Space to create a “Text” box and used the font Trade Gothic Display.
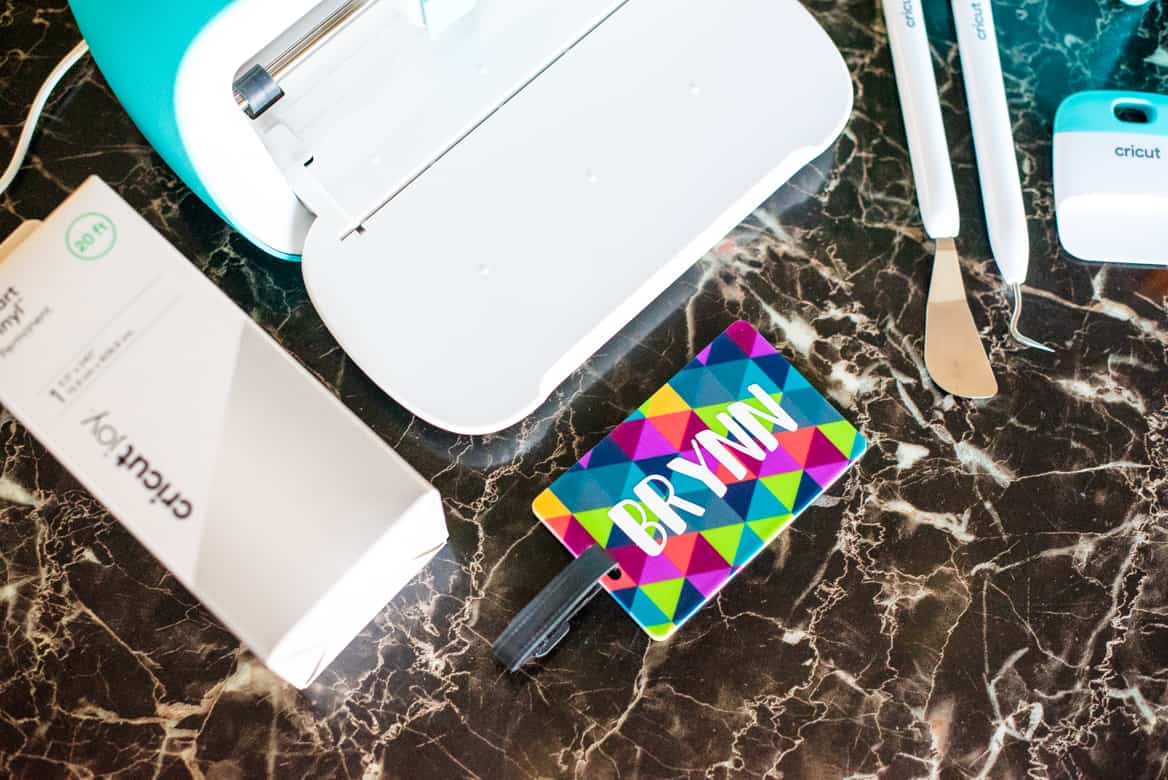
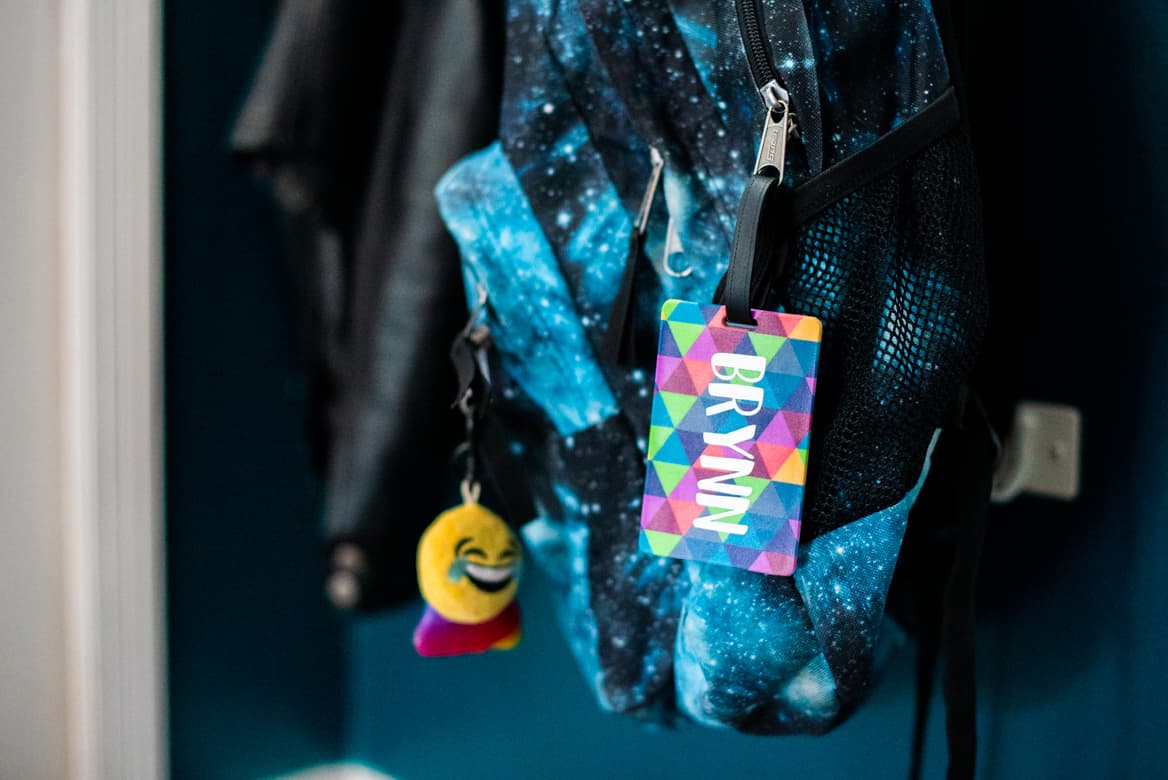
Super Easy DIY Personalized Backpack Tag
Although my daughter hasn’t completely lost her backpack (besides, knock on wood, forgetting it in her locker) she wanted me to make her a tag.
I made this backpack tag using a cheap luggage tag from the dollar store and Cricut Joy™ Smart Vinyl™ – Permanent in White.
It was as simple as creating a new canvas in Cricut Design Space, adding a “Text” box and typing in her name with the font Karley.
After seeing all of these awesome projects, if you’re still asking…
“Why do I need a Cricut Joy, especially if I already have another Cricut machine?”
And the answer is…
Maybe you don’t. But I bet you do!
If you want the ability to create Cricut projects quicker and easier than ever before, or if you are doing mostly small cut projects, or if (for example) you’re a teacher and you need to do a lot of custom labeling on the go, or maybe you’re doing a big cut with your Maker and want to cut out smaller elements at the same time, or if you want to cut something up to 20 FEET IN LENGTH! Or if… you get the point 🙂
Learn more at Cricut.com, Cricut Joy is now available online and in-store!

I love this much! Thank for sharing!
I love it! Especially since homeschooling looks to be how teaching will be going this year this was useful!
I think I’d spend more time making labels than I would getting anything done! This looks so cool!
I love all of these ideas! I have the Joy too and I’m obsessed with it. Just waiting for some more supplies to come in so we can personalize everything!
Oh there are SO MANY creative ways to use the Cricut with home based learning. I need to get one!
OMG I love this! I’m not going back to school but I’m organizing my house and this would totally help