
I used AGEbeautiful Silver Ash Blonde toner with 10-volume developer to neutralize the yellow and orange tones left after bleaching my hair at home. In this guide, I’ll show you how to choose a toner based on the brassiness you see, apply it without over-toning porous ends, and maintain your results, along with my honest before-and-after photos and the mistakes I learned from along the way.
This post was originally sponsored by Zotos Professional. It has since been updated with additional information, product availability notes, and tips based on my personal experience. All thoughts and opinions are my own.
Whether you just bleached your hair and ended up with way more yellow or orange than you were expecting, or your once-perfect blonde has slowly started looking a little too warm, toner might be the step you’re missing.
I used AGEbeautiful Silver Ash Blonde toner with 10-volume developer to neutralize the brassy yellow and orange tones in my own hair. And because my already-lightened ends were extremely porous, I had to be careful not to let them soak up too much toner and turn purple… something I had definitely learned the hard way before!
In this guide, I’ll walk you through how to identify the unwanted tones in your hair, choose the right type of toner, and apply it more evenly at home. I’m also sharing my honest before-and-after results, the mistakes I’ve made along the way, and what you can do if your toner leaves your hair too purple, too ashy, or still brassy.
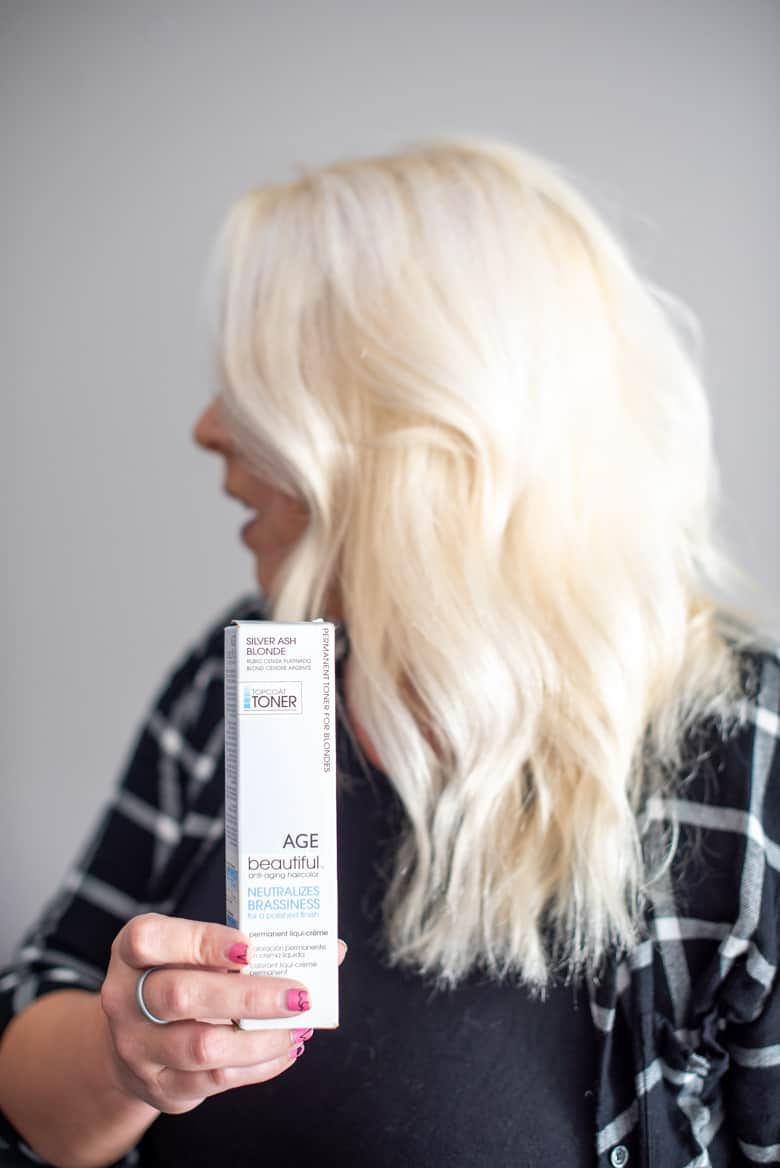

Product update: I used AGEbeautiful Permanent Liqui-Creme Topcoat Toner in Silver Ash Blonde for the results shown in this post. That exact shade is no longer offered in the original toner lineup. AGEbeautiful’s current toner selection has changed, so check the latest shades and instructions before choosing a product.
What Causes Brassy Blonde Hair?
Your natural or starting hair level:
Hair has a level scale between 1 and 10, 1 being darkest black and 10 being lightest blonde. Level 1 has an undertone of darkest red, and level 10 has an undertone of pale yellow.
The darker your hair, the more levels of brassy undertones there are that you need to break through with bleaching and lightening your hair.
For example, if your hair is a level 5 and you’re trying to get to a level 10+, you have to start by breaking through orange red undertones all the way up to pale yellow, depending on how light you want to go.
Previous permanent hair color:
If you have color treated dark hair, it’s even harder to break through each level of brassy undertones than it is with naturally dark hair.
Hard water and mineral buildup:
Another factor is the water quality you have at home. If your water has high rust content, your hair is going to soak up that mineral over time and get brassy.
Fading and environmental exposure:
Even if your blonde starts out the perfect tone, it can gradually turn brassy again as your toner fades. Frequent washing, hot water, sun exposure, and regular heat styling can all cause your color to fade faster and allow those warm yellow or orange tones to start showing through again.
Brassiness does not always mean the toner failed. Sometimes the hair was not lightened enough for the desired shade before toner was applied!
What Does Toner Do for Brassy Blonde Hair?
Hair toner helps neutralize the unwanted yellow, orange, or brassy tones that can show up after bleaching, or start creeping back in as your blonde fades.
It works by depositing corrective color into your hair. Think back to the color wheel: colors that sit opposite each other help cancel each other out. Violet helps neutralize yellow tones, while blue helps counteract orange tones. If your hair has a mixture of yellow and orange, you may need a toner with both blue and violet undertones.
Toner can help change the tone of your blonde, but it won’t necessarily make your hair lighter. If your hair is still too dark or too orange after bleaching, toner alone probably won’t turn it into a pale platinum blonde. Your hair needs to be light enough first for the toner shade you choose to give you the result you’re hoping for.
It’s also important to know that not every toner is the same. Depending on the formula, a toner may be permanent, demi-permanent, semi-permanent, or even a temporary color-depositing product. The AGEbeautiful toner I used in this tutorial was mixed with developer and deposited the cool-toned pigment I needed to soften the yellow and orange tones in my hair.
And because toner does fade over time, you’ll eventually need to refresh it or use color-depositing products to help maintain the tone between applications.
Can Toner Damage Bleached Hair?
Toner is generally less intensive than bleaching, but that doesn’t mean every toning product is completely damage-free.
Some toners are mixed with developer, which means they still create a chemical process within the hair. The condition of your hair, the strength of the developer, your previous color services, and how frequently you tone can all affect how your hair responds.
A strand test is always a good idea, especially if your hair is already fragile, very porous, unevenly lightened, or has been through several chemical processes. Always follow the directions for the exact toner and developer you are using.
Step by Step Guide to Toning Blonde Hair at Home
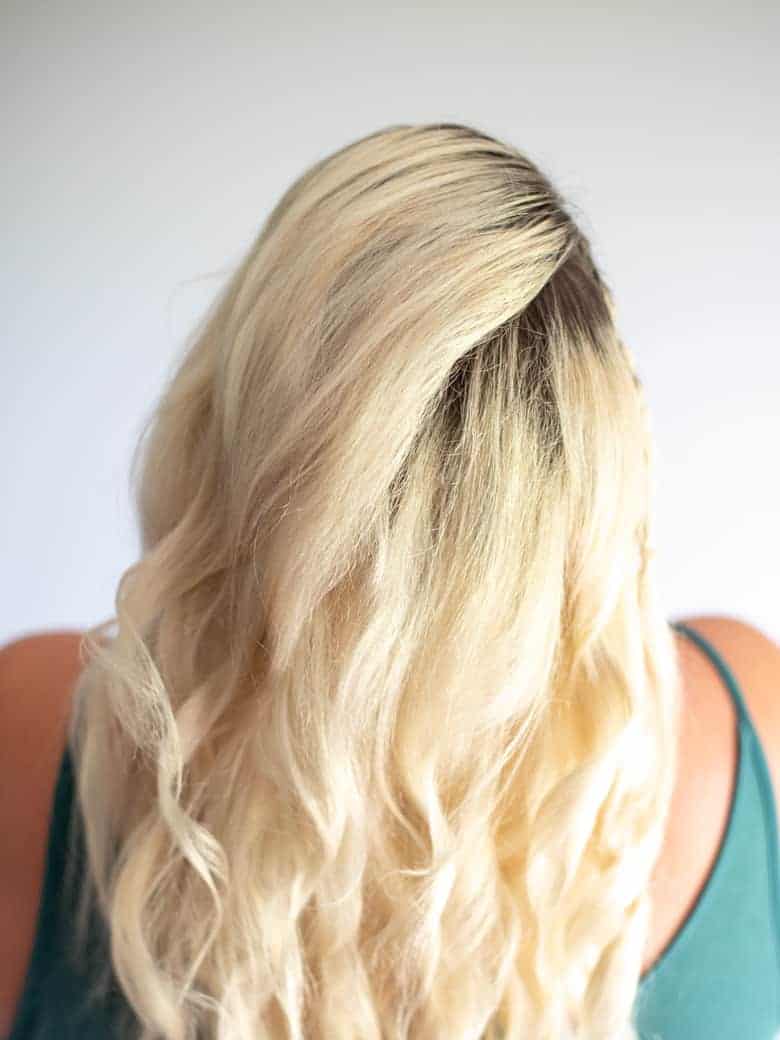
I started this process with a massive root situation, plenty of yellow-orange brassiness, and previously lightened ends. My goal was to get everything closer to the same level of blonde before using toner to cool down the remaining warmth.
Already have lightened hair? You can skip ahead to the section titled “Wash and Prepare for Hair for Toner”.
For an even more detailed explanation of the lightening process, read my complete guide to bleaching your hair at home!
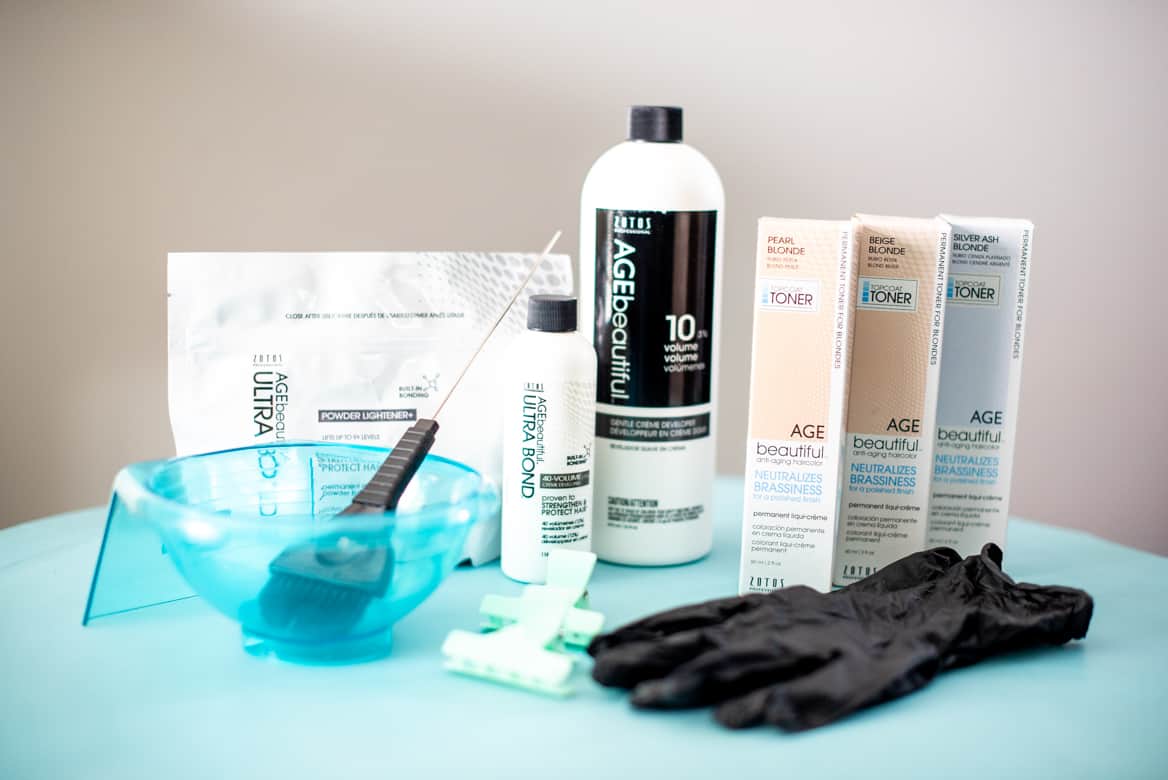
Supplies Needed…
- AGEbeautiful Ultra Bond Powder Lightener 6 oz.
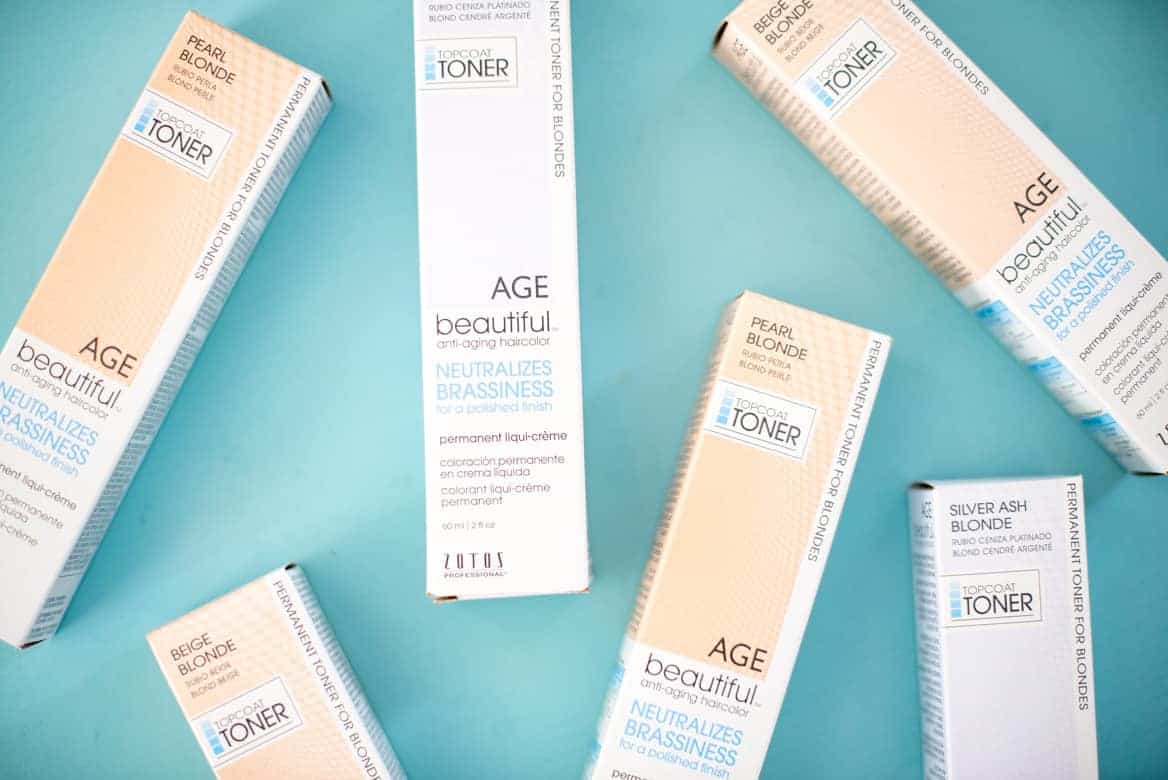
- AGEbeautiful Permanent Liqui-Creme Topcoat Toners
- AGEbeautiful 10 Volume Gentle Creme Developer
- AGEbeautiful 30 Volume Gentle Creme Developer
Tools Needed…
- Hair Color Mixing Bowl
- Hair Color Measuring Cup
- Hair Color Applicator Brush
- Hair Sectioning Clips
- Reusable Black Latex Gloves
- Processing Caps
Step One: Section and Lighten the Grown-Out Roots
Because my natural hair was around a level 6 or 7, I needed to lighten my grown-out roots before I could tone everything evenly.
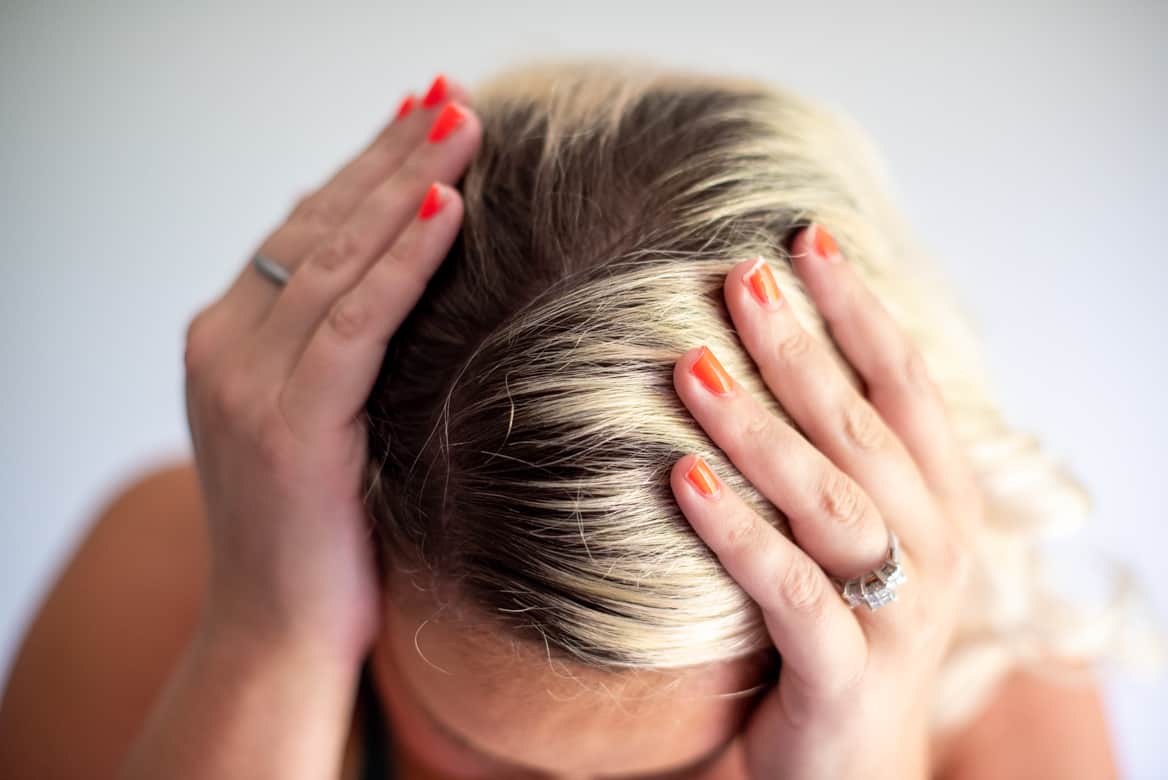
I divided my hair into five sections: two in the front, one at the crown, and two in the back. Beauty school taught me to use four sections, but I’ve found that five are much easier to manage when I’m working on my own hair.
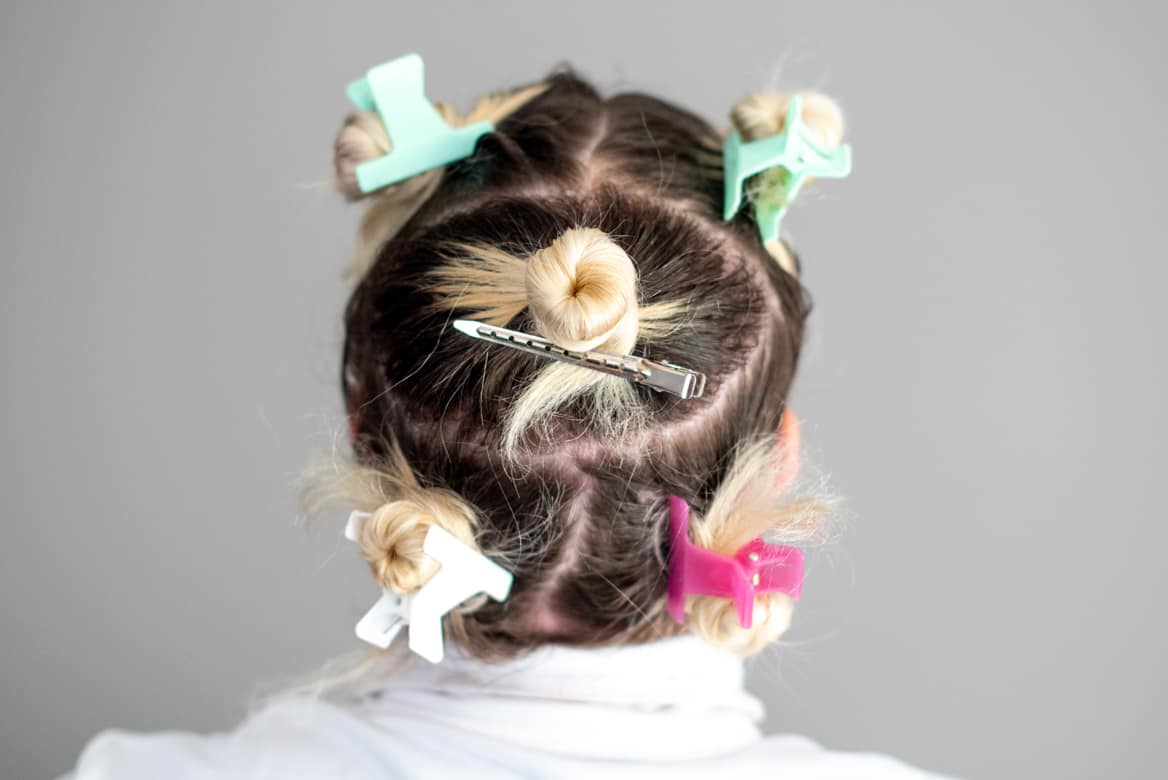
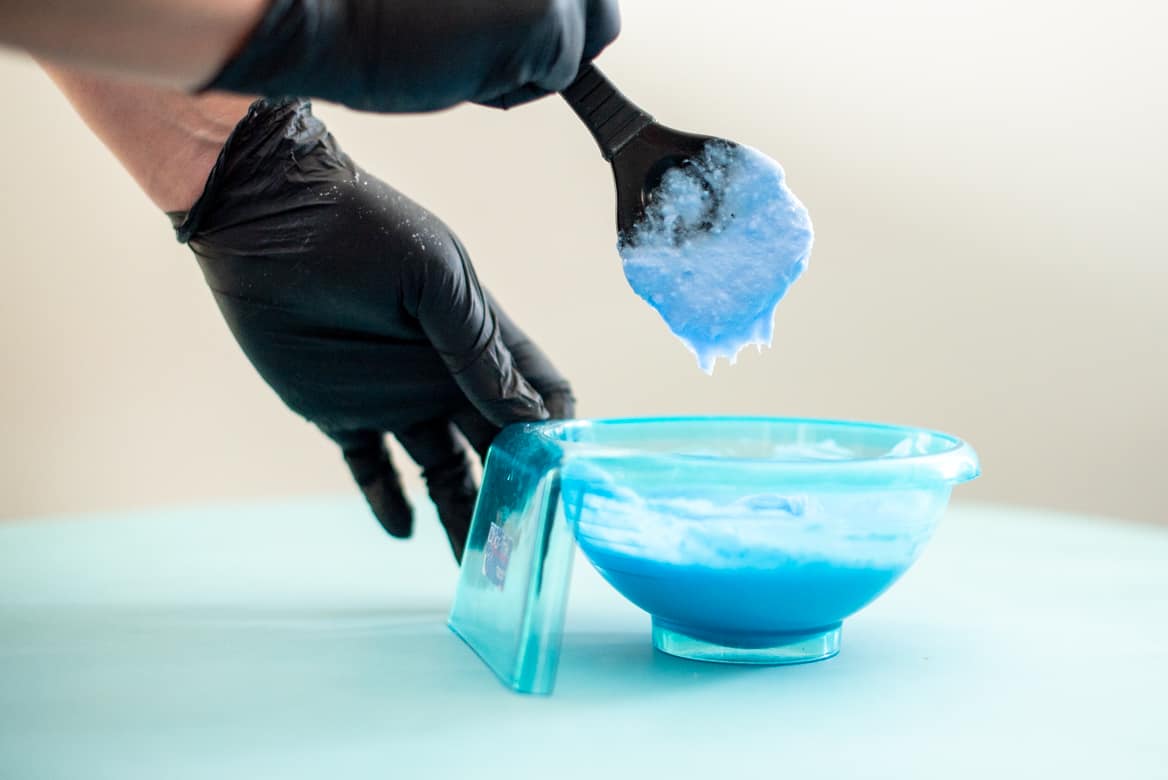
The most important thing to understand for this tutorial is that my regrowth had two different processing zones.
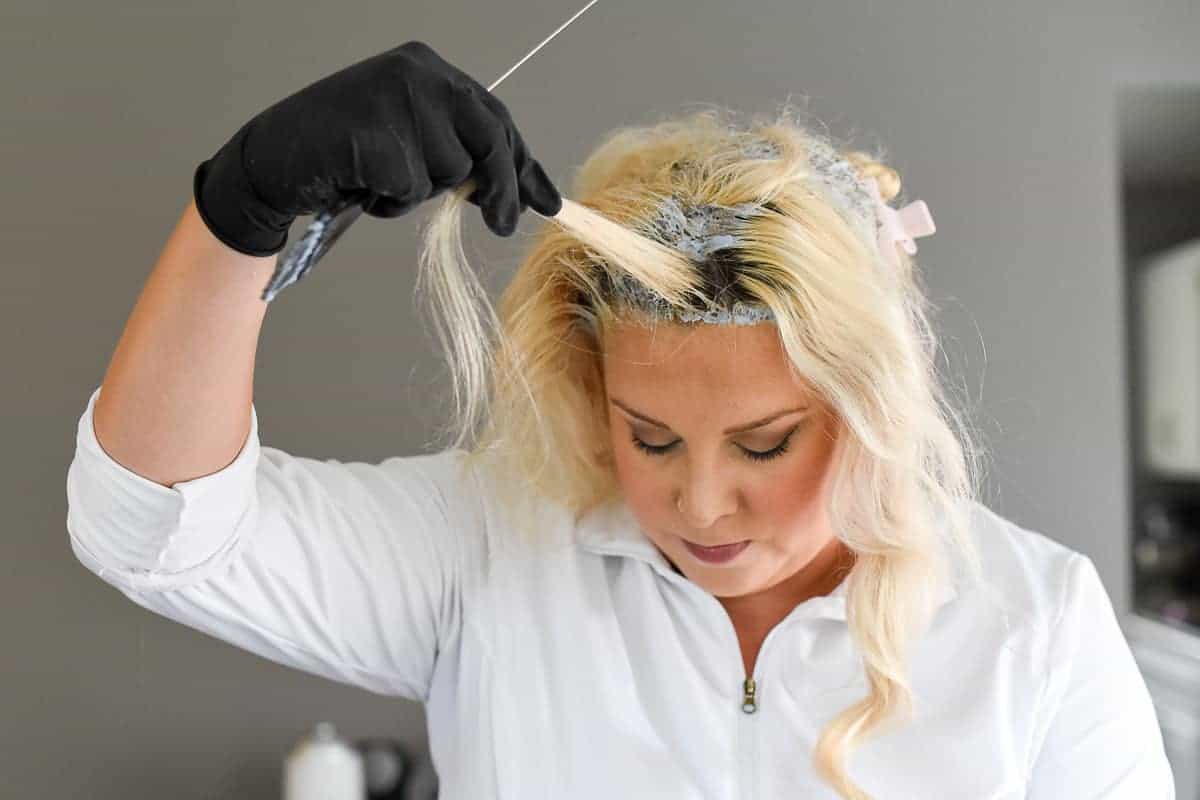
I first applied the lightener about 1/2 inch away from my scalp through the darker regrowth, which is known as Zone 2. The heat from your scalp makes the hair closest to it lighten faster, so applying bleach to Zone 1 right away can leave you with very light “hot roots” and a darker band underneath.
Once Zone 2 began to lighten, I went back and carefully applied the lightener to Zone 1, the roots closest to my scalp.
I avoided overlapping the bleach onto my previously lightened ends and checked the color frequently. Once the new growth reached a pale yellow similar to the inside of a banana peel, I rinsed thoroughly and moved on to toner.
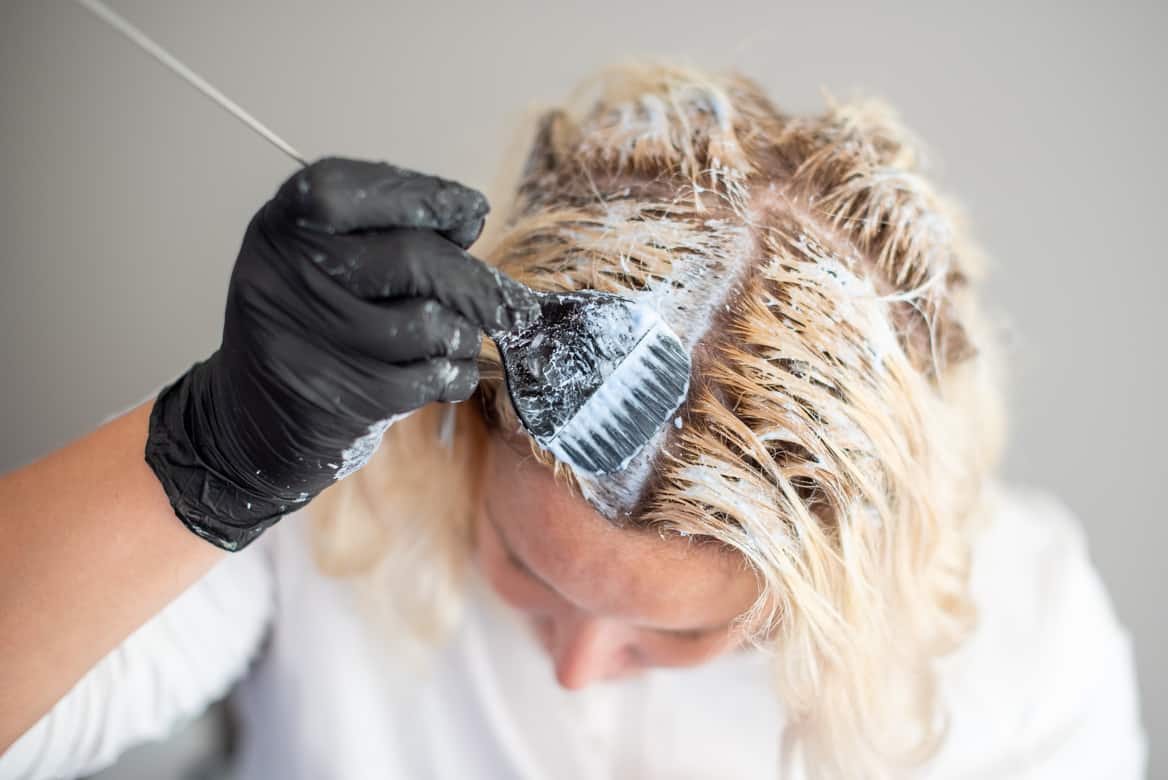
I’m keeping the bleaching portion brief here since this post is really about toning. For supplies, mixing instructions, safety tips, and the full application process, read my complete guide to bleaching your hair at home.
Step Two: Wash and Prepare Your Hair for Toner
Once my roots reached a pale yellow similar to the inside of a banana peel, I rinsed the lightener out thoroughly with warm (not hot) water and shampooed my hair.
Whether or not you should condition before toning depends on your hair and the directions for the toner you’re using.
My previously lightened ends were extremely porous, so I concentrated conditioner on them before applying toner. I had learned the hard way that skipping this step could cause those ends to absorb the toner too quickly and turn purple.
This was a personal adjustment I made for my own hair. If you’re unsure how your hair will respond, follow the directions for your toner and do a strand test first.
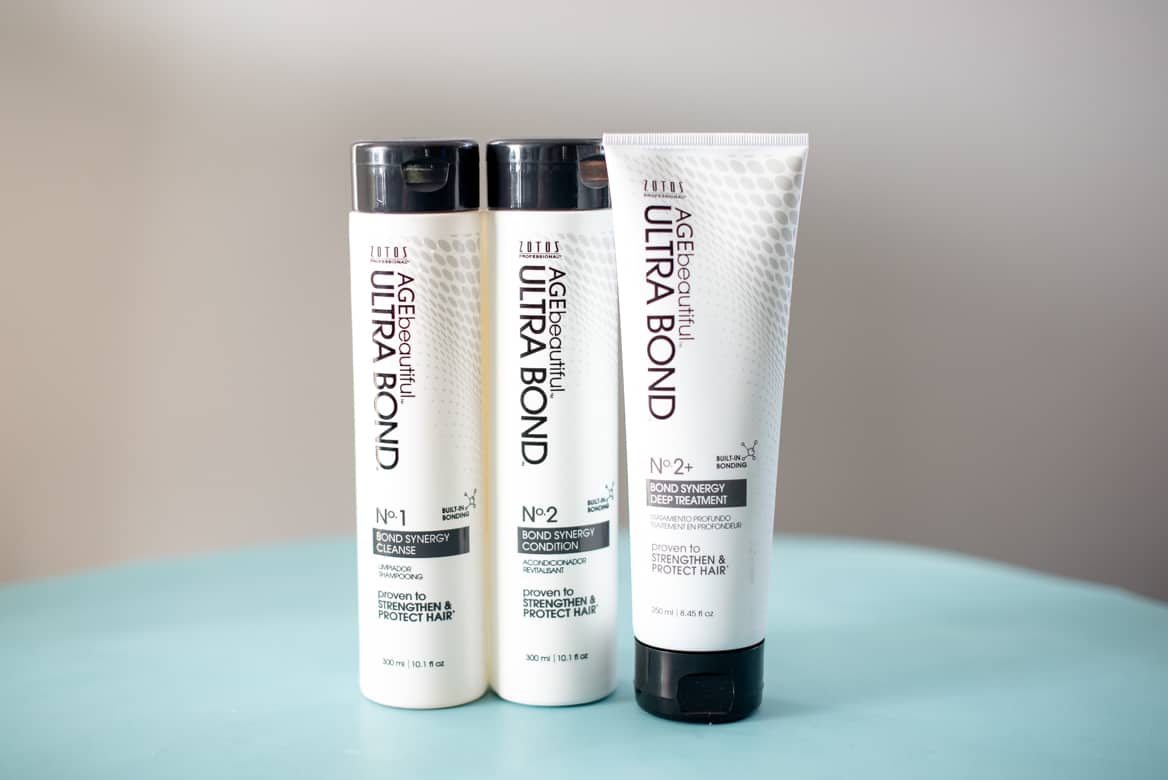
Step three: Choose the Right Toner and Developer
Before choosing a toner, take a close look at the unwanted color you actually see in your hair.
- Violet helps neutralize pale yellow tones.
- Blue-violet helps neutralize a mixture of yellow and orange.
- Blue helps neutralize stronger orange or brassy tones.
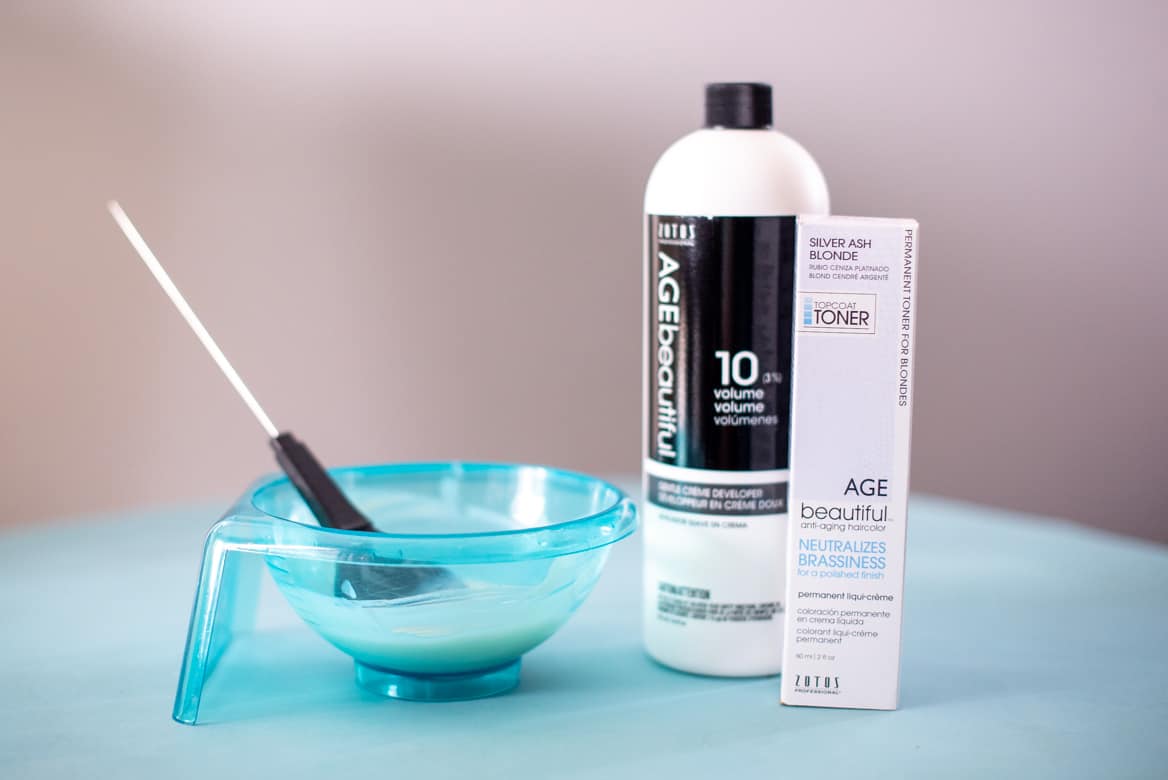
For the results shown in this post, I used AGEbeautiful Permanent Liqui-Creme Topcoat Toner in Silver Ash Blonde. It had a blue undertone, which was exactly what I needed to counteract the stronger yellow-orange brassiness around my freshly lightened roots.
Silver Ash Blonde is the only shade from this line that I personally used, so I can’t speak from experience about the results of the other shades.
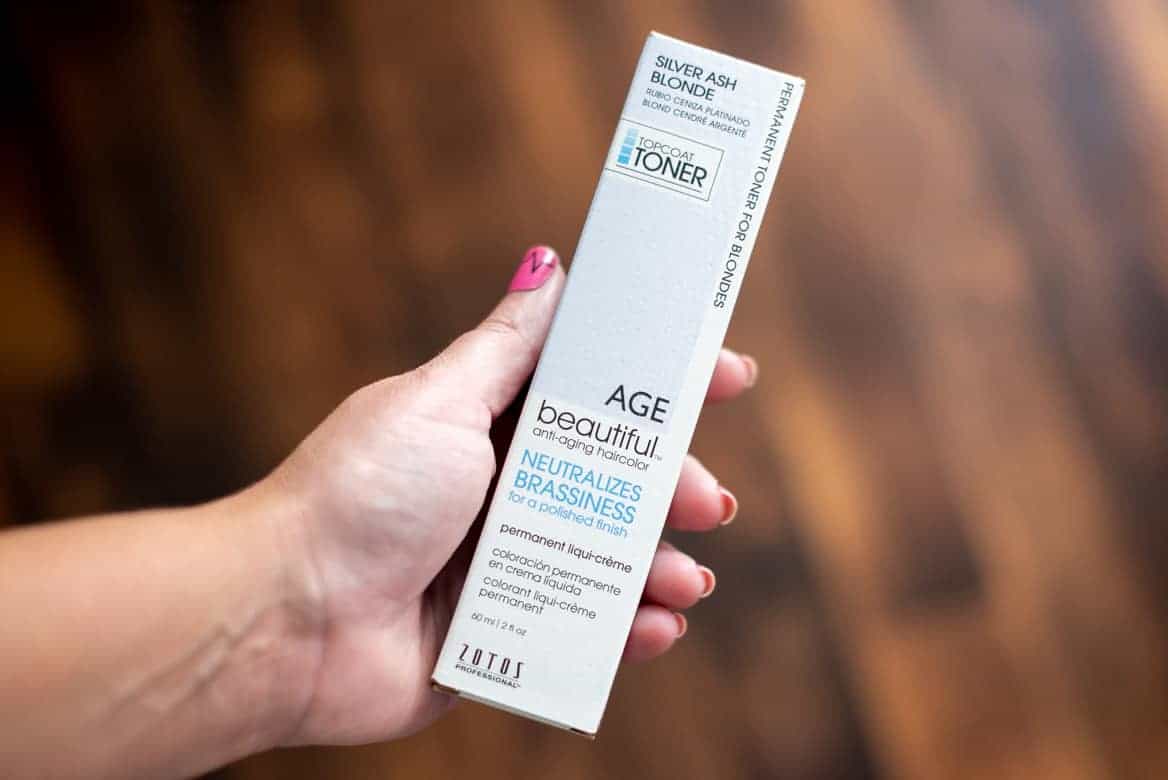
Product update: The exact Silver Ash Blonde toner I used is no longer available in the original AGEbeautiful toner line. AGEbeautiful has since changed its toner selection, so be sure to check the current shades, undertones, and directions before choosing one. I would not assume that another shade is an exact replacement just because the name sounds similar.
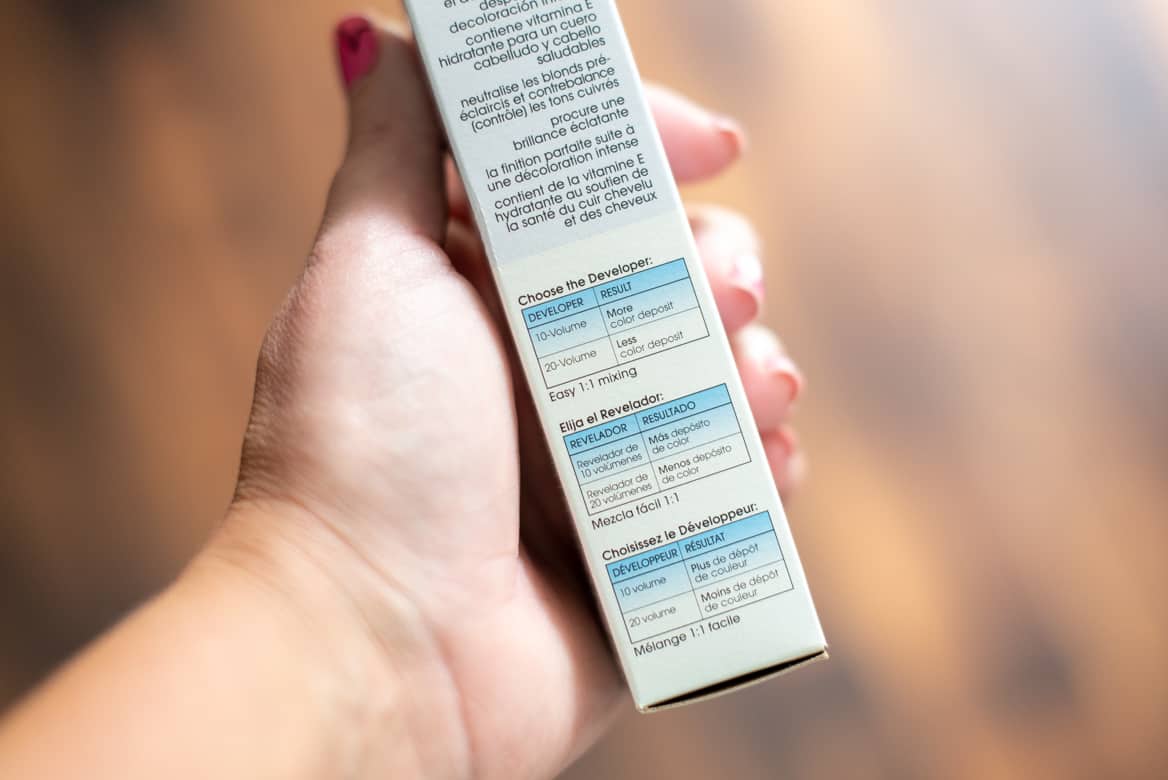
I mixed my toner with 10-volume developer. With this particular product, that gave me the amount of color deposit I needed without adding more lift.
The right developer can vary between toner formulas, so always follow the directions for the exact product you’re using.
How do you know which developer to use with the toner?
10 volume will allow the toner to deposit more color, 20 volume will deposit less.
I’ve also found that 20 volume will continue to lighten your hair slightly so be careful about applying it on the areas you don’t want to tone. Again, I’ve made this mistake before so learn from me 😀
Step Four: Mix the Toner
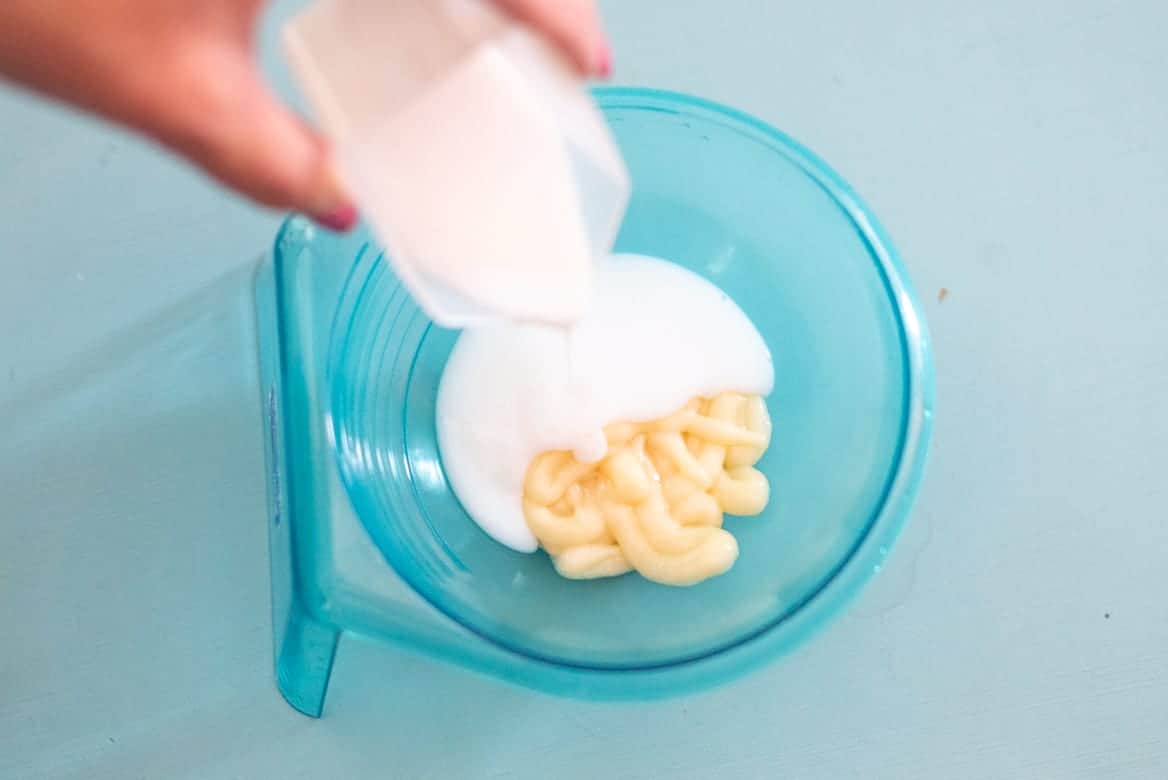
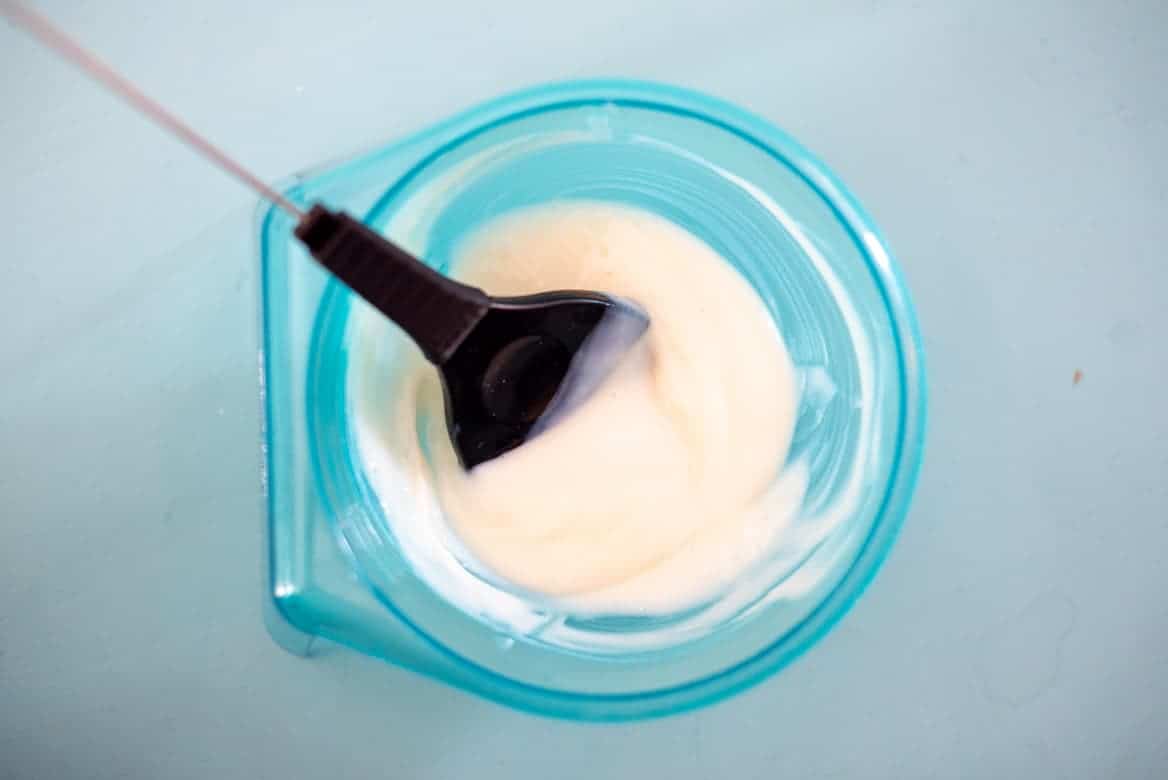
For the AGEbeautiful toner I used, I mixed 1 oz of toner with 1 oz of 10-volume creme developer.
I measured both products with a hair color measuring cup and mixed them together in a color bowl using my application brush.
This 1:1 ratio was specific to the toner I used, so check your own package directions before mixing.
I have fairly thin hair, and 2 oz of mixed product was enough for me. If your hair is thick or long, make sure you prepare enough to fully saturate every area you want to tone. Running out halfway through can lead to uneven results.
Step Five: Apply the Toner to the Brassiest Areas First
The directions on my toner said to apply it to dry hair. But through years of doing my own hair (and knowing how quickly my porous ends absorb pigment) I preferred to apply it to slightly damp, towel-dried hair.
That was a personal adjustment I made for my own hair. The manufacturer’s directions should always be your starting point, and a strand test is a good idea if you aren’t sure how quickly your hair will grab the toner.
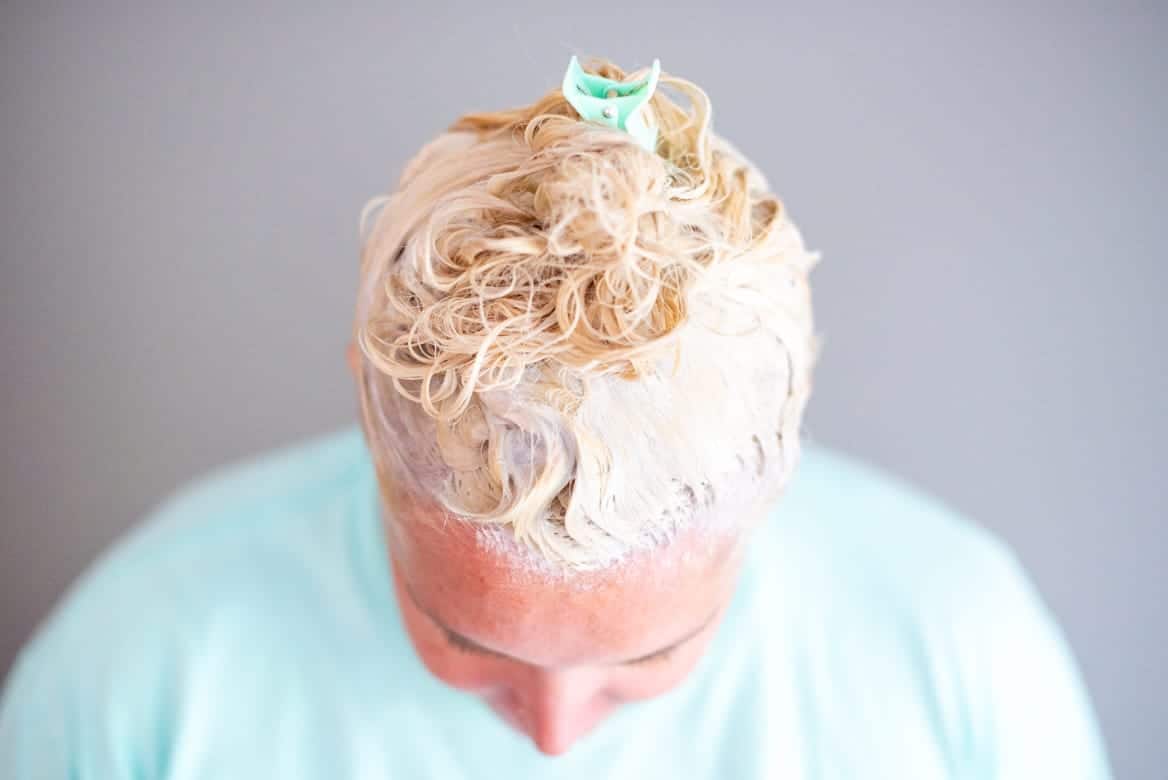
I applied the toner to Zones 1 and 2 first because those freshly lightened areas still had the strongest yellow-orange brassiness.
My previously lightened ends were much more porous and absorbed toner faster, so I waited before applying it to them.
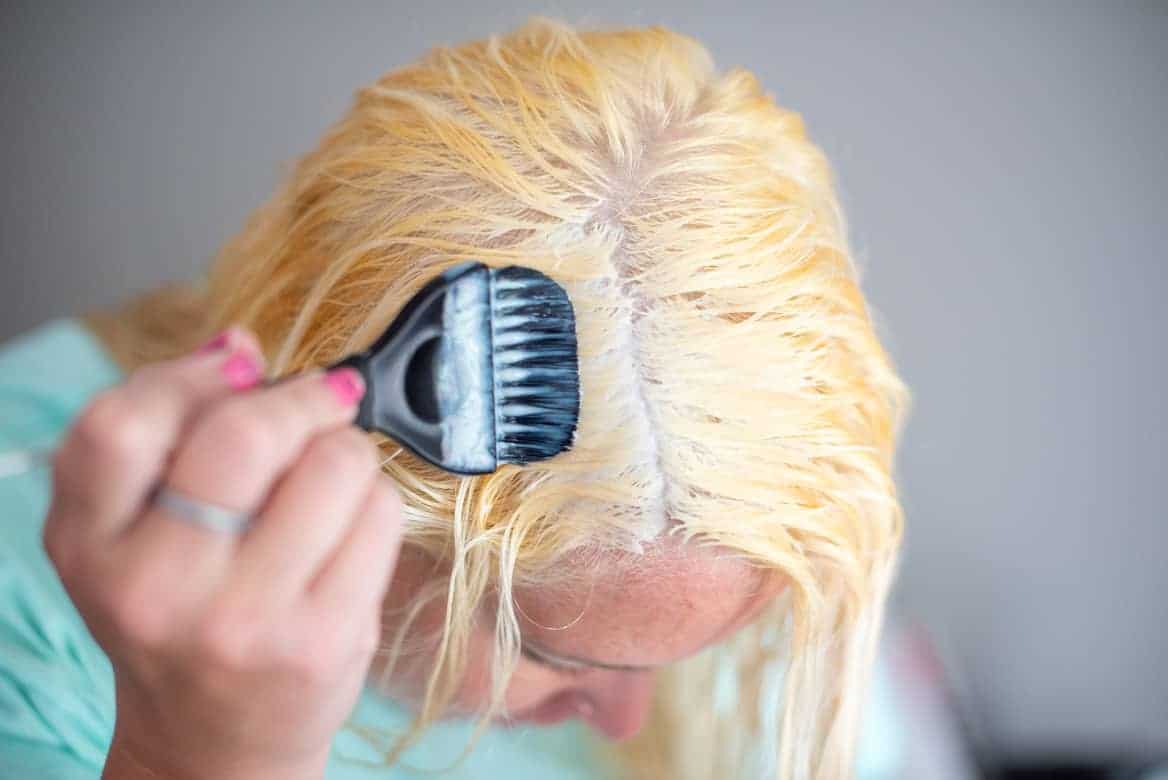
Once I saw the toner starting to correct the warmer areas around my roots, I pulled it through the ends.
Working in small sections and fully saturating the hair can help prevent patchy or uneven results.
Step Six: Check the Color Frequently
Once the toner was applied to my ends, I checked my hair about every five minutes.
I paid especially close attention to the lightest and most porous pieces because they were the most likely to turn purple or overly gray.
Toner often looks darker or more purple while it is processing, but you should still watch how your own hair is responding instead of relying only on a universal timer.
Follow the maximum processing time listed for your product, and rinse sooner if you reach the tone you want.
Step Seven: Rinse and Deep Condition
Once I was happy with the color, I rinsed the toner out thoroughly and shampooed my hair.
I followed with a deep conditioner because my hair had just been through both bleaching and toning.
Previously lightened ends may need extra moisture after the process, especially if they already feel dry or porous.
AGEbeautiful Silver Ash Blonde Before and After
Here is what my hair looked like while wet before and after using AGEbeautiful Silver Ash Blonde toner with 10-volume developer.
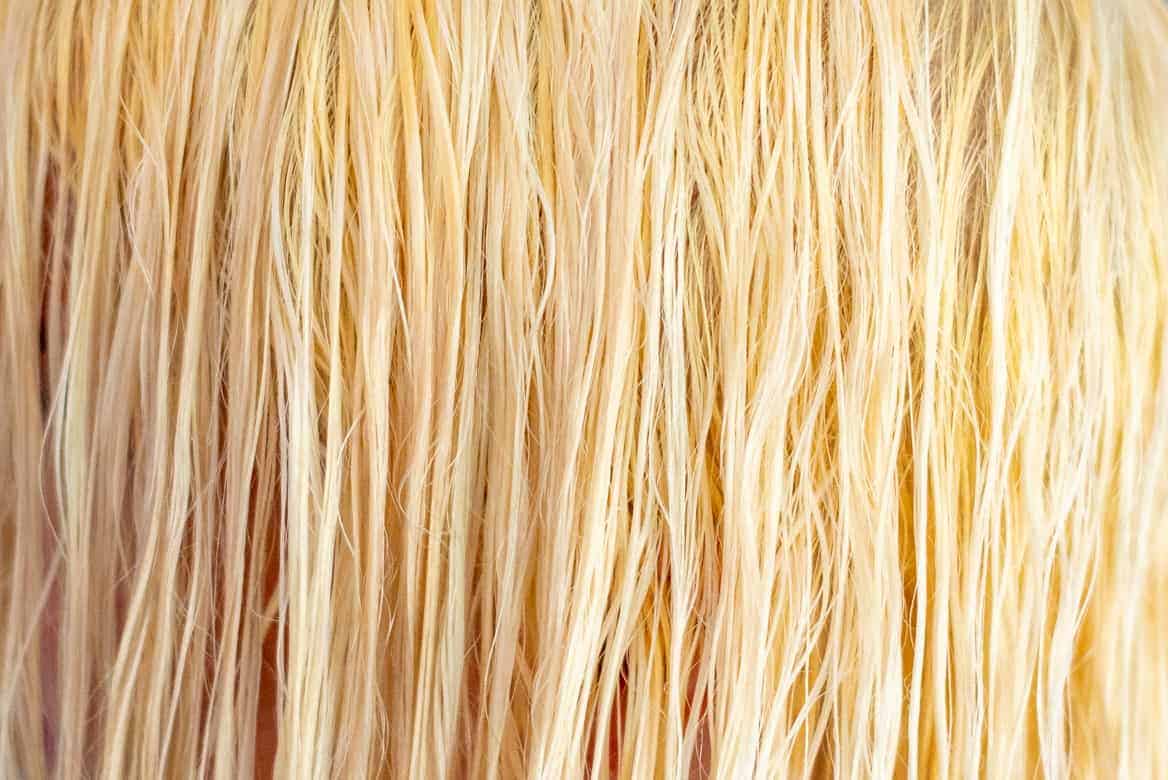
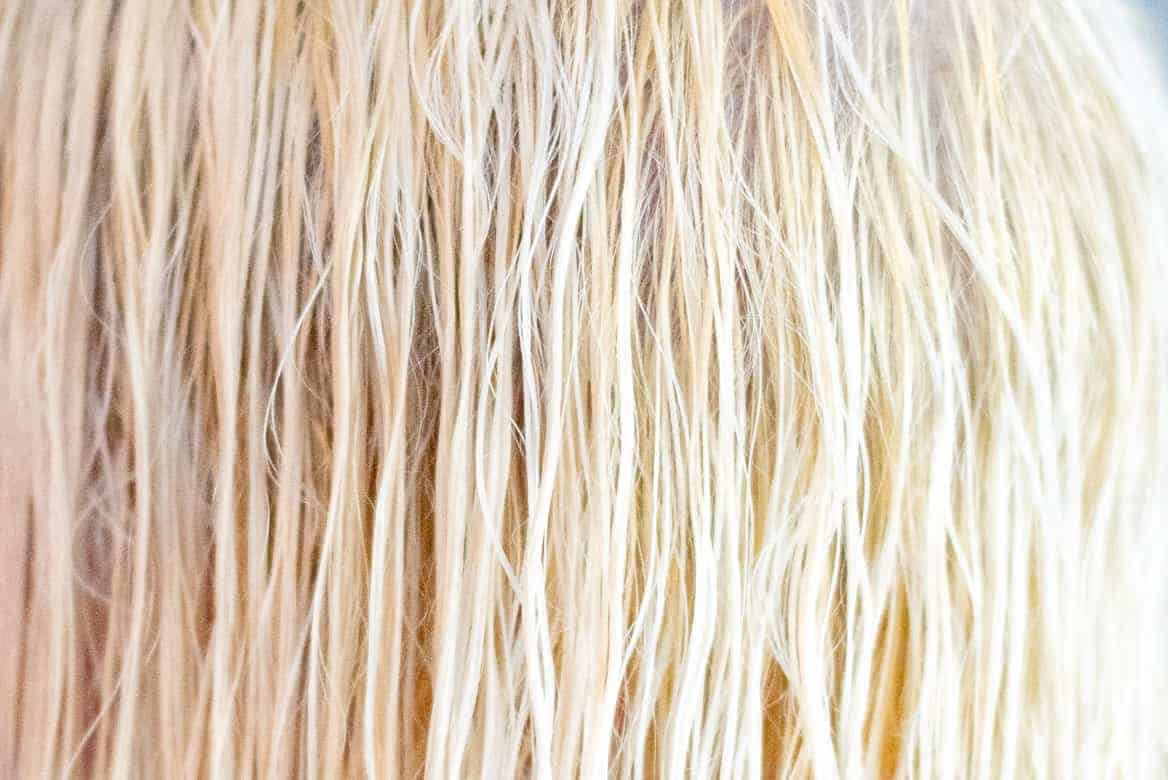
Before toning, my freshly lightened roots still had noticeable yellow-orange warmth. My previously lightened ends were paler, but they were also much more porous.
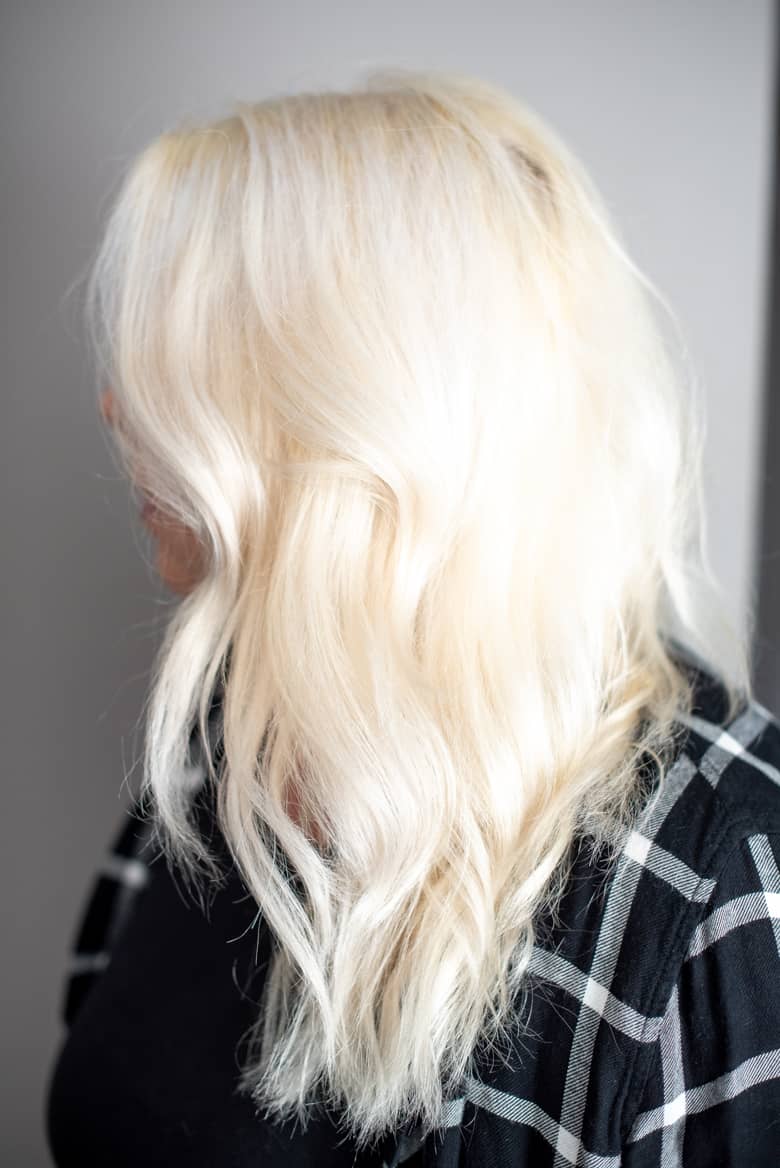
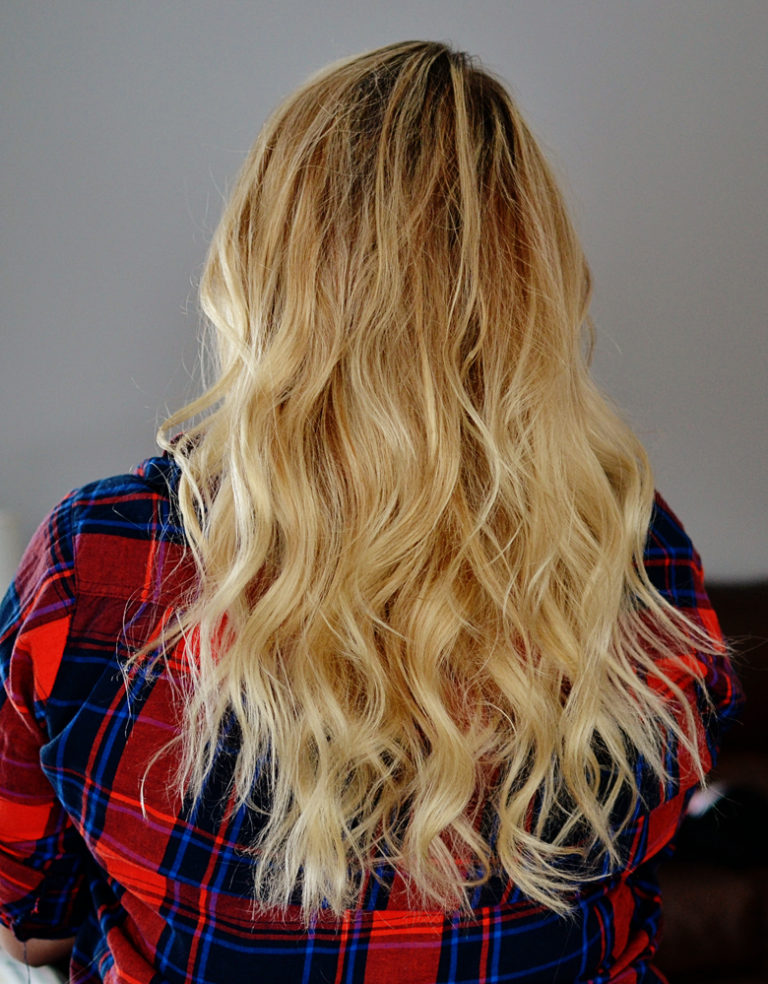
After toning, the stronger brassiness was softened and the different areas of blonde looked much more blended.
The toner did not turn my hair into an extremely silver or gray ash blonde—and that made sense based on my starting point.
My roots had started much darker and contained more warm underlying pigment than my previously lightened ends. The toner had plenty of warmth to counteract before an icy tone would have been noticeable.
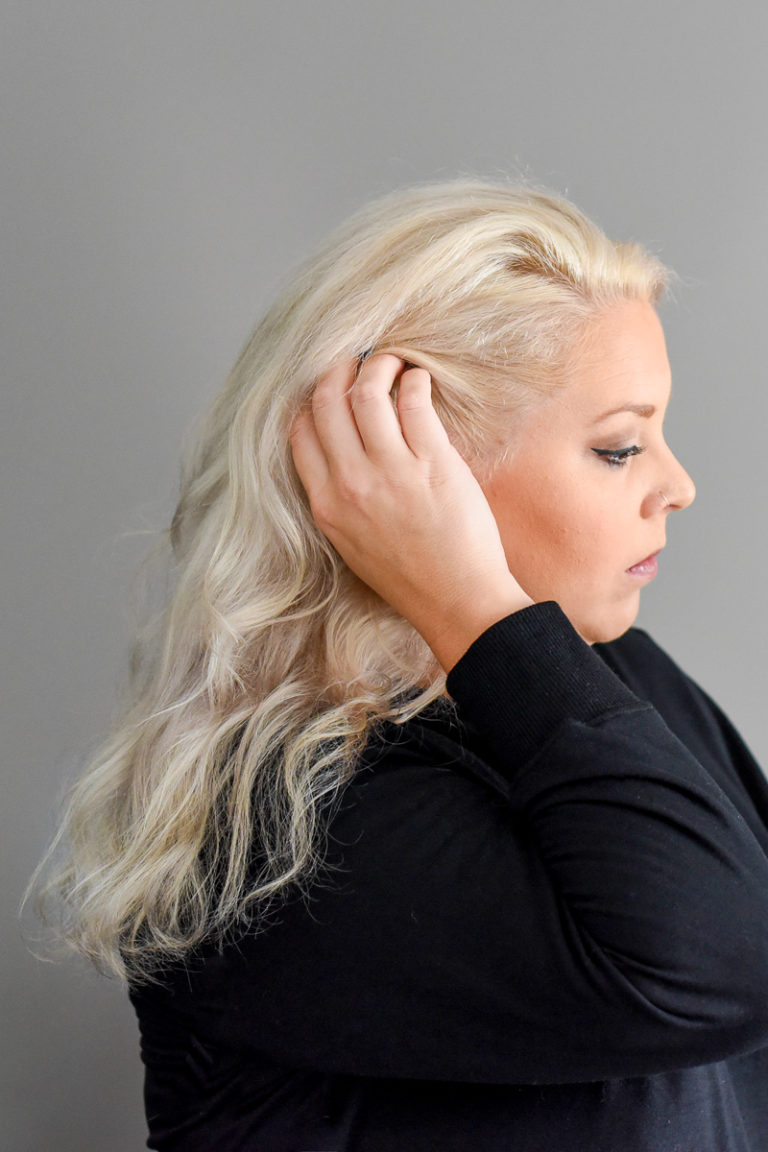
After giving myself a good solid trim (yep, I also cut my own hair when I don’t give myself the time to get in to my amazing friend and hair stylist) here are the results…
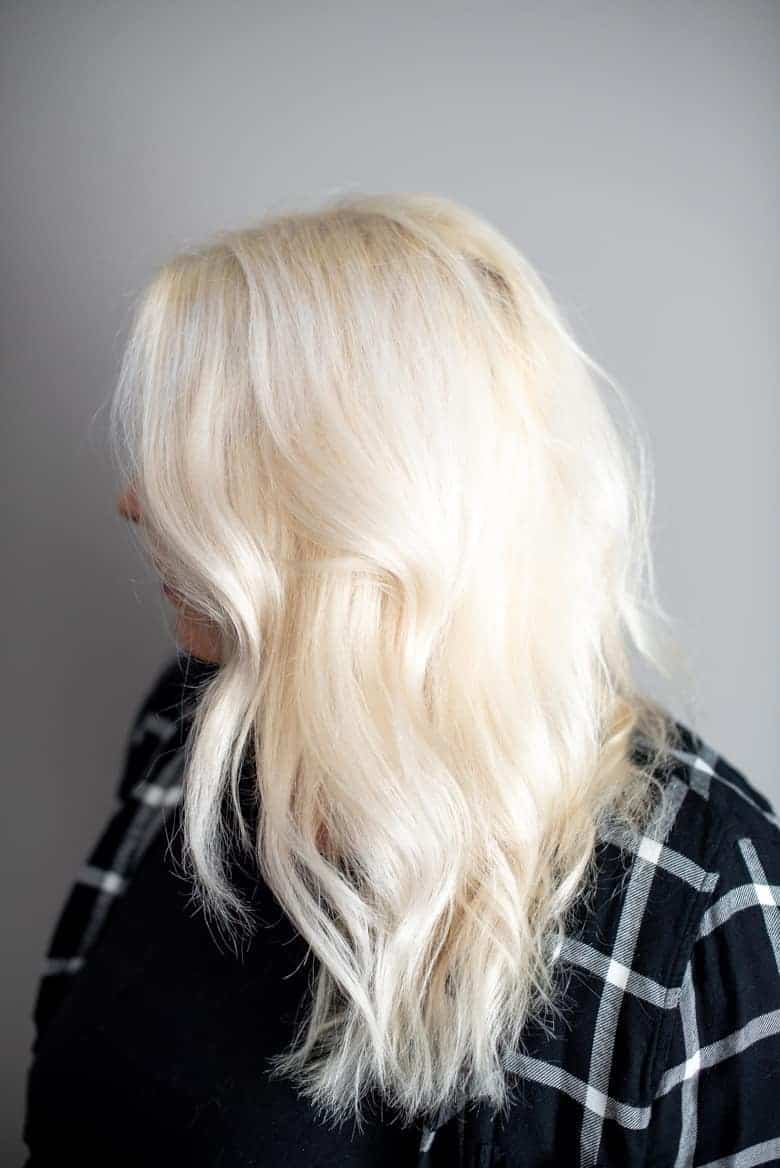
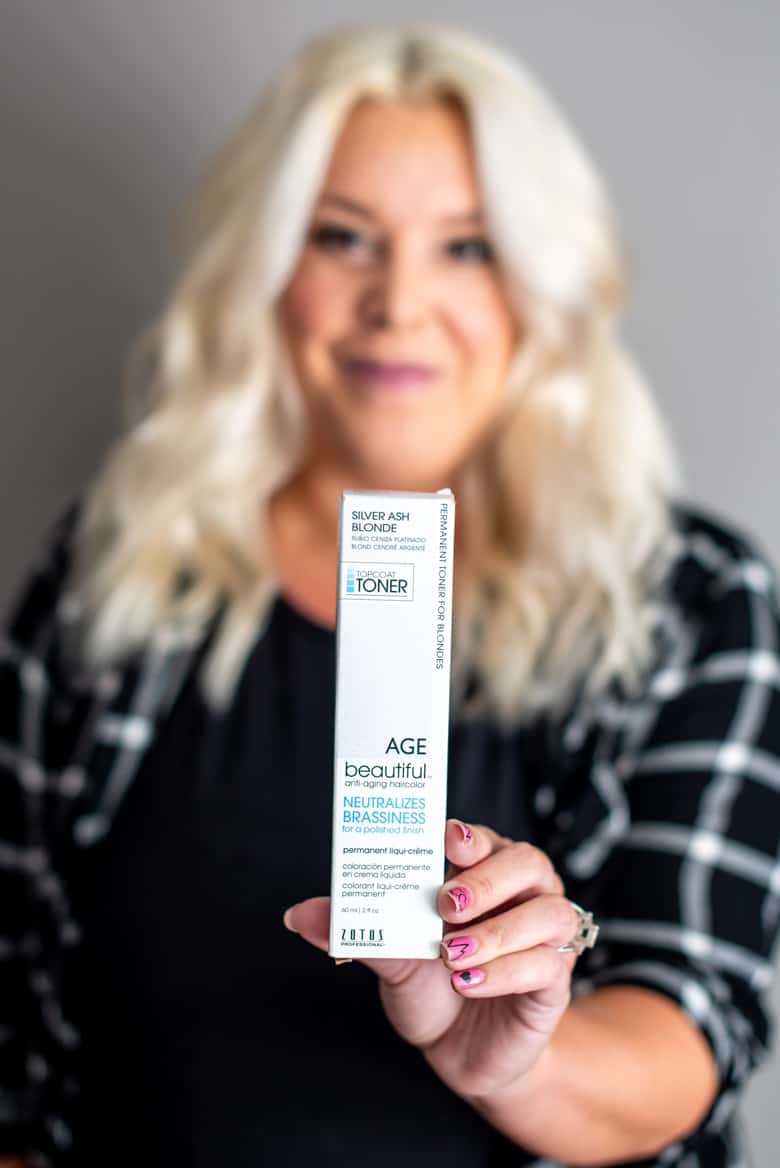
You guys, I could seriously cry. The color looked so much more even, and the harsh yellow-orange brassiness around my roots was finally under control.
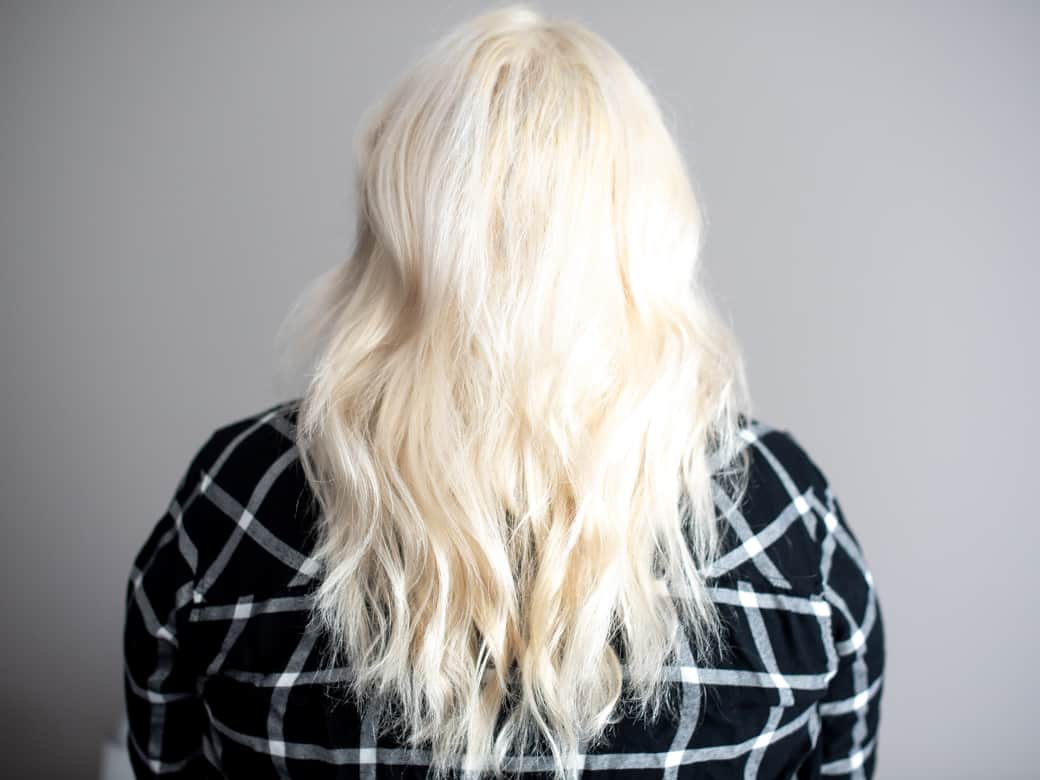
The finished color wasn’t quite as ashy as you might expect from the name of the toner, but that was because my roots had started darker and had much more warmth to neutralize.
The result reminded me of the professional toners I had used during my salon days, but it was available for me to use at home.
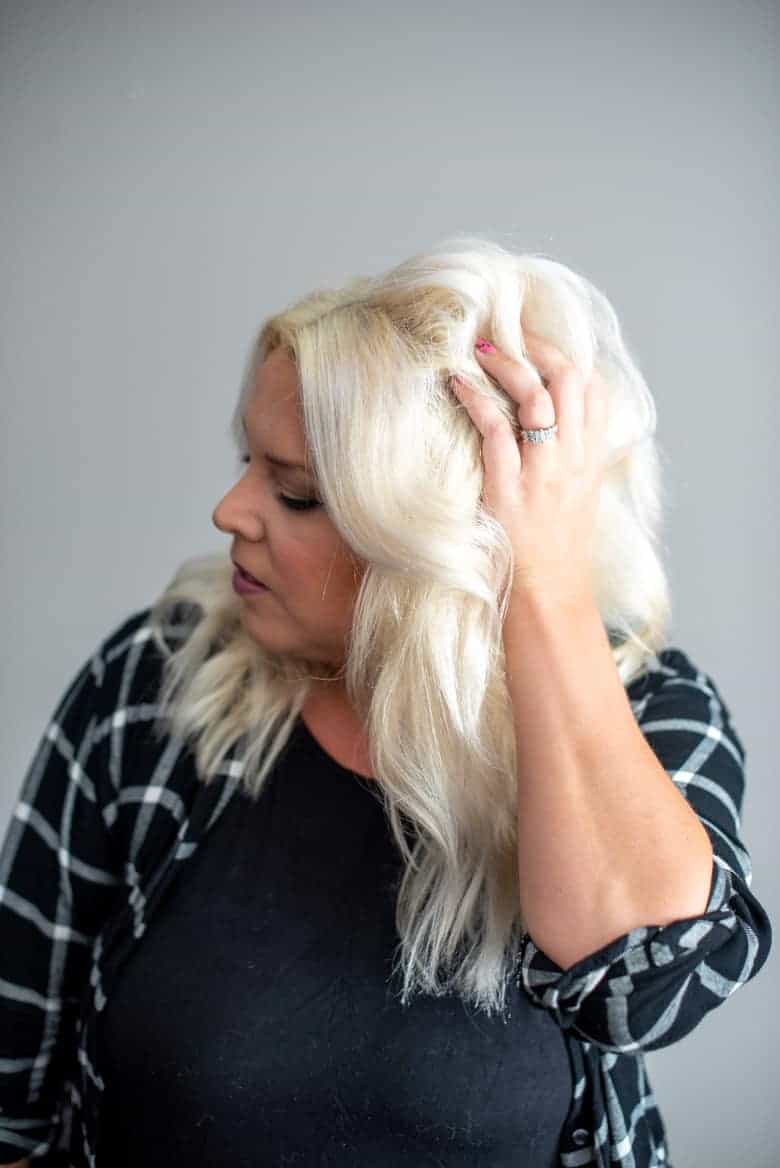
Can Ash Toner Make Dark Blonde Hair Platinum?
Not by itself.
My natural hair was around a level 6 or 7, so my roots had several levels of warm pigment to work through. The Silver Ash Blonde toner helped neutralize the yellow and orange tones left after bleaching, but it didn’t make every section of my hair equally pale or icy.
Toner changes the tone of your hair, it doesn’t make dark blonde or orange hair several levels lighter. The lighter your hair is before toning, the more noticeable an ash, silver, or violet result will usually be.
How to Avoid Turning Your Blonde Hair Purple
Very light or porous hair can absorb toner much faster than darker or healthier sections.
My previously lightened ends were extremely porous, so I applied the toner to my brassier roots first and waited before pulling it through the ends. I also checked my color every few minutes so I could rinse before the lightest pieces became too purple or gray.
And yes, I learned this the hard way!
When I accidentally over-toned my hair in the past, I used powdered vitamin C mixed with shampoo to help wash out some of the excess purple color. This can be drying, especially on bleached hair, so I always followed it with a deep conditioner.
How Long Does Blonde Toner Last?
The AGEbeautiful Silver Ash Blonde toner lasted at least a month on my hair.
Your results may vary depending on how often you wash your hair, the temperature of your water, sun and heat exposure, and how porous your hair is.
To help maintain my blonde, I used a purple or blue color-depositing shampoo and conditioner about every other week. Purple products help with yellow tones, while blue products are better suited for orange warmth.
Toner will eventually fade, but choosing the right undertone and paying close attention to porous areas can help you get a more even result, and avoid those dreaded purple ends!
Still Dealing With More Orange Than Yellow?
Your hair may need to be lightened a little more before toner can give you the result you want. Head over to my complete guide to bleaching your hair at home for the full step-by-step process.

can I use the charcoal clay powder lighter on hair that has been previously bleached? I went to Sally’s and this is what they recommended. They didn’t even mention s toner. they just said the charcoal clay powder lightener would take the brass out. please help. I live far away from a Sally’s and don’t really have time to go back for the toner.
Charcoal clay powder lighteners do have a toning effect as they lighten, so you MAY not need toner but that depends entirely on how dark you are naturally and how light you are trying to get your hair. The darker your hair, the more undertones you have to cut through and a clay lightener alone wouldn’t necessarily be able to accomplish that on it’s own but it would definitely help. If it doesn’t get you to the result you want, unfortunately you’ll have to use toner after you use the clay lightener.
Hi ,last month i went to the salon wanted highlights not much it turn out she did alot my whole hair right color but to much I want to go back to my color brown what so I do cause am not going back for retouch dont want to be blonde
I know this is an old post but thanks for it. It’s very helpful. My roots turned a lot darker then usual when I was prego and I just did have my usual box dye (I’m a darkish golden blond) my roots went orange. I tried to fix it by going the wella way – ash dye/20v and then ash toner/10v. It turned my golden blonde grey/purple and my roots a lighter orange. I’m thinking a golden blonde throughout and then a ash or pale toner by age?
So perfect & so pretty!
This is amazing!
I have been bleaching my hair for 20+ years and still learned so much reading this! Can’t wait to put these ideas to use!
YES! I have been wanting to go back blonde and always pull brassy, can never find anything that works well enough. I definitely am going to try this!
I pull SO brassy too. Let me know if you have any other questions once you get the chance to try it!
I had no idea there were levels of hair color. Very informational for me!
Hair color seems like it should be so easy, but there really is a science to it! 🙂
Oh cool, I love how your hair turned out. You look fabulous!
Thanks so much, Amber!
I love this color! I have a natural dark brown/black hair but always wanted to bleach my ends, so I’ll keep these products in mind!
This would be perfect to do an ombre on your ends! Please let me know if you have any questions about achieving that.
That’s so impressive! I’m currently using the TIGI one on my bleached ends but I’ll get this next
Let me know what you think of it!
This is awesome information!