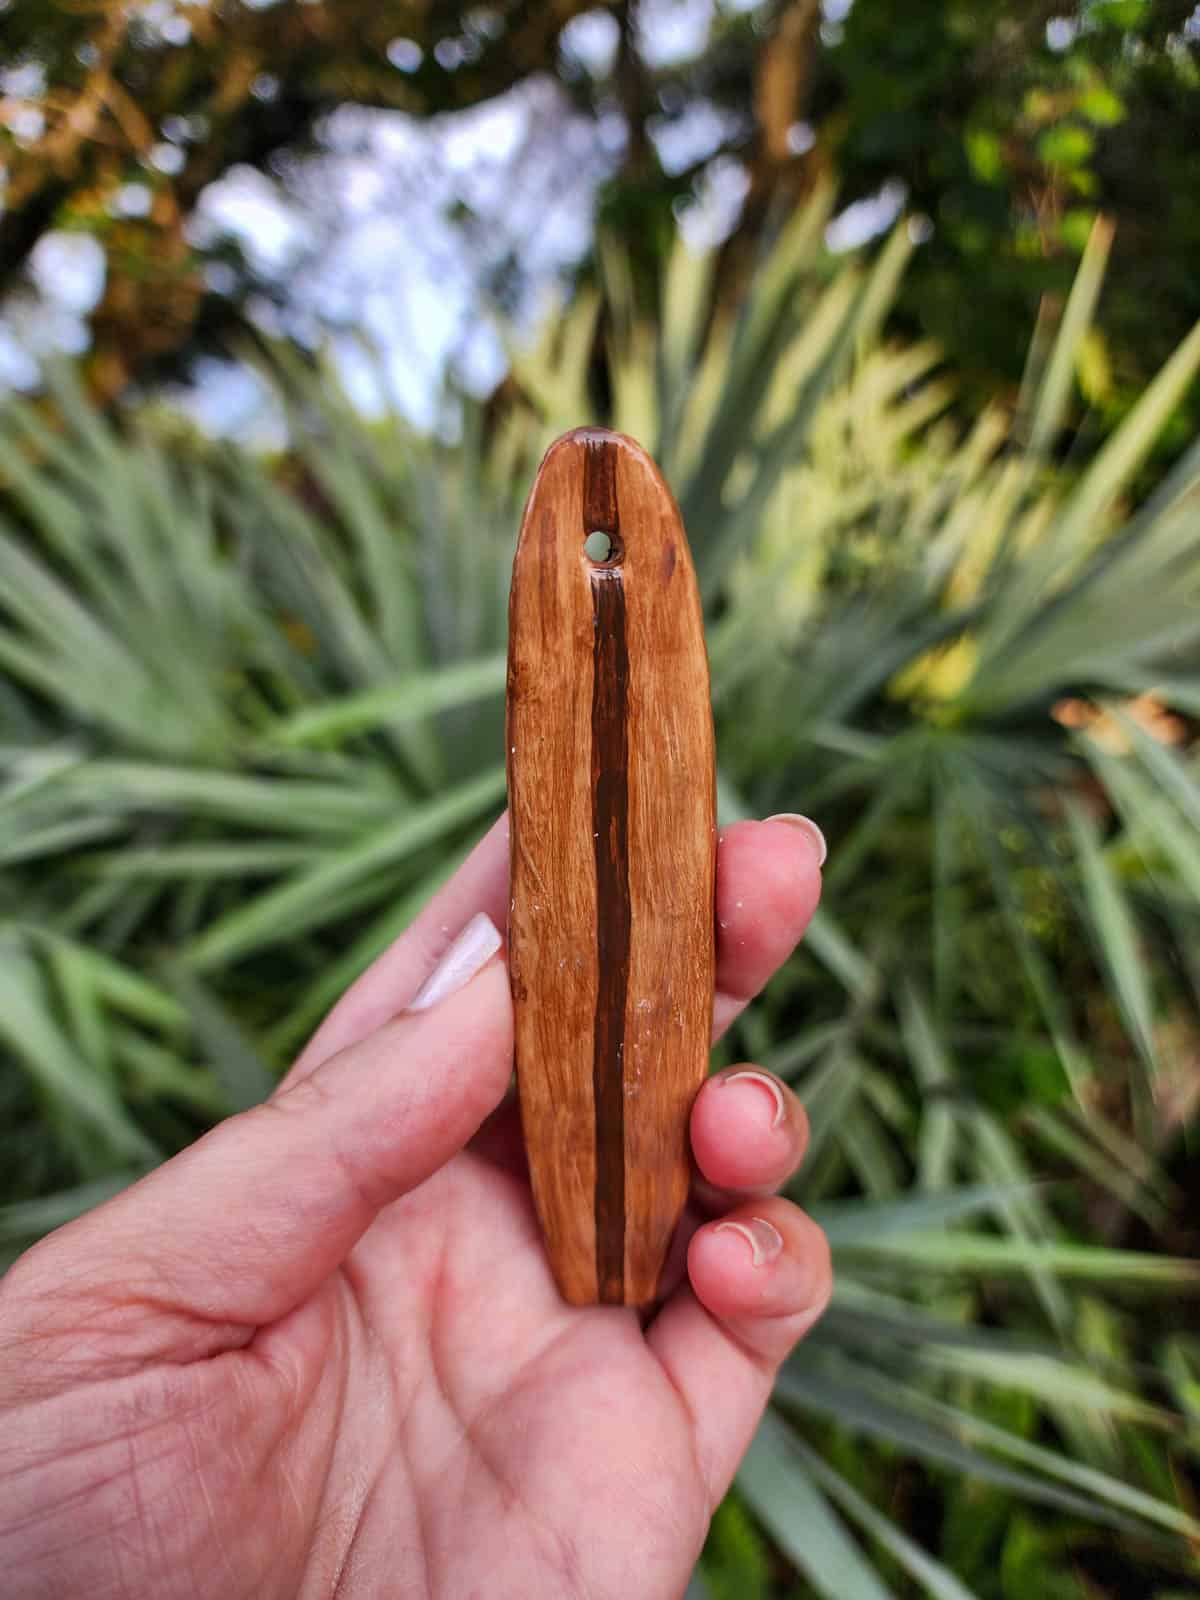
Make these cute air dry clay surfboards for an easy summer craft inspired by vintage beach souvenirs! Paint them with retro colors and turn them into keychains, ornaments, gift tags, bag charms, or mini coastal decor.
One of my most prized souvenirs came from the first trip where I ever saw the ocean at the age of 16. It was a mini surfboard keychain from the Quiet Flight store at Universal CityWalk Orlando, and I put that thing on my backpack like a badge of honor.
A little over 20 years later and A. I’m still obsessed with the beach, and B. I’m still obsessed with cute miniature versions of things that remind me of the places I love.
We were on our fourth annual girls’ trip recently that I take with my mom and Bean, and we usually find a little craft to do while we’re chillin’ at the condo at night. One year it was resin seashells, another year it was making beaded curtain pullbacks when we were redecorating, and this year it was DIY air dry clay surfboards (amongst other things that I’ll be sharing!)
These are not just cute, they’re versatile! I plan on turning mine into car air fresheners, keychains, and ornaments, but they would also be adorable as gift tags, bag charms, vacation keepsakes, or tiny handmade beach souvenirs.
Why You’ll Love This Air Dry Clay Surfboard Craft:
Tips for Working with Air Dry Clay Before You Begin
- Keep unused clay covered so it doesn’t dry out.
- Roll the clay evenly.
- Don’t make the surfboards too thin. Learn from my mistake, thicker is better!
- Smooth edges with water before drying. The more smoothing you do when it’s still workable, the better.
- Let them dry completely before painting.
- Sand very gently.
- Seal finished pieces if they’ll be handled often.
- Avoid getting them wet after they’re finished.
Mini Clay Surfboard Supplies & Tools Needed
Ready to make air dry clay surfboards? This post contains some affiliate links for your convenience! Read my full disclosure policy.
Materials you’ll need
Tools you’ll need

How to Make Air Dry Clay Surfboards Step by Step
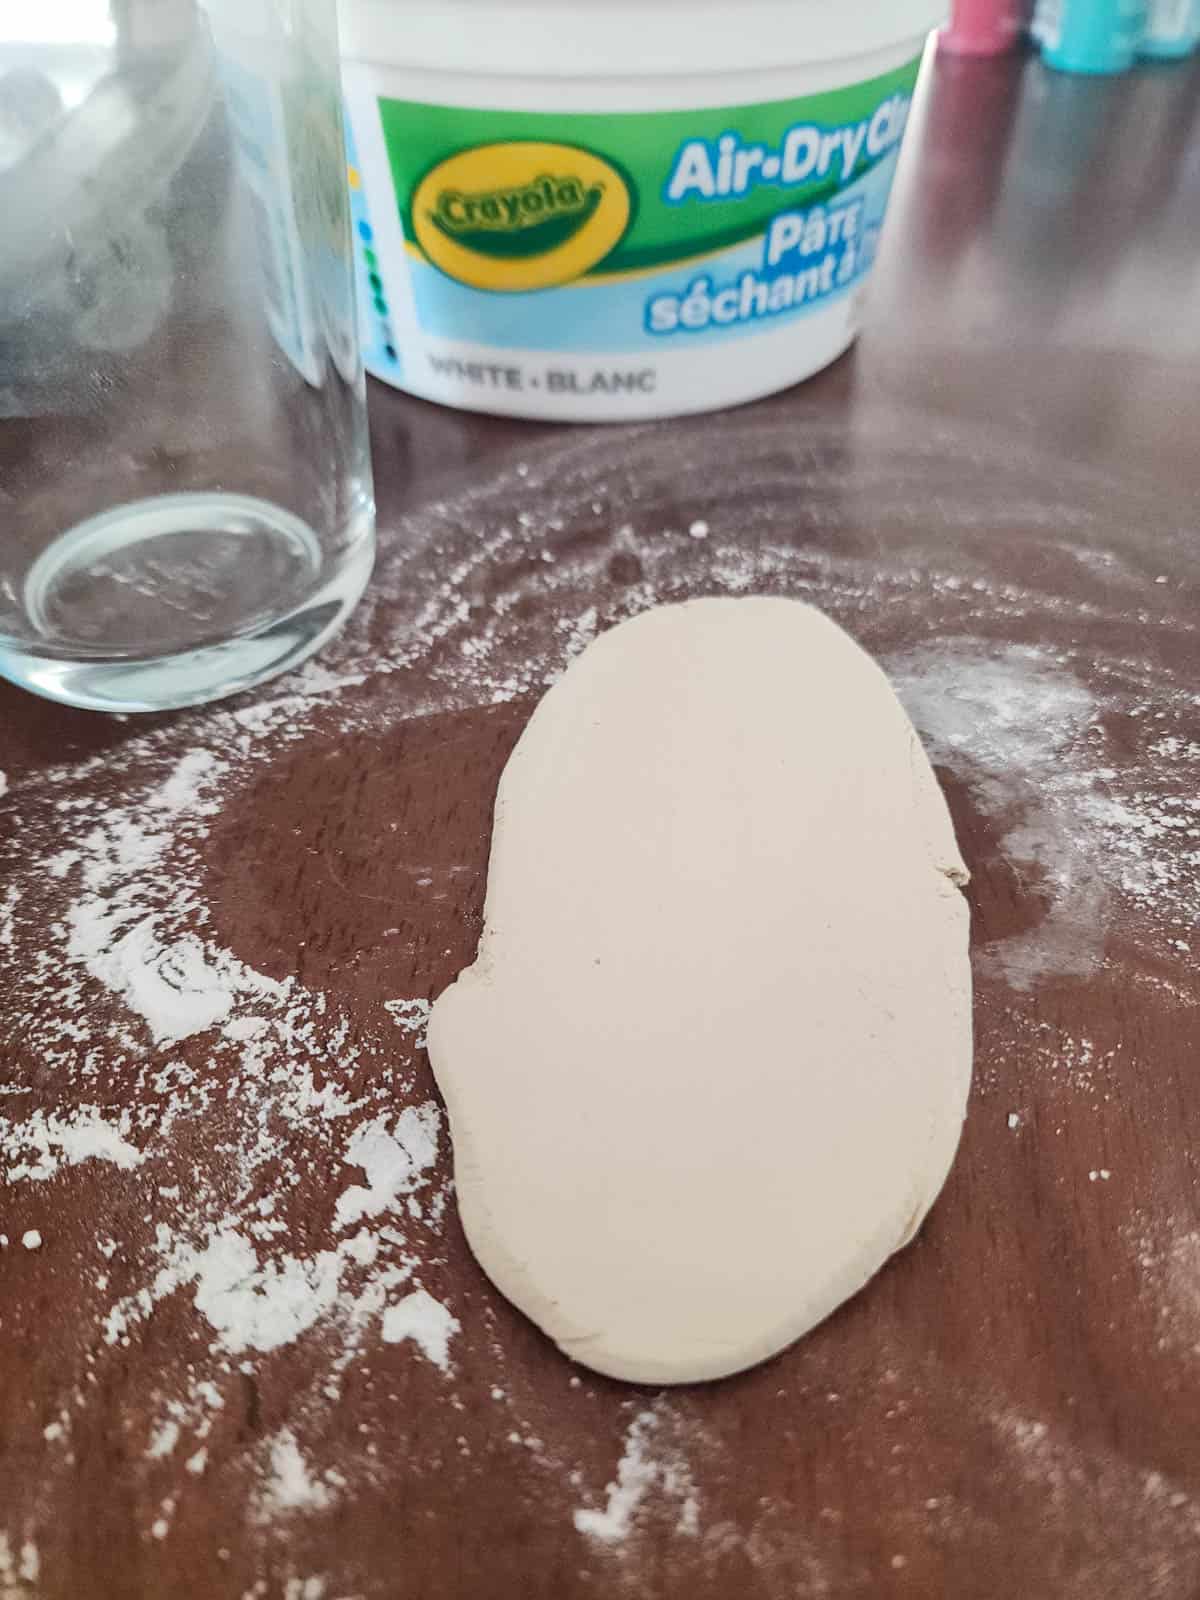
Step 1: Roll Out the Air Dry Clay
To prevent sticking, work on either parchment paper, wax paper, or in my case a sprinkle of baking soda. It’s what we had in the condo!
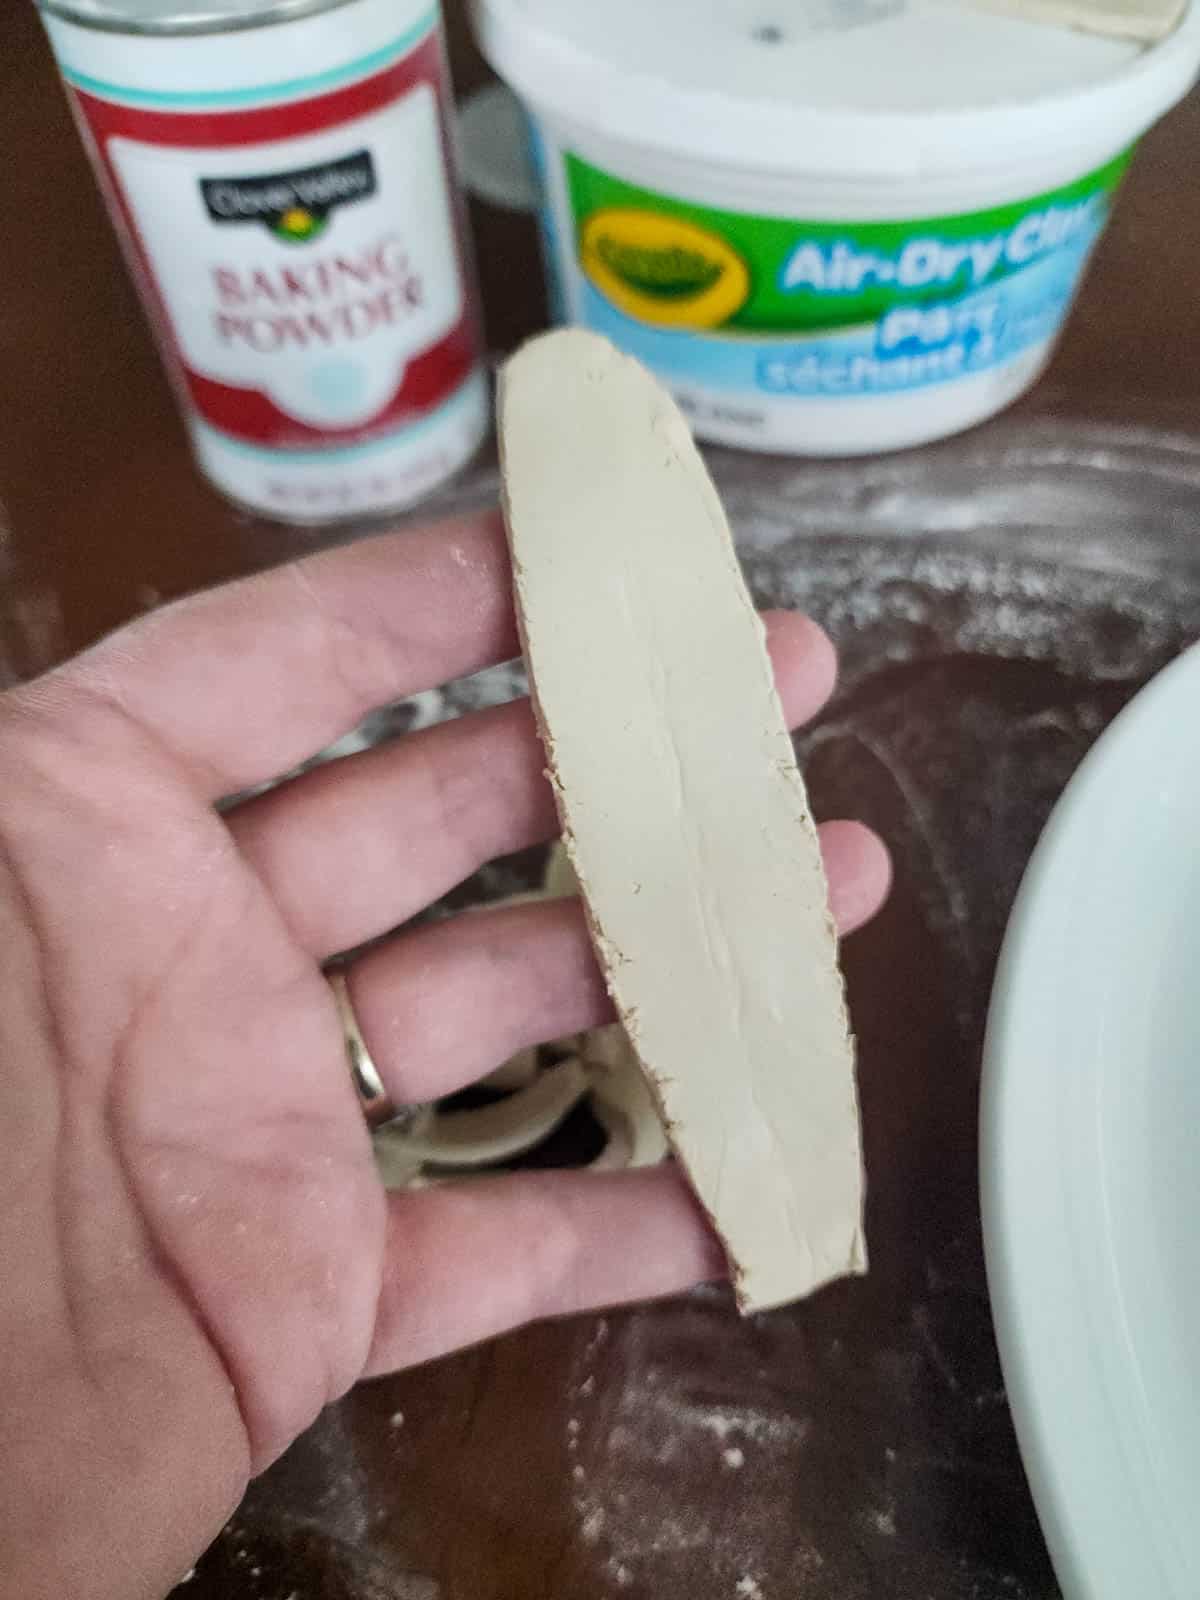
Using a rolling pin or, in my case, a glass without any ridges, roll out your air dry clay to about 1/4″ thick.
The first time I did this, I rolled it out WAY too thin. Learn from my mistake. Thicker is better, especially if you’re a beginner.

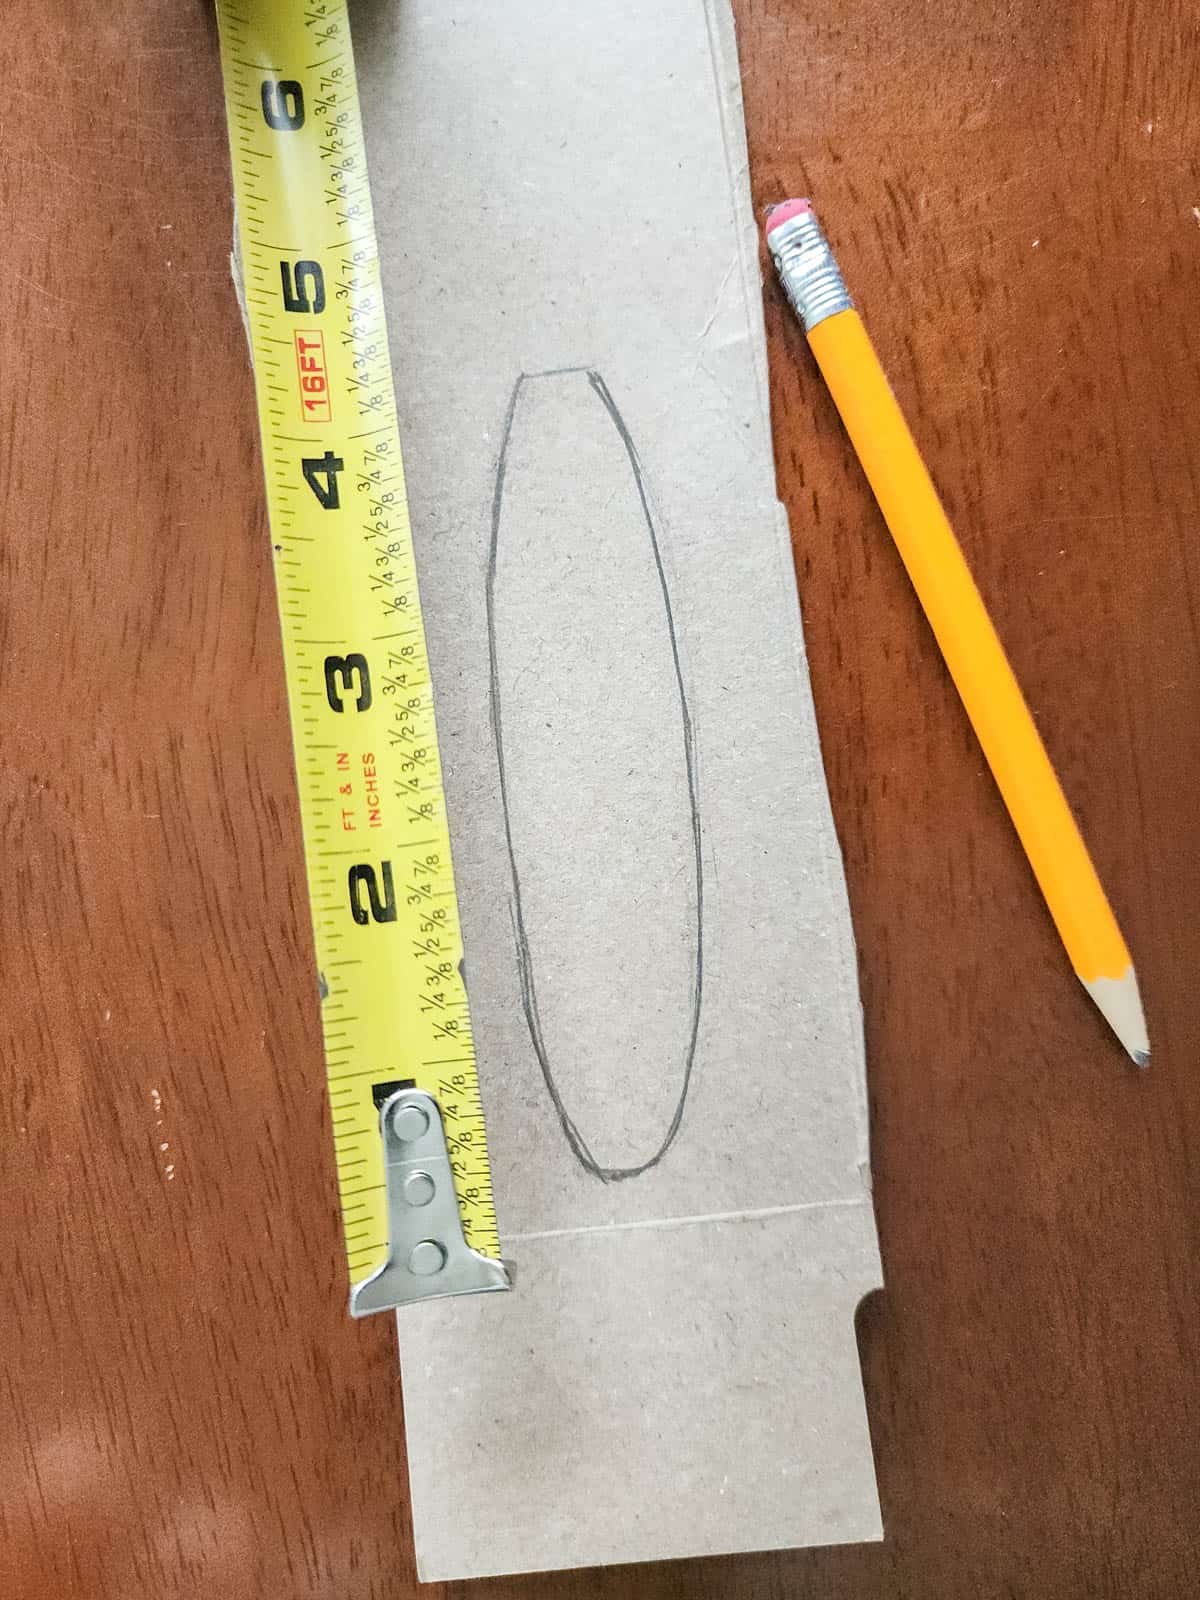
Step 2: Cut Out and Smooth the Surfboard Shapes
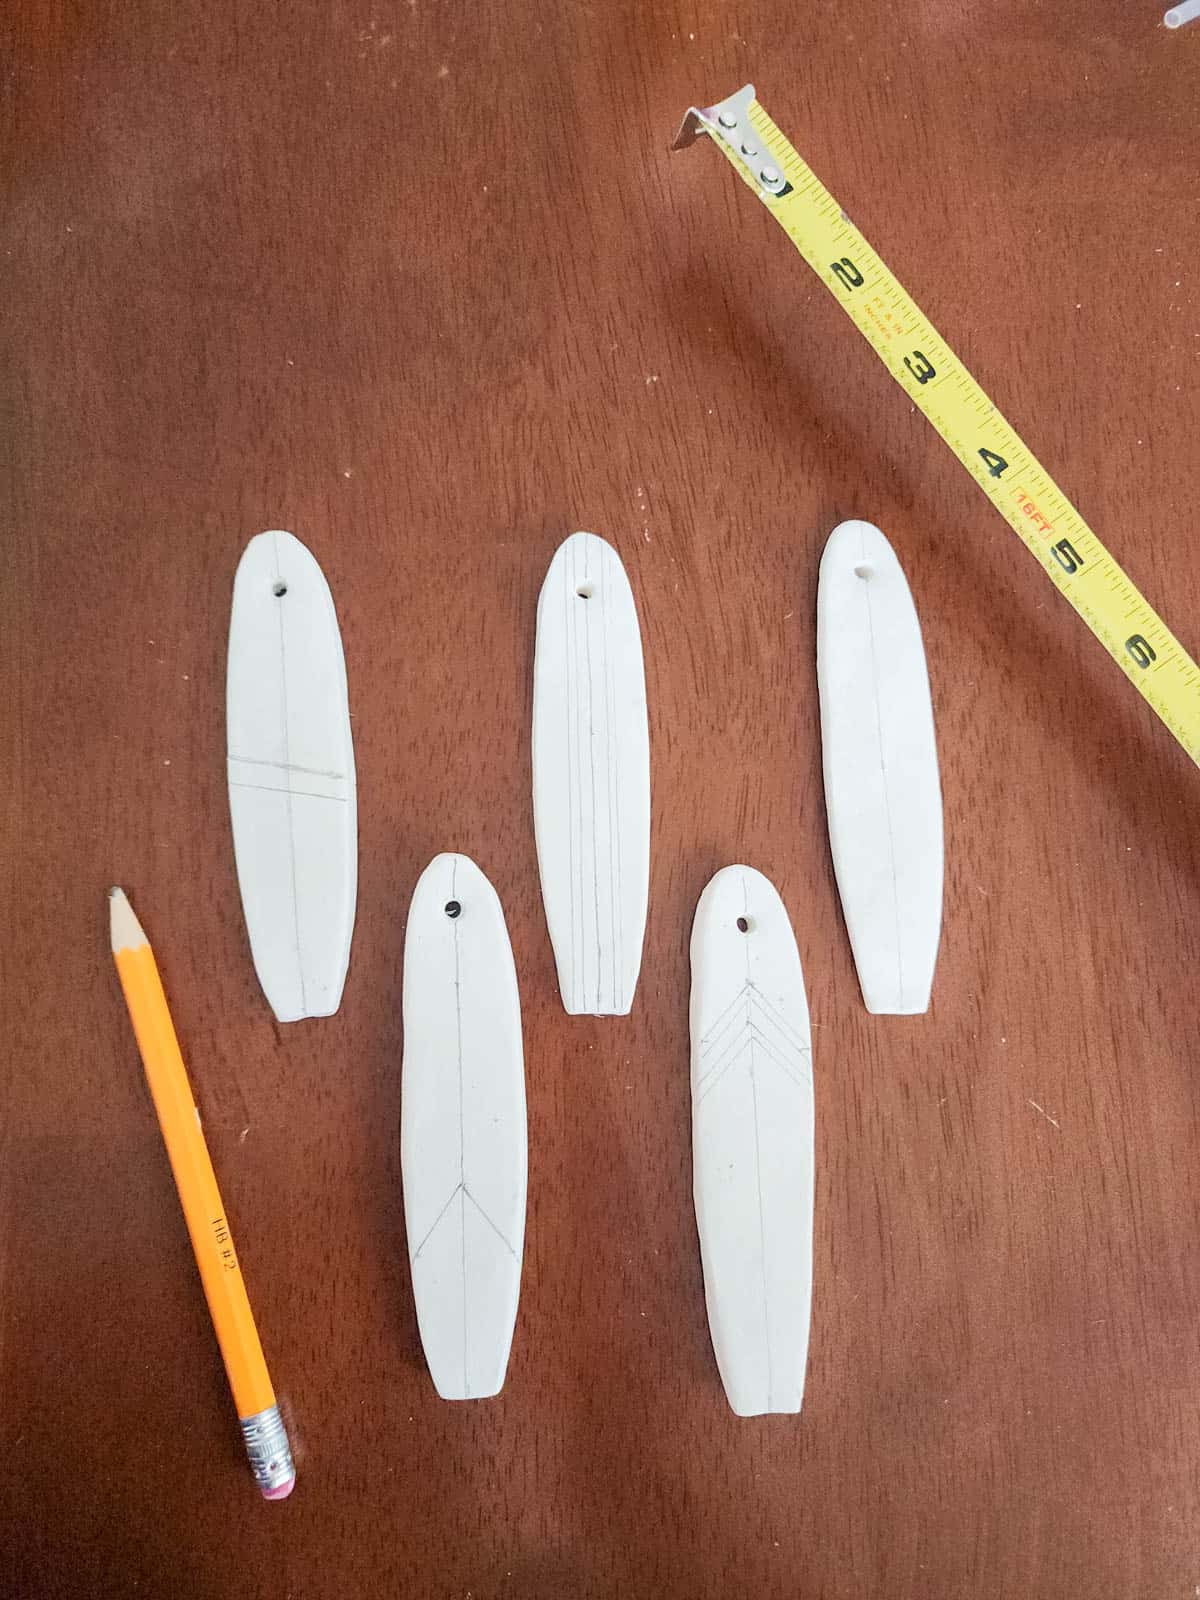
I drew a template for my surfboard design on a piece of a cereal box. My design ended up being approximately 4″ tall. There are a lot of different styles of surfboards, but I liked the look of this shape best!
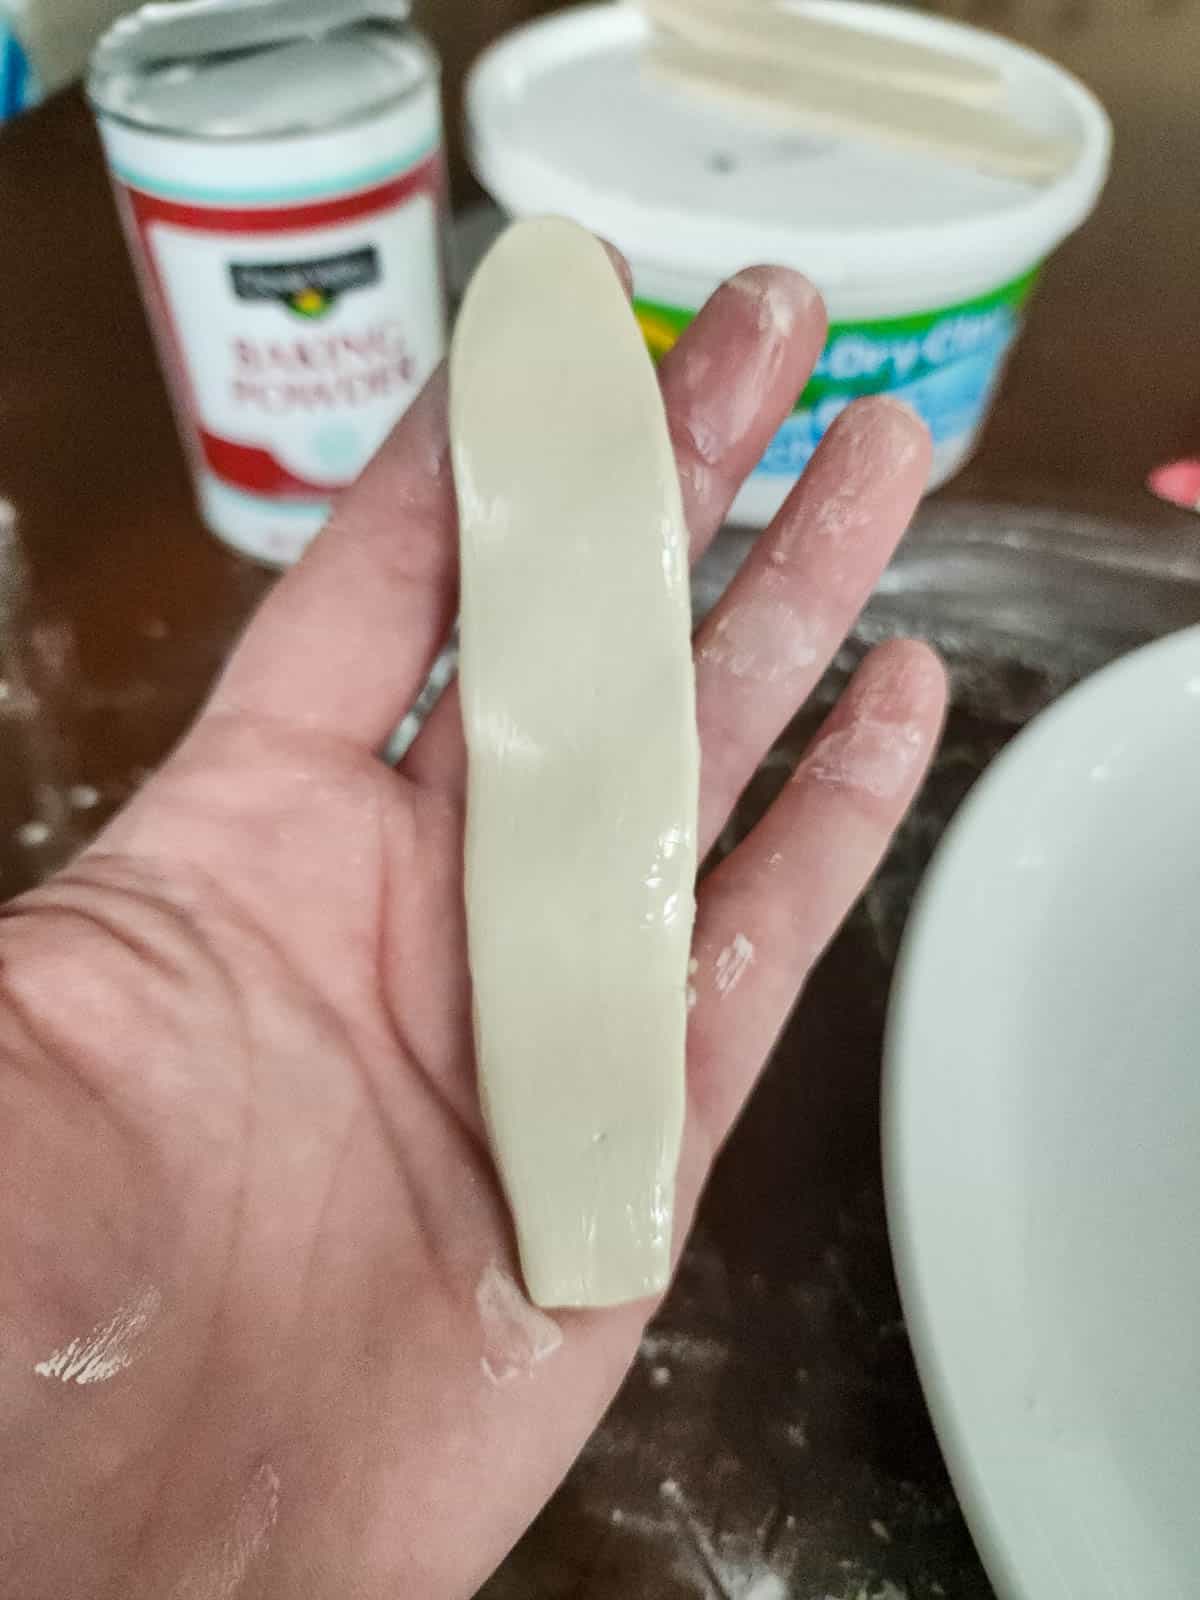
Lay the template out on the clay and using a butter knife (or actual clay knife if you’re lucky enough to have tools at home) cut out the design.
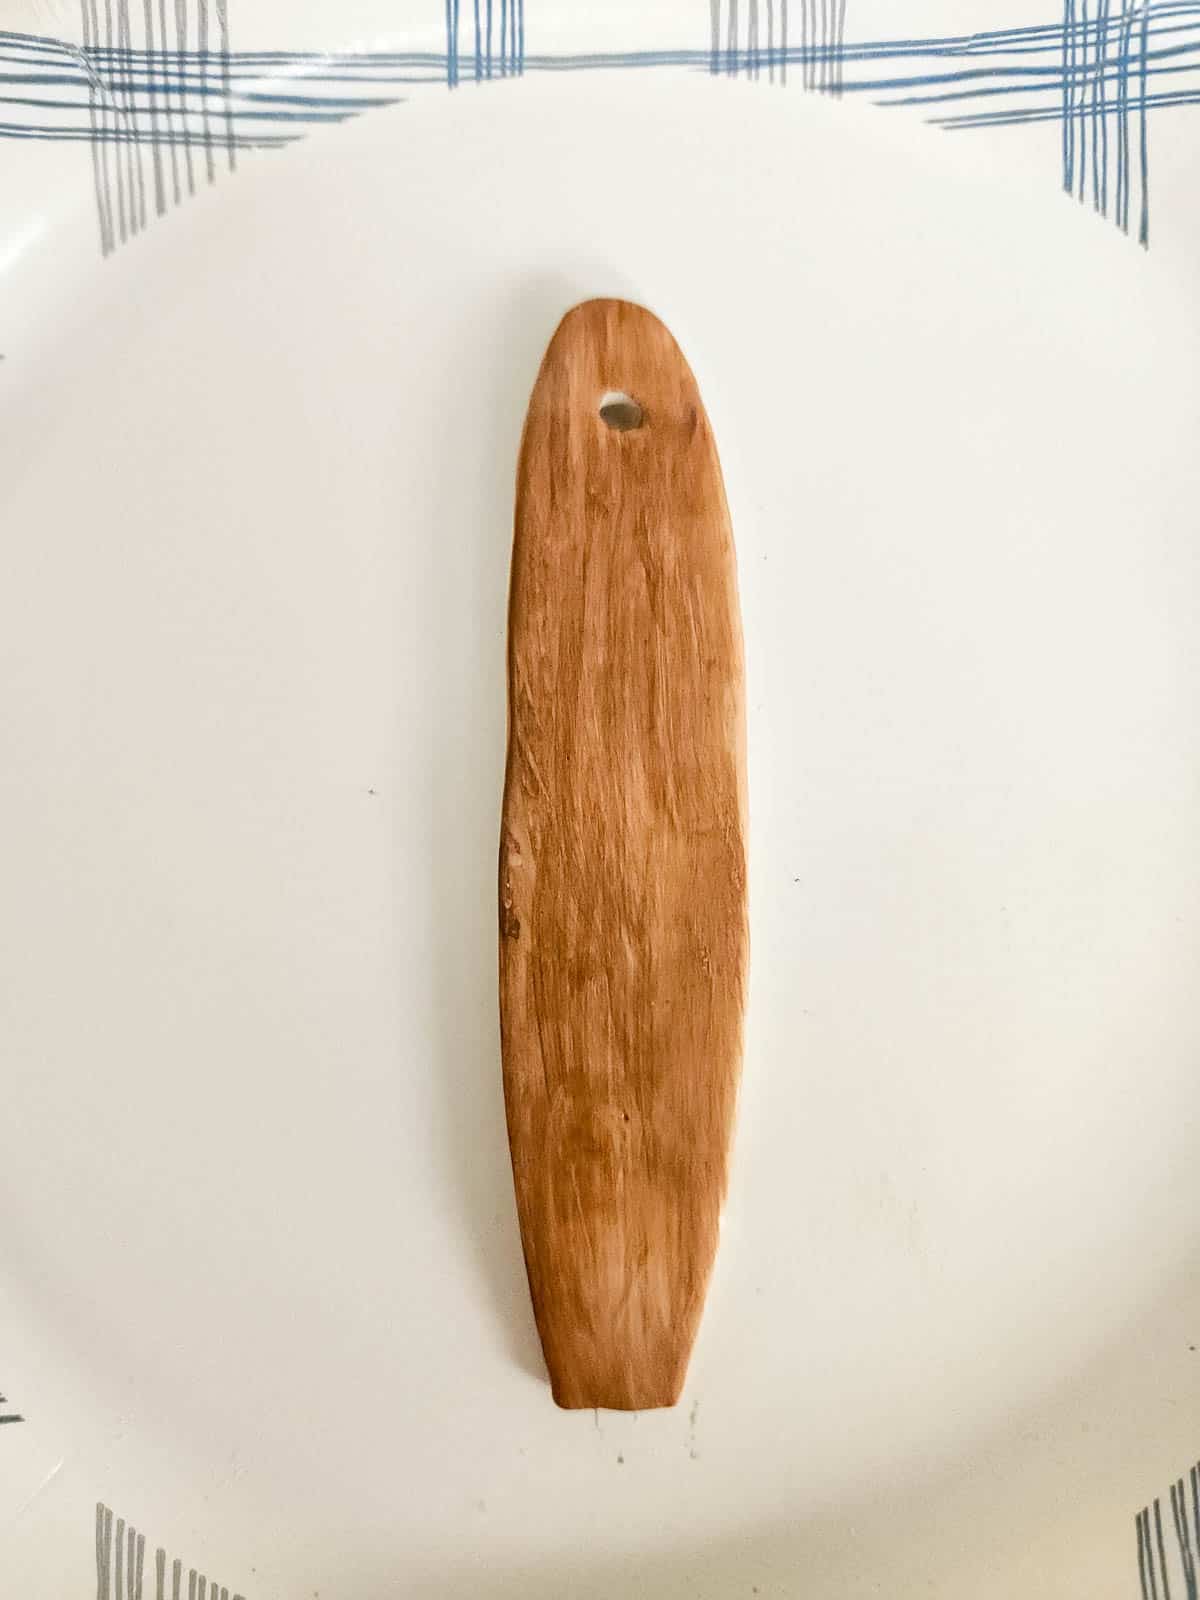
Once the shape is cut out, use a small amount of water and with your finger, smooth out any rough edges or bumps on the surface.
Step 3: Add a Hole for Hanging
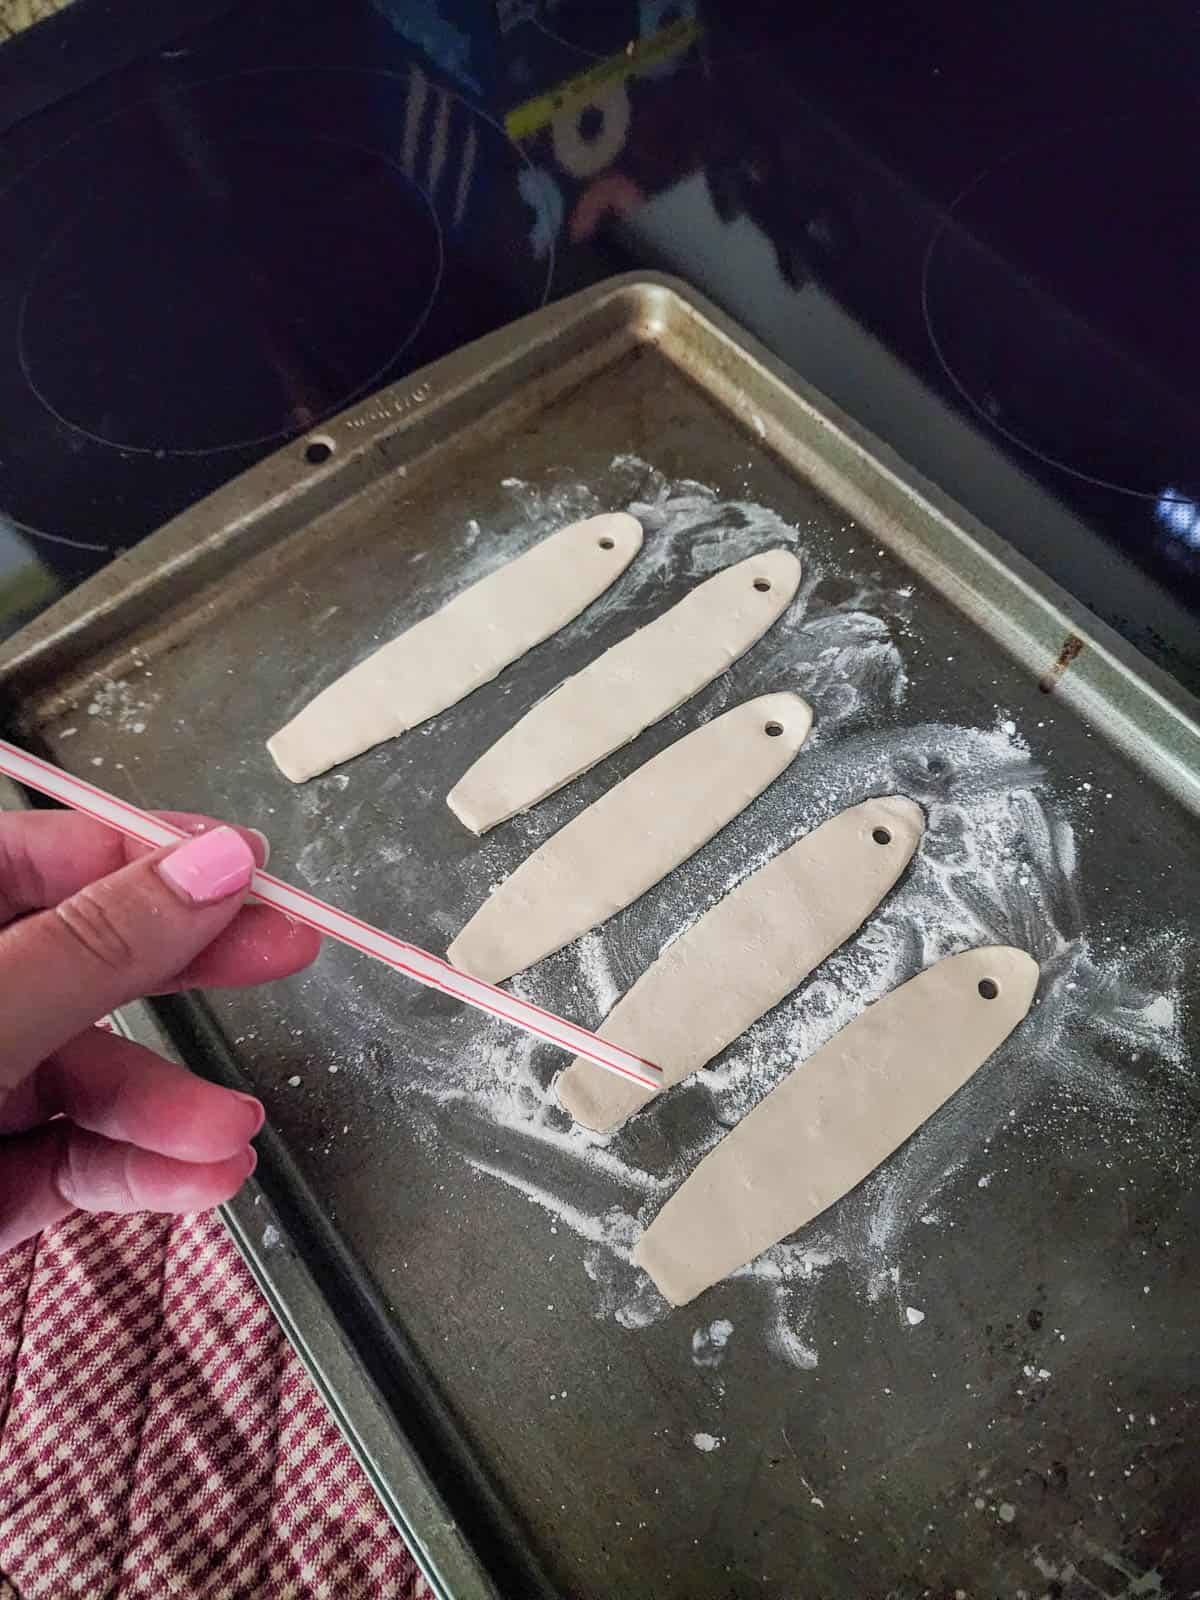
Using a small straw or kabob stick, poke a hole towards the top of the surfboard leaving plenty of room around it to prevent breakage.
If you’re not planning on turning yours into something that hangs, you could skip this step!
Step 4: Let the Clay Dry Completely
Leave your surfboards out in an area with plenty of air flow to dry for at least 48 hours. The clay will turn bright white when it is fully dry.
I was antsy and had learned a trick to put it in the oven for 20 minutes at 195 degrees, so that’s what I did. It wasn’t completely dry by the time I took them out, but it was a great way to boost the drying time!
Step 5: Sand the Edges (if needed)
We did a little smoothing before the surfboards dried, but sometimes things pop up when they fully cure.
Like I mentioned, I was at our beach house without the typical tools, so I resorted to rubbing the edges with a rough paper towel.
Ideally, you would use fine sand paper or even a nail file to smooth out any bumps that might have appeared after drying.
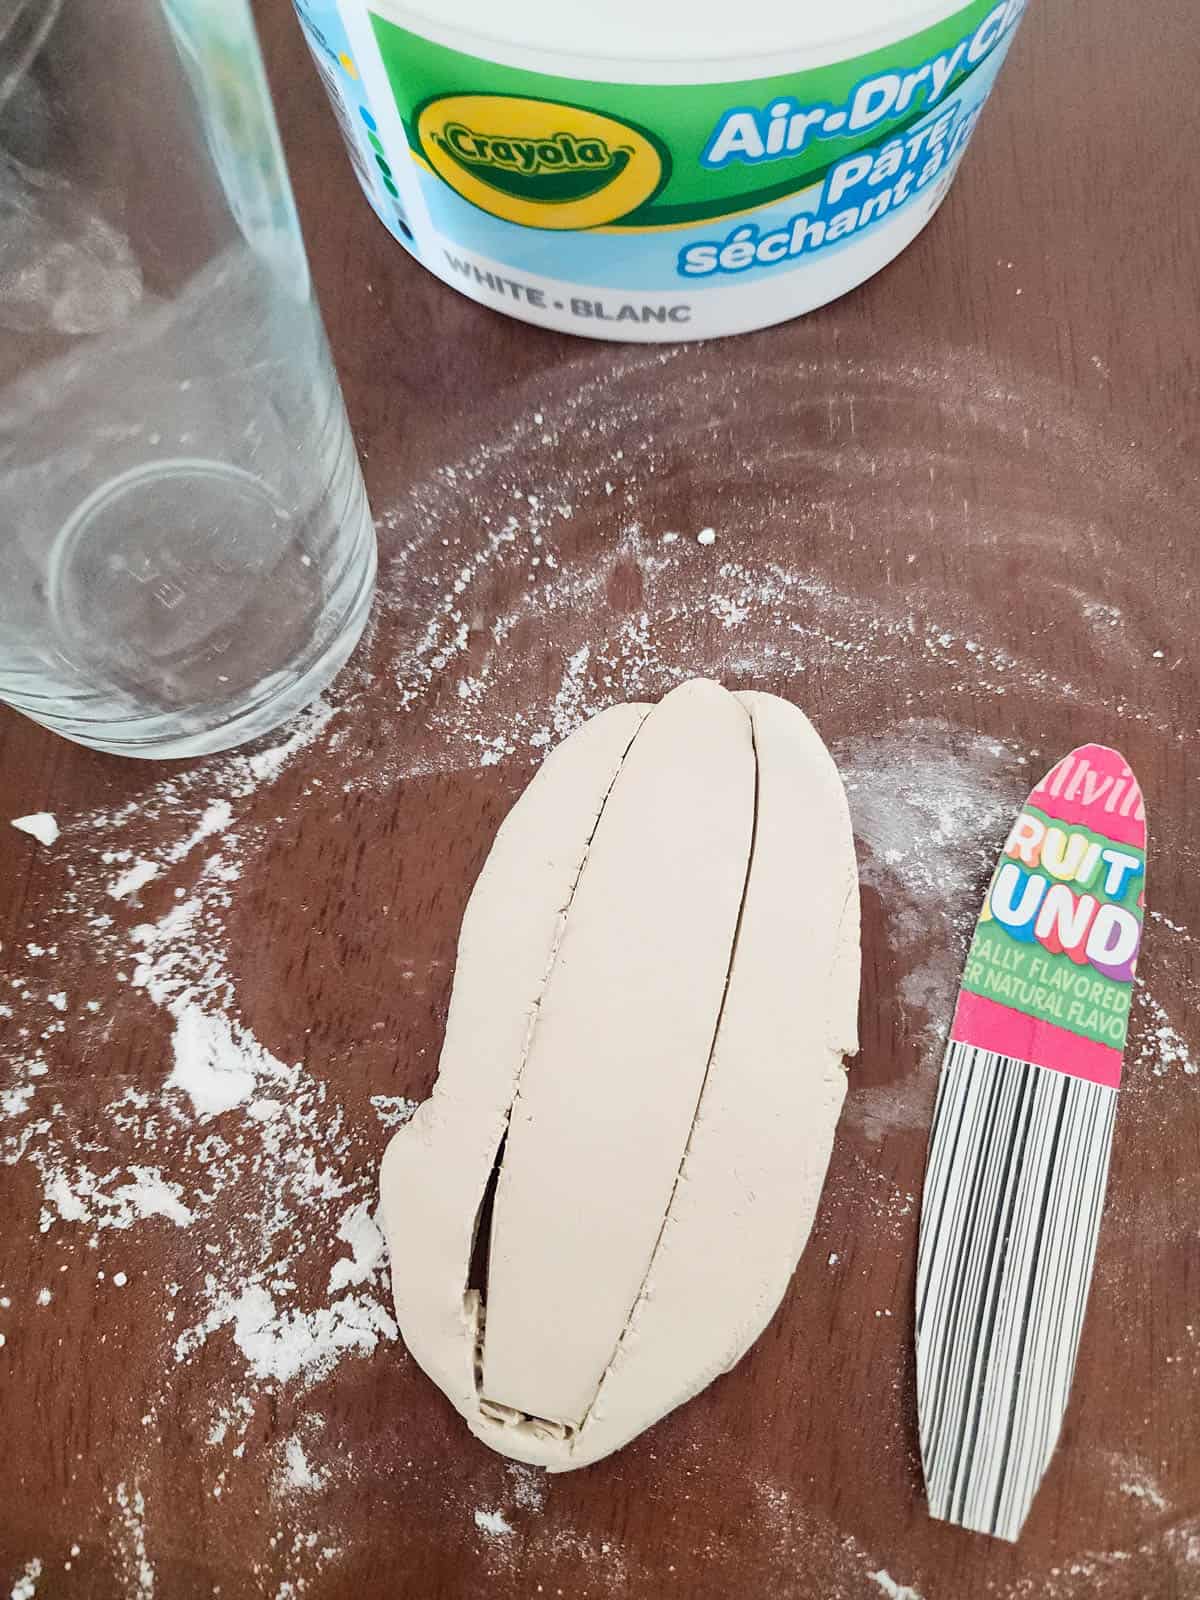
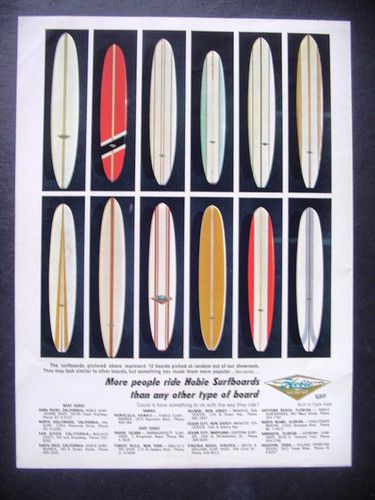
Step 6: Sketch Out Your Board Designs
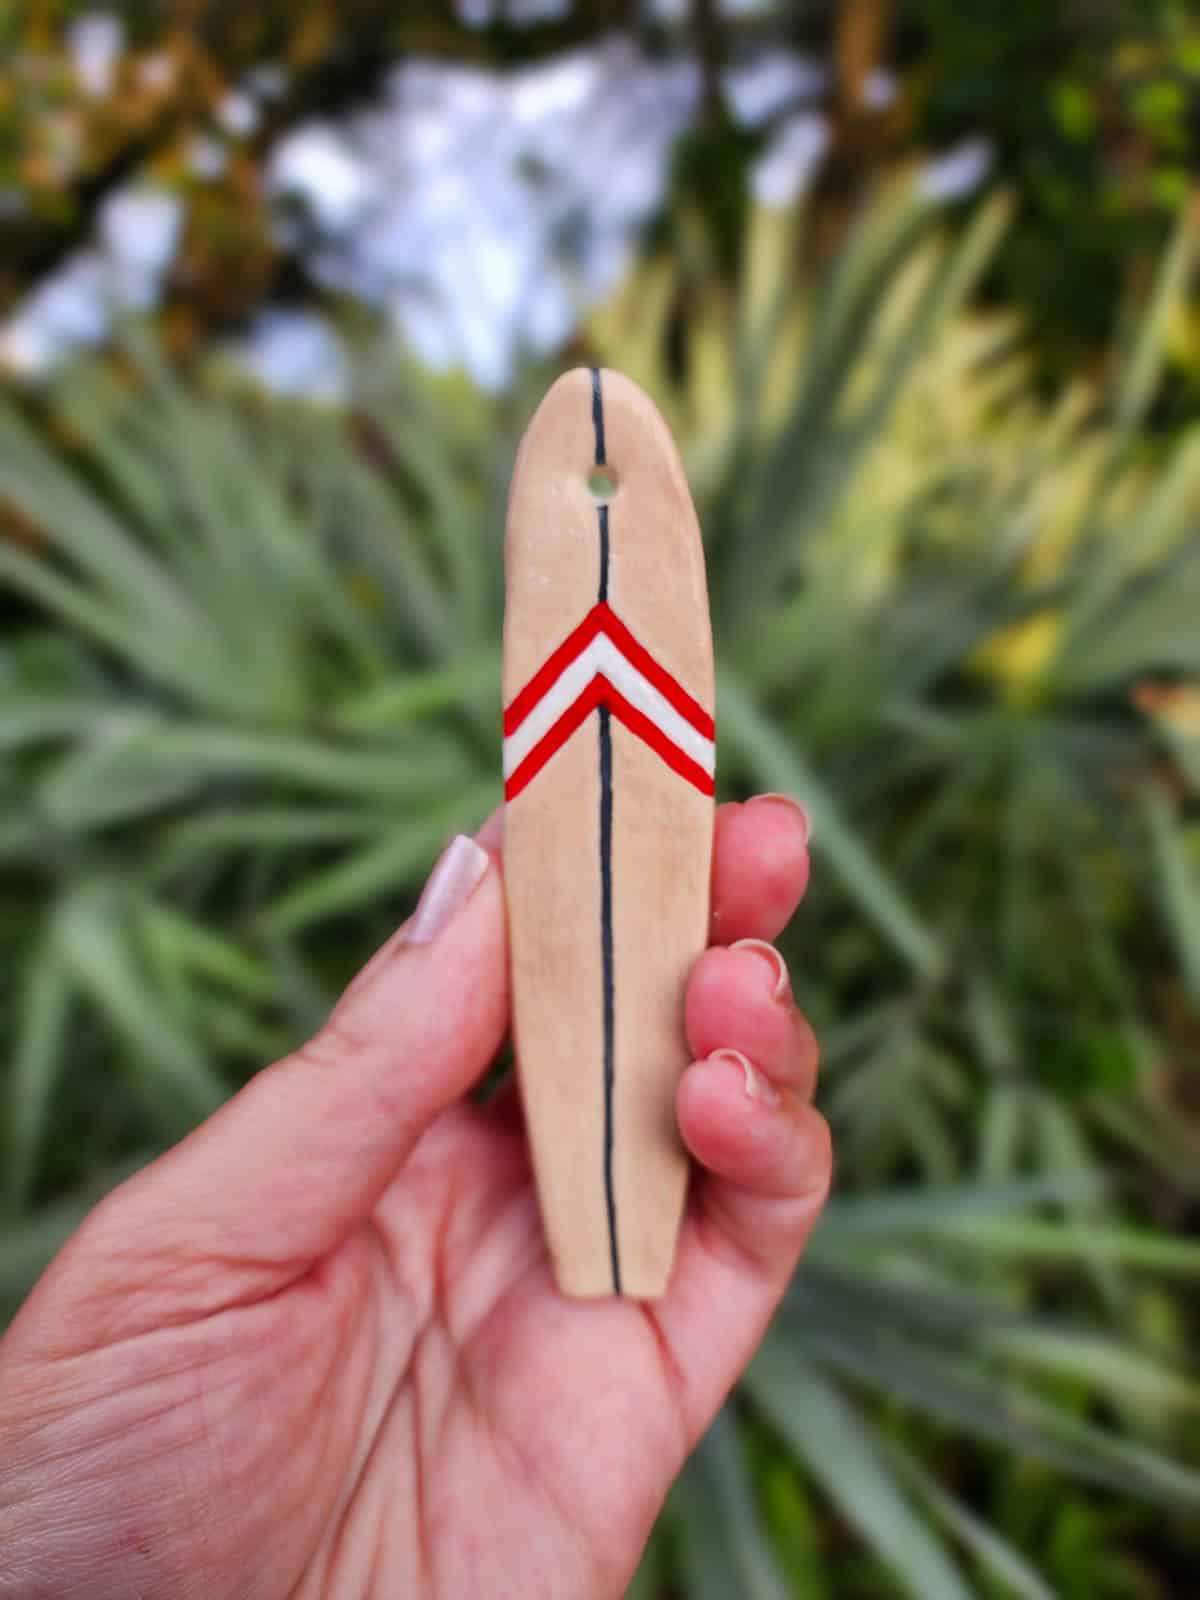
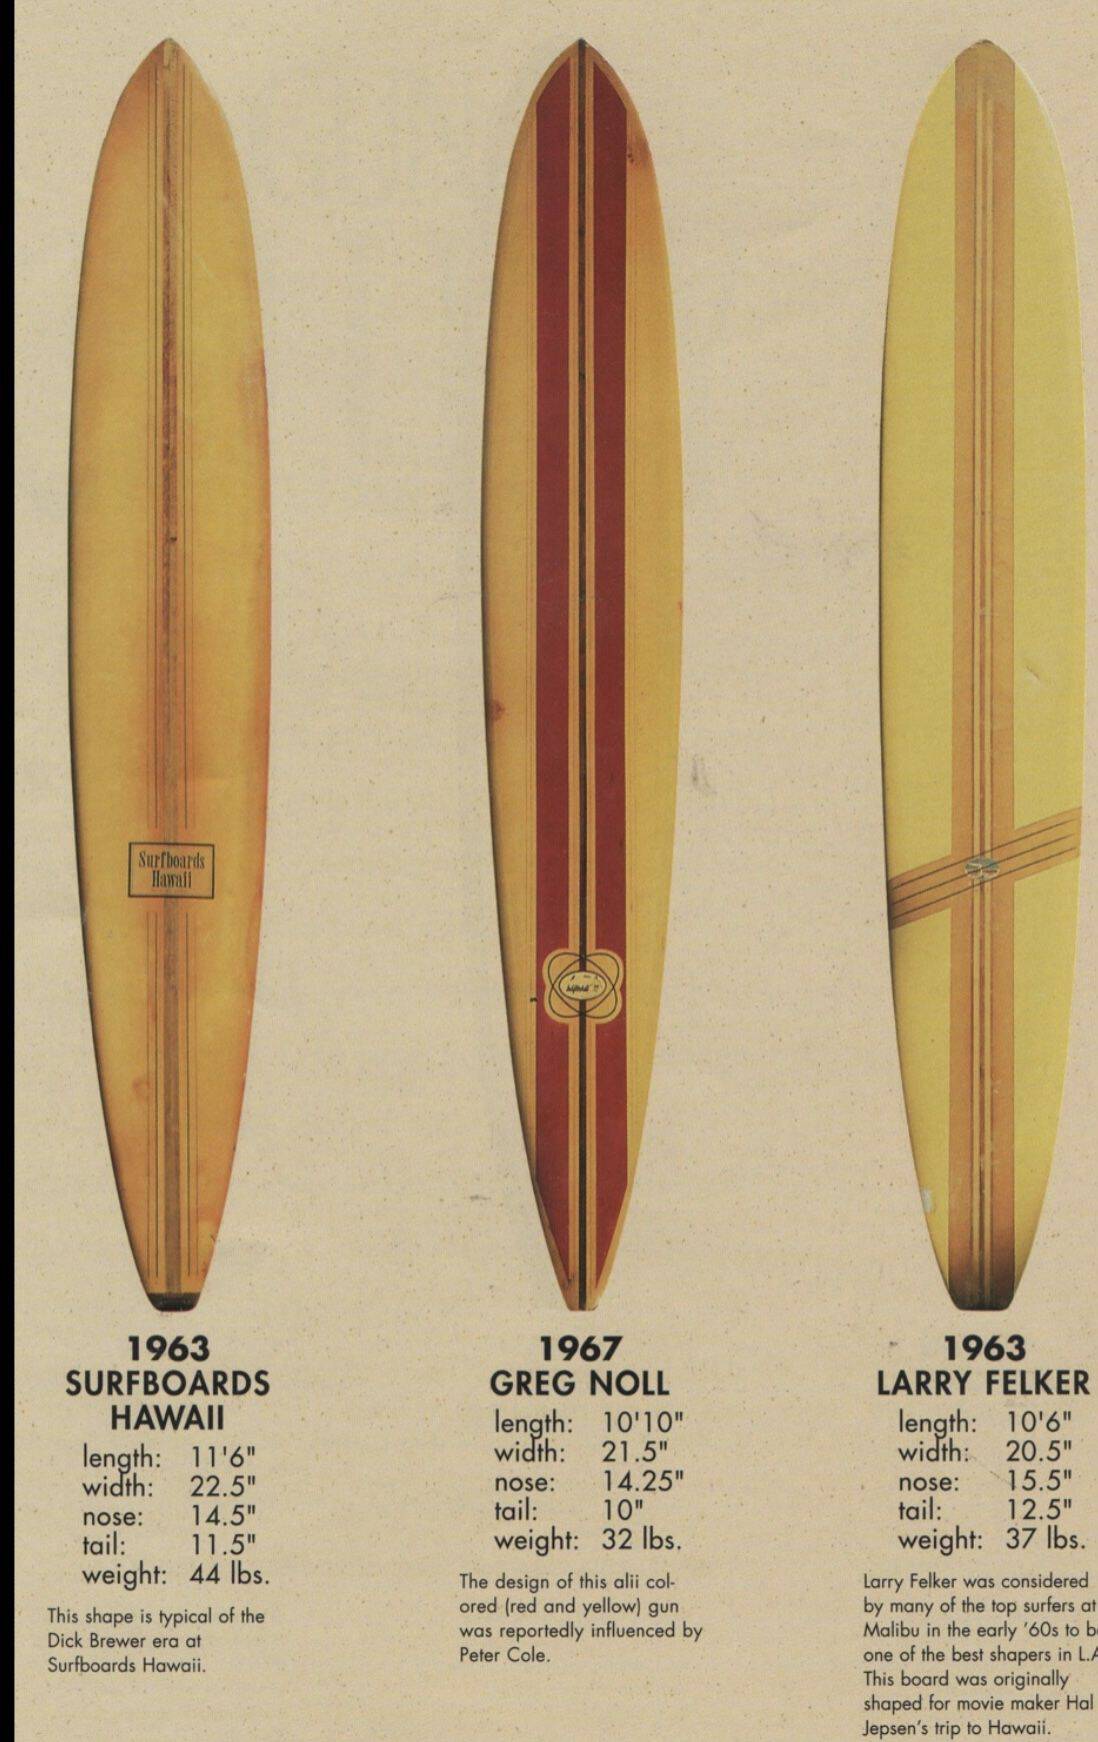
I did a little research and found some authentic vintage surfboard designs as inspiration. There were an awful lot of straight, vertical lines in the designs and I was not about to be painting all of them by hand. So I took inspiration from them and came up with versions of my own!
Using a pencil and a ruler (or in my case, a tape measure because it’s what we had) sketch out a rough design on your surfboard. Make sure the marks are dark enough so they are visible through the paint as you are painting them.
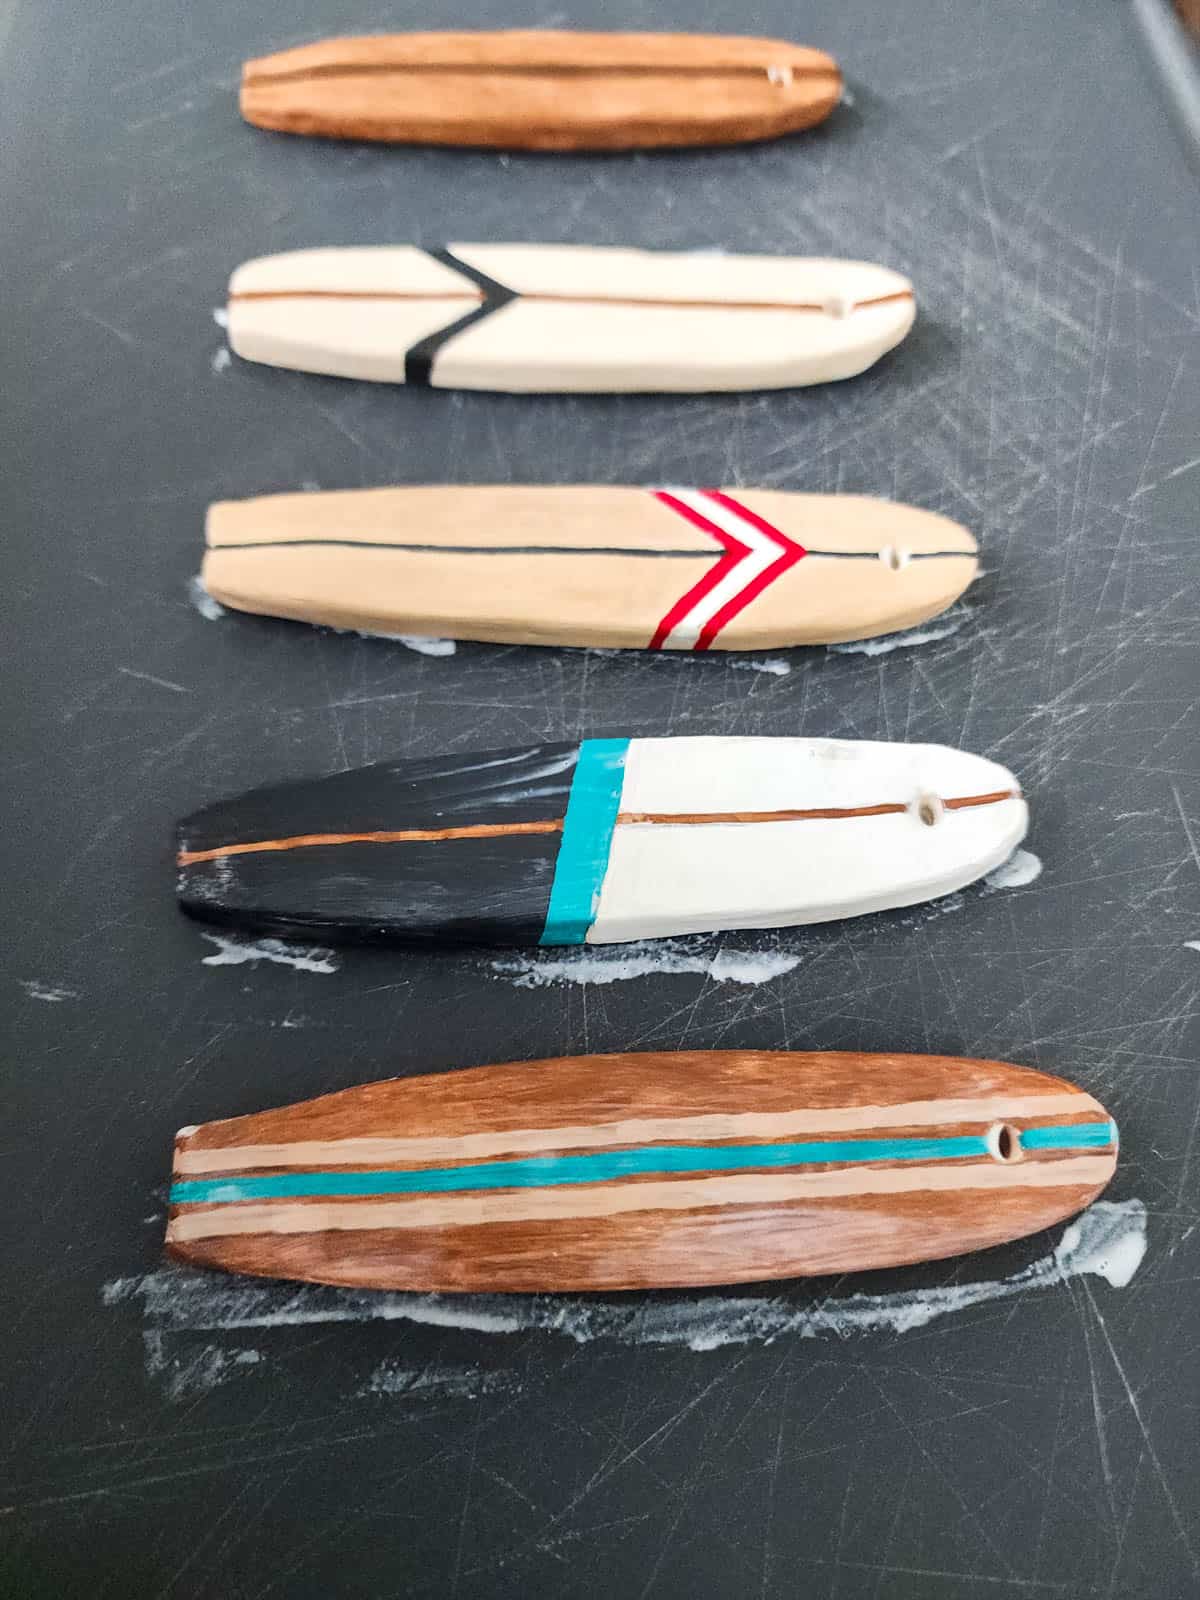
Step 7: Paint Your Designs
Using acrylic craft paint, paint on your designs!
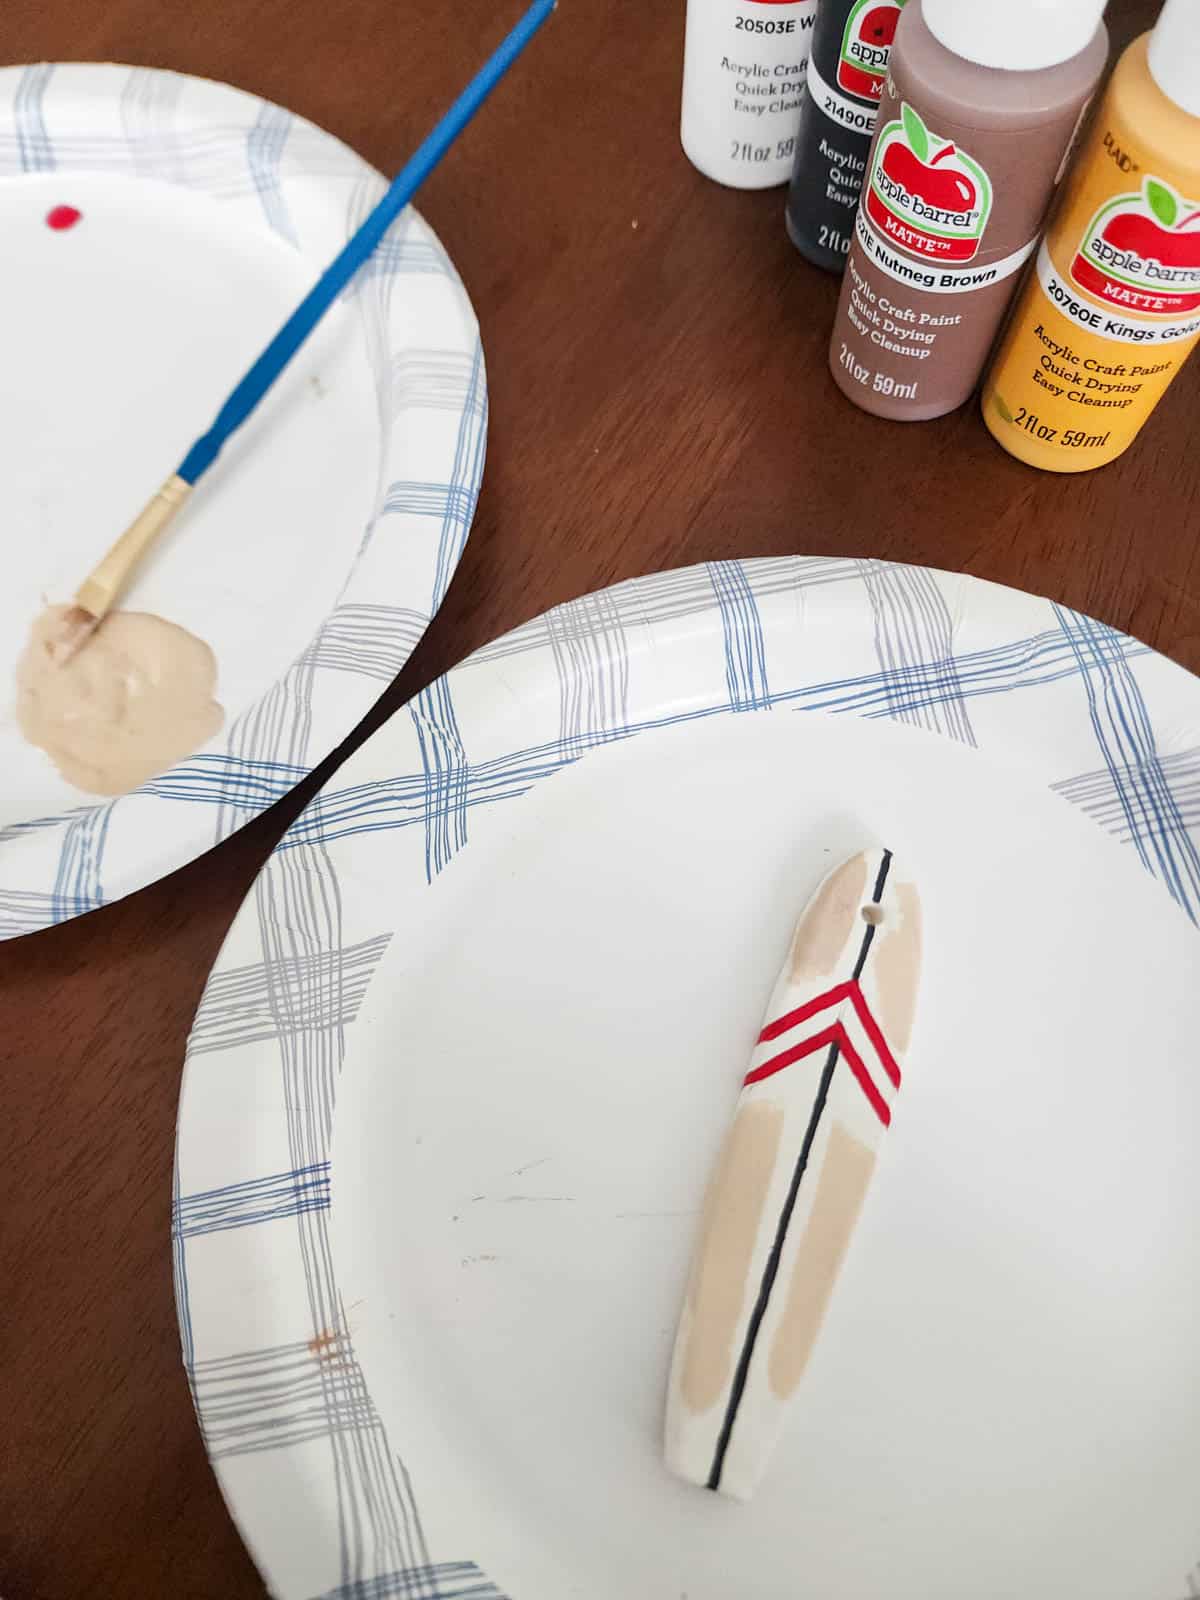
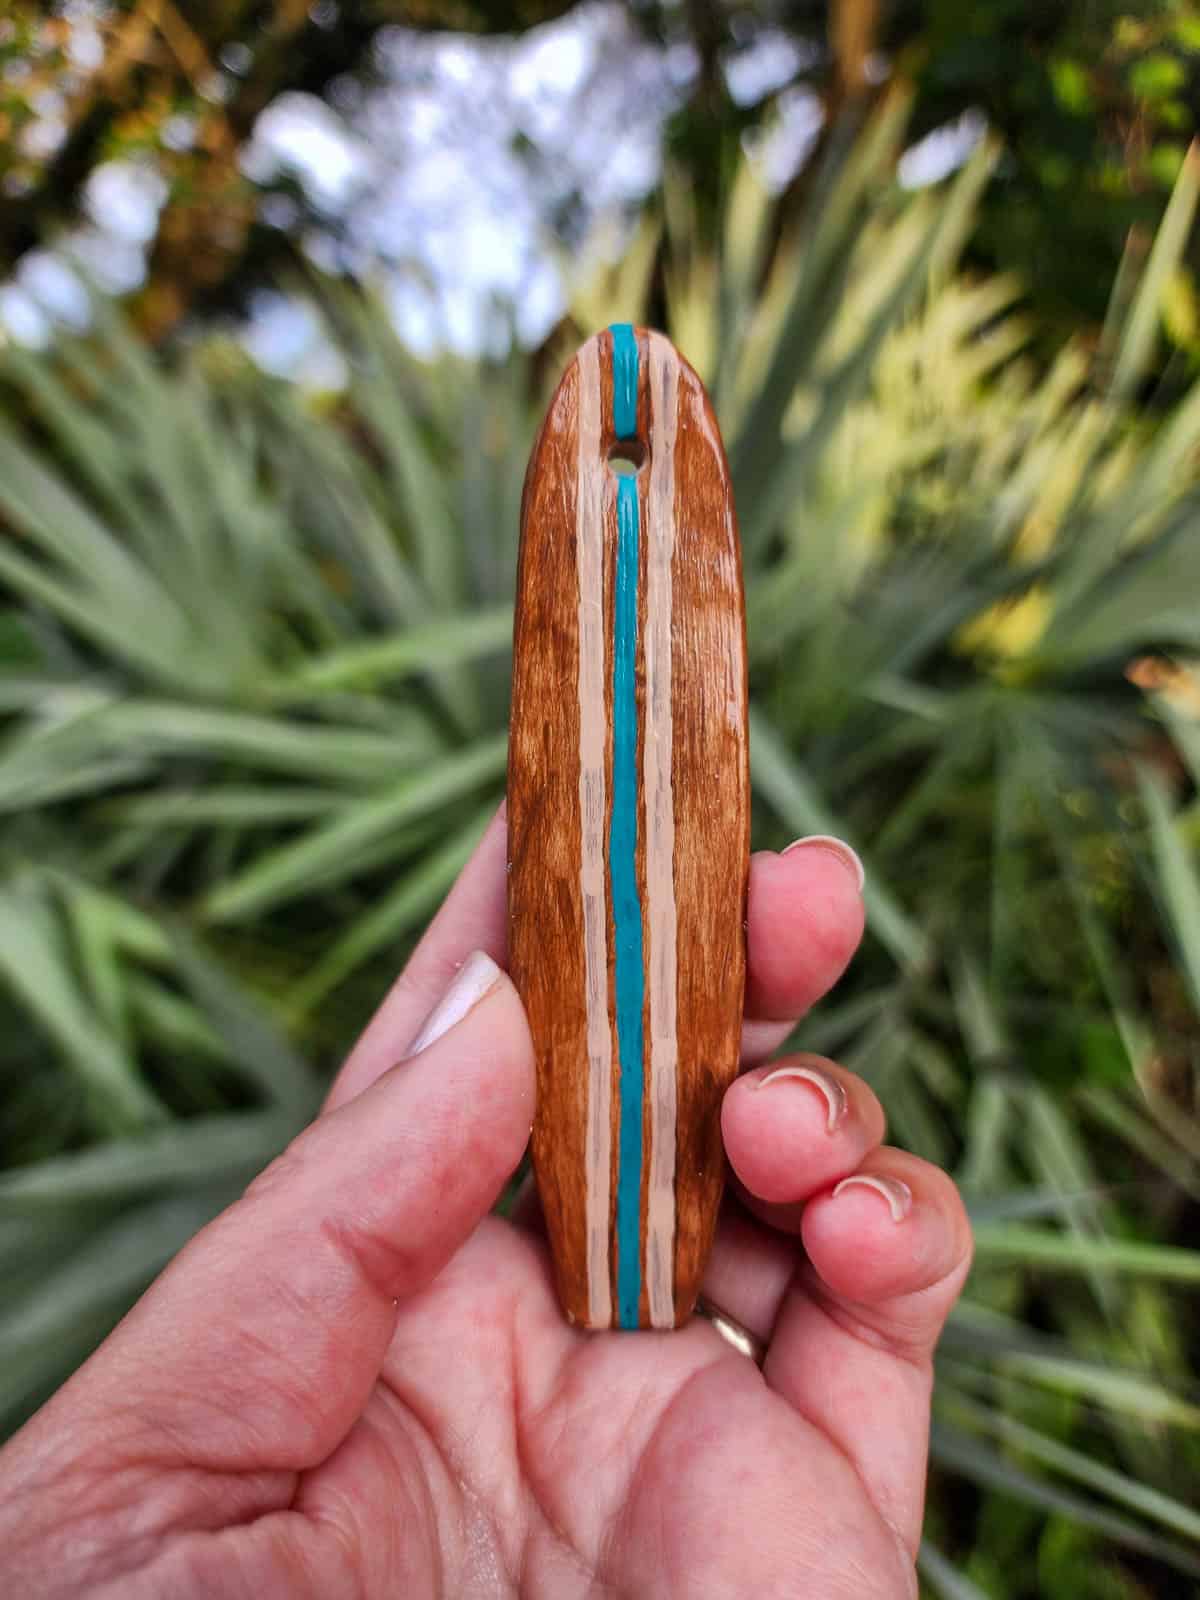
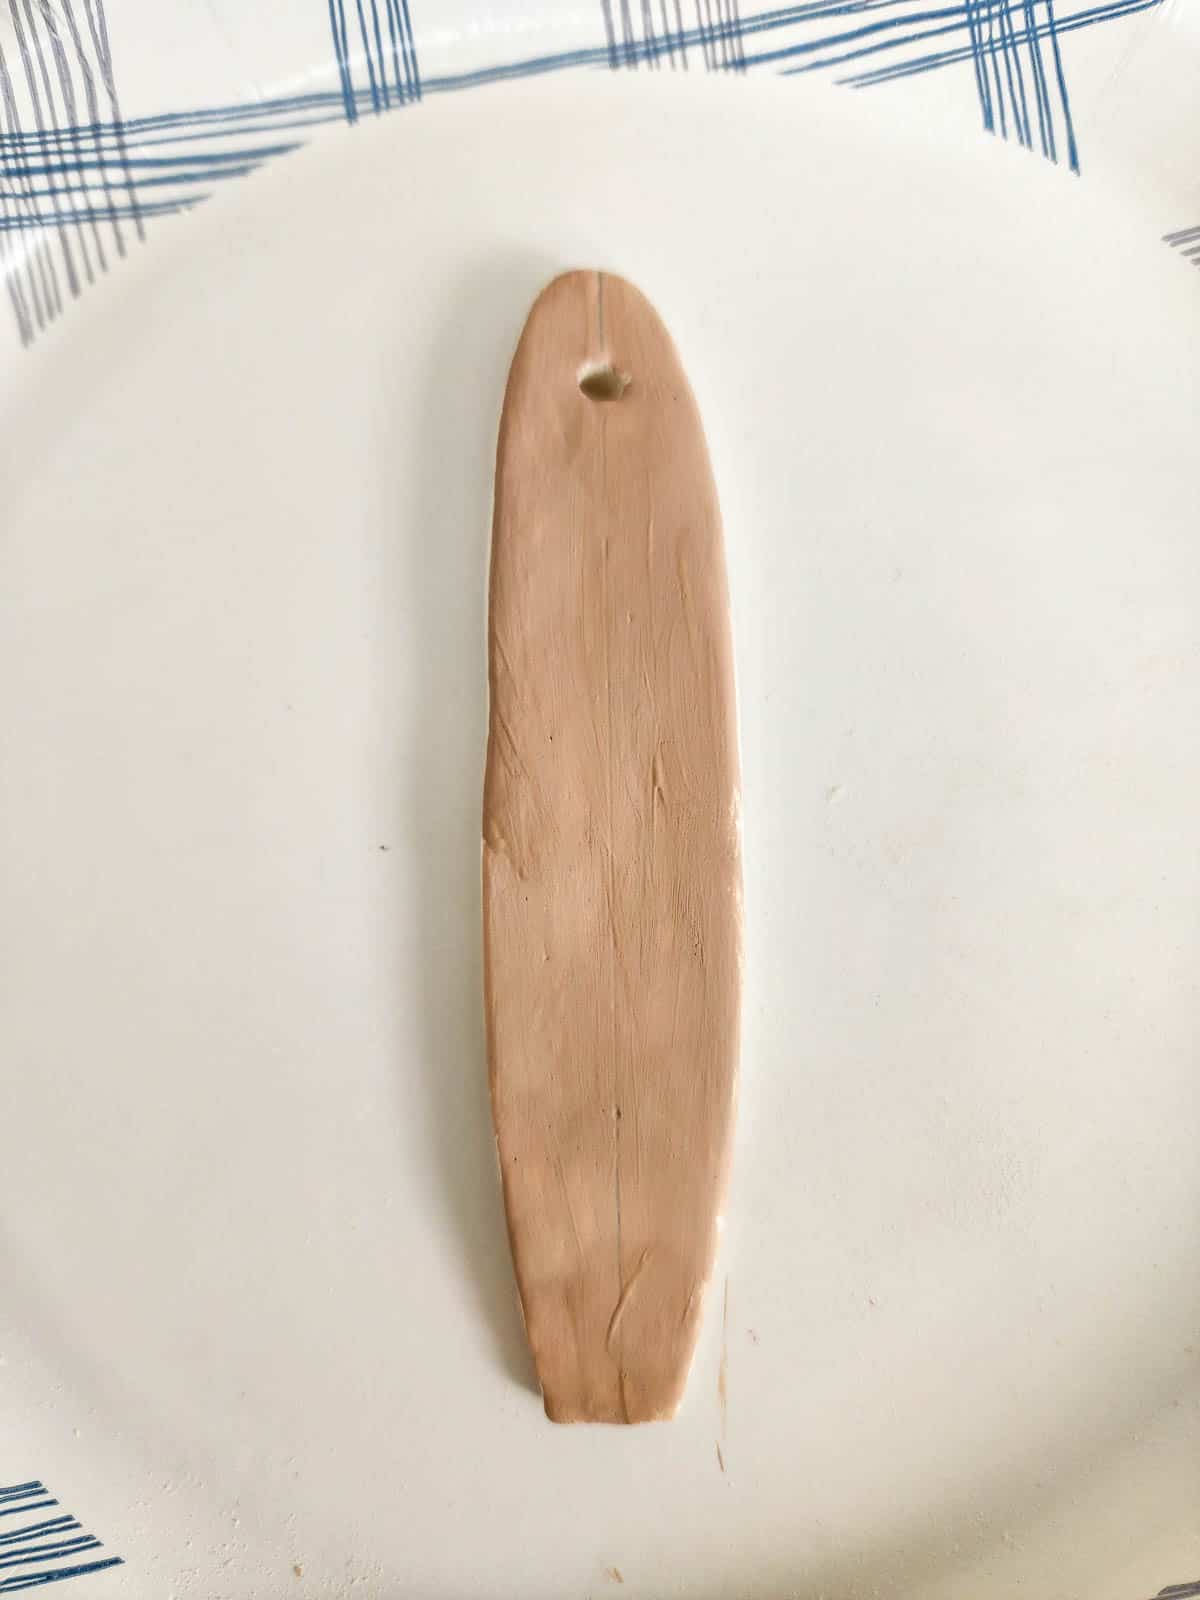
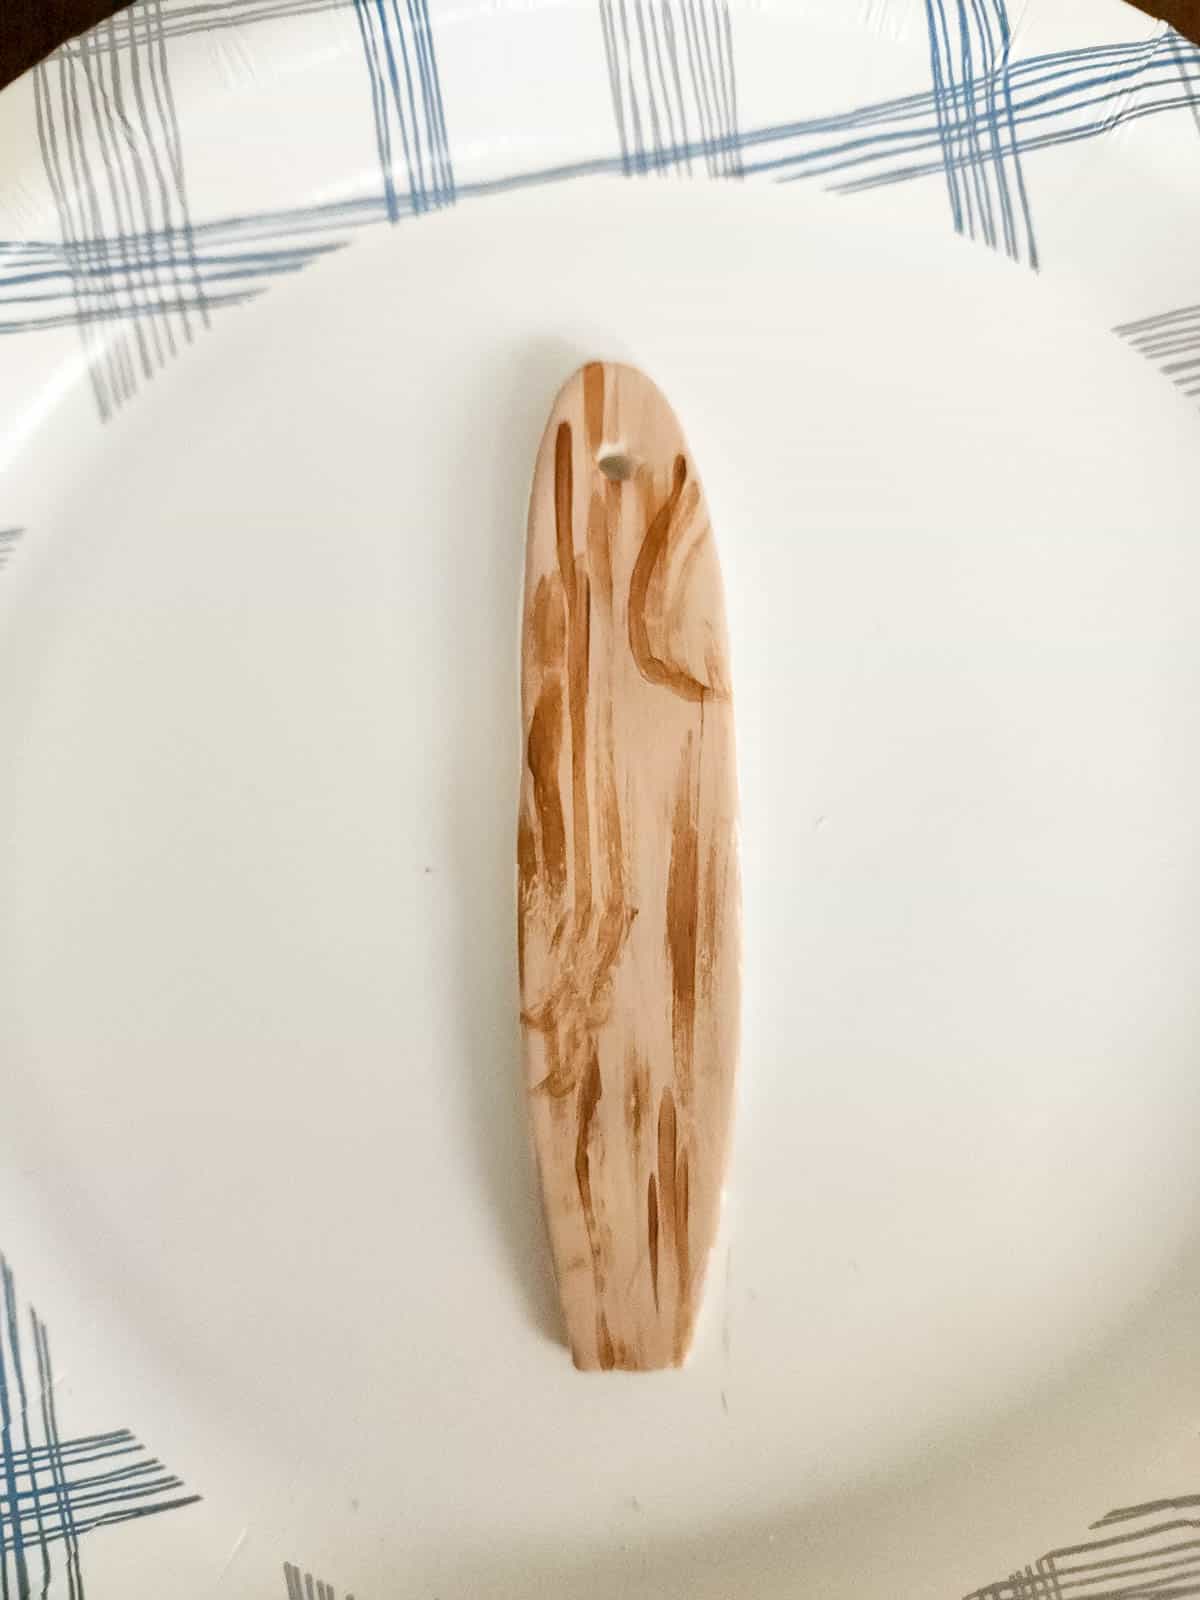
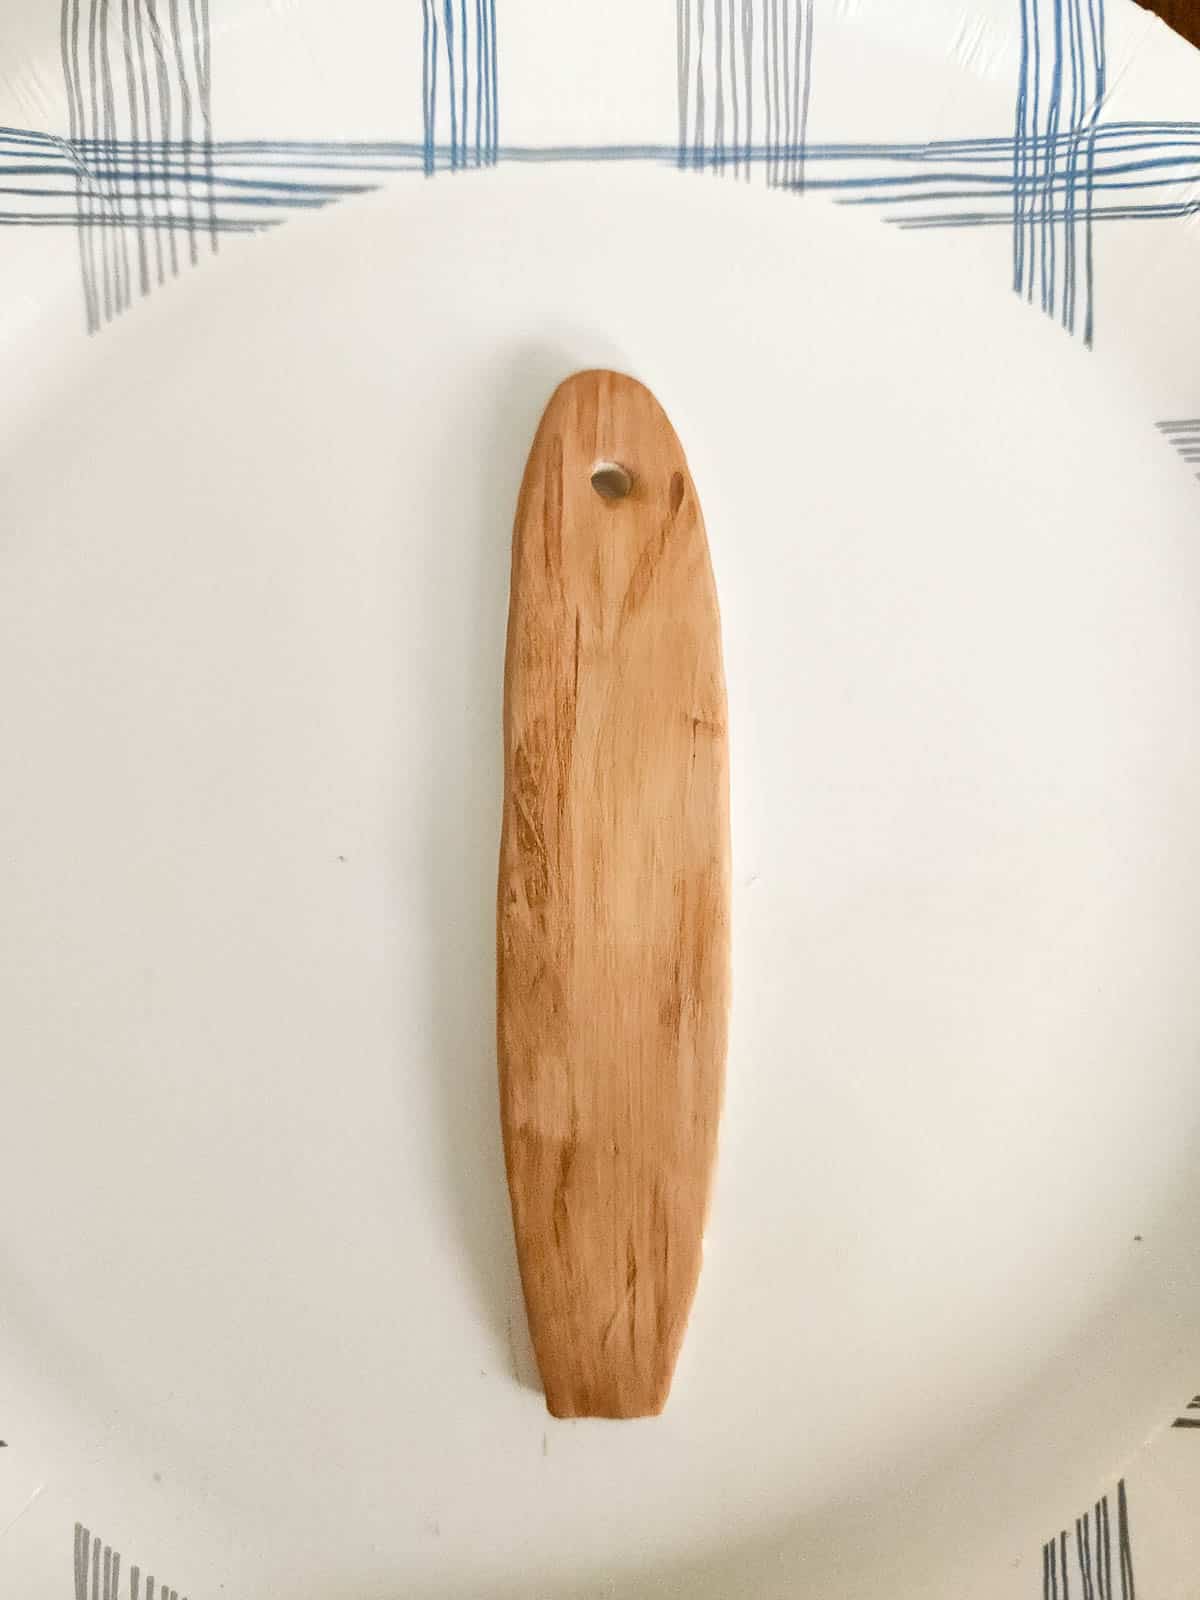
I played around with layering browns from lightest to darkest and used a few dry brushing techniques to try and get a wood look so they would look authentic.
Step 8: Seal the Surfboards
I didn’t want these to look too glossy, so I used satin Mod Podge to seal my designs.
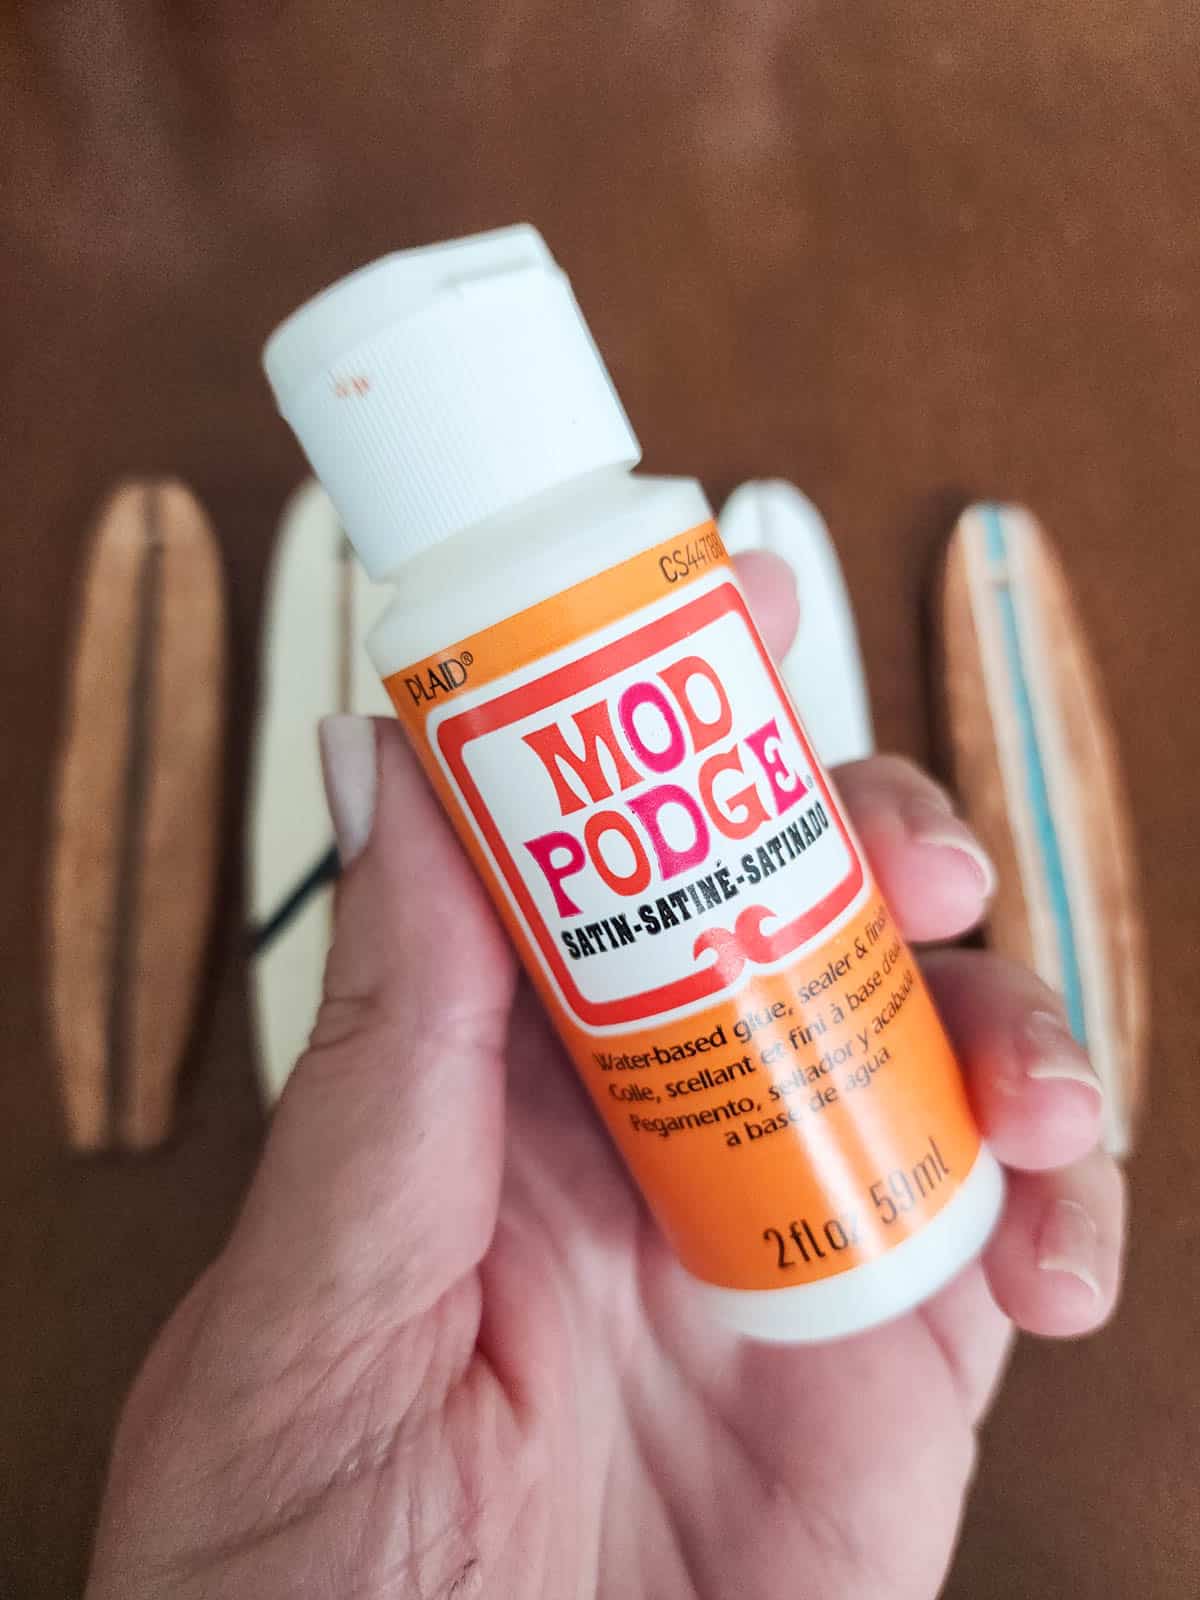
I purposely left the back side unsealed so that I could use them as air fresheners in my car!
Step 9: Add Keychains, Rope, or Ribbon
If you’re making these into a hanging accessory, attach your keychain hardware, twine, rope, ribbon, or ornament hook through the hole at the top of the surfboard.
For keychains or bag charms, use a small jump ring and keychain ring. For ornaments, gift tags, or car charms, a little piece of twine or ribbon works perfectly.
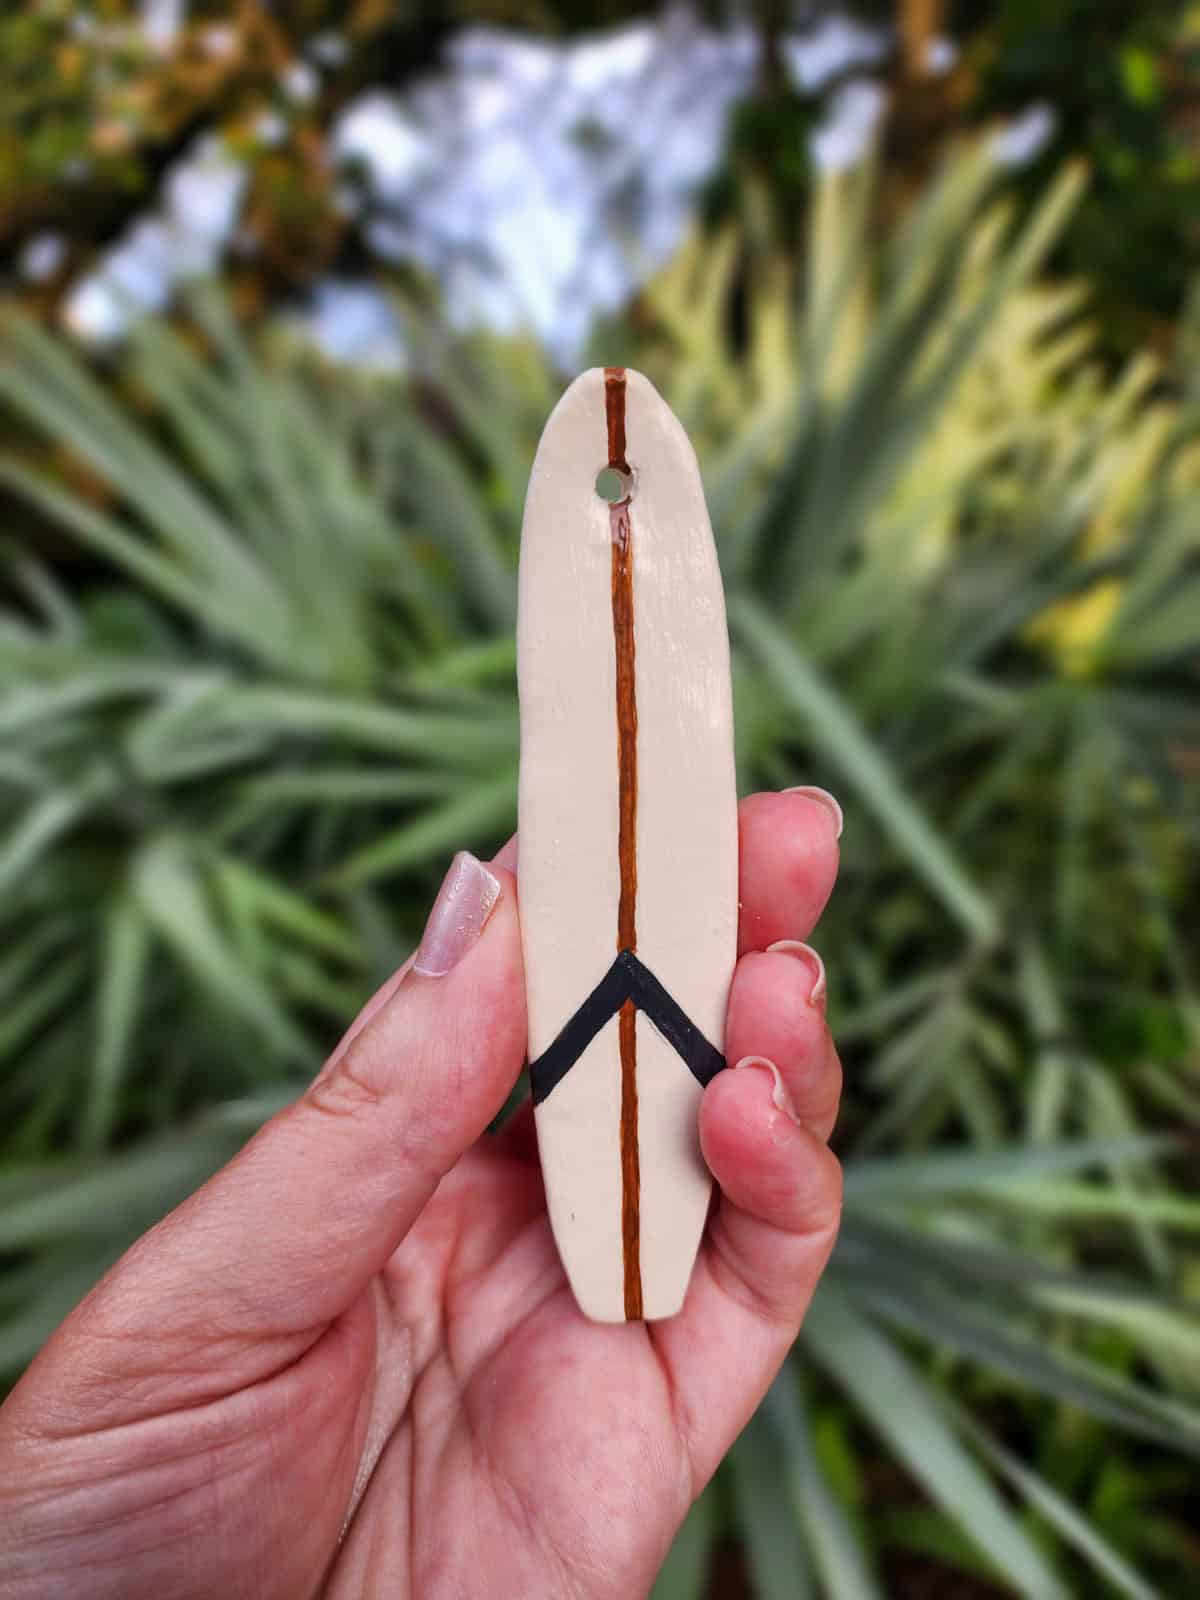
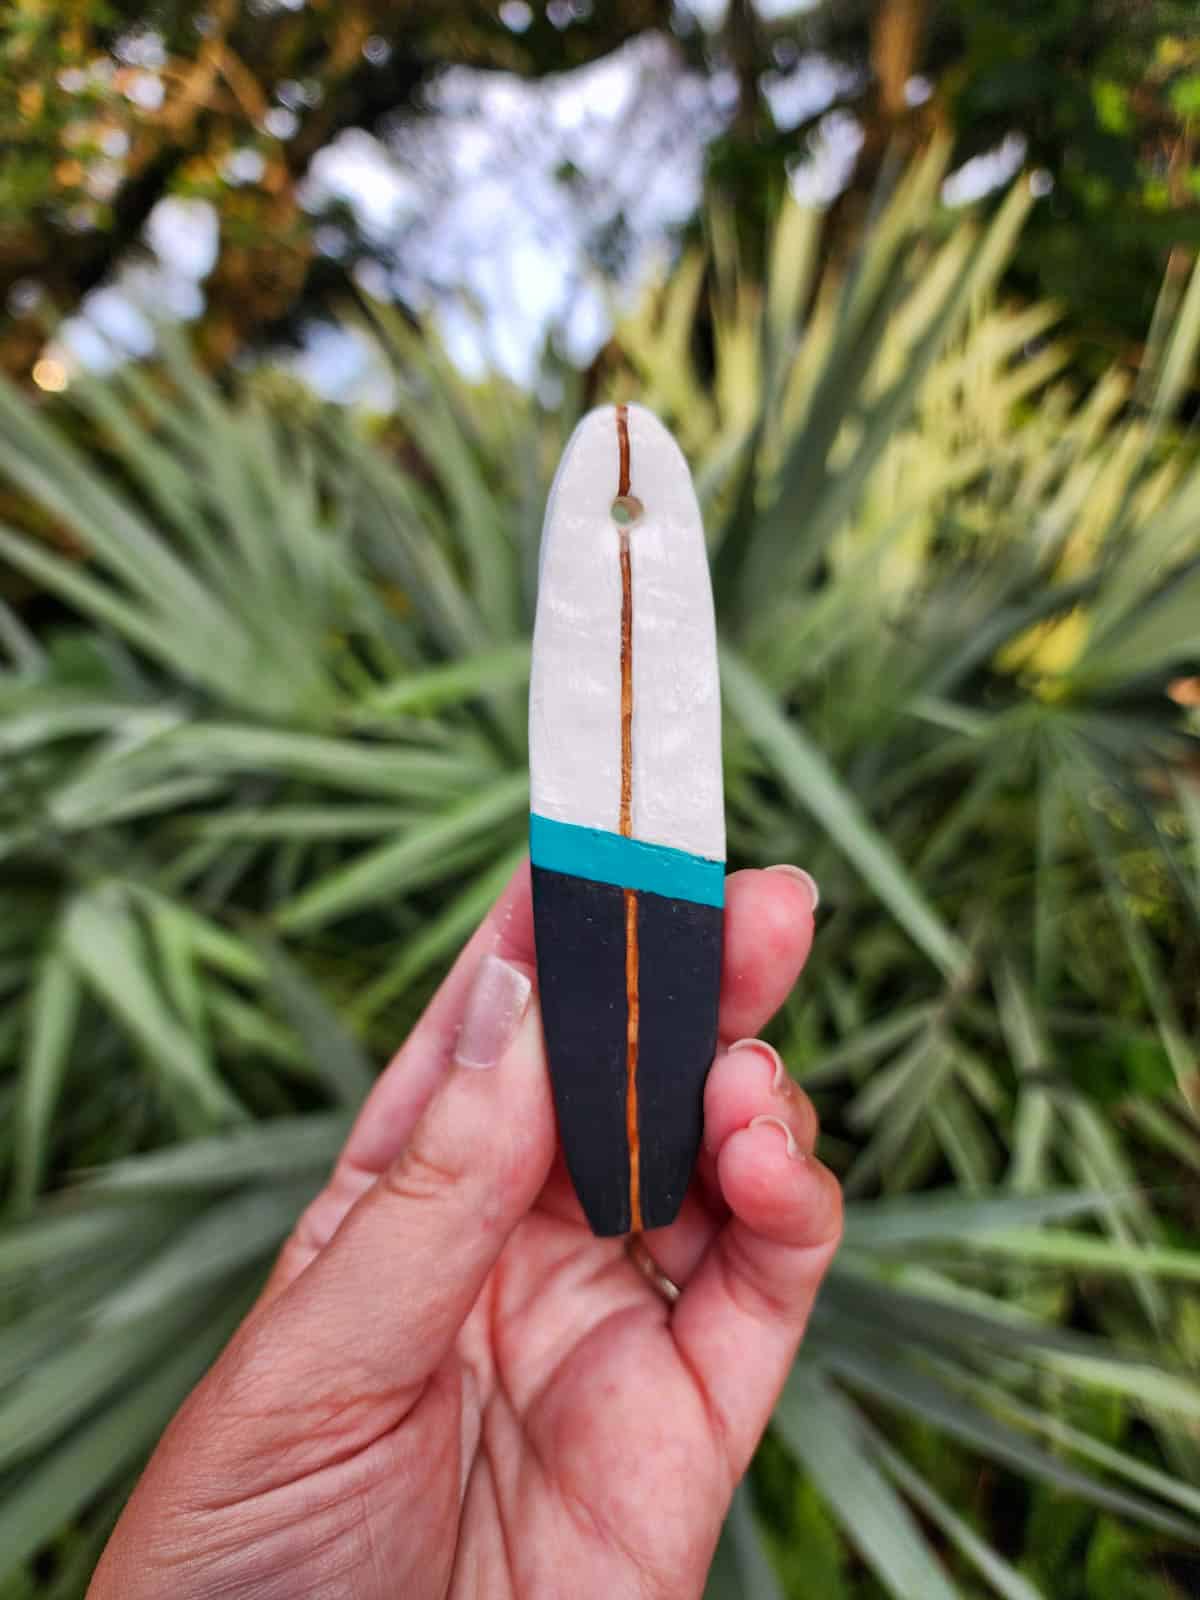
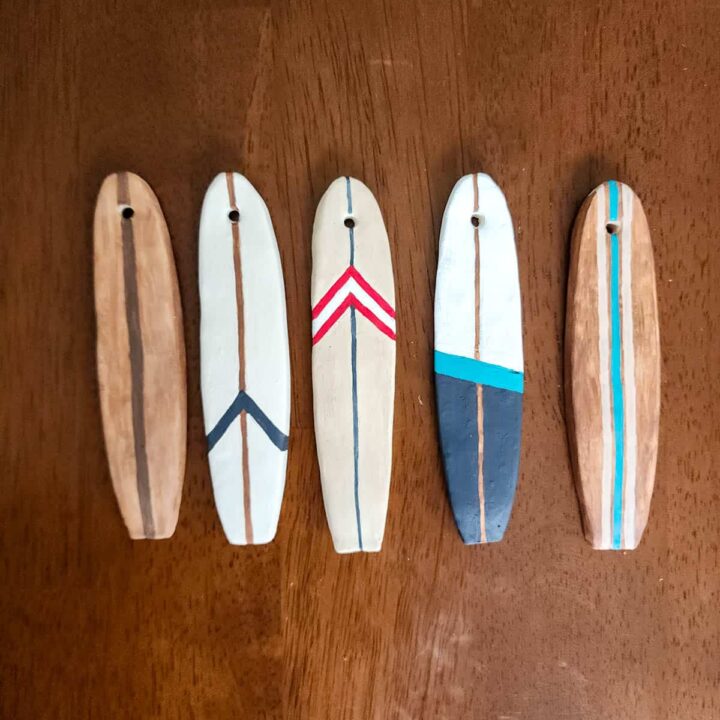
Air Dry Clay Surfboard Design Ideas
These were a few of the surfboard designs I used as inspiration…

Ways to Use Mini Clay Surfboards
These mini surfboards aren’t just cute, they’re versatile! You can use them as…
- Keychains
- Backpack charms
- Purse charms
- Christmas ornaments
- Gift tags
- Car mirror charms
- Mini shelf decor
- Vacation memory keepsakes
- Air fresheners with essential oil
DIY Vintage Air Dry Clay Surfboards
Make cute air dry clay surfboards inspired by vintage beach souvenirs! Paint them with retro colors and turn them into keychains, ornaments, gift tags, bag charms, car charms, or mini coastal decor.
Materials
- Air dry clay
- Parchment paper, wax paper, or baking soda
- Acrylic craft paint
- Satin Mod Podge
- Keychain hardware, twine, rope, ribbon, or ornament hooks
- Essential oils or fragrance oil, optional if using as air fresheners
Tools
- Rolling pin or smooth drinking glass
- Cereal box or cardstock for making a surfboard template
- Pencil
- Ruler or tape measure
- Butter knife, craft knife, or clay cutting tool
- Small straw, skewer, or kabob stick
- Small bowl of water
- Fine sandpaper or nail file
- Small paintbrushes
Instructions
- Roll out the air dry clay to about 1/4 inch thick on parchment paper, wax paper, or a lightly dusted surface to prevent sticking.
- Draw a small surfboard template on a piece of cereal box or cardstock. Mine was approximately 4 inches tall.
- Place the template on top of the clay and cut around it using a butter knife, craft knife, or clay tool.
- Use a small amount of water and your finger to smooth the edges and surface of each clay surfboard.
- Use a small straw, skewer, or kabob stick to poke a hole near the top of the surfboard if you plan to hang it.
- Let the clay surfboards dry completely in an area with good airflow. This may take 24-48 hours depending on thickness.
- Once dry, gently sand any rough edges with fine sandpaper or a nail file.
- Lightly sketch your surfboard designs with a pencil.
- Paint the surfboards with acrylic craft paint using retro colors, stripes, wood-look details, or any vintage-inspired design you like.
- Once the paint is dry, seal the front of each surfboard with satin Mod Podge or clear sealer.
- Add keychain hardware, twine, rope, ribbon, or ornament hooks through the hole at the top.
- If using as an air freshener, leave the back unsealed and add a small amount of essential oil or fragrance oil to the back only.
Notes
Do not roll the clay too thin or the surfboards may break. Thicker is better, especially if you are new to air dry clay.
If using these as car air fresheners, do not oversaturate the clay with oil. Keep fragrance or essential oils away from upholstery, dashboards, and fabric.
Recommended Products
As an Amazon Associate and member of other affiliate programs, I earn from qualifying purchases.


Answers to your questions about making CLAY SURFBOARDS
Q: Can you make these with kids?
A: Definitely, with a little adult supervision. Adults should handle anything regarding cutting tools, but the kids can have a blast helping roll the clay, painting designs, and adding string!
Q: Can these be used as air fresheners?
A: Yes and I will be in my own car! Make sure that you don’t place them anywhere that the fragrance or essential oils could touch upholstery, dashboards, or fabric. I’m using a vent clip to keep them out of the way and in a place that helps make my car smell like buff city soap 🙂
Q: Do you seal both sides if using them as air fresheners?
A: I sealed the painted front side to protect the design, but left the back unsealed so it could hold a little fragrance. Just remember that air dry clay is still fragile and porous, so don’t oversaturate it with oil or place it anywhere the oil could touch fabric, upholstery, or your dashboard.
Q: What are the downsides to air dry clay?
A: Although incredibly versatile, air dry clay does have its drawbacks, including shrinkage as it dries. It also tends to be more fragile than oven-baked clay.
Did you make this craft?
We would love to see what you have created so mention us @brepeablog or tag us using #BrePeaMadeMeDoIt so we can see your creations!