There’s something nostalgic about a fresh composition notebook.
The black and white marbled cover. The crisp pages. The feeling that maybe this one will finally become your dream journal.
But let’s be honest… those covers are boring.
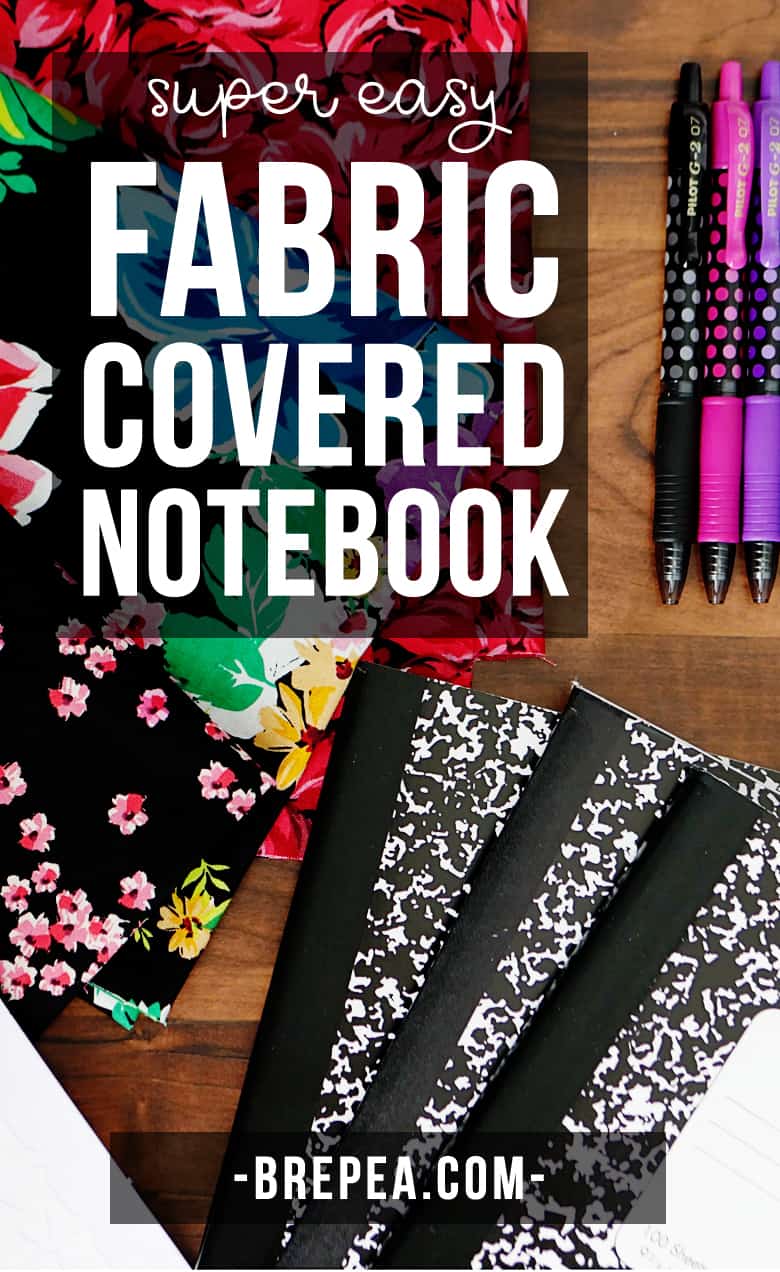
Today I’m showing you how to make a DIY notebook cover using fabric, no sewing required. In under 10 minutes, you can turn a plain composition notebook into a vintage-inspired fabric covered notebook that looks boutique instead of basic.
This is one of those simple, old-school crafts that feels like something you’d find in a 90s craft magazine… except faster, cleaner, and under $3 to make!
Perfect for:
- Back-to-school season
- Journaling
- Handmade teacher gifts
- Or just elevating your everyday paper life
Let’s make your notebook something you actually want to carry around!
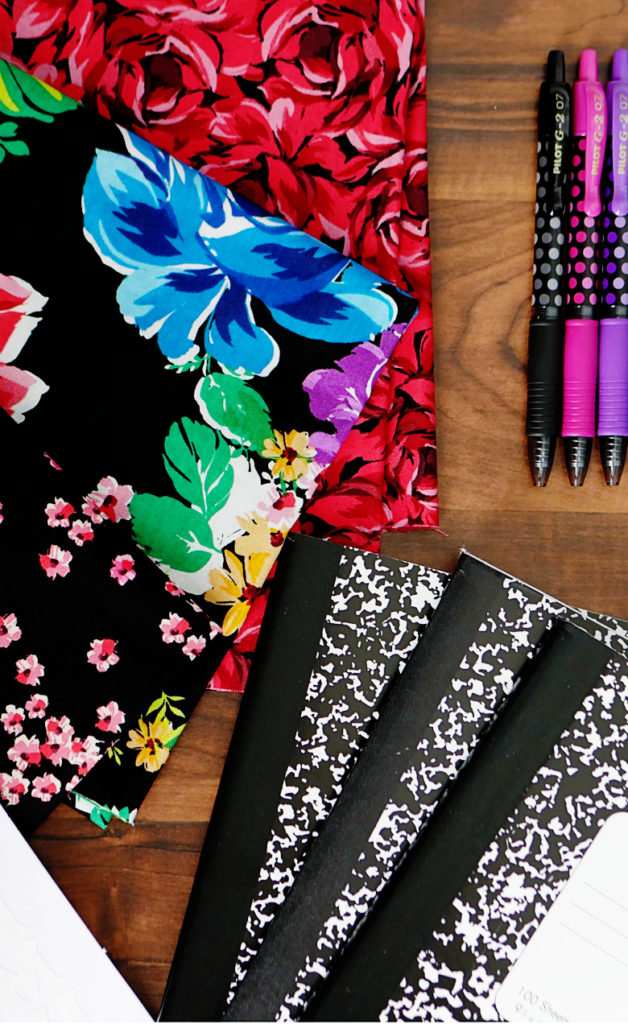
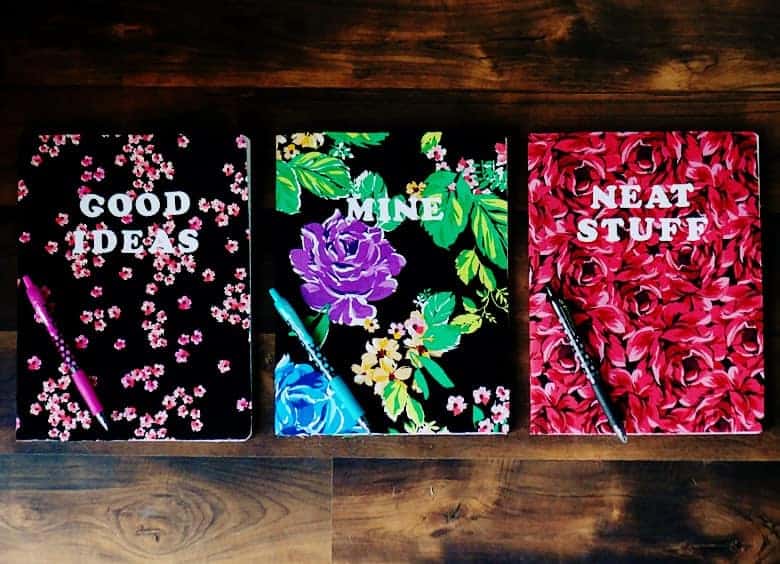
I found some gorgeous flower print fabric at the craft store the other day and knew it would look great on the cover of a notebook.
I picked up some fabric and iron-on letters and put together a few notebooks in just a couple minutes, it was that quick and easy!
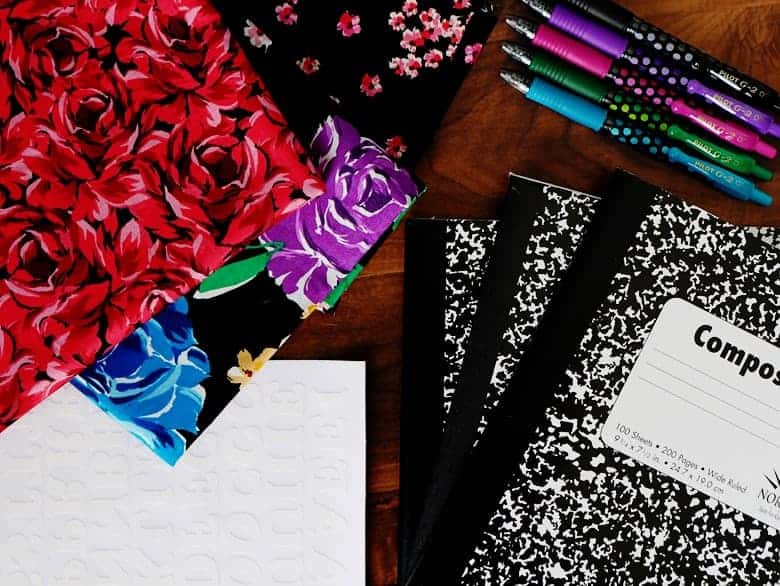
Supplies for This DIY Notebook Cover
Here’s exactly what you’ll need to make your fabric covered composition notebook, plus a few upgrade options if you want it to feel extra polished…
- Composition Notebooks
- Quilting Cotton Fabric (at least 1/4 yard per notebook)
- Iron-On Letters
- Strong Spray Adhesive (Fabric Safe)
- Sharp Fabric Scissors
- Optional: Fabric Glue
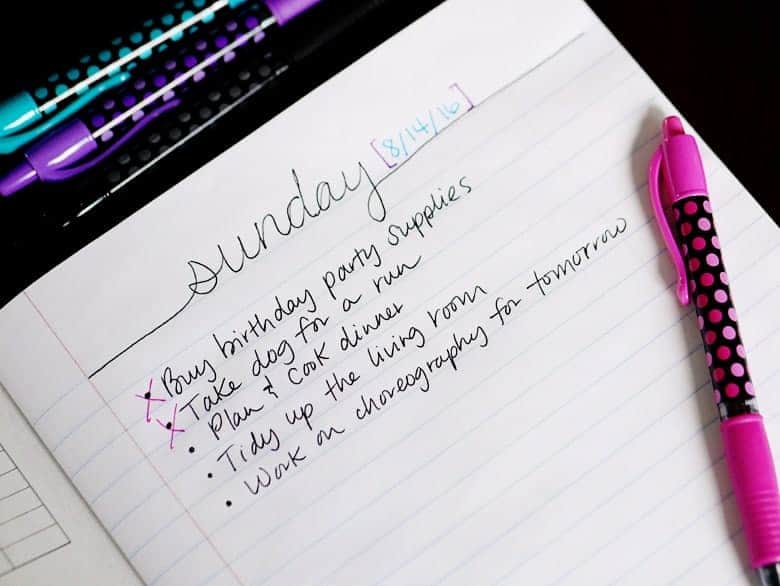
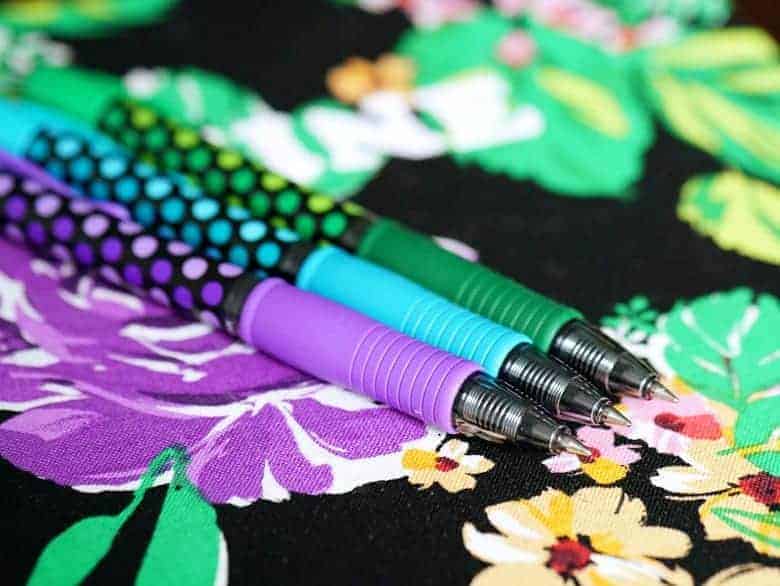
- Gel Pens (For Styling + Real Life Use)
Step 1: Trace Your Composition Notebook
Lay your notebook face down on the back side of the fabric.
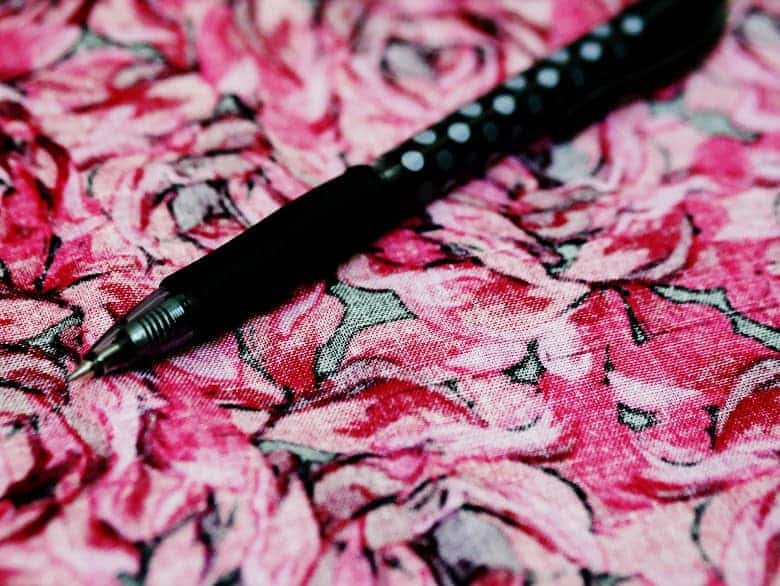
Trace the outline of the notebook so that you know how much you’ll need to cover it. I used a Pilot G2 pen because it writes smoothly on fabric, plus it’s what I had lying next to me 😉
Step 2: Cut the Fabric Larger Than Needed
Cut out a rectangle larger than the shape that you outlined.
Leave plenty of extra fabric so that in case the notebook attaches to the fabric slightly crooked you’ll still be covered. Trust me on this one.
Step 3: Spray, Attach the Fabric, & Trim the Edges
In a well ventilated area, spray both the cover of the notebook and the back side of the fabric with spray adhesive.
Wait 15 seconds then, working from one end to the other, lay the fabric down on the notebook carefully making sure there are no wrinkles or air bubbles.
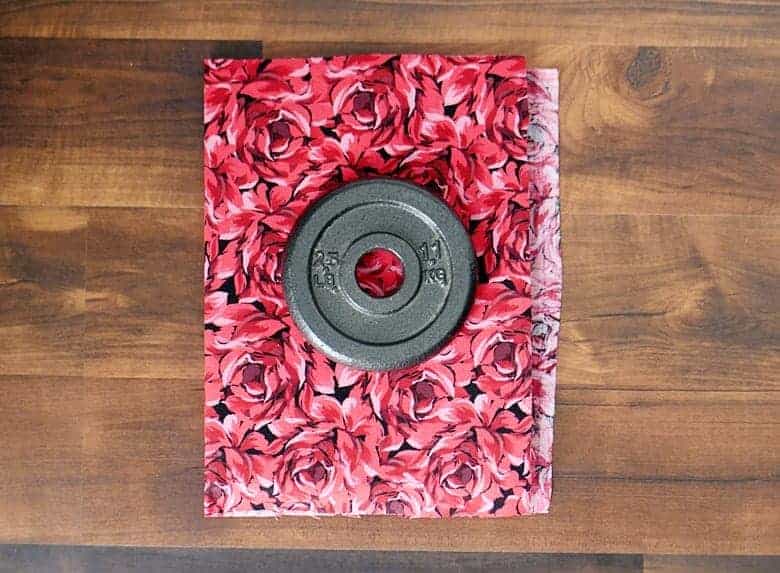
Place something heavy on the notebook and allow it to dry. Once dry, cut the fabric along the edge of the notebook.
Step 4: Add Iron-On Letters
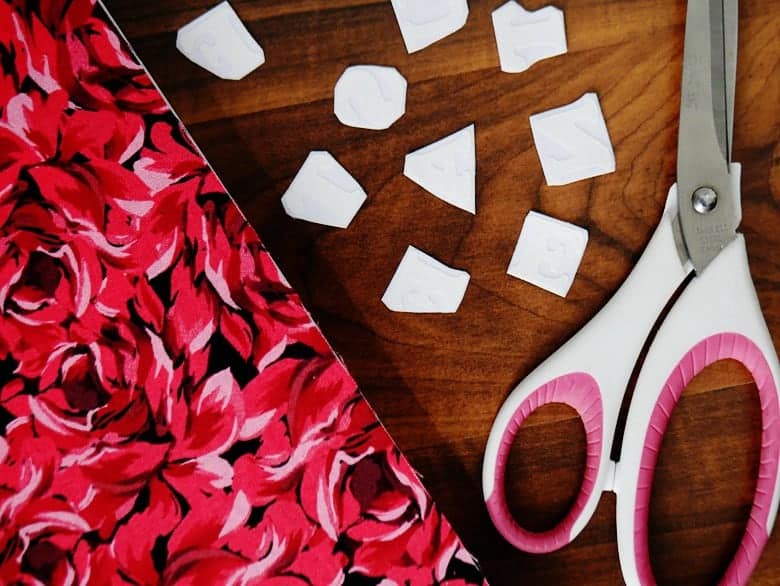
Decide what clever phrase you would like for your notebook and cut out the appropriate letters. Cut close to the edges of the letter so that you can lay it out on the notebook and know where the letters will end up.
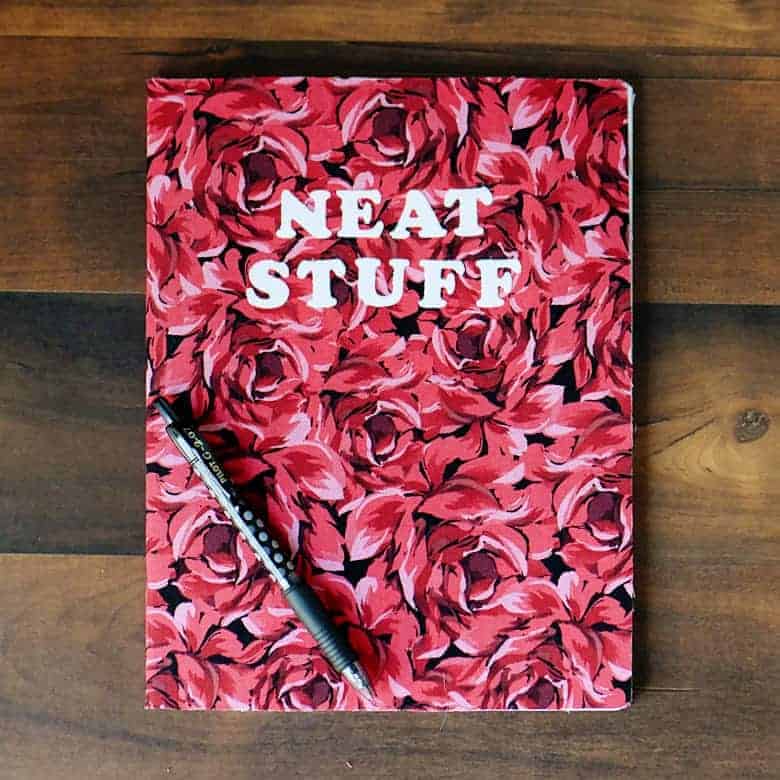
Follow the instructions on the letters and iron on to the front of the notebook. Let it cool.

And that’s IT! It seriously took me a total of about 5 minutes per notebook. Plus, each notebook cost under $3 to make. Just make sure to bring your coupons to the craft store 😉 Budget-friendly AND easy to make!
Cost Breakdown for This DIY Notebook Cover
~$1.00 each
Composition notebook
~$1.25
Fabric (1/4 yard)
~$0.50
Iron-on letters
~$0.25
Spray adhesive (portion used)
Total: About $3 per notebook
Does Spray Adhesive Really Work for a Fabric Covered Notebook?
Yes, if you use the right type!
A strong fabric-safe spray adhesive creates a surprisingly durable bond between fabric and cardboard. I’ve tossed these into bags, stacked them, and used them daily without peeling. I originally wrote this post in 2016 and I’m STILL using these notebooks 10 years later!
The key is:
- Apply a light, even coat
- Wait about 15 seconds before pressing
- Smooth from one end to the other
- Place something heavy on top while it dries
Avoid thin craft glue, that’s what causes bubbling and wrinkling.
If you want extra security, you can add a thin line of fabric glue along the edges after trimming.
Common Mistakes When Making a Composition Notebook Cover DIY
Cutting the fabric too small: Always leave extra. You can trim later.
Spraying too much adhesive: A light, even coat works best.
Not waiting before pressing: Give the adhesive 10–15 seconds to get tacky.
Smoothing unevenly: Always smooth from one side to the other to avoid bubbles.
Ironing letters too soon: Let the adhesive fully set first.
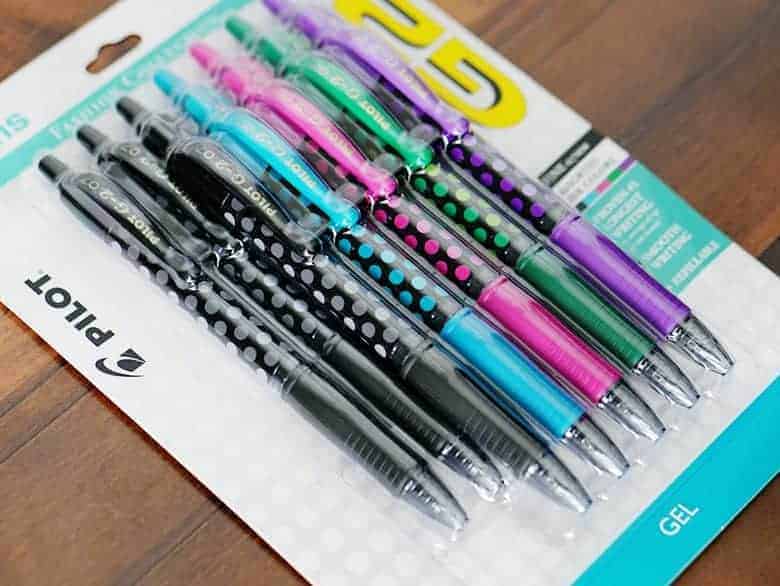
If you’re making these in bulk for gifts, I highly recommend grabbing your composition notebooks and spray adhesive ahead of time so you can batch them all at once. A pack of G2 pens and some personalized notebooks sound like the perfect thoughtful handmade teacher gift to me 🙂
This was a sponsored post. All opinions are mine alone.


Hi Bre,
Greetings from Down Under.
I’m definitely a pen & paper person, & you’re right, it’s such a great feeling to tick things off a paper list than a digital one.
Thank you for this cute & easy tutorial, I have a few “boring” notebooks that need a jazzing up & this will be perfect.
With kindest regards
Reet