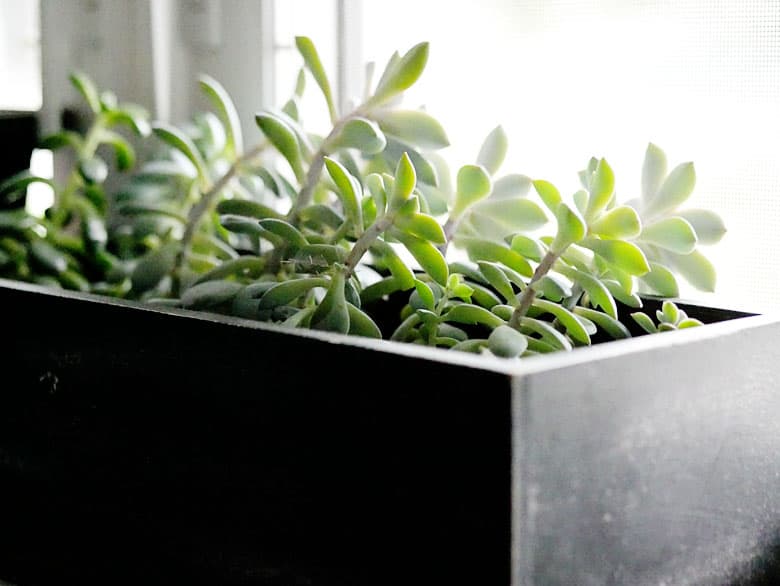
If your windowsill is overflowing with plants… you’re not alone.
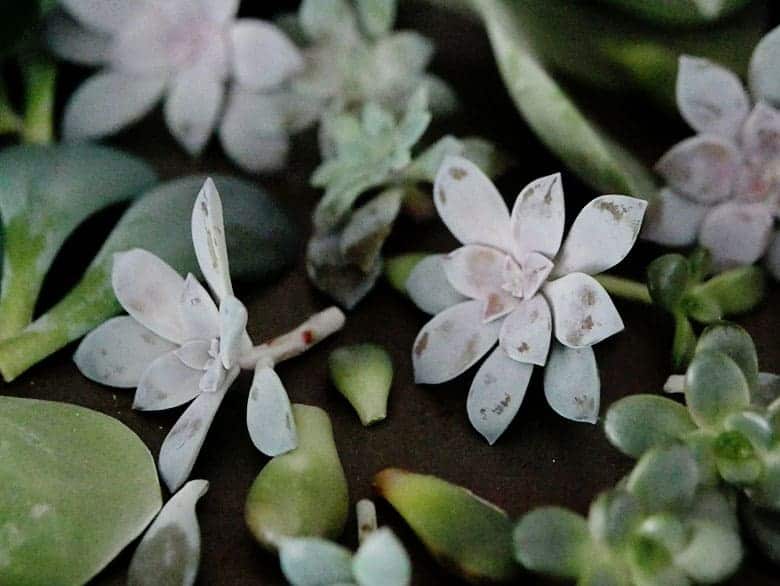
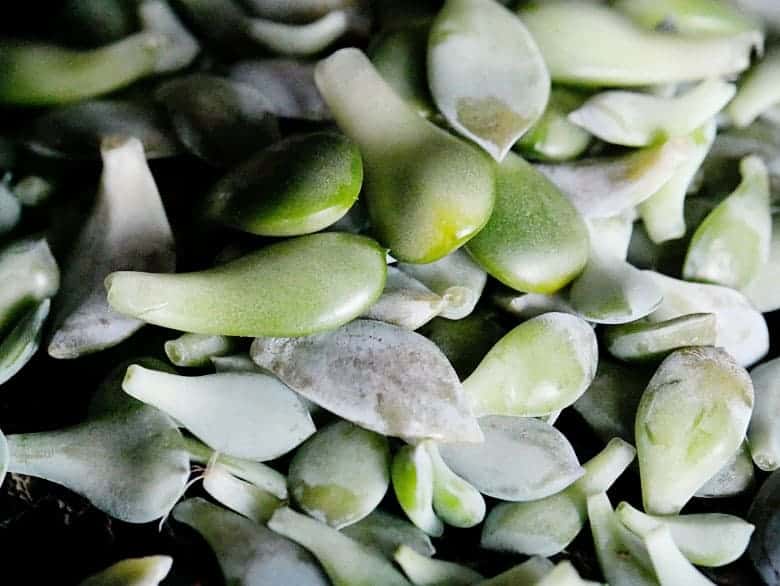
I hit a point where my succulents were literally taking over. Every time I trimmed one, I couldn’t throw the leaves away (because… free plants). Suddenly I had dozens of baby succulents and nowhere to put them.
That’s when I realized:
I didn’t need more space… I needed to go vertical!
I started searching for a 3-tier hanging planter that felt clean, simple, and modern, but everything I found was either:
- overpriced
- too bulky
- or just not the look I wanted
So I made my own. And honestly… I think it turned out better than anything I could find online!
Why You’ll Love This DIY Hanging Planter
This DIY hanging planter is:
- lightweight (perfect for indoor hanging)
- renter-friendly
- budget-friendly
- and customizable for ANY plant style
…without spending $60–$100 on a store-bought version.
If you’ve got plants coming out of your ears but not enough sunlight space, this is one of the easiest ways to instantly upgrade your setup.
After testing a lightweight setup, I found that resin pots and twine were the best combination for keeping the planter easy to hang and easy to assemble.
Here’s exactly how to make your own 3-tier hanging planter.
DIY 3-Tier Hanging Planter Snapshot
TIME: 20-30 min
SKILL LEVEL: Beginner
ESTIMATED COST: About $15–$25 depending on your pots and twine
BEST FOR: Succulents, small indoor plants, and tight spaces
DIY 3-Tiered Hanging Indoor Planter
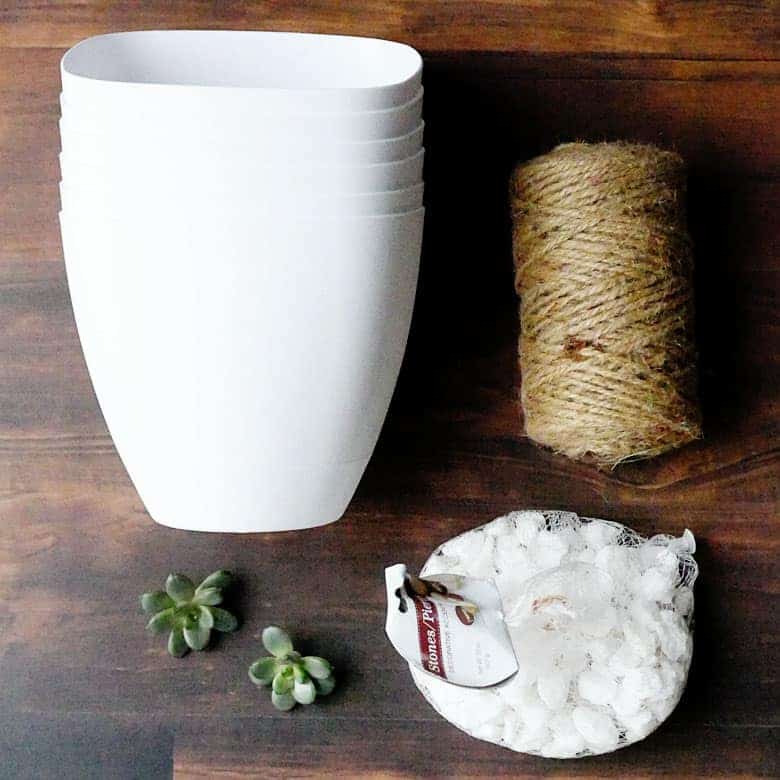
Materials You’ll Need:
- 3 lightweight white resin planters
- strong twine or cotton cord
- fast-draining potting soil for succulents
- electric drill
- drill bit slightly wider than your twine
- optional decorative rocks
- optional plastic bottles to lighten the pots
For indoor hanging planters, lightweight materials matter. Resin pots are a much better choice than ceramic because they keep the finished planter easier and safer to hang.
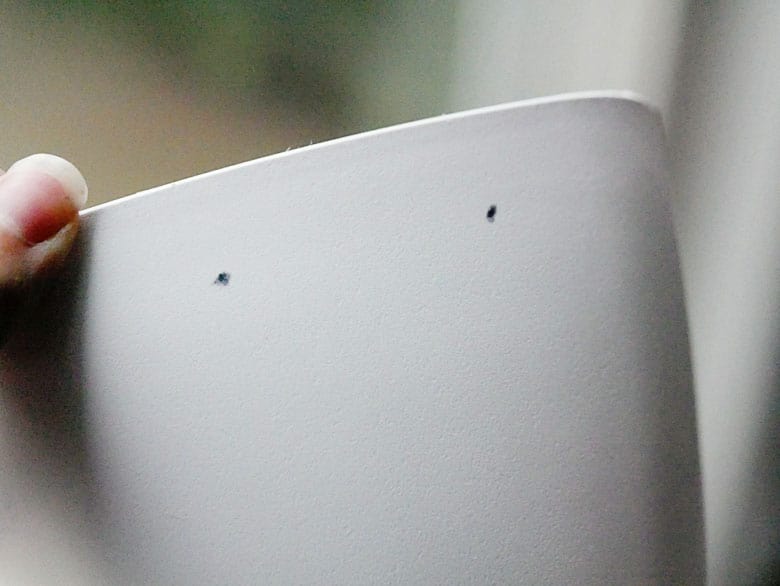
Step One: Mark the holes
Mark two holes on each side of the pot for a total of four holes. Try to keep the spacing even so the planter hangs straight.
If your planter has slightly squared sides like mine, use the edges as a visual guide to place the holes evenly.
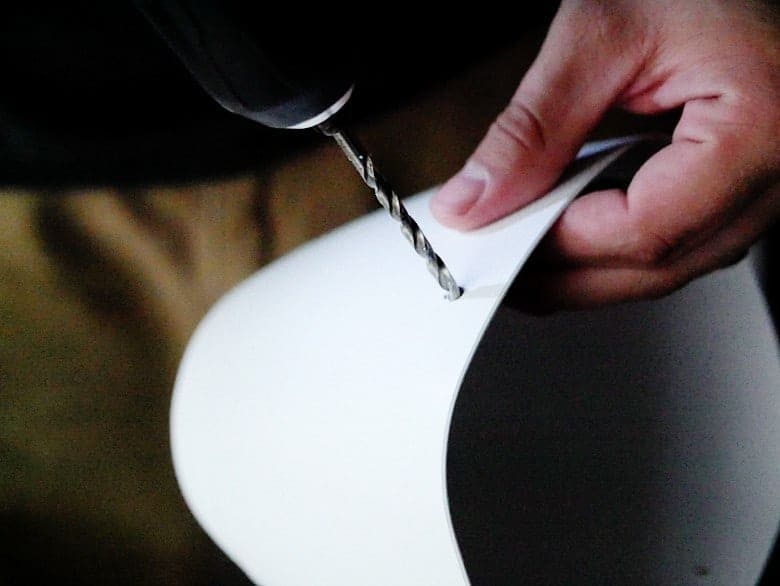
Step 2: Drill the Holes
Use a drill bit that is slightly wider than your twine or cord. Drill all four holes near the top rim of each pot.
Make sure the holes are large enough for the cord to slide through without fraying.
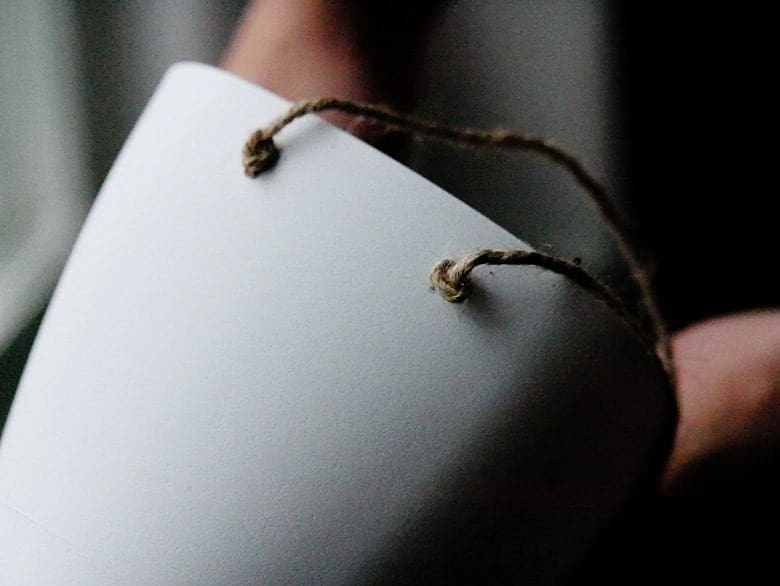
Step 3: Thread and Tie the First (Bottom) Pot
Cut two long pieces of twine and thread them through the holes. Tie secure double knots on the outside of the pot so the cord stays anchored in place.
Leave the longer ends extending upward so they can support the next tier.
Step 4: Add the Next Two Pots
Repeat the same process with the second and third pots, using the same cords to stack the tiers.
Try to keep the spacing between each pot even so the finished planter hangs balanced instead of crooked.
At the top, gather the cords together and tie a strong double knot for hanging.
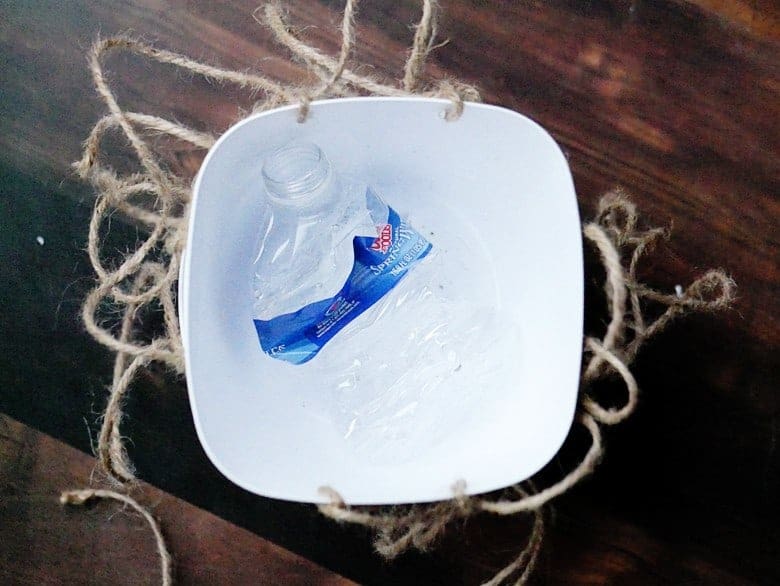
Step 5: Lighten the Bottom of Each Pot
To keep the planter lighter, place a plastic water bottle or another lightweight filler in the bottom of each pot before adding soil.
This helps reduce the amount of soil needed and keeps the finished planter easier to hang.
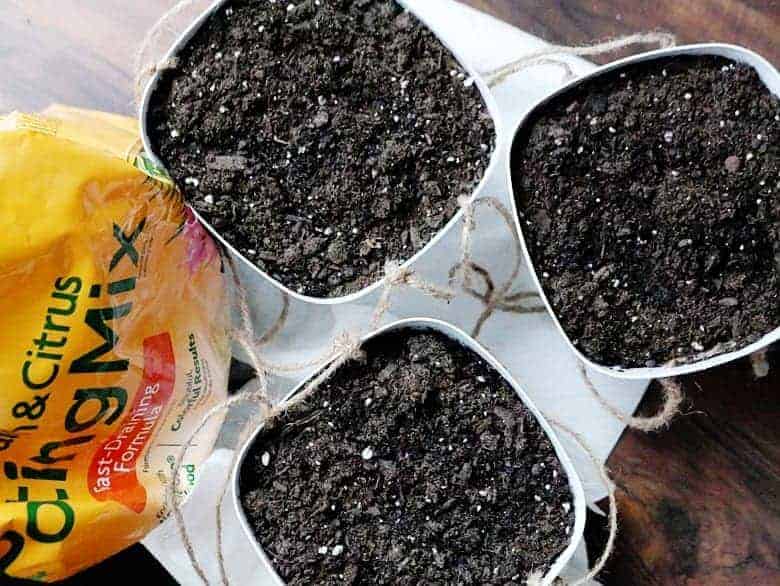
Step 6: Add the Right Potting Mix
Fill each pot with fast-draining potting soil.
This is especially important for succulents and cacti, since they do not do well in soil that stays wet for too long.
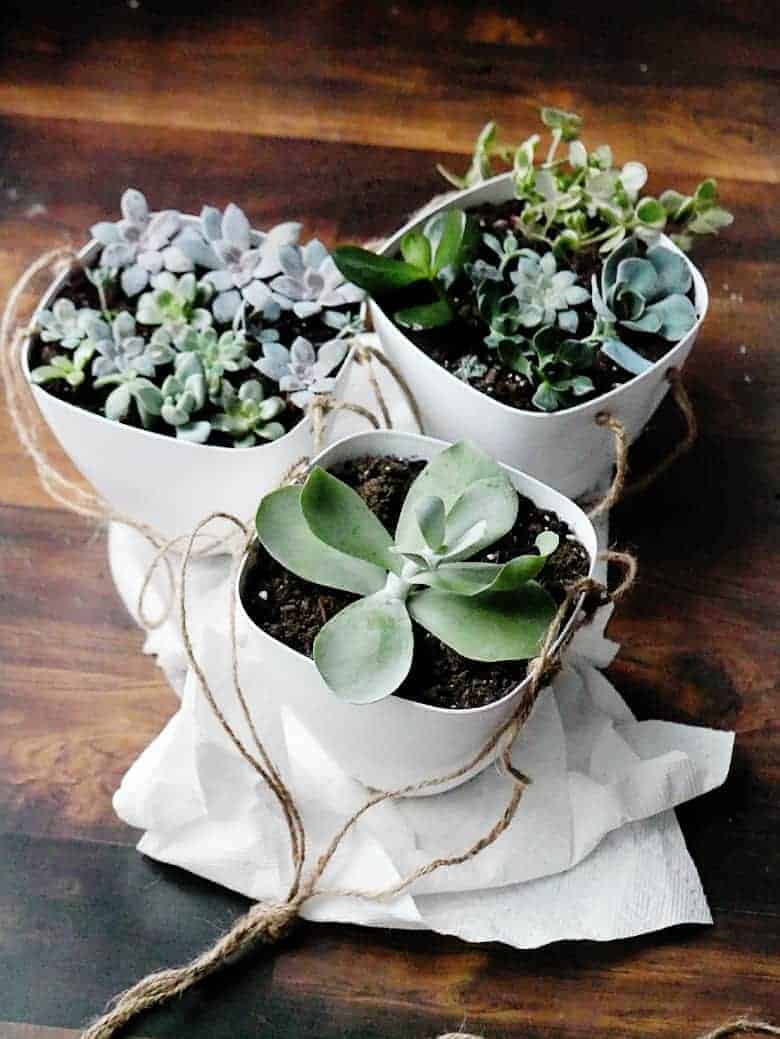
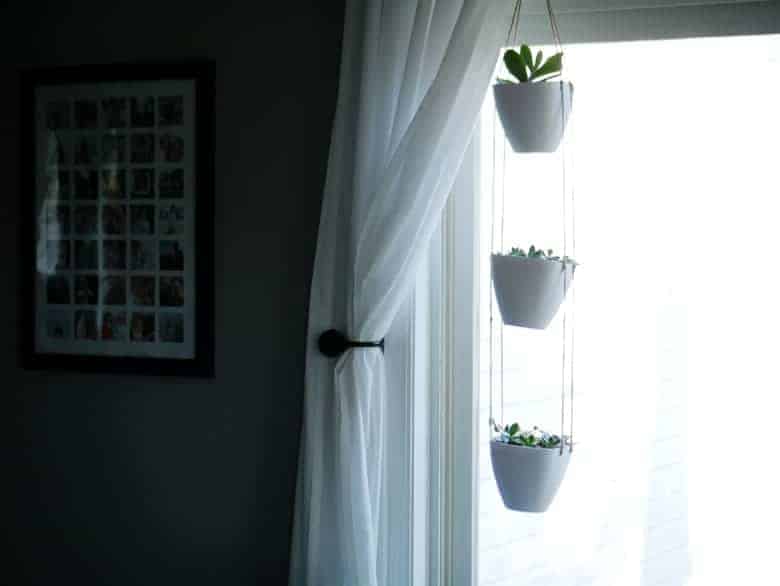
Step 7: Add Your Plants and Hang It Up
Plant your succulents or other small plants, then hang your finished planter in a bright window or sunny corner.
Why This DIY Is Cheaper Than Buying One
One of the best parts about this DIY hanging planter is the cost. A store-bought 3-tier hanging planter can easily cost $50 or more, especially in a simple neutral color.
This version can usually be made for around $15–$25 depending on the materials you already have on hand, which makes it a much more budget-friendly option for plant lovers.

Final Thoughts
This DIY hanging planter is one of my favorite ways to fit more plants into a small sunny space without spending a fortune.
If you love easy home DIYs that feel practical, pretty, and a little vintage-inspired, this is such a satisfying project to make. It’s quick, customizable, and perfect for anyone trying to make the most of a growing indoor plant collection.


Bre, Thank for contributing this post to my Craft & Food Roundups request. I have featured it in my latest post “All About Succulents: Decorating”. Come check it out and feel free to share with your friends!! Thanks, Nichi
http://www.mandatorymooch.com/2018/07/all-about-succulents-decorating.html
That’s so awesome, thanks Nichi! I’ll definitely check it out 🙂