This is a sponsored conversation written by me on behalf of Cricut. The opinions and text are all mine.
Is there a funnier holiday movie than Christmas Vacation?
Answer: No.
It’s my favorite Christmas movie, and yet I had no evidence of it in any of my holiday decor.
Until now!
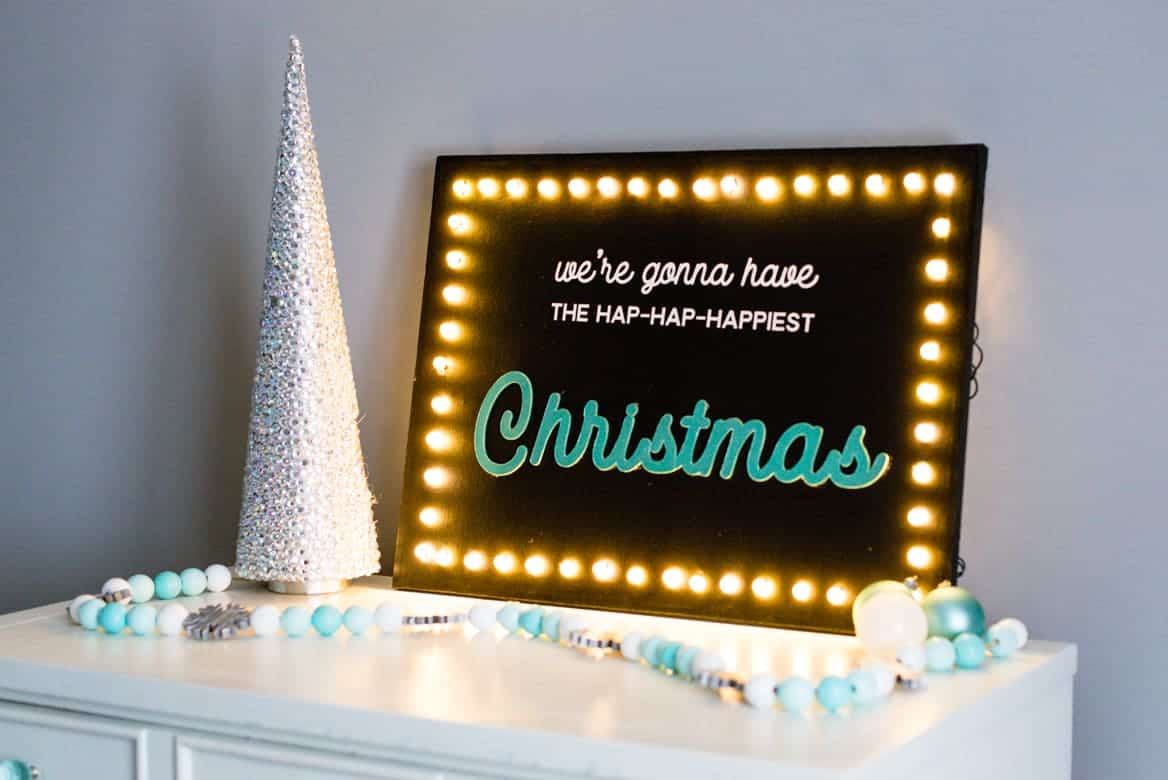
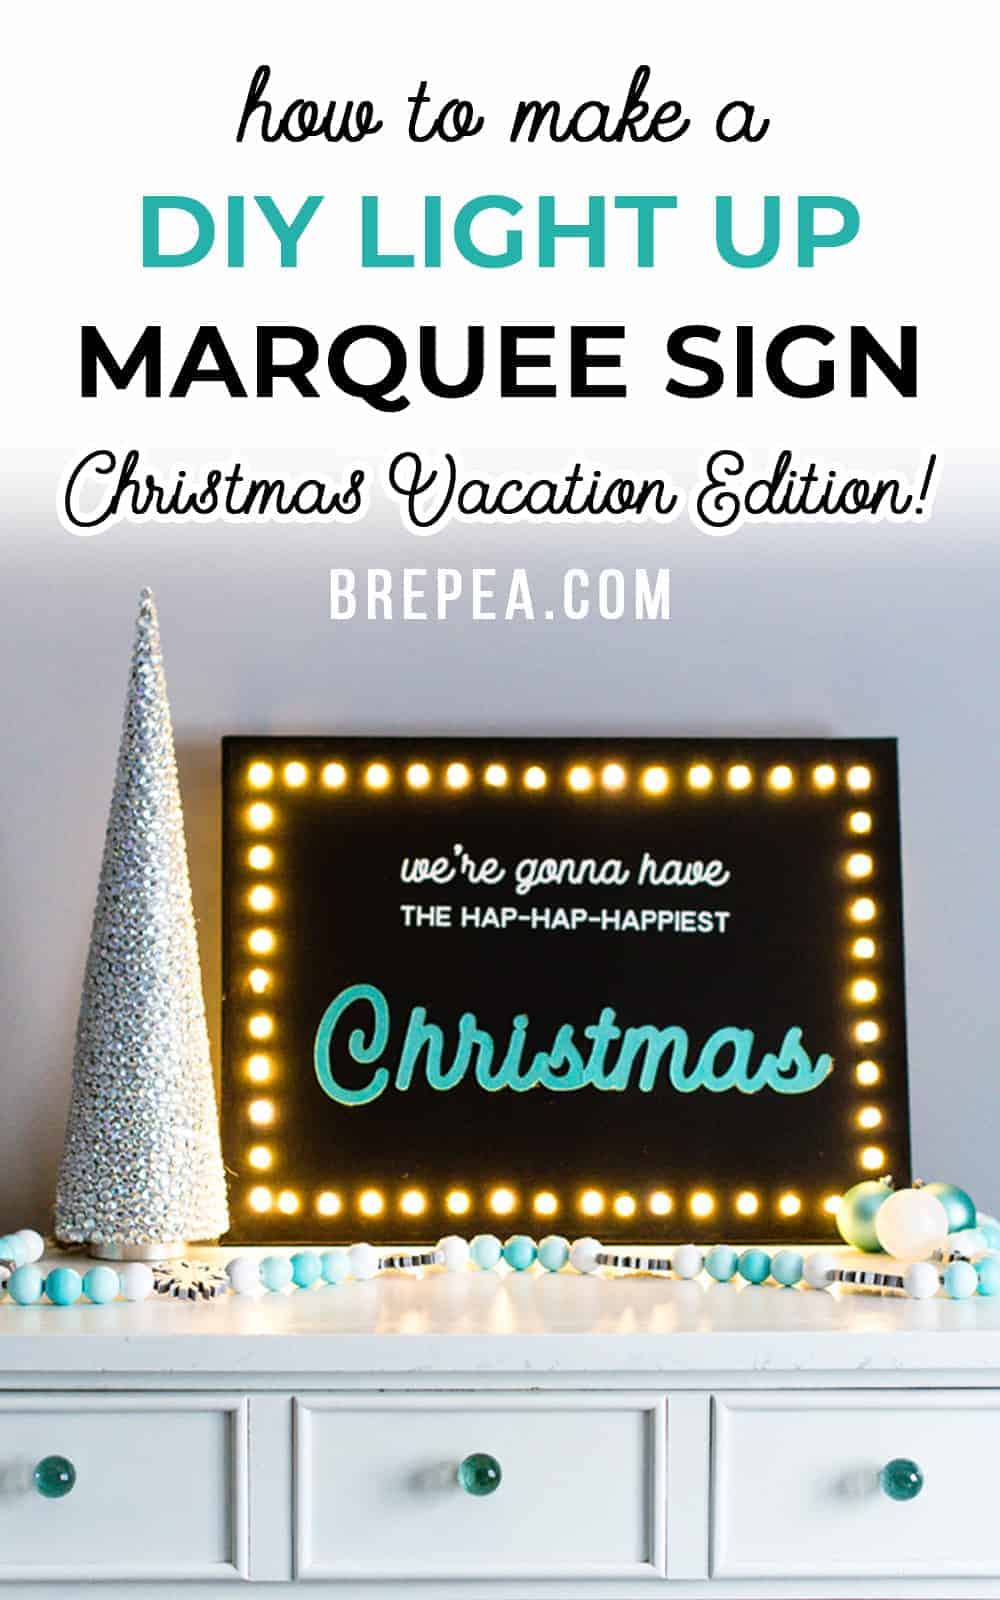
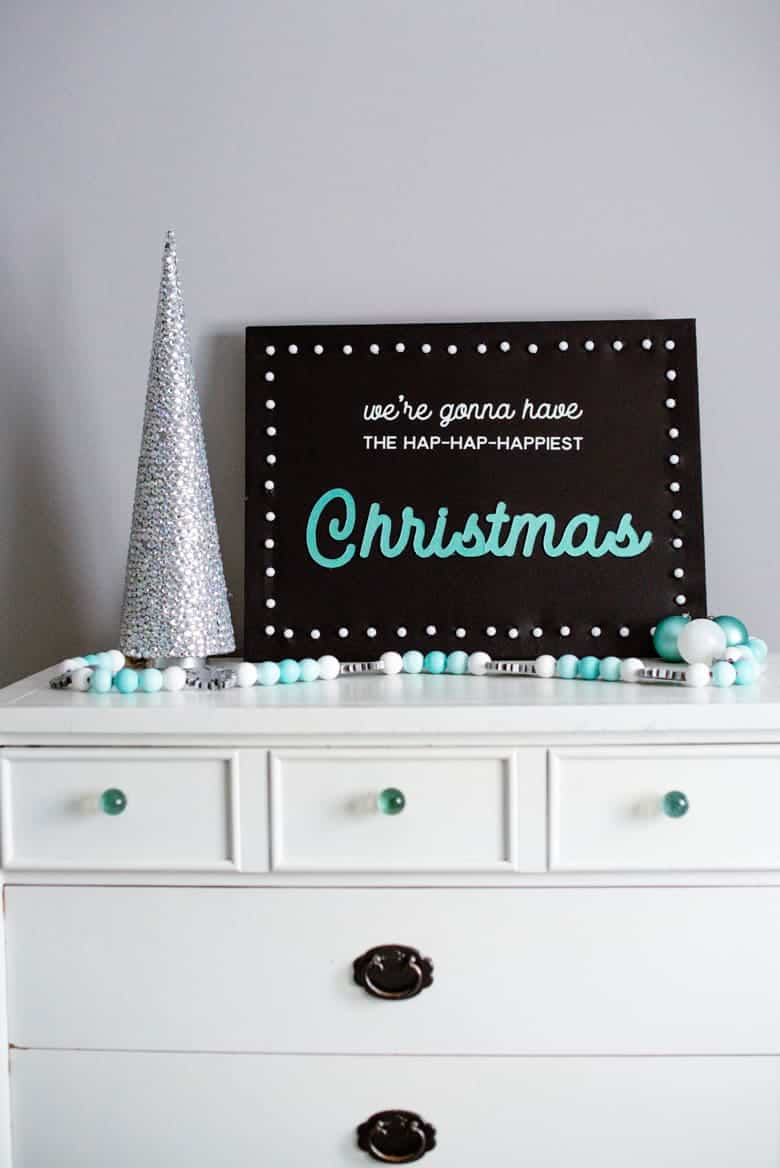
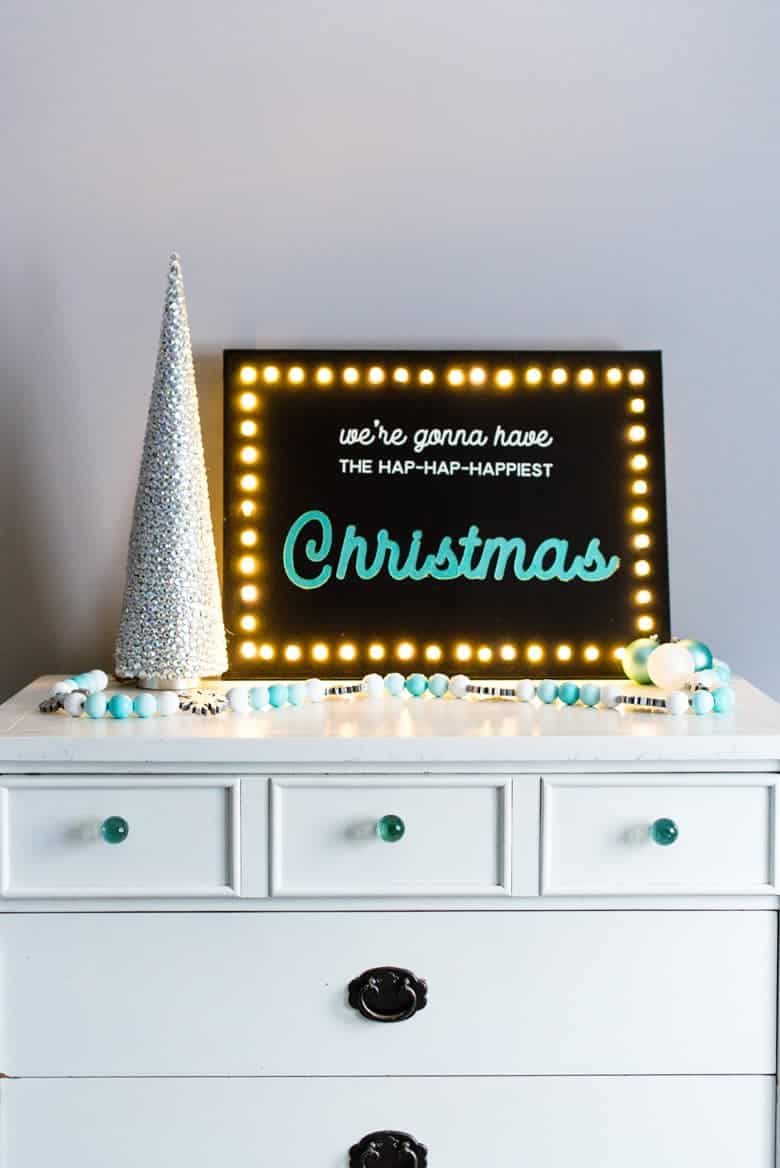
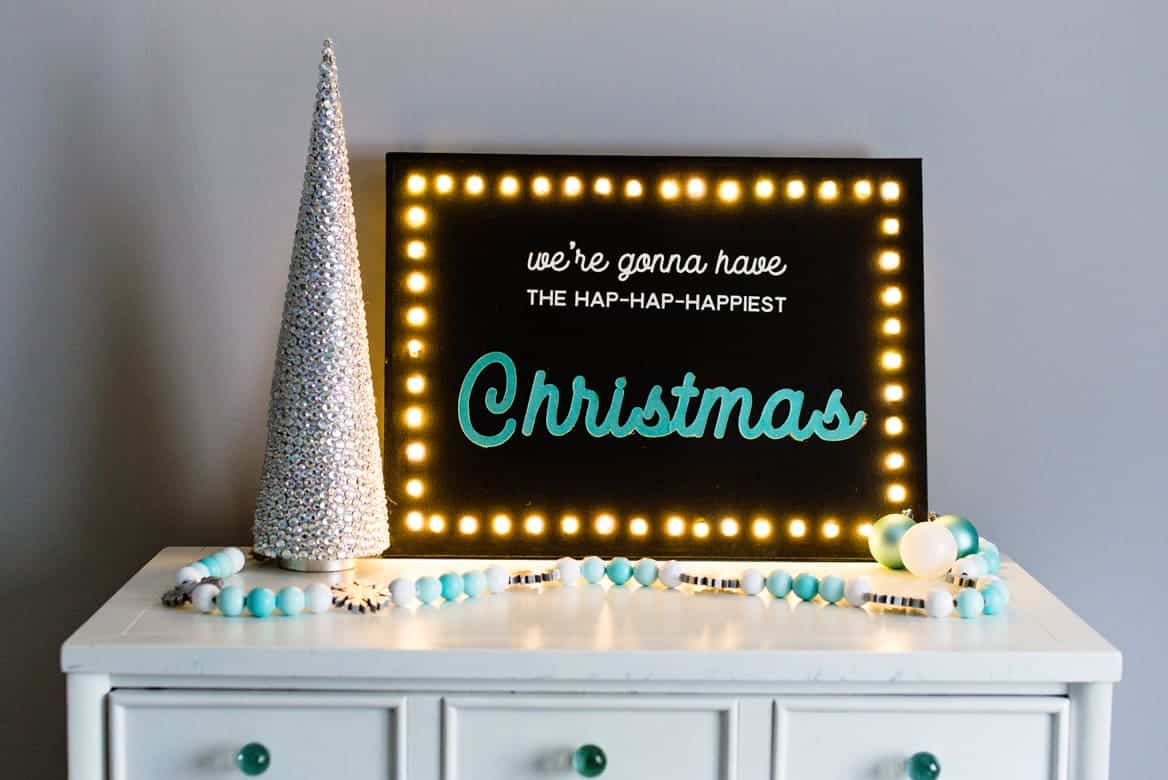
I’m going to show you how I made this DIY light up marquee Christmas sign using my Cricut Maker and a large canvas.
It turned out better than I even imagined!
This was the very first time I used my Maker with the knife blade to cut chipboard and I definitely learned A LOT along the way.

Learn from my mistakes and you can make one for yourself, too!
Just follow my tutorial below and make sure you download your free graphics.
You, too, can have the words of Clark Griswold immortalized on a festive piece of holiday art that you’ll treasure for years to come!
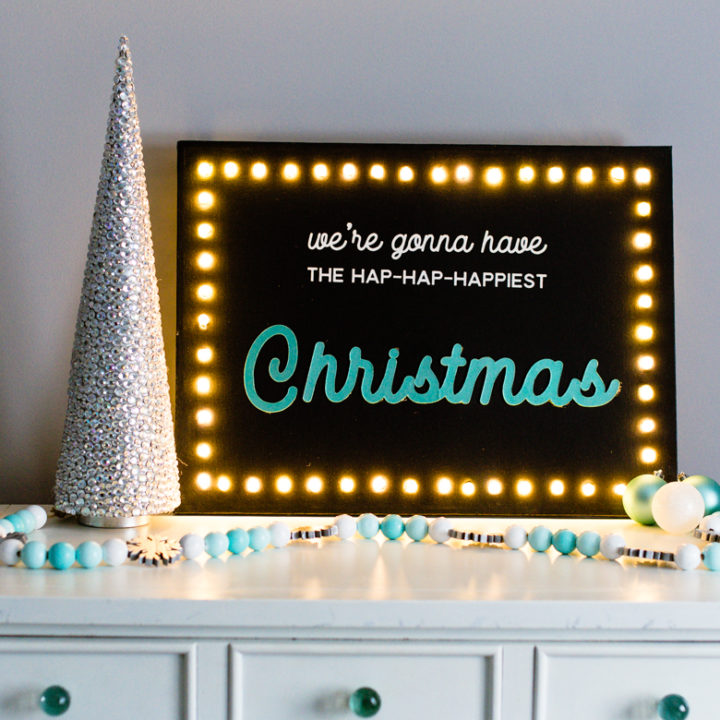
DIY Light Up Marquee Christmas Sign
Make this DIY Light Up Marquee Christmas Vacation Quote Sign for your home or apartment. It looks great sitting on top of a mantle!
Materials
Tools
- Cricut Maker
- Cricut Knife Blade
- EasyPress 2
- Exacto Knife
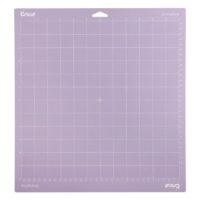
- Strong Grip Mat
- Regular Grip Mat
- Hot Glue Gun & Hot Glue
- Paint Brushes
- Scissors
Instructions
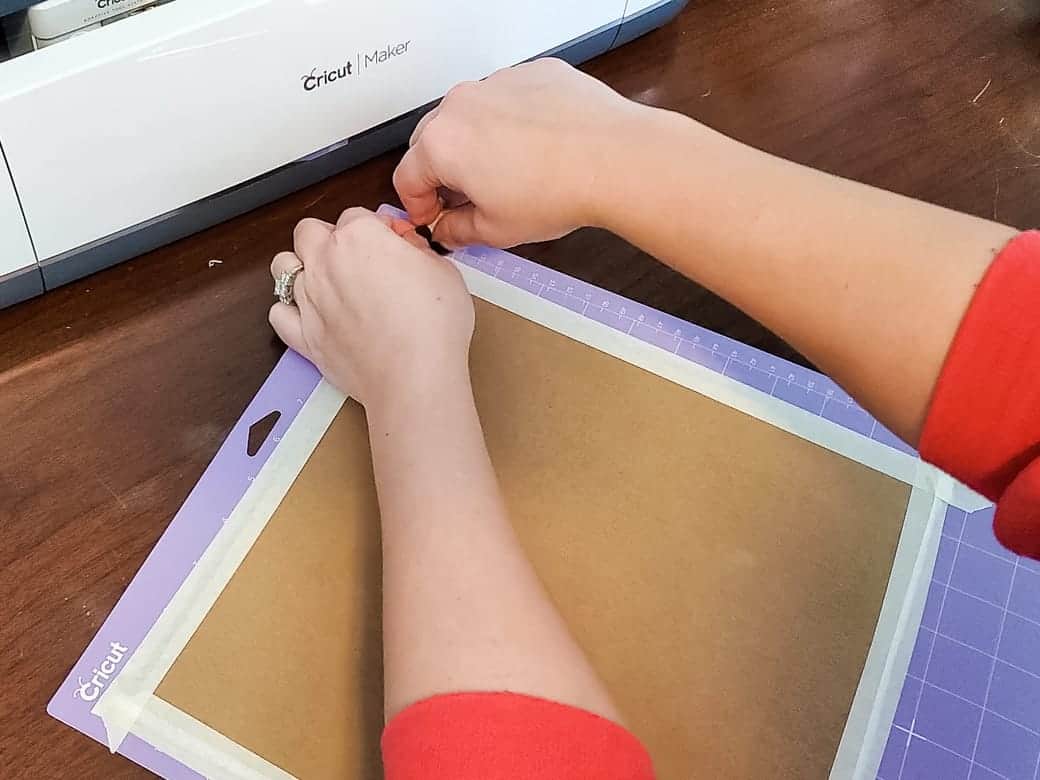
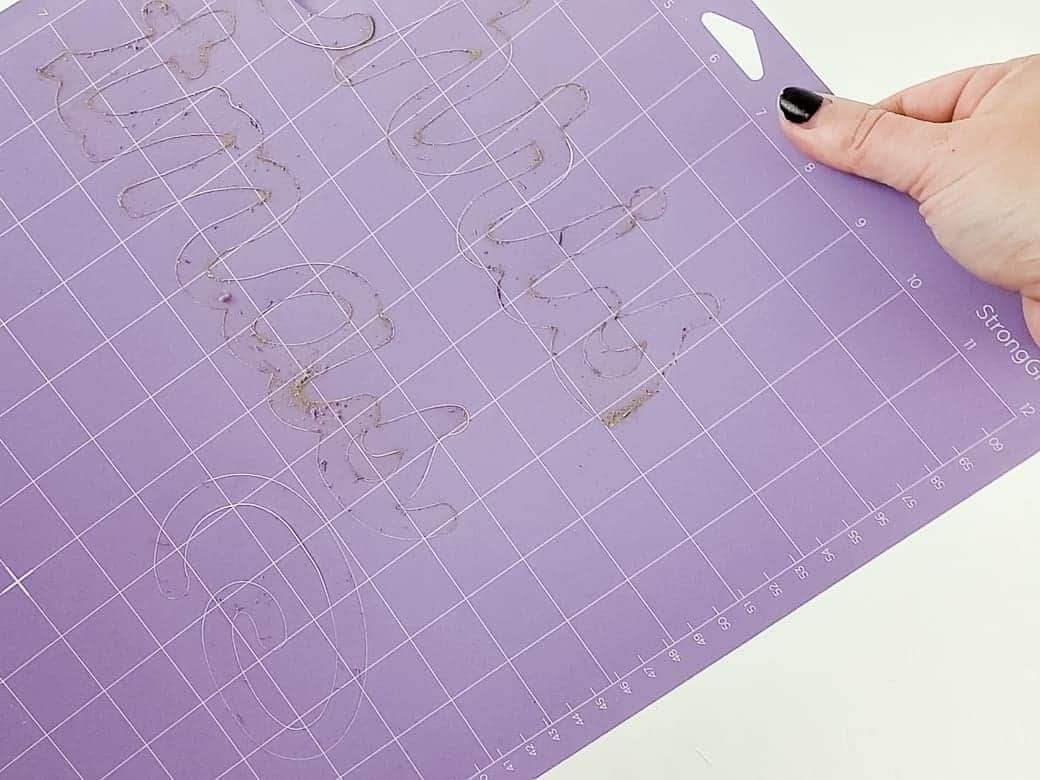
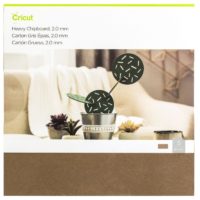
1. Prepare your 2mm chipboard to cut out the "Christmas" lettering by taping down the edges with masking or painters tape. Make sure you place the board slightly inside the edges of the mat and rub down so that it fully adheres to the mat.
2. Upload my "Christmas" PNG lettering to Cricut Design Space and resize it for your project. I wanted mine to be longer than my mat could cut, so I sliced my design so that I could make it as big as I wanted.
Make sure that you move the design slightly in when you go to cut so that it doesn't go off the edges.
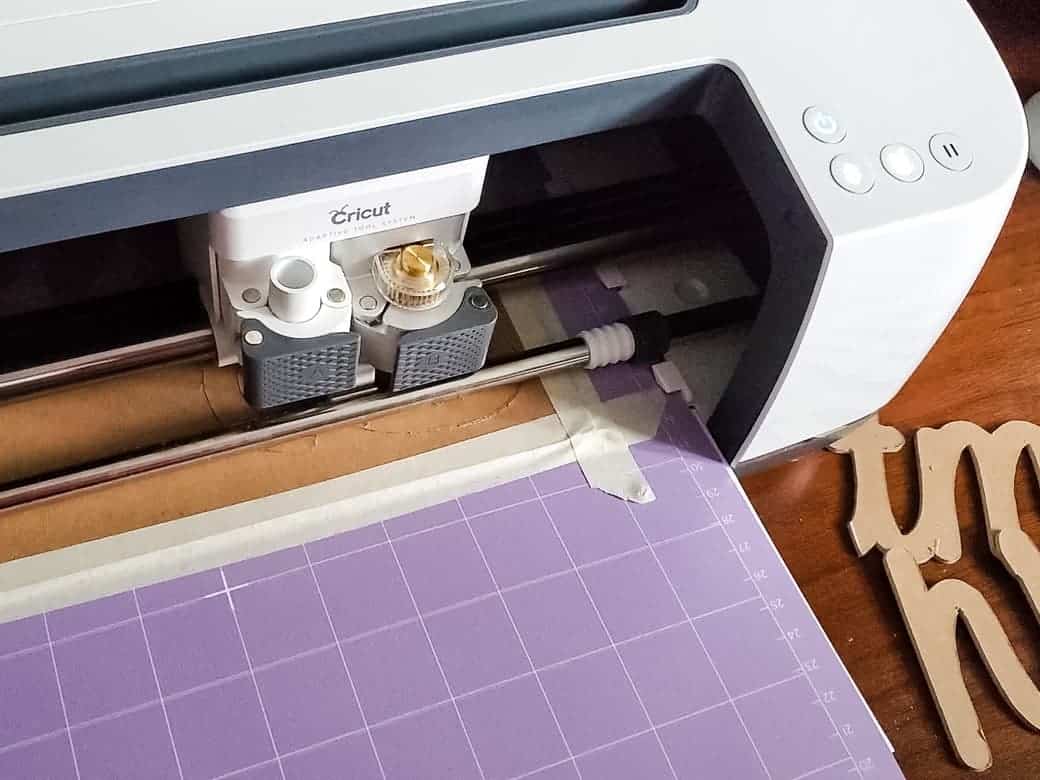
3. The machine will tell you that it needs many, many passes to finish the cut. Learn from me and do a check about 1/4 through the amount of cuts and keep checking every few passes until it's cut through the chipboard. I did not do this and let it go through all the passes, and the knife blade cut completely through the mat. I did email Cricut customer service and they're replacing my mat for me.
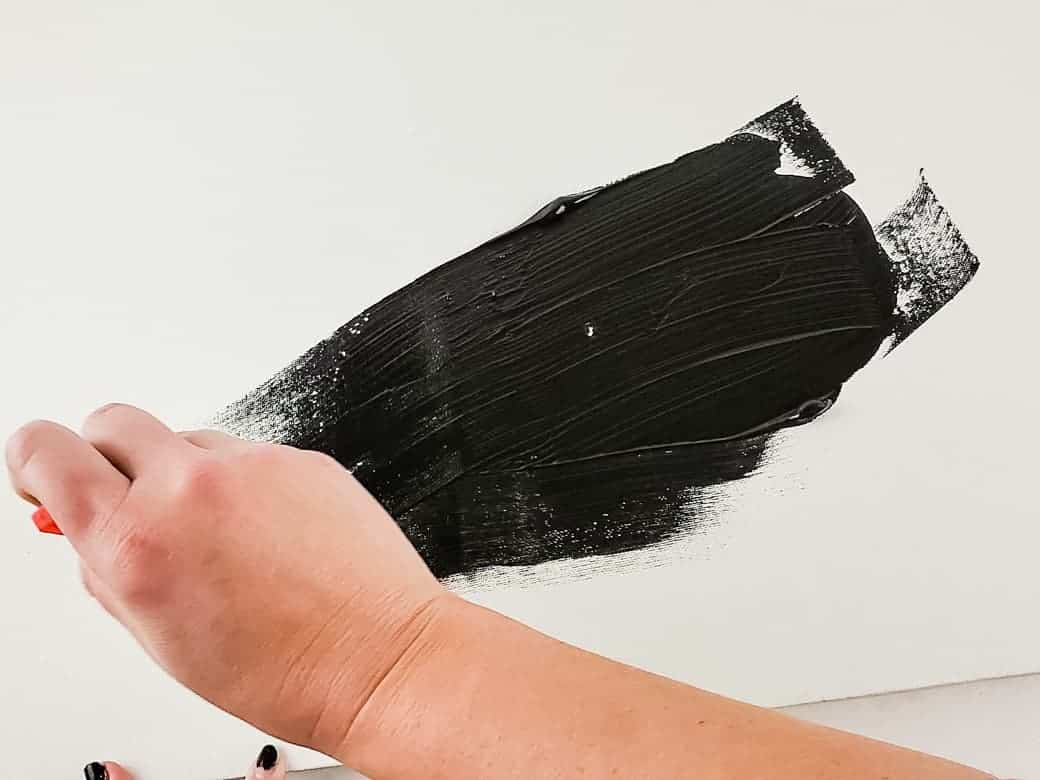
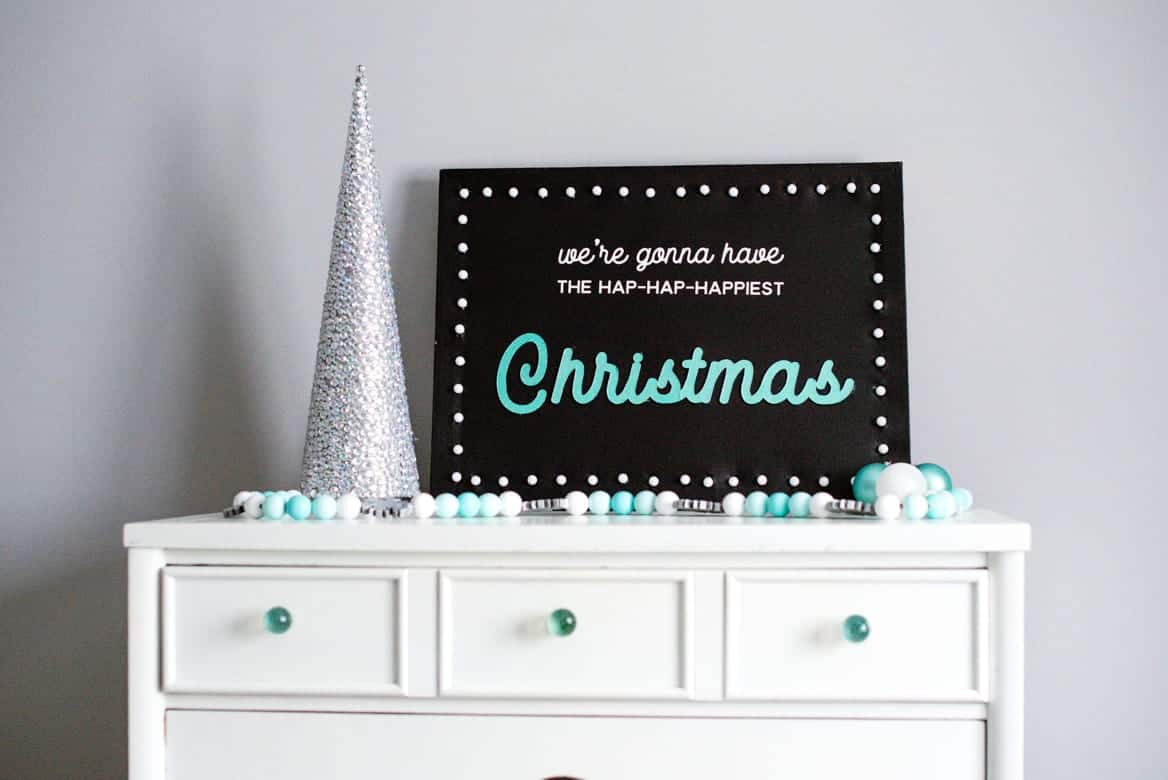
4. While your chipboard is being cut, give your canvas a coat of black acrylic paint using a foam brush.
5. Once your chipboard design is cut out, use fine grit sandpaper to smooth over the edges.

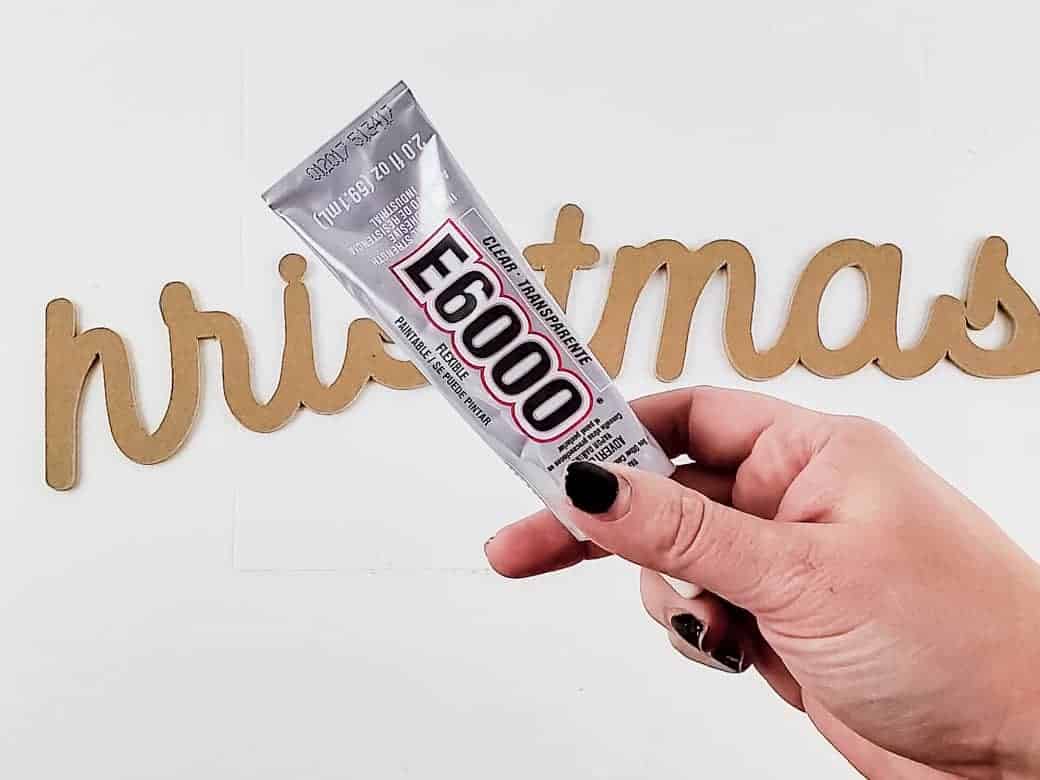
6. Because you can only cut a design that is a little bit under 12" long, and I wanted "Christmas" to be longer, I had to slice my design in 2 for the cut. Glue it back together using some E6000.
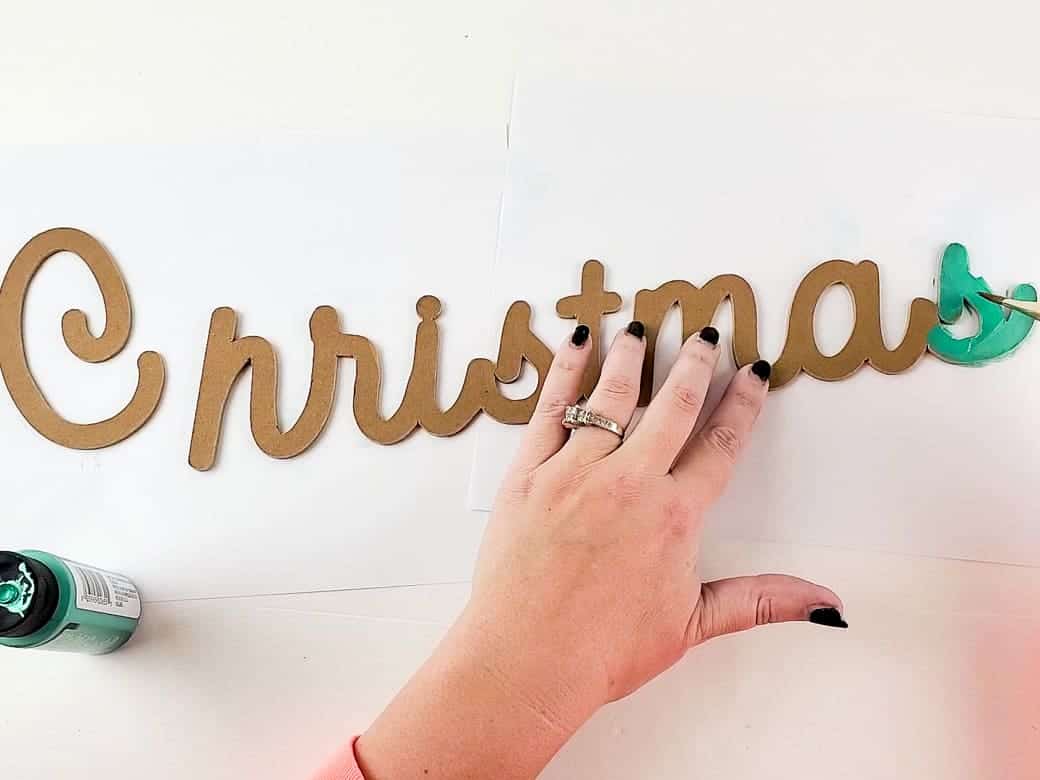
7. Once the glue is dry, paint the chipboard letters with some metallic turquoise craft paint. It took me 2 coats for complete coverage.
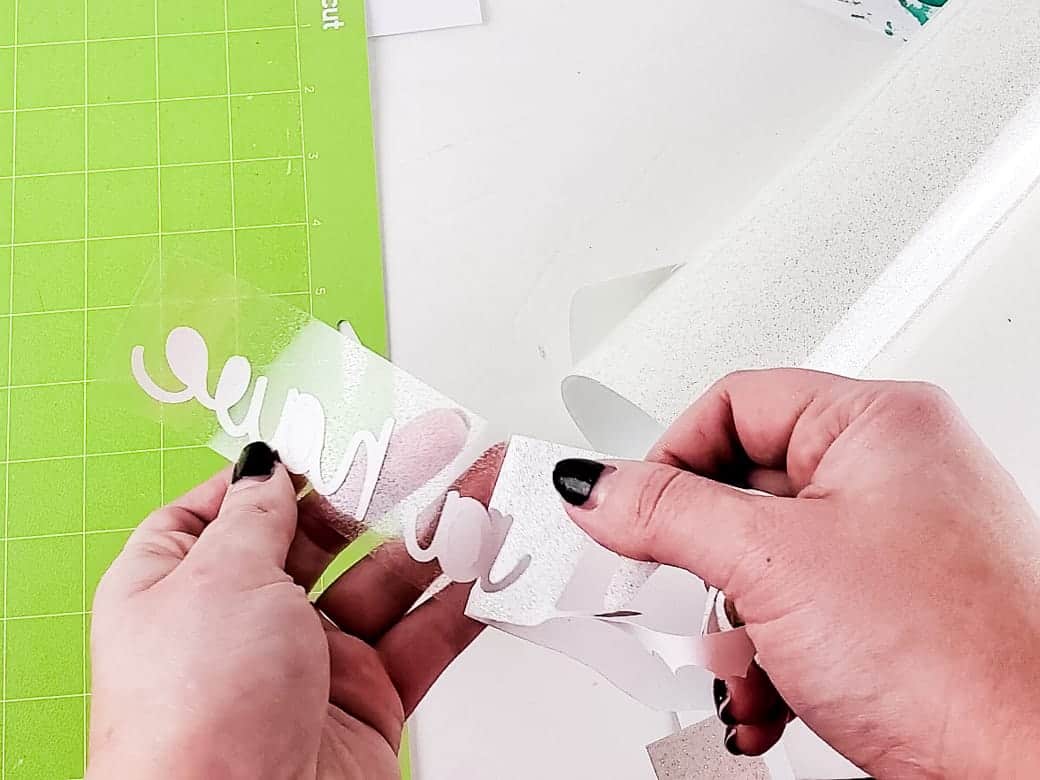
8. While the "Christmas" letters are drying, cut out the rest of the words on Cricut Glitter Iron-On vinyl. Make sure you click "mirror image" before you cut! Once your design is cut, you can weed the vinyl.
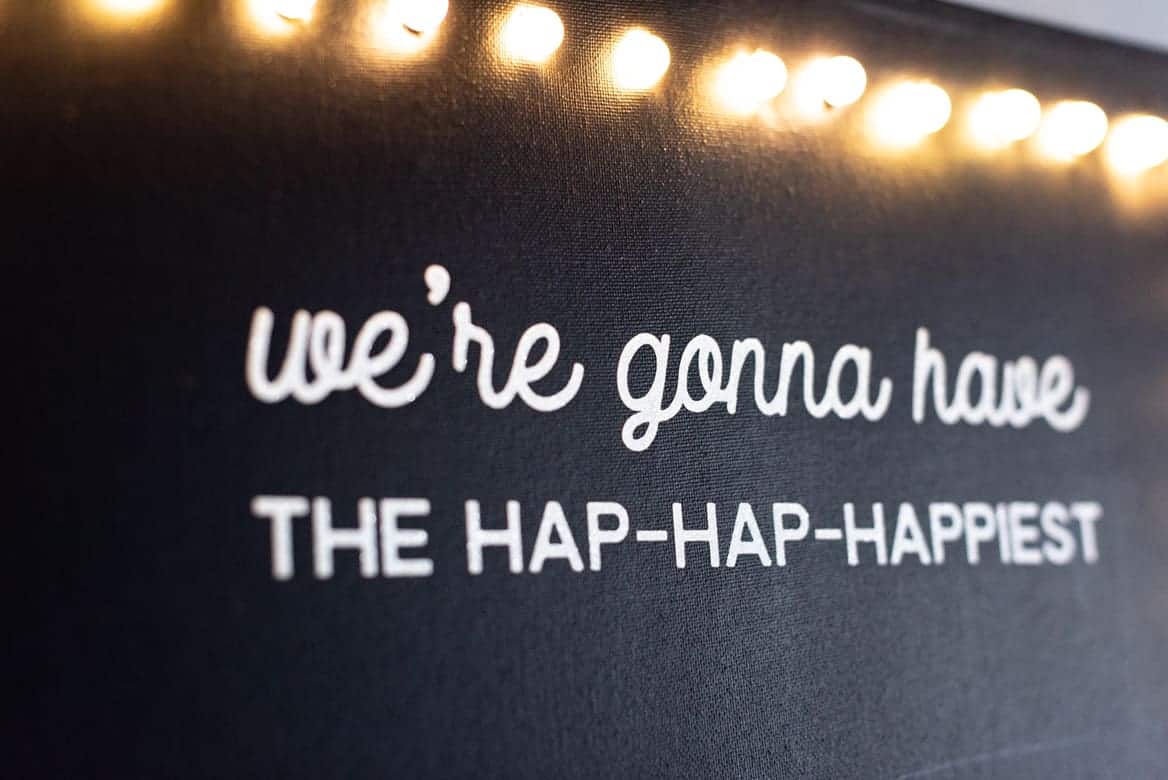
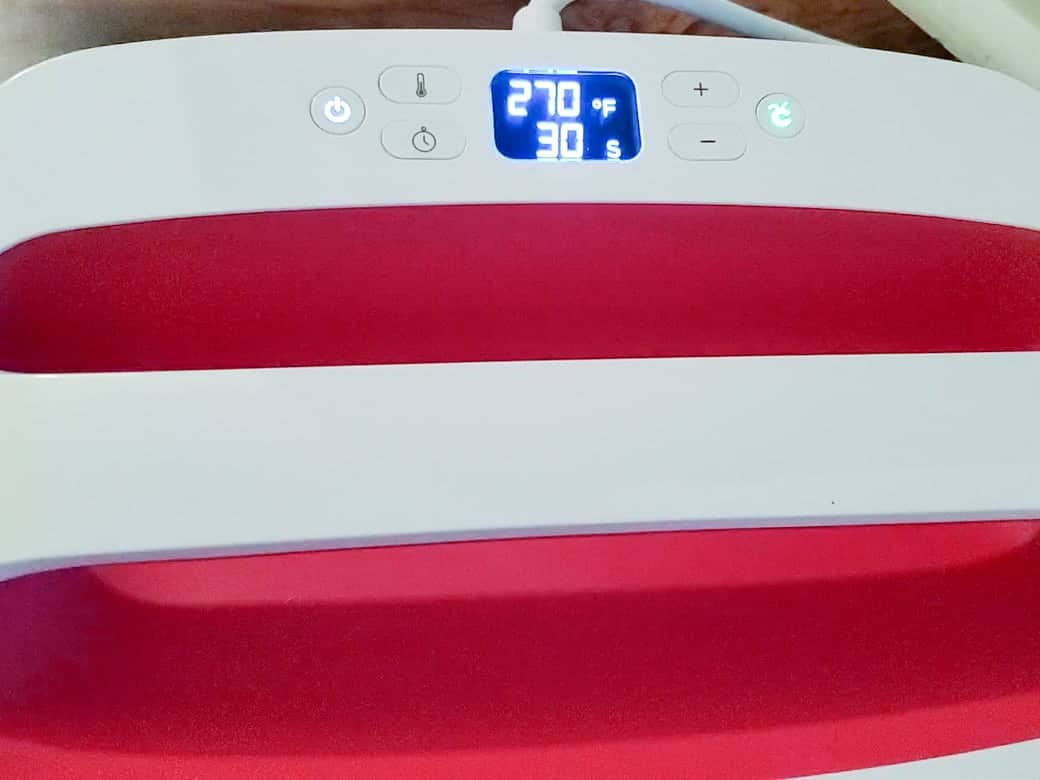
9. Once the canvas is fully dry (I waited a few hours), place your "We're Gonna Have" and "The Hap-Hap-Happiest" letters where you would like. Iron on using your EasyPress 2 at 270 degrees for 30 seconds.
FYI: this did change the finish of my acrylic paint, but I actually liked it better so I ended up ironing the entire canvas so it looked the same.
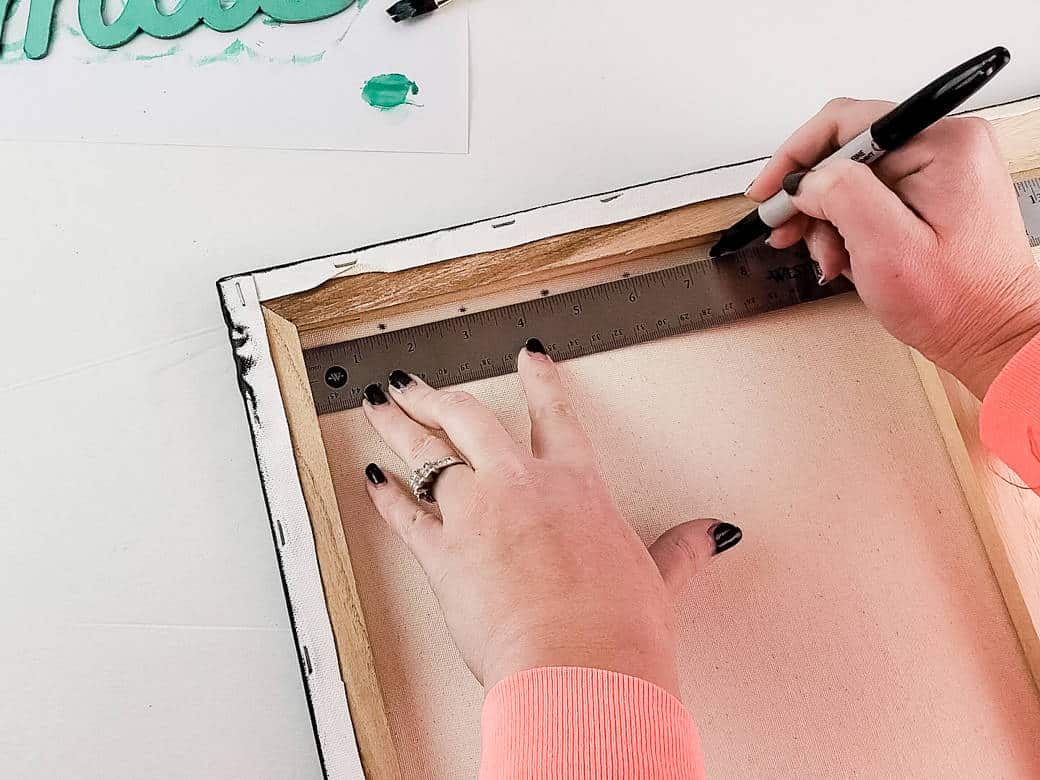
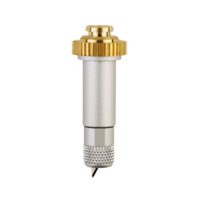
10. My string of lights had 50. Measuring the inside of the back of the canvas, I figured out I needed to place them approx. 1.5" apart. Using a ruler, I marked where the lights should go using a black sharpie.
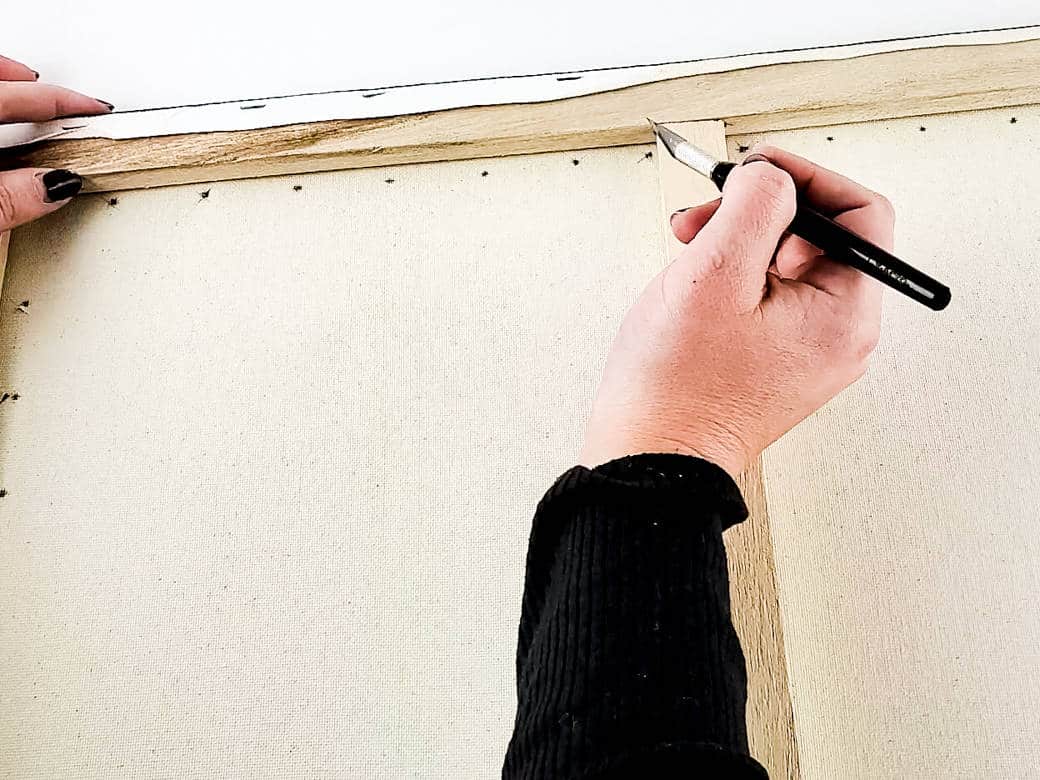
11. Using an exacto knife, cut a small "X" about a 1/4" wide on the back side of the canvas at every dot for the lights to go through. Starting in a bottom corner (so that you can easily plug the lights in) and at the end of the lights closest to the plug, push a bulb through the back of each "X".
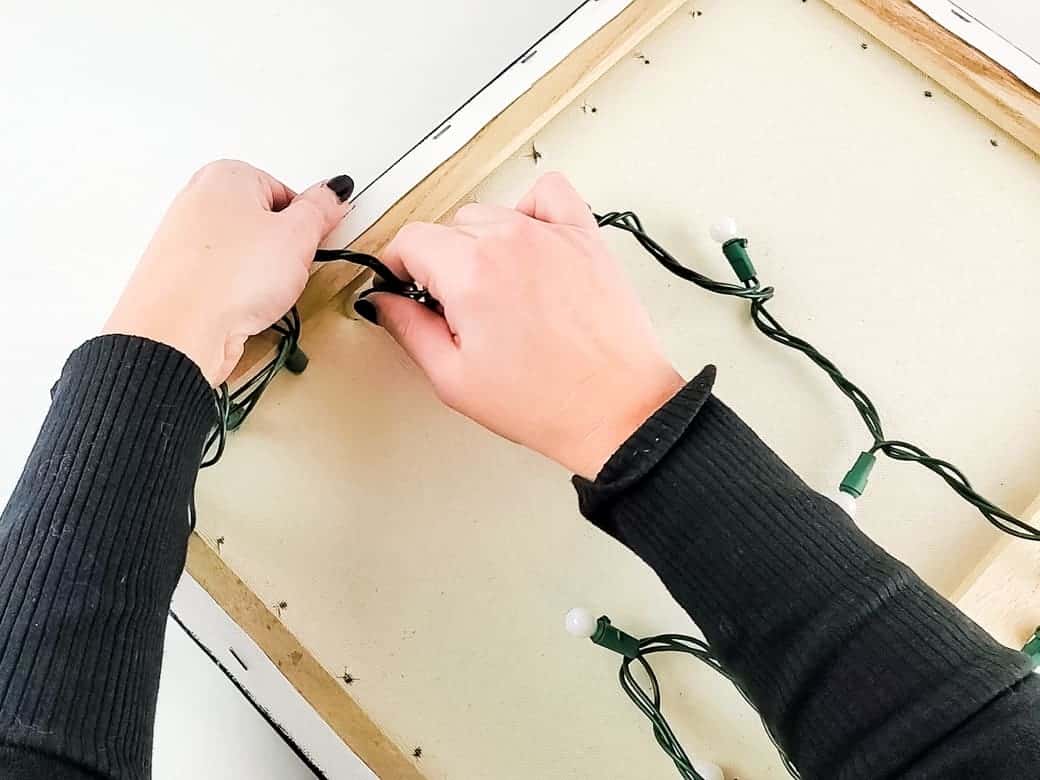
12. Secure the bulbs to the frame of the canvas with some hot glue. This keeps the lights pointing straight forward and looks more even.
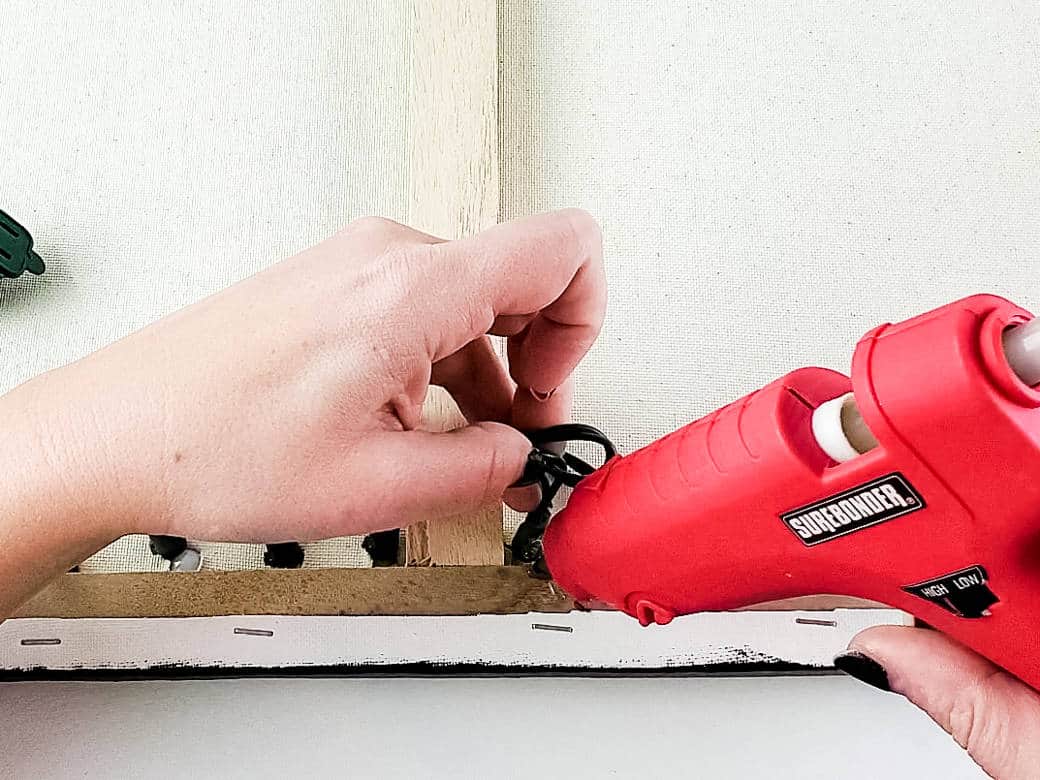
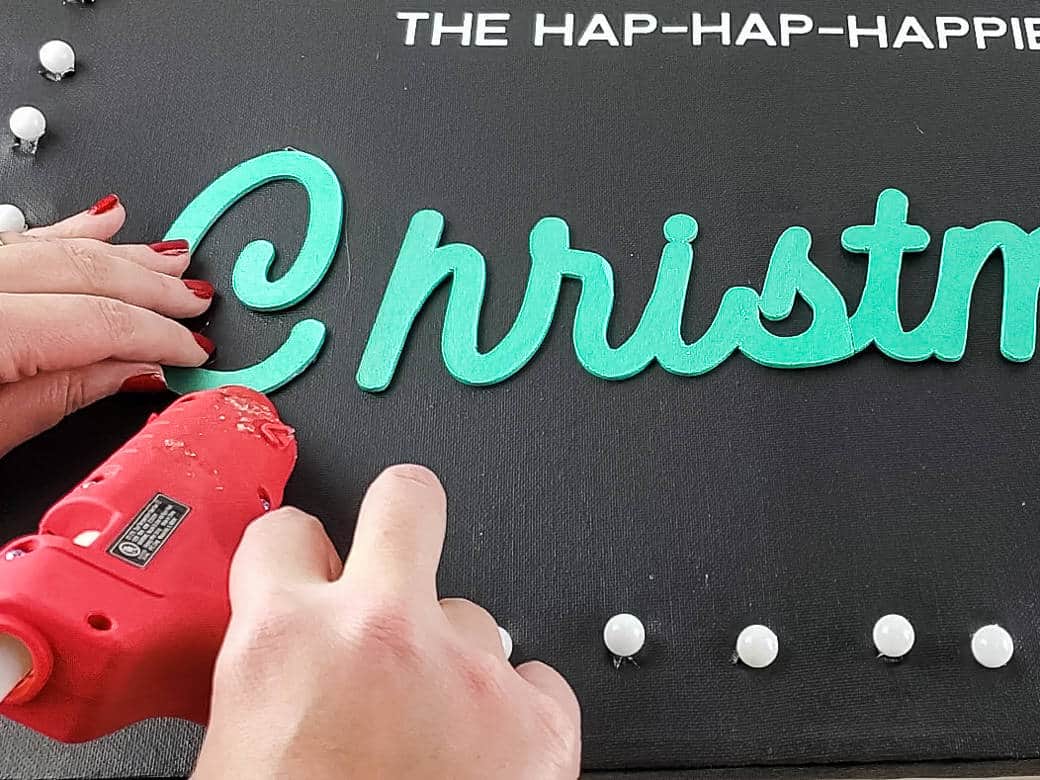
13. And FINALLY, attach the "Christmas" lettering using some hot glue.
Recommended Products
As an Amazon Associate and member of other affiliate programs, I earn from qualifying purchases.

If You Want Your DIY Light Up Marquee Sign Wall Mounted
I used a super cheap canvas that didn’t have a thick frame. Because of this, the frame wasn’t thick enough to conceal the entire length of the bulb. That meant that the frame would sit off the wall by about an inch.
This wasn’t a problem for me, because I wanted my canvas to be displayed propped up on a shelf.
If you want to be able to mount yours, make sure you buy a canvas with a thick frame that creates a cavity large enough for the length of the bulbs.
That, or I suppose you could make an additional frame to attach to the back of the canvas to give it more thickness.
Other Important Reminders I Learned the Hard Way:
Sometimes I just get going too fast when I’m working on projects, and then I make stupid mistakes.
Learn from me and don’t forget…
- Check your cut frequently when using the knife blade with your Maker. You won’t need as many as the software says!
- Make sure your design is fully lined up inside your material on the mat in Cricut Design Space.
- Don’t forget to mirror your design when using iron-on vinyl before you cut.
Despite the few speed bumps along the way, which were all totally my fault, I am so happy with the final product.
I just tell myself that I make the mistakes so that you guys don’t have to 😉
What are you waiting for? Christmas is coming! Download your sign graphics and get to crafting!