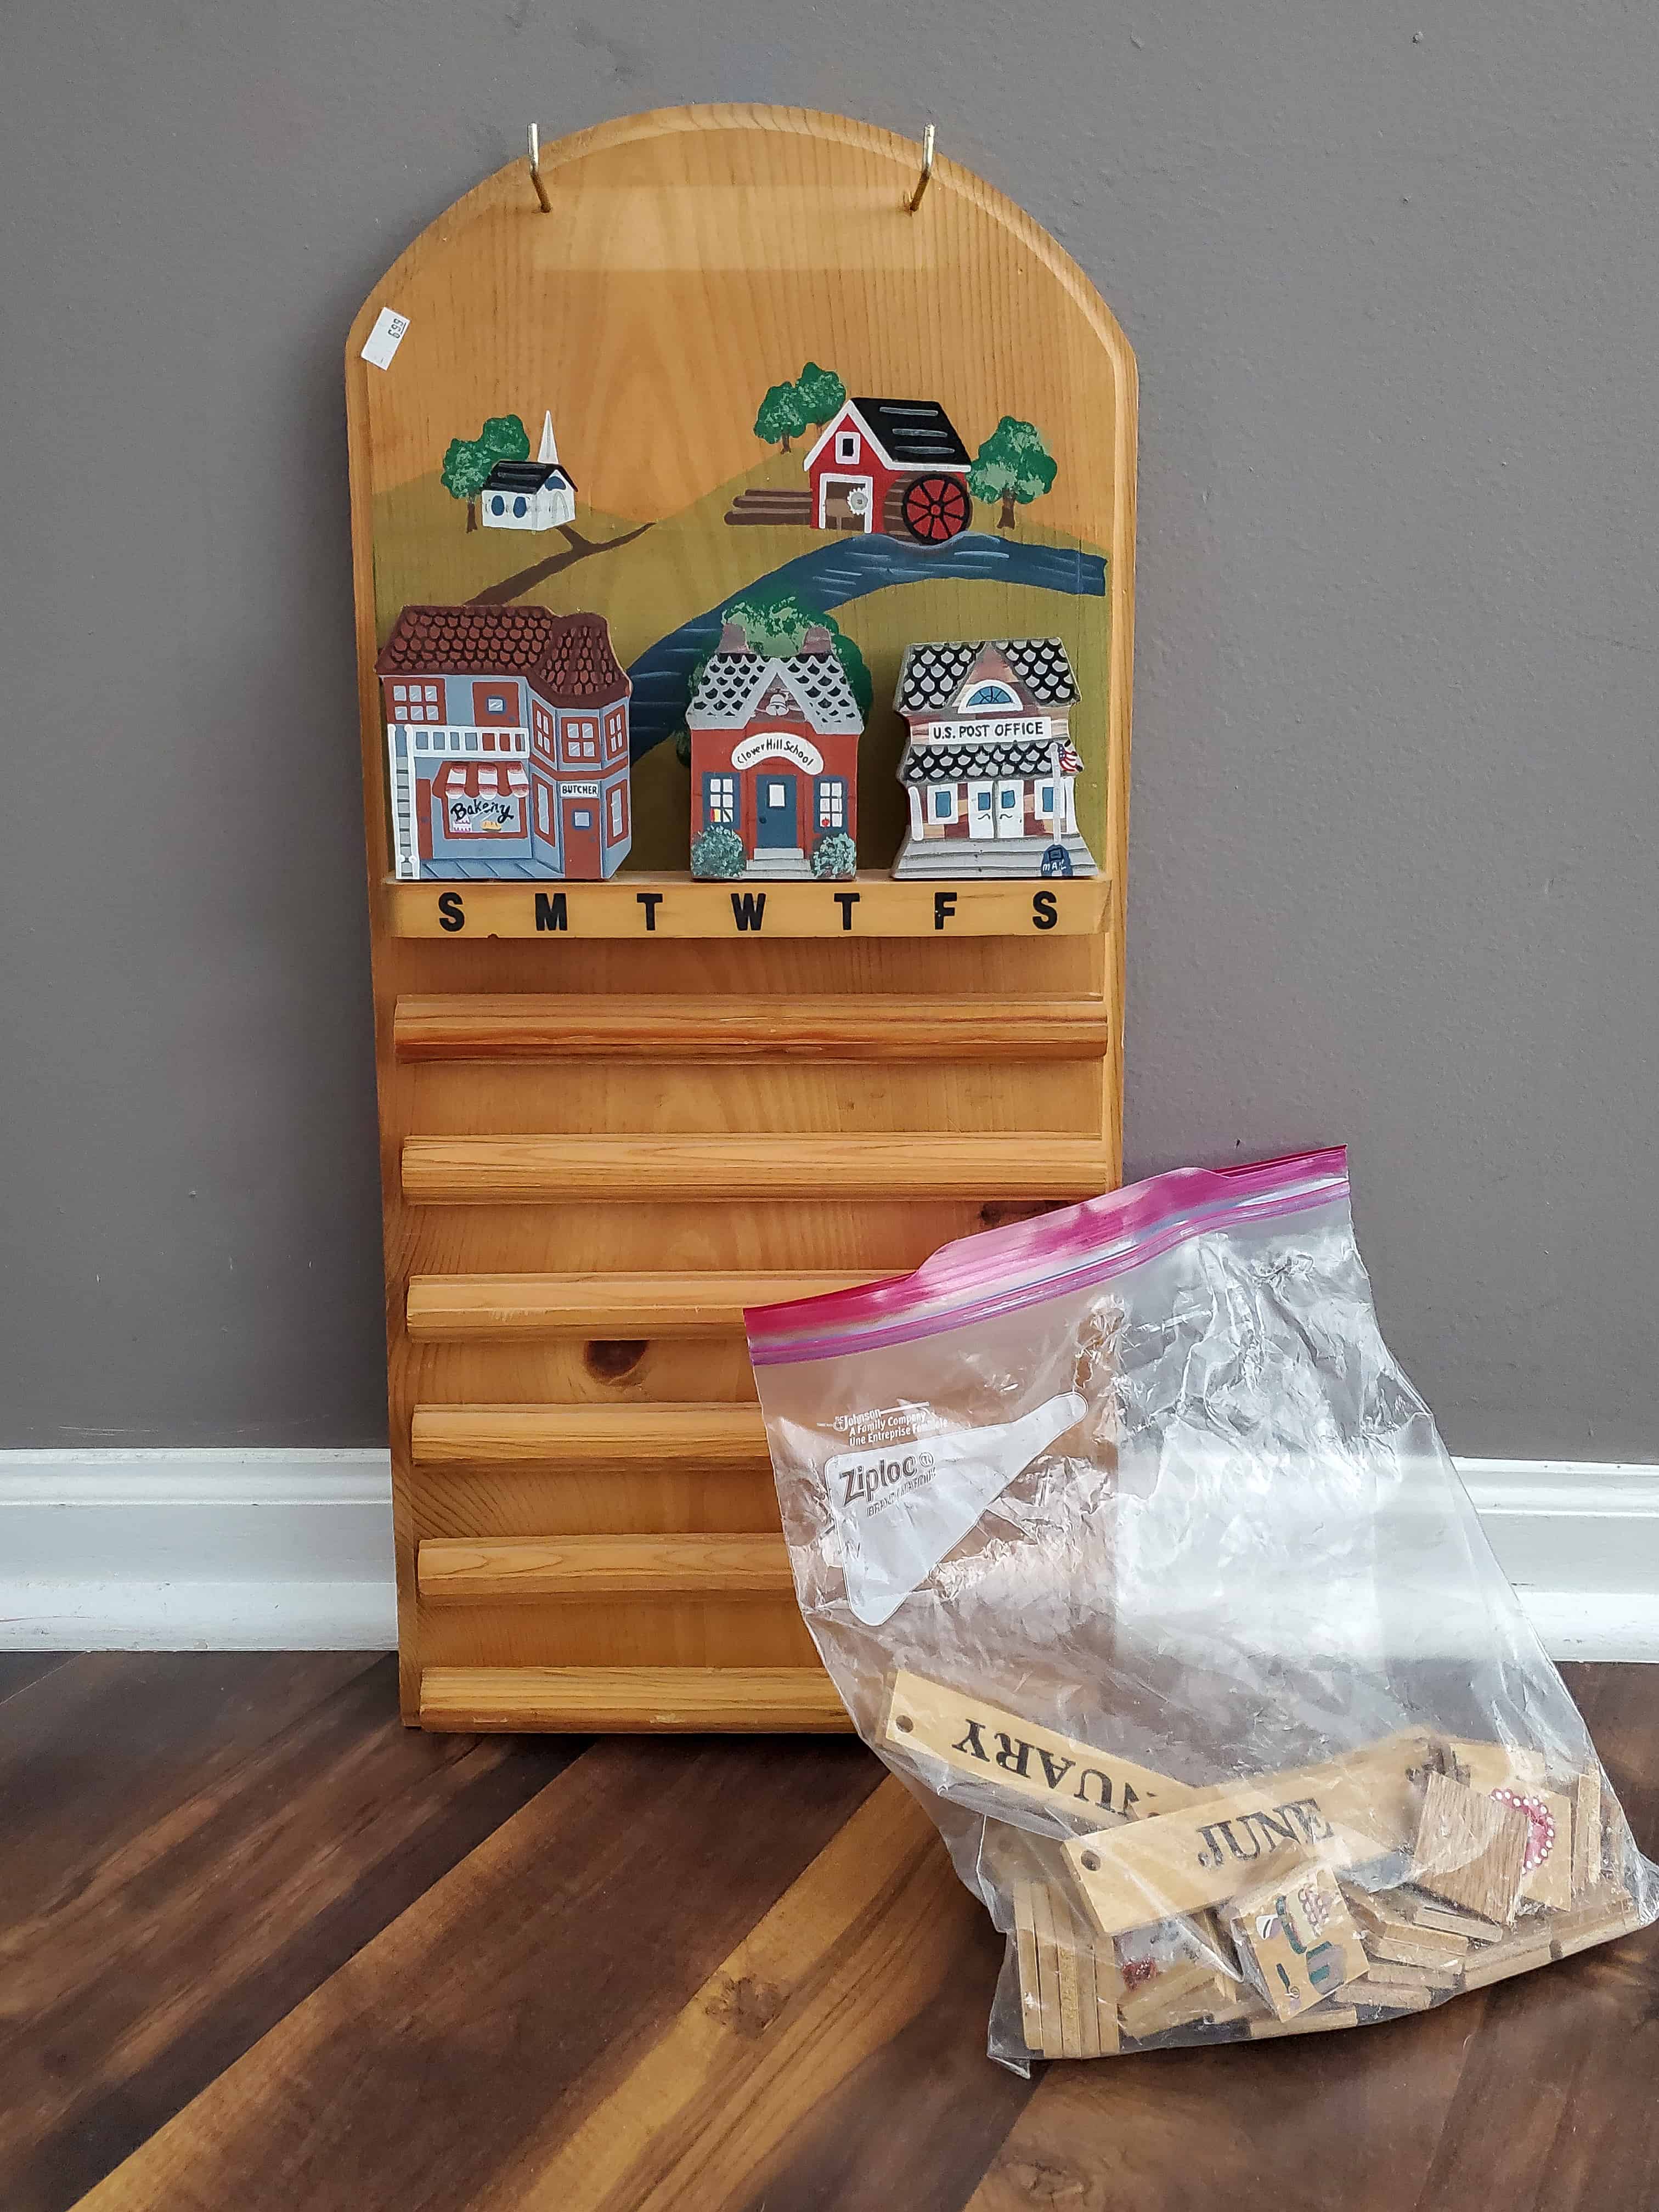
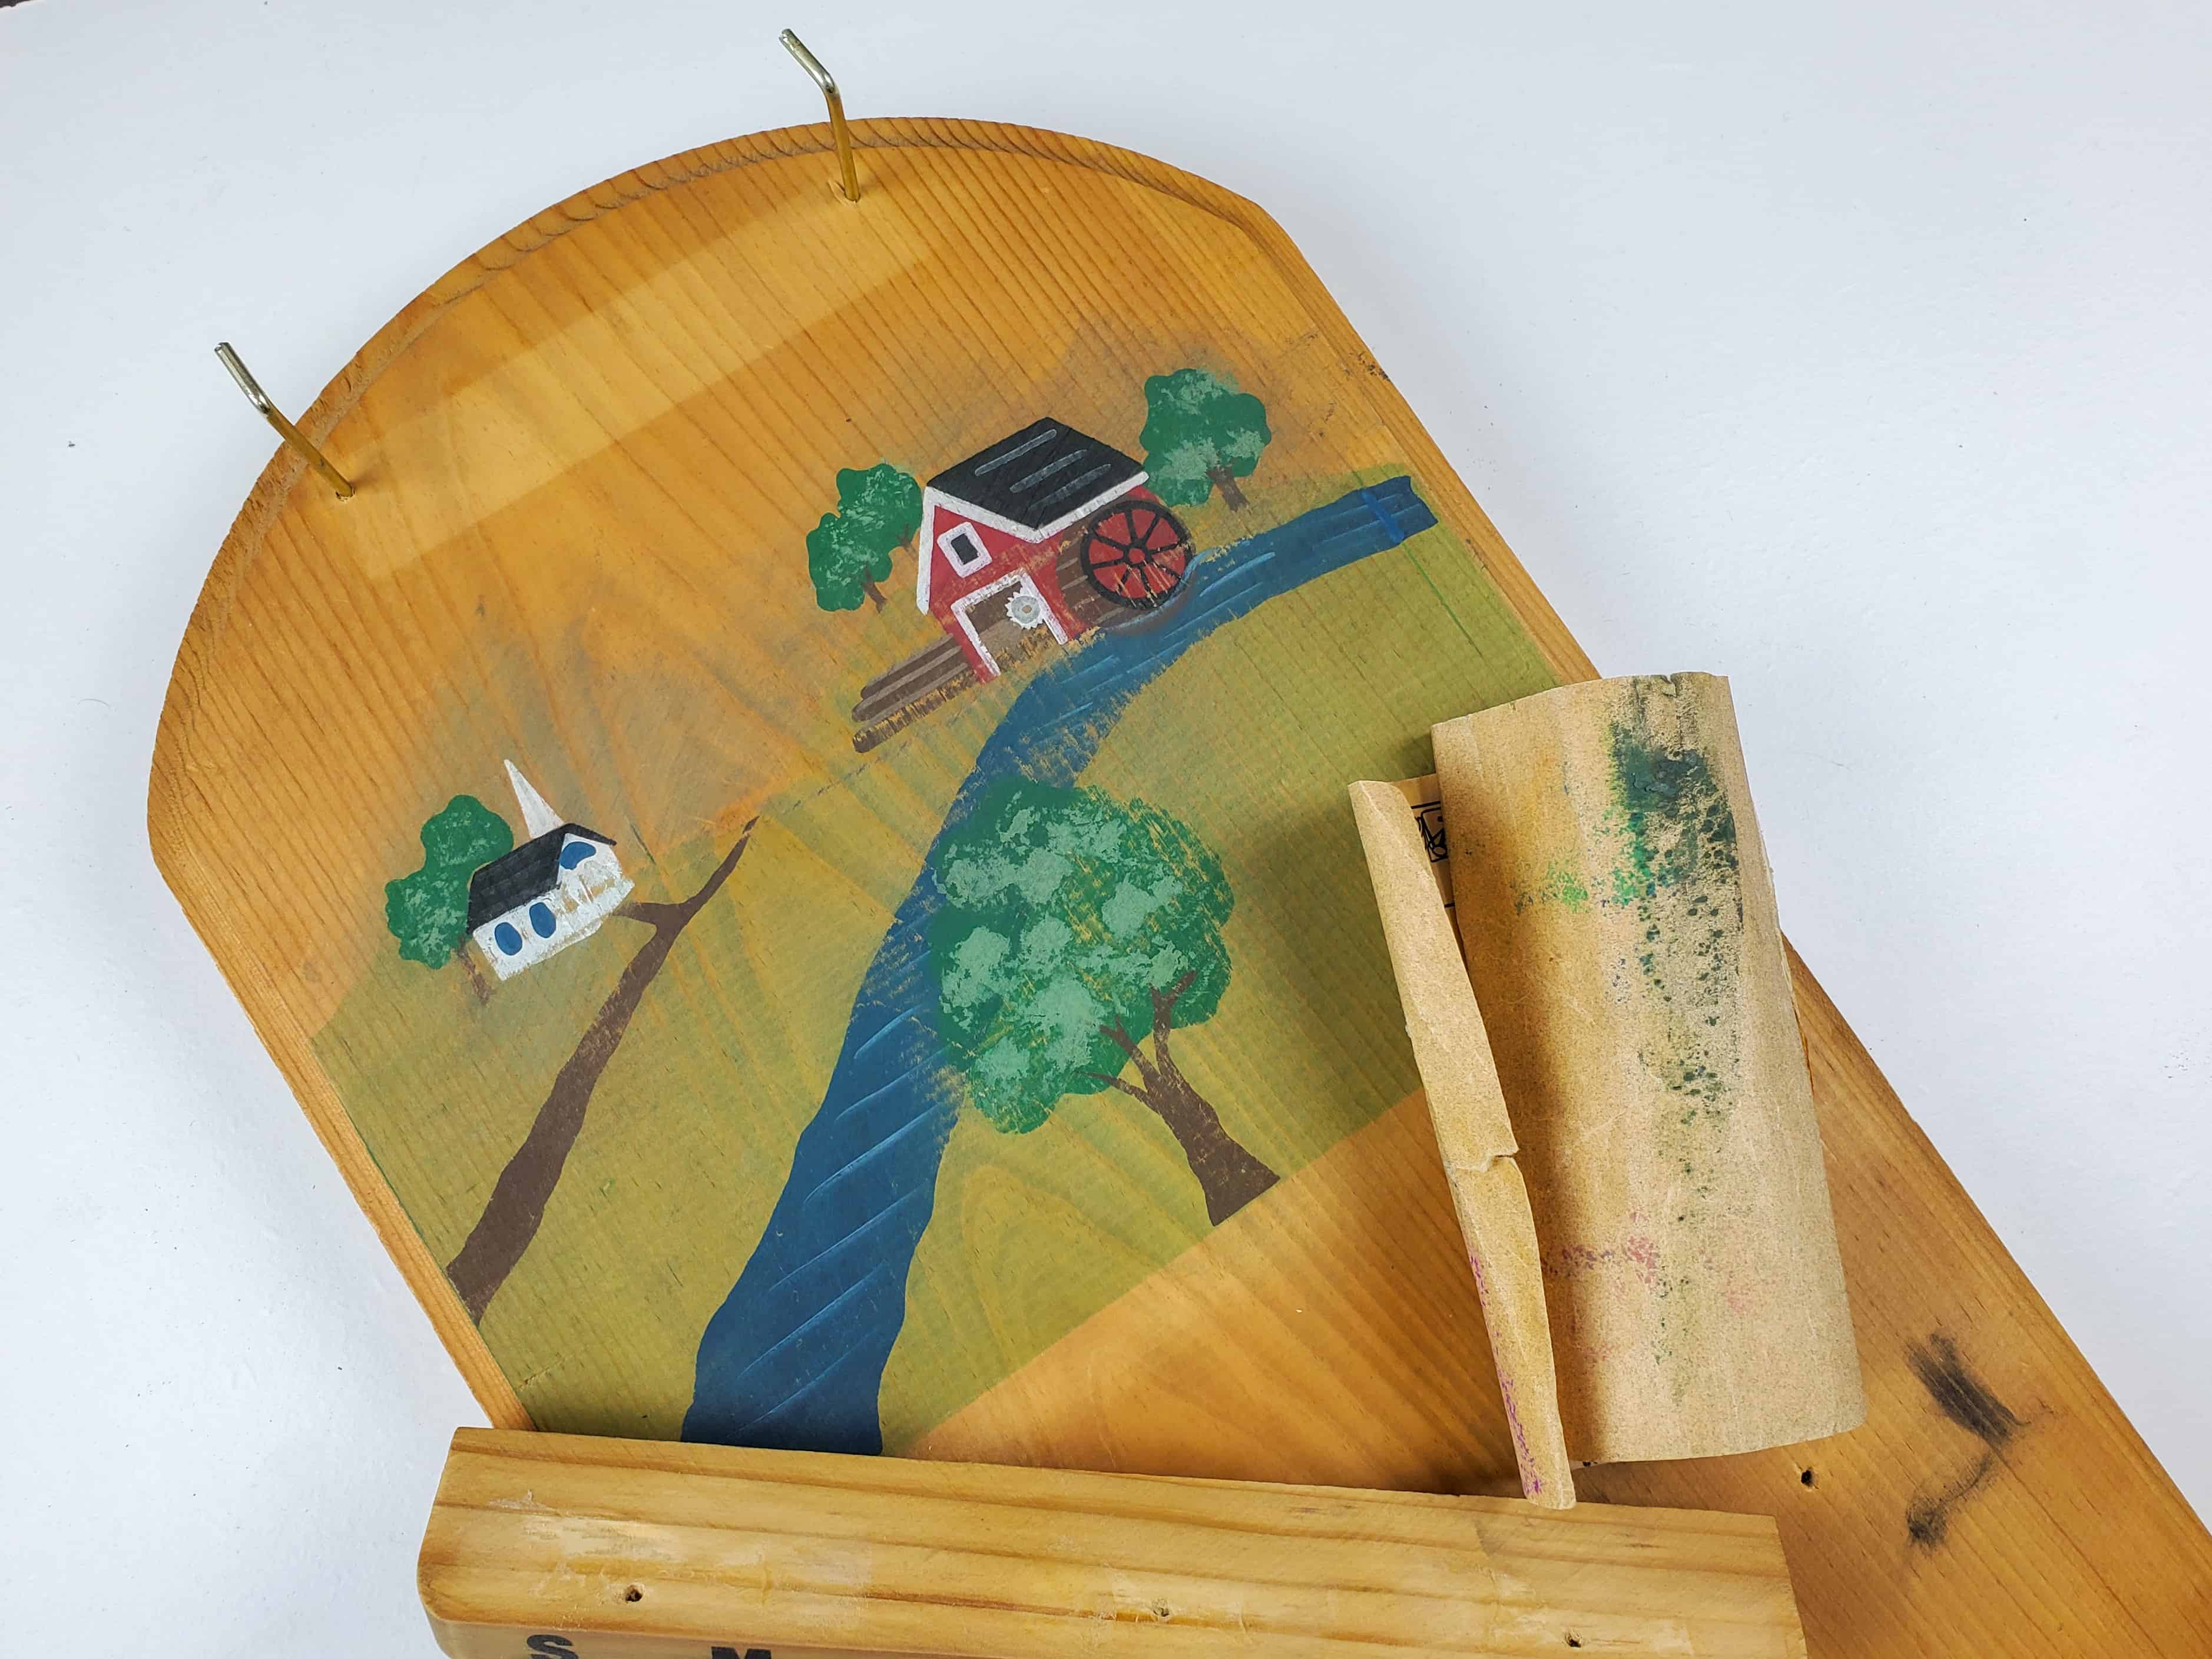
You won’t believe what this thrift store perpetual wooden wall calendar looked like before it’s makeover!
If you’re into thrifting and, more specifically, making over thrifted items, I’m sure you also have a graveyard of lost items waiting for their time to shine.
This calendar sat in my closet for about 3 years before I said enough is enough.
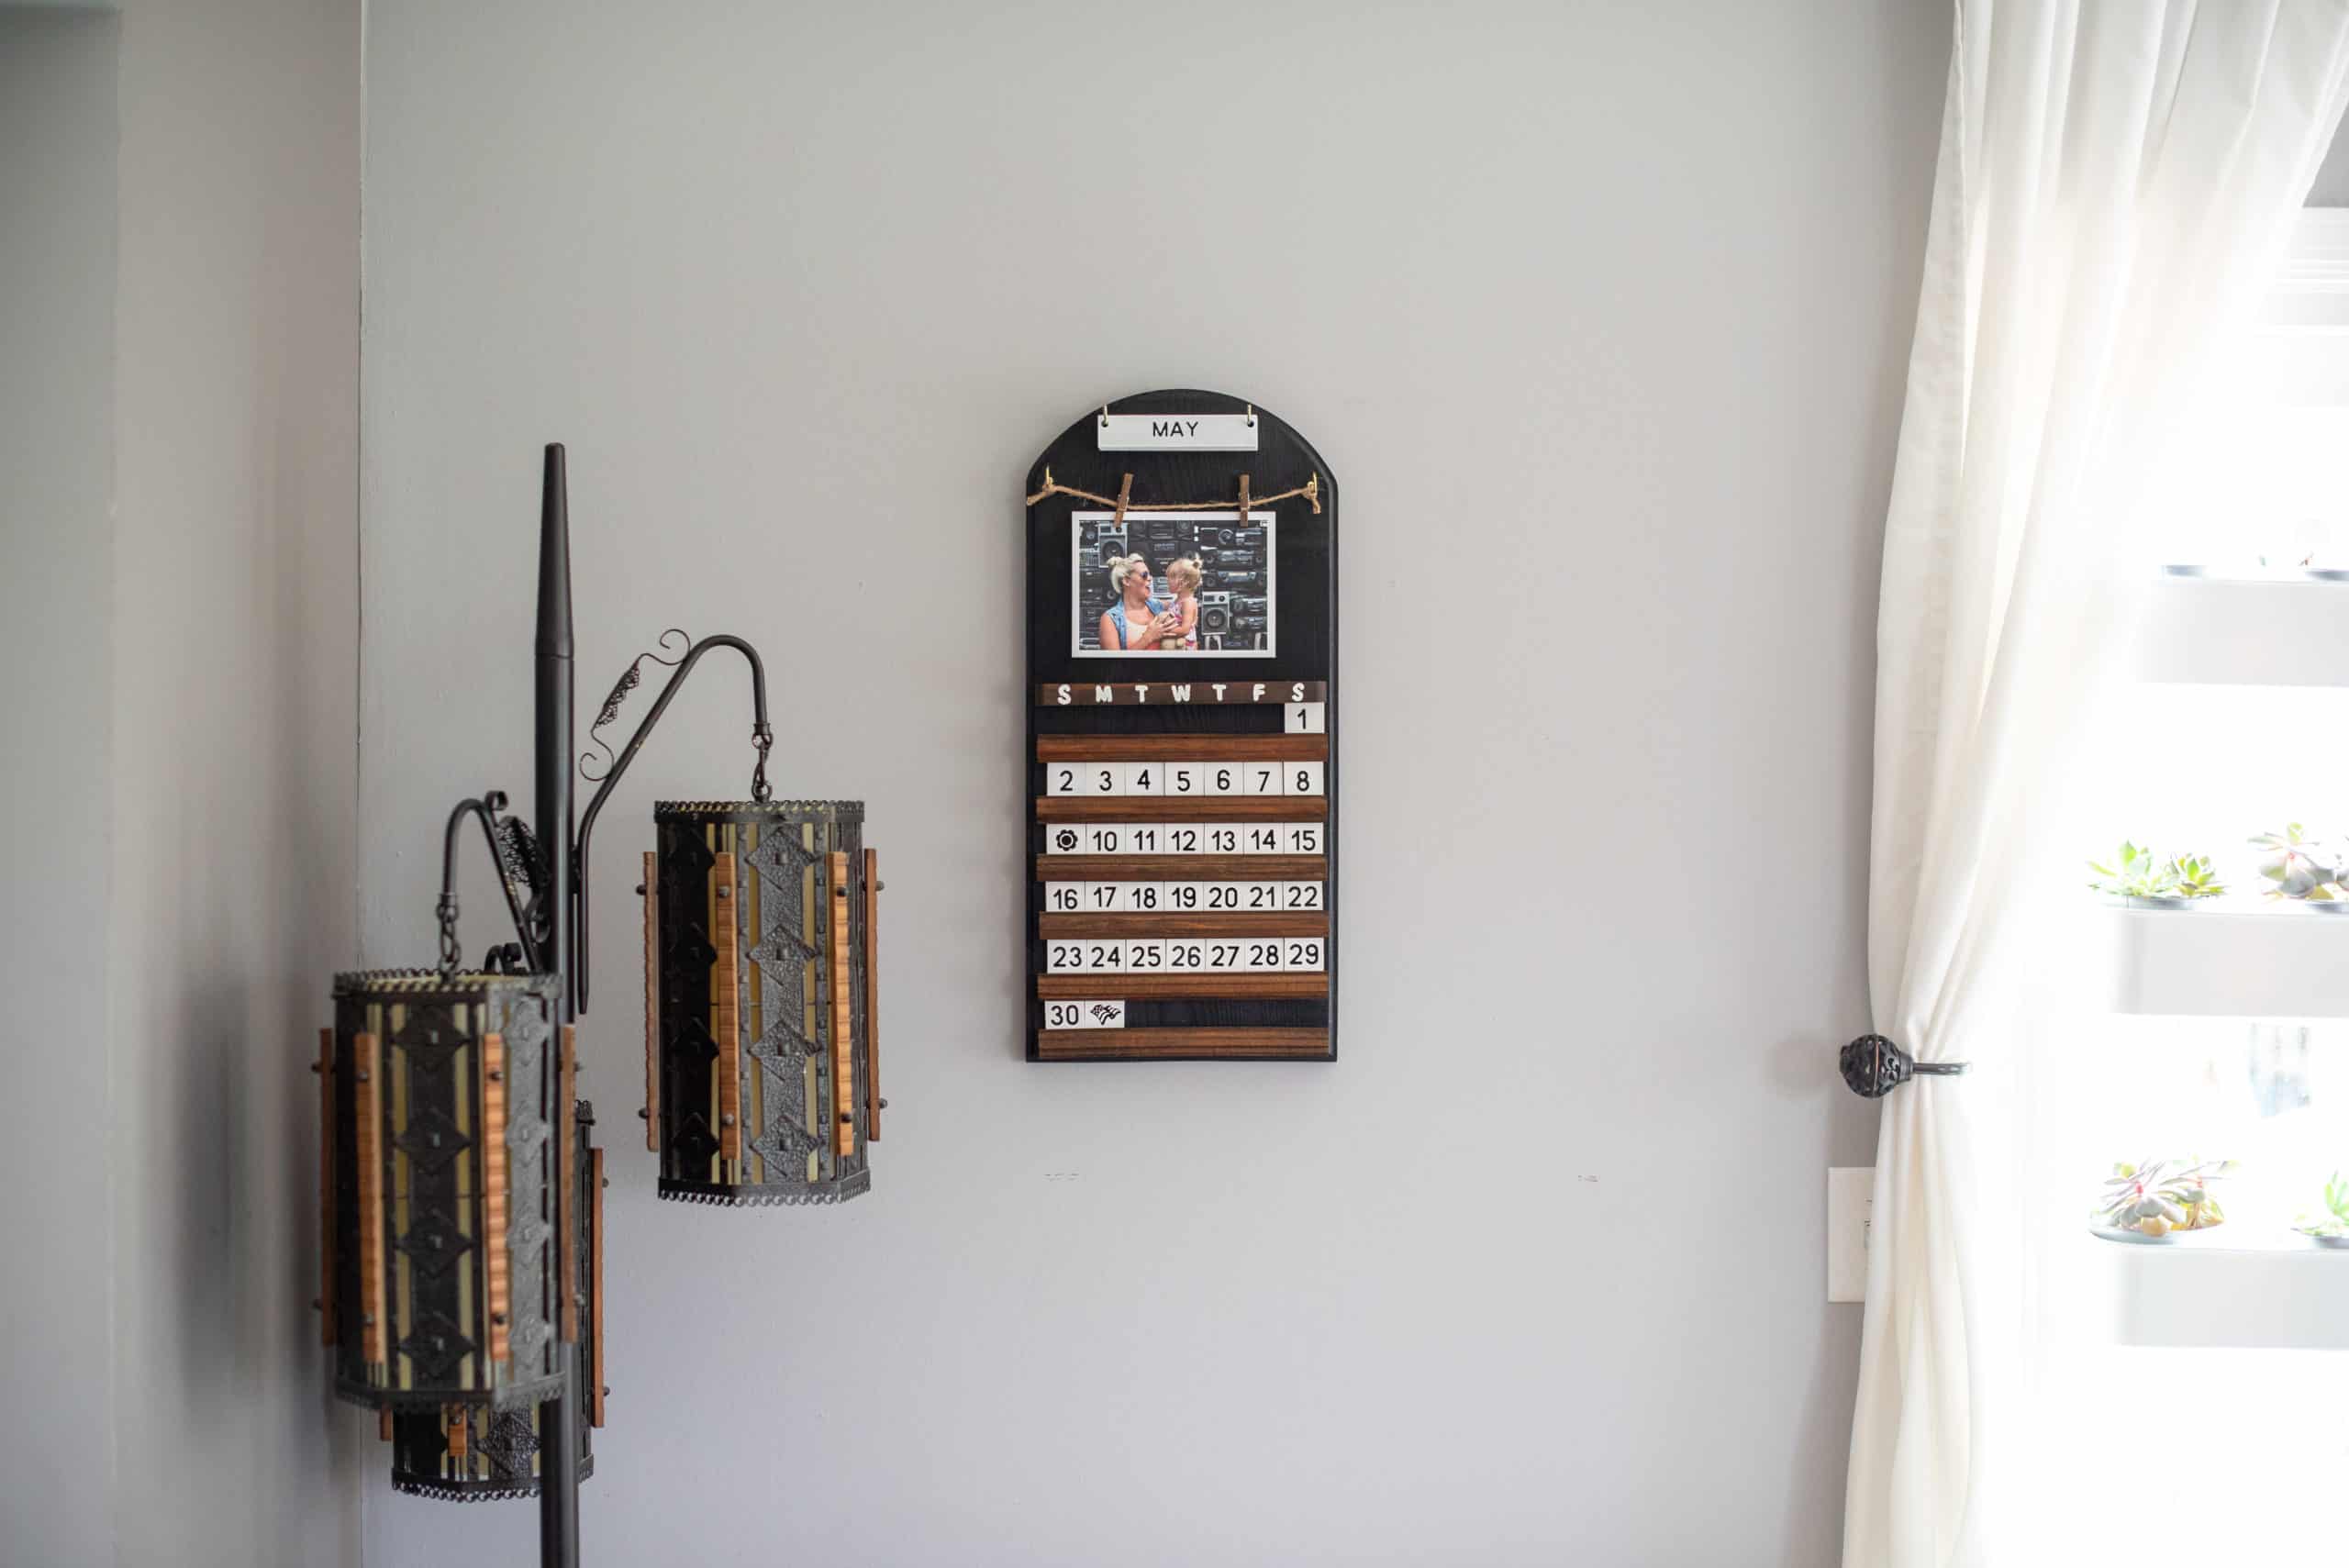
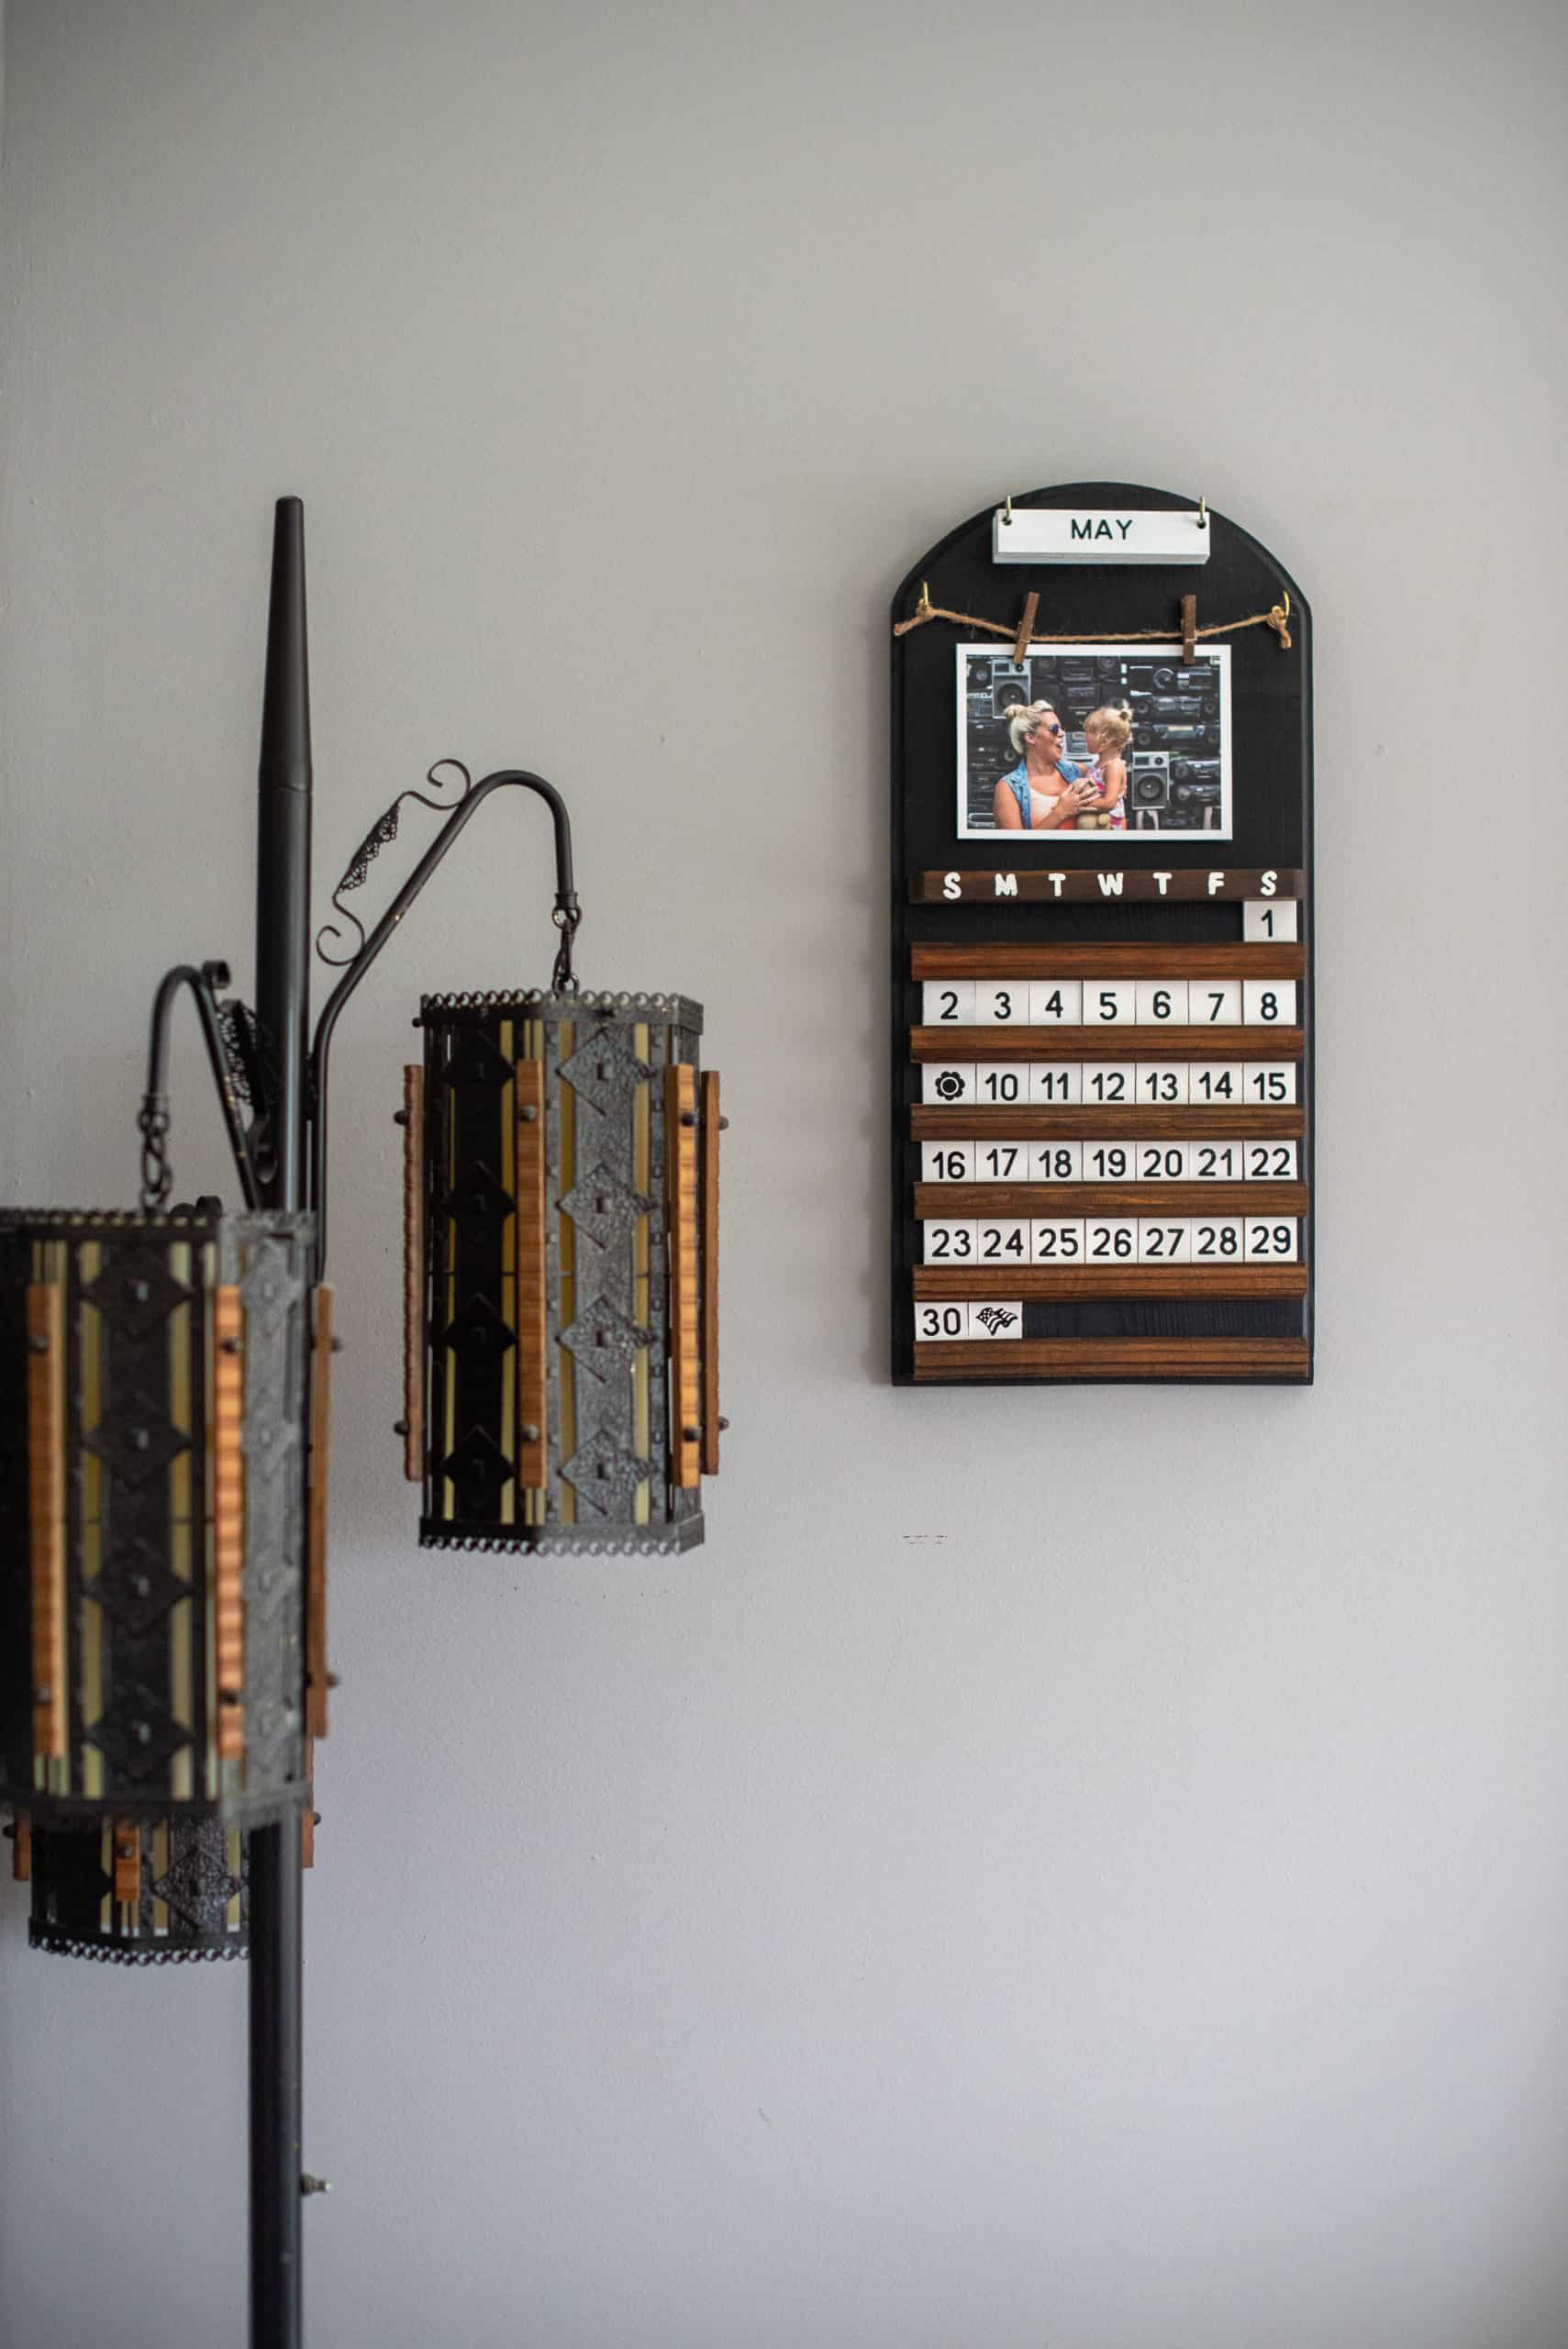
And after a relatively easy makeover, this is what that same wood wall calendar looks like now!
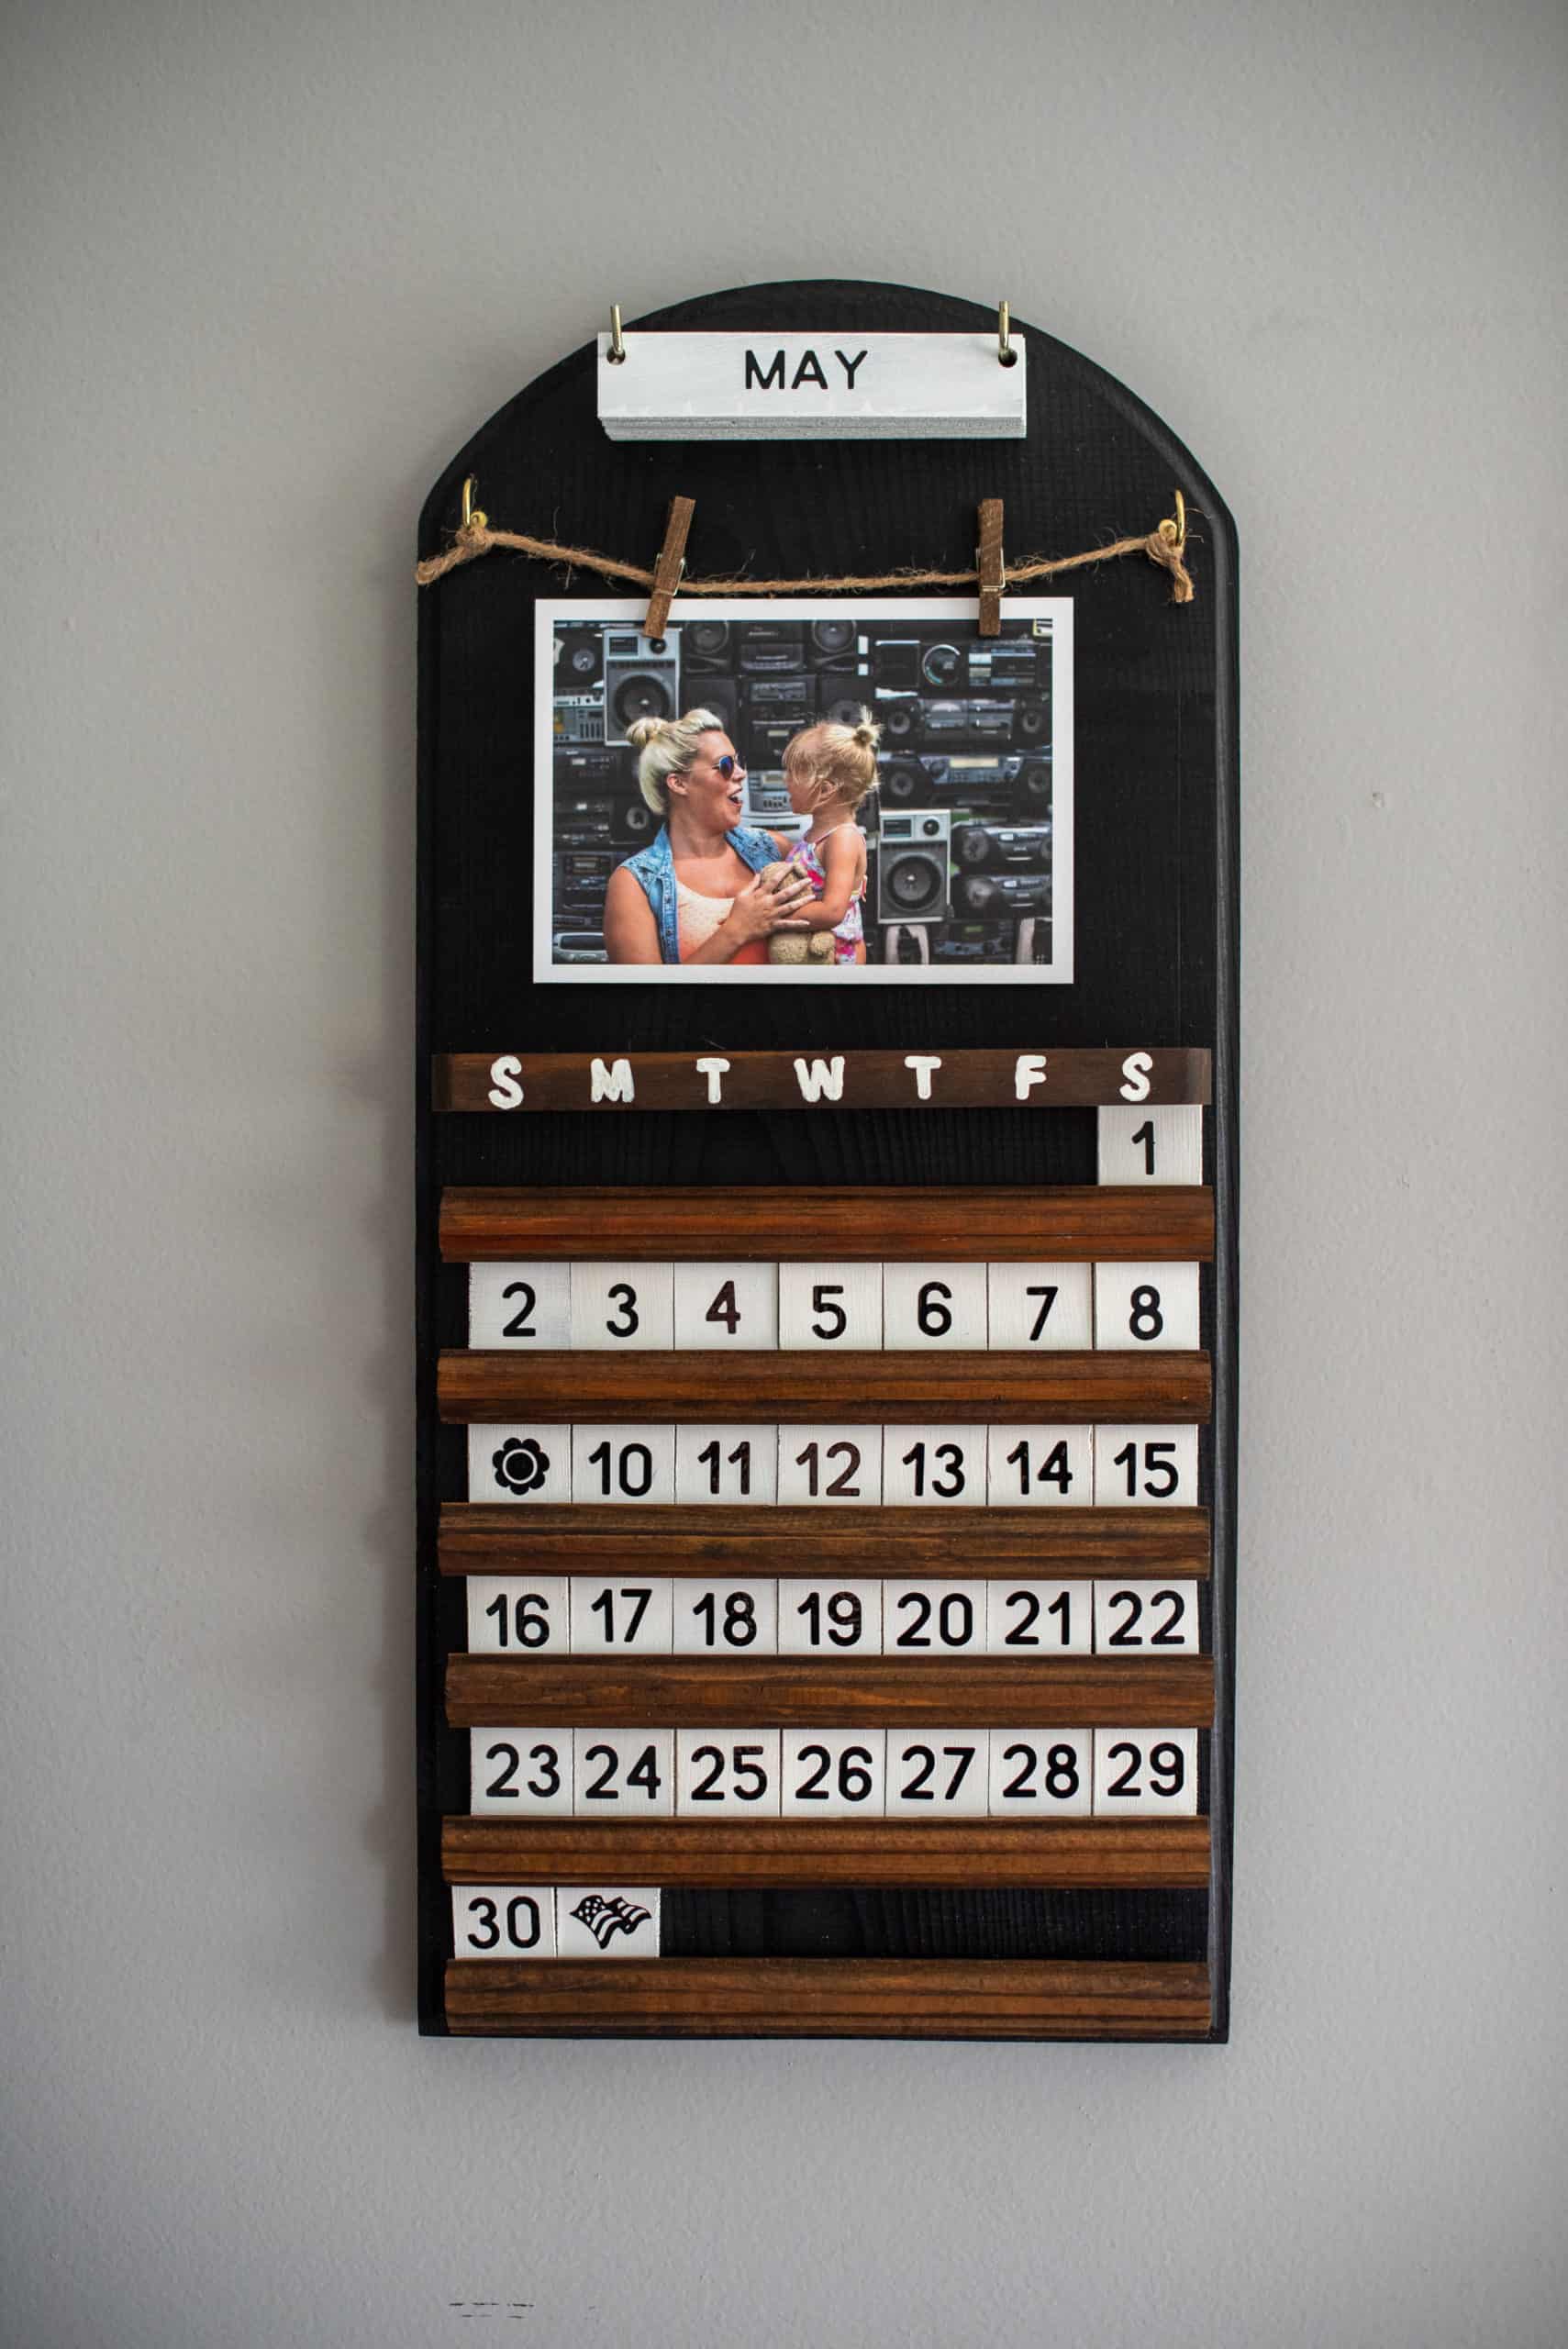
Talk about night and day, right?
Thrifted Wooden Perpetual Wall Calendar Makeover
SUPPLIES NEEDED
- Thrifted Wood Perpetual Wall Calendar (you can also find them on eBay here)
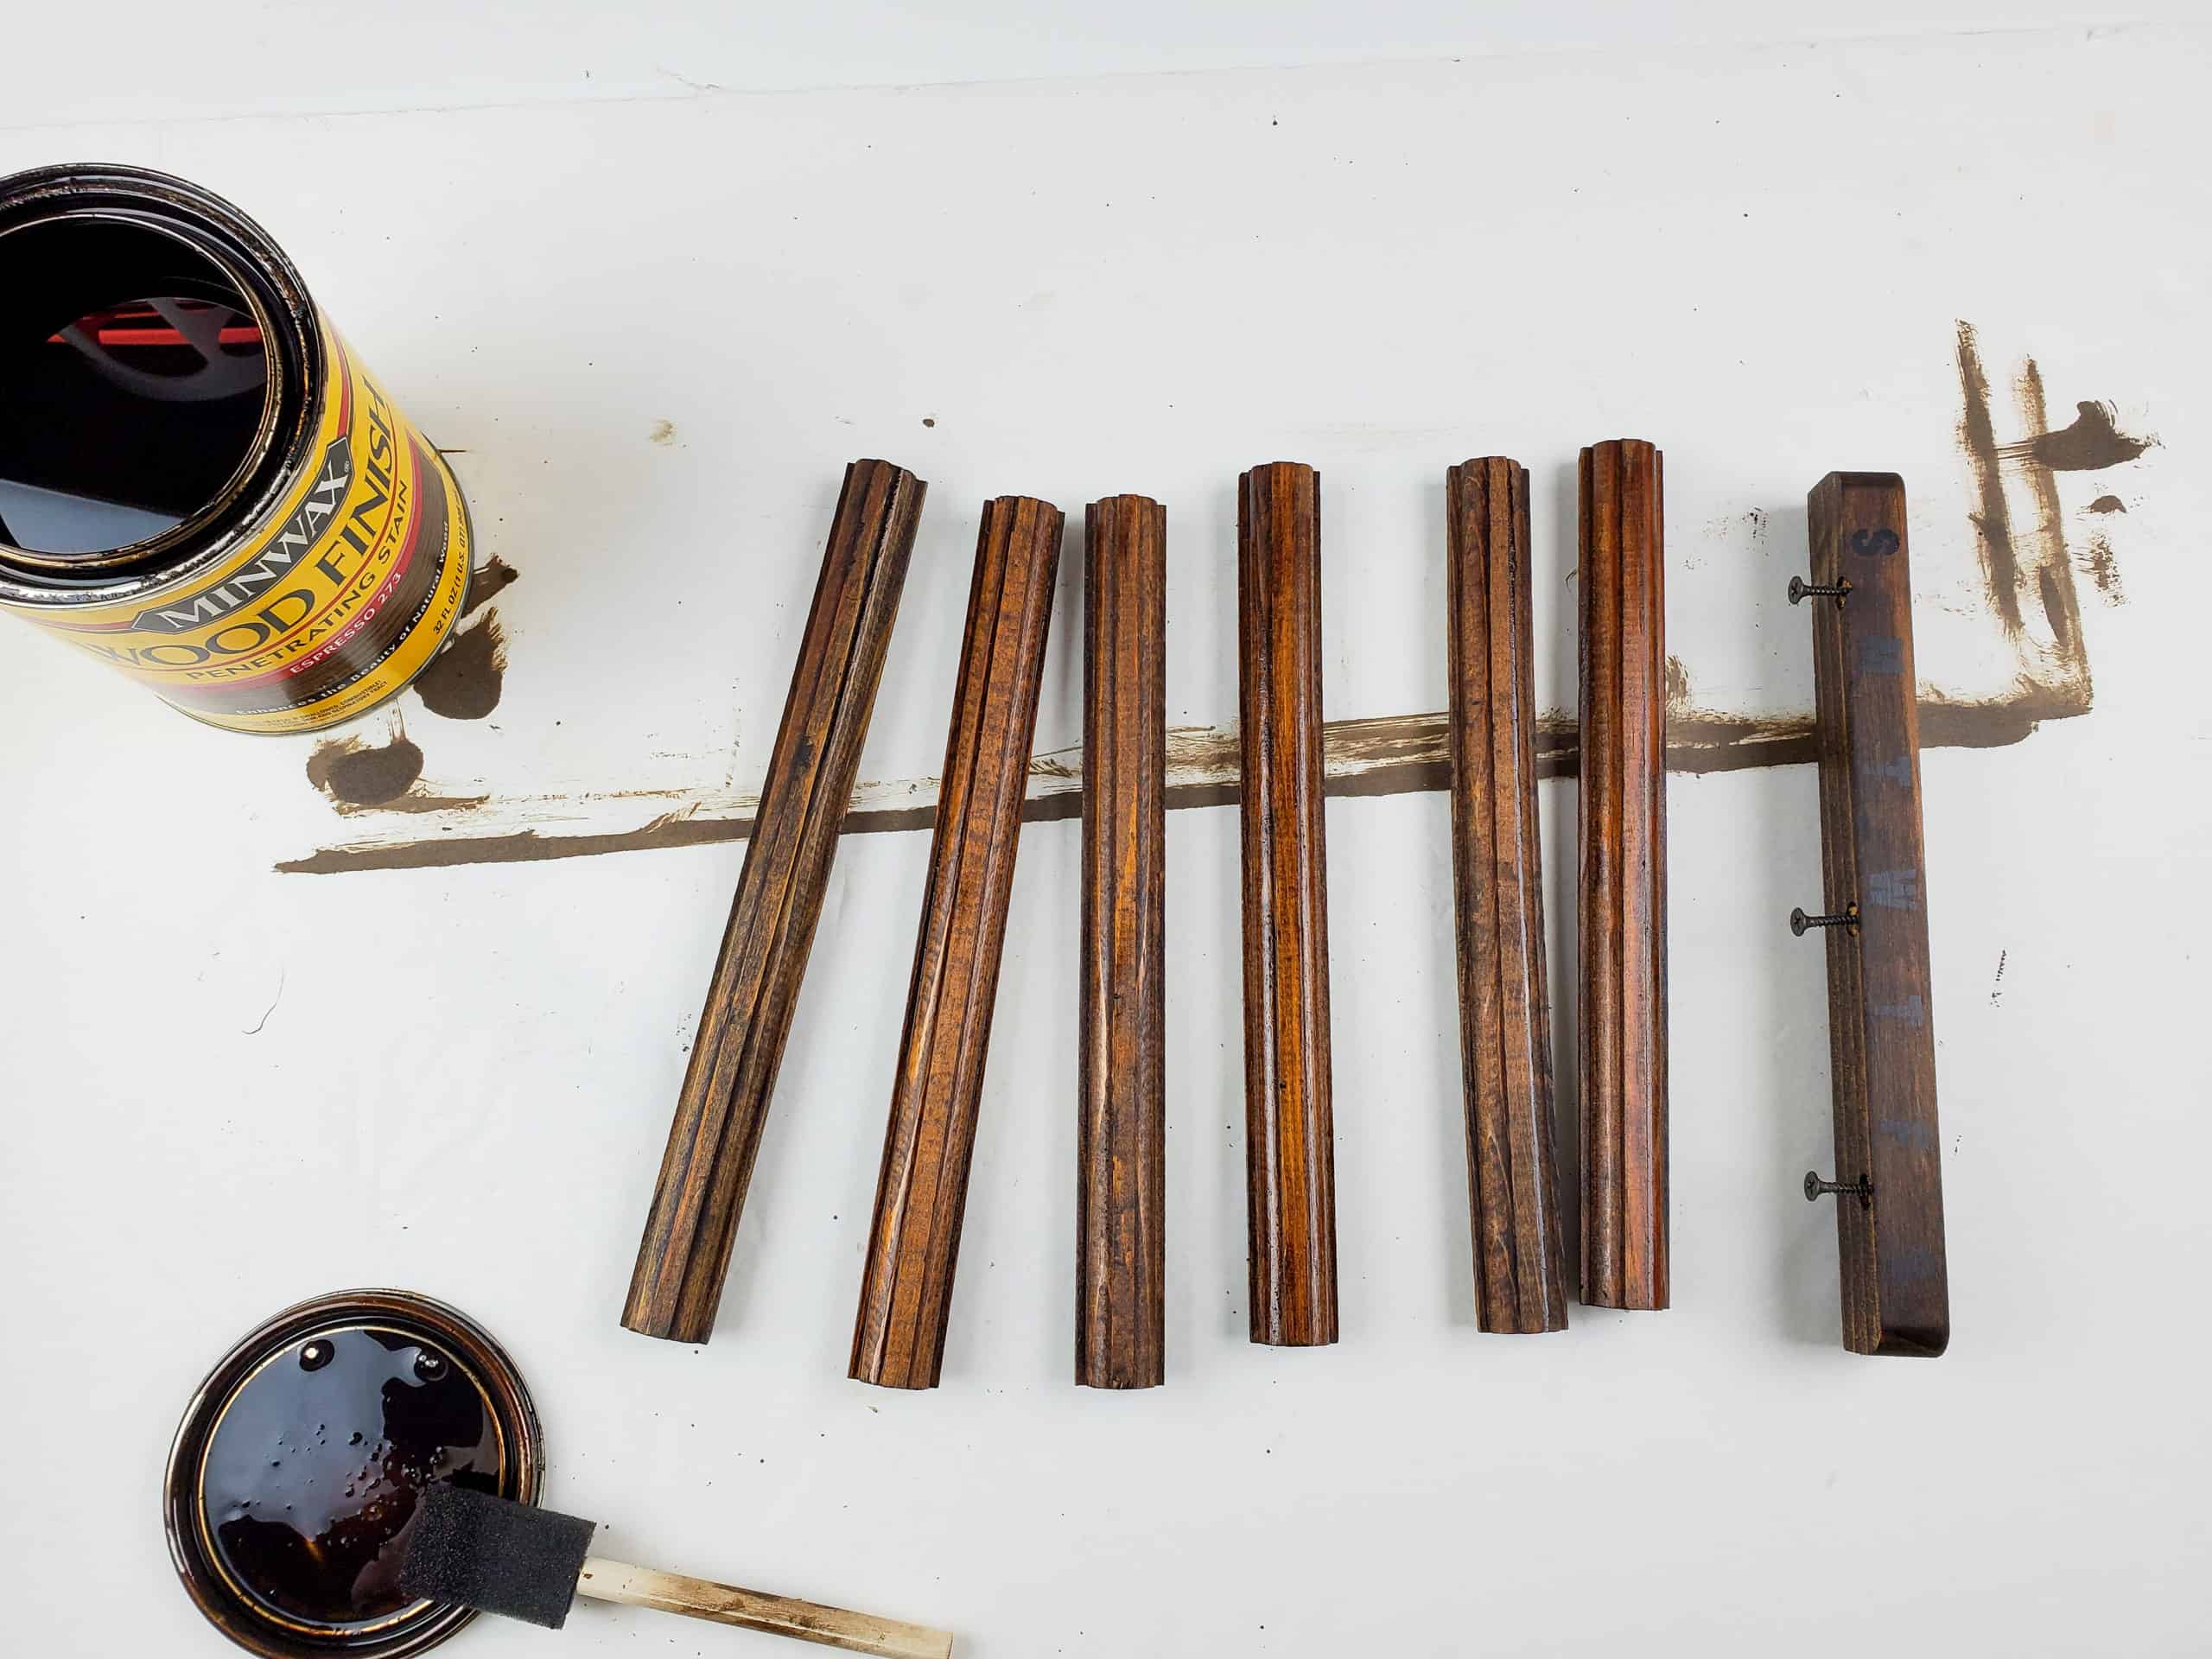
- Minwax Stain in Espresso
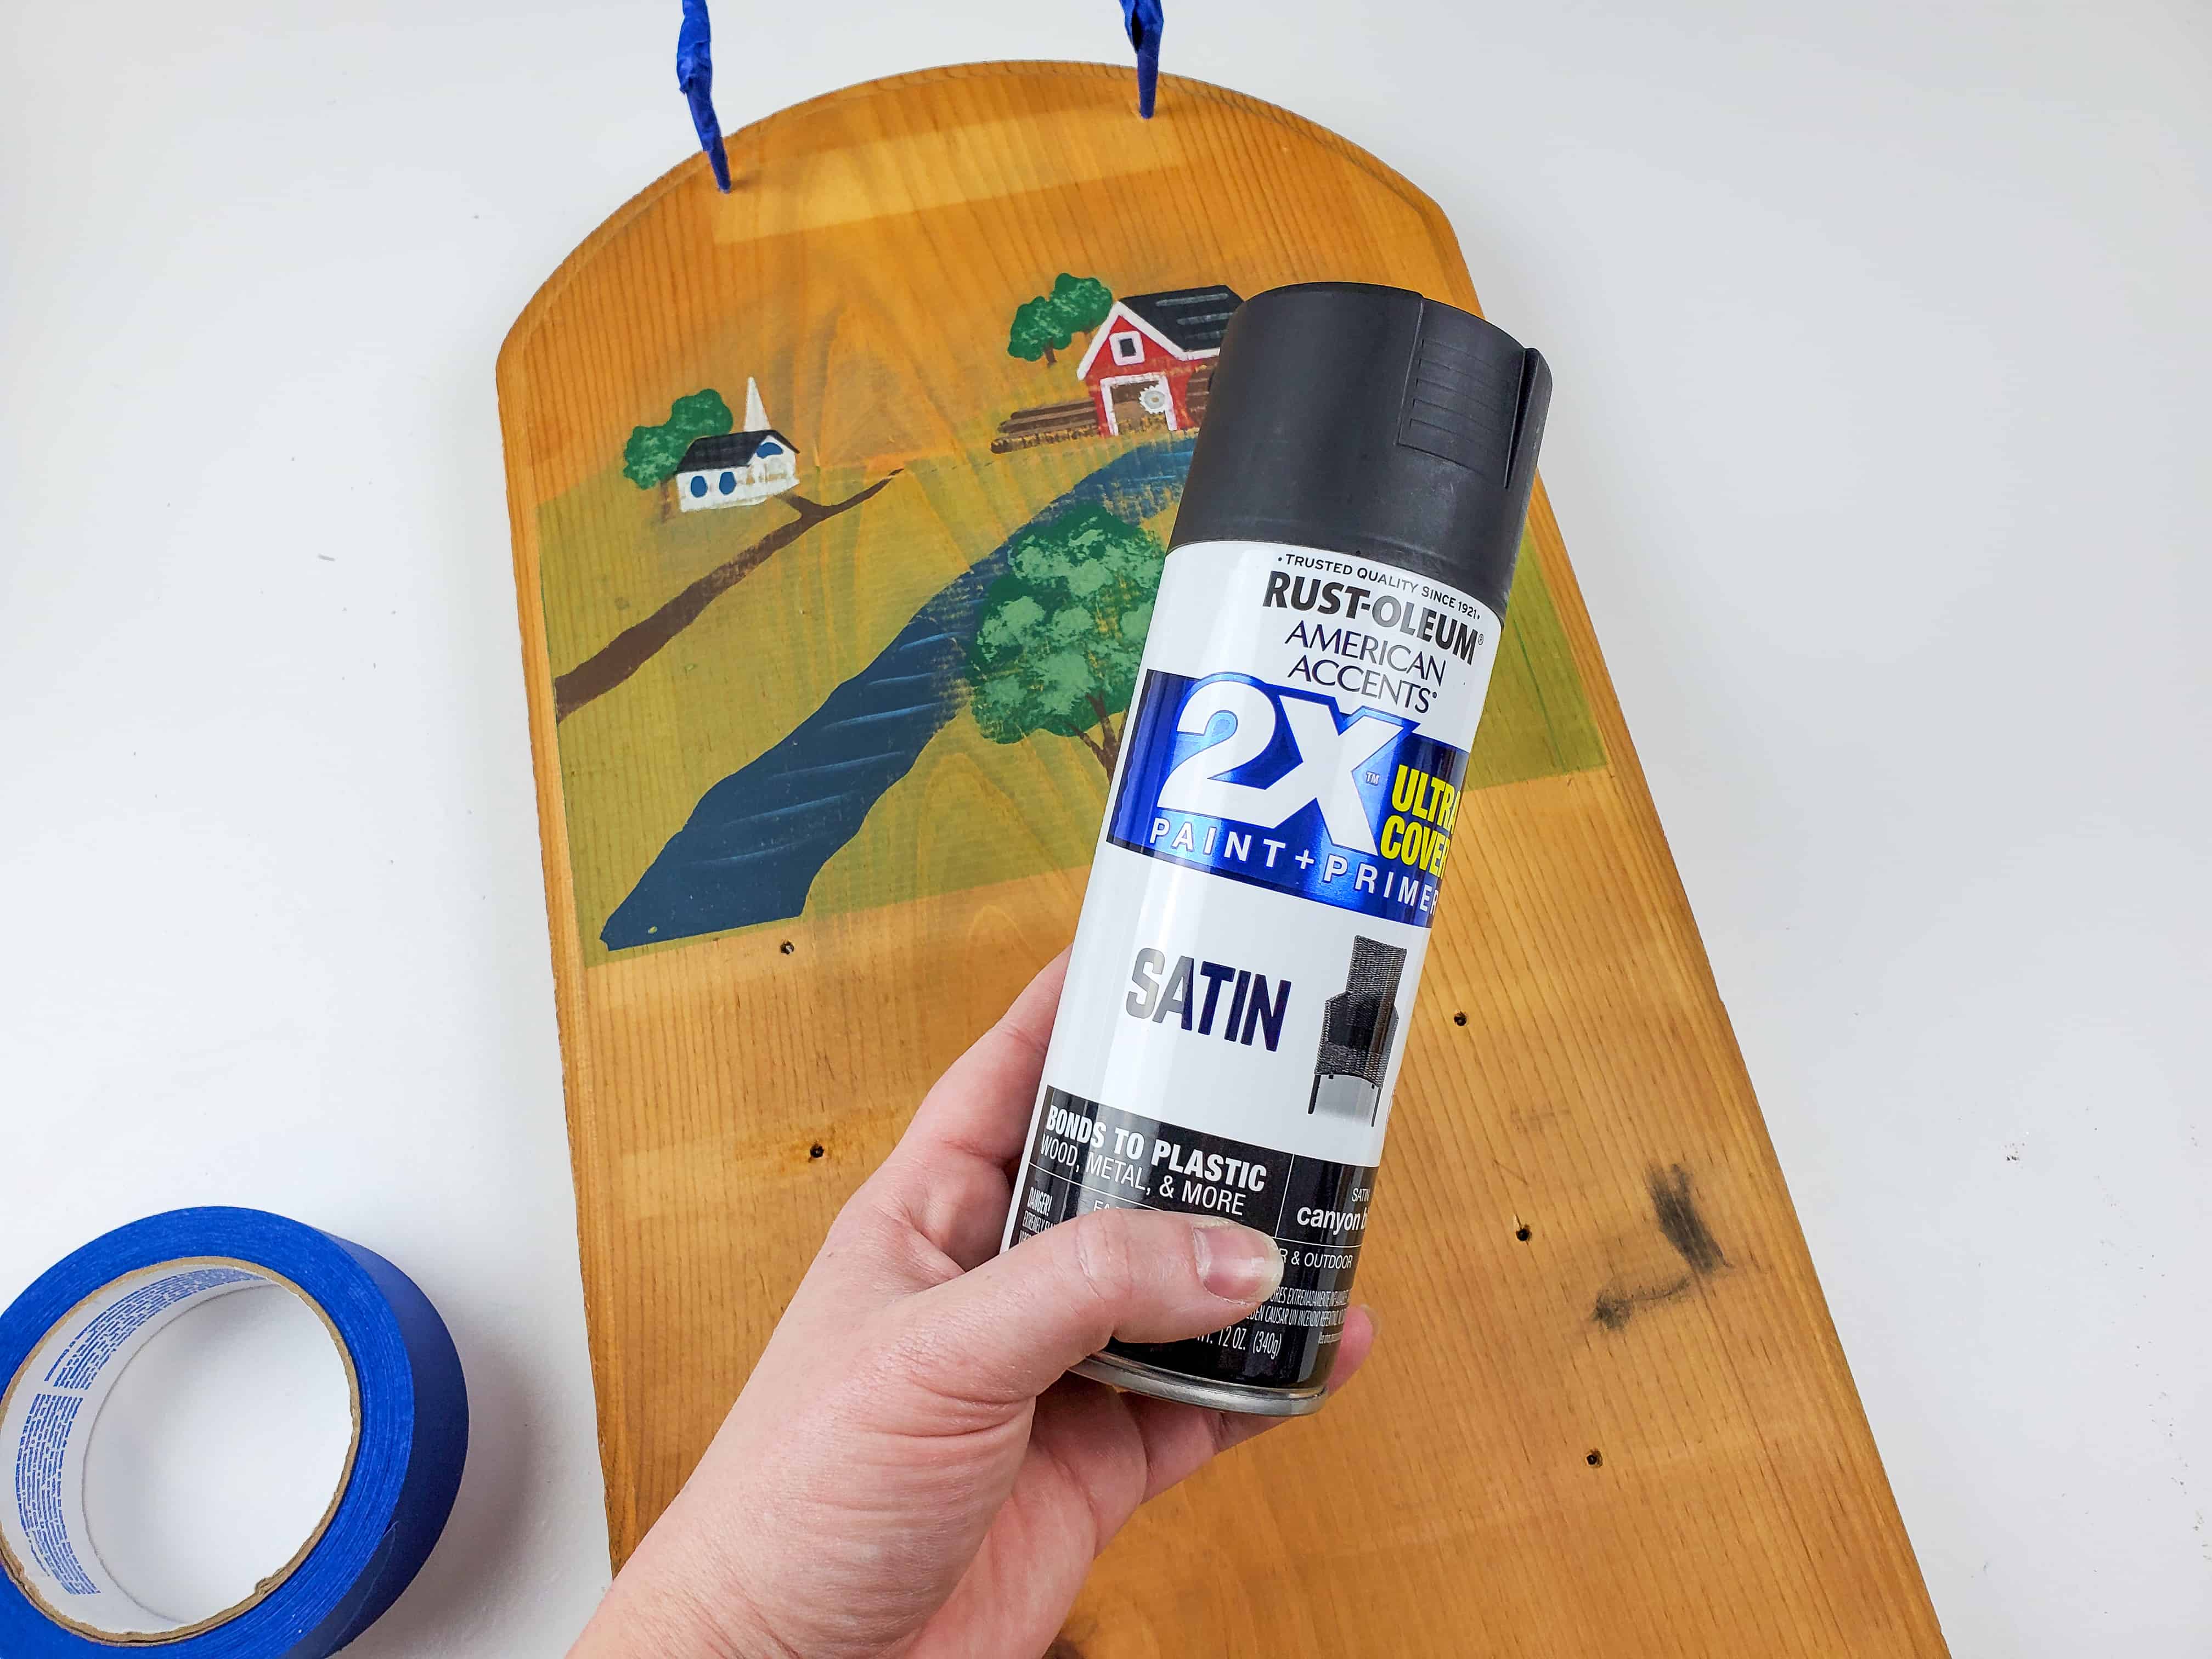
- Rustoleum Spray Paint in Satin Black
- DecoArt Acrylic Paint in Titanium White
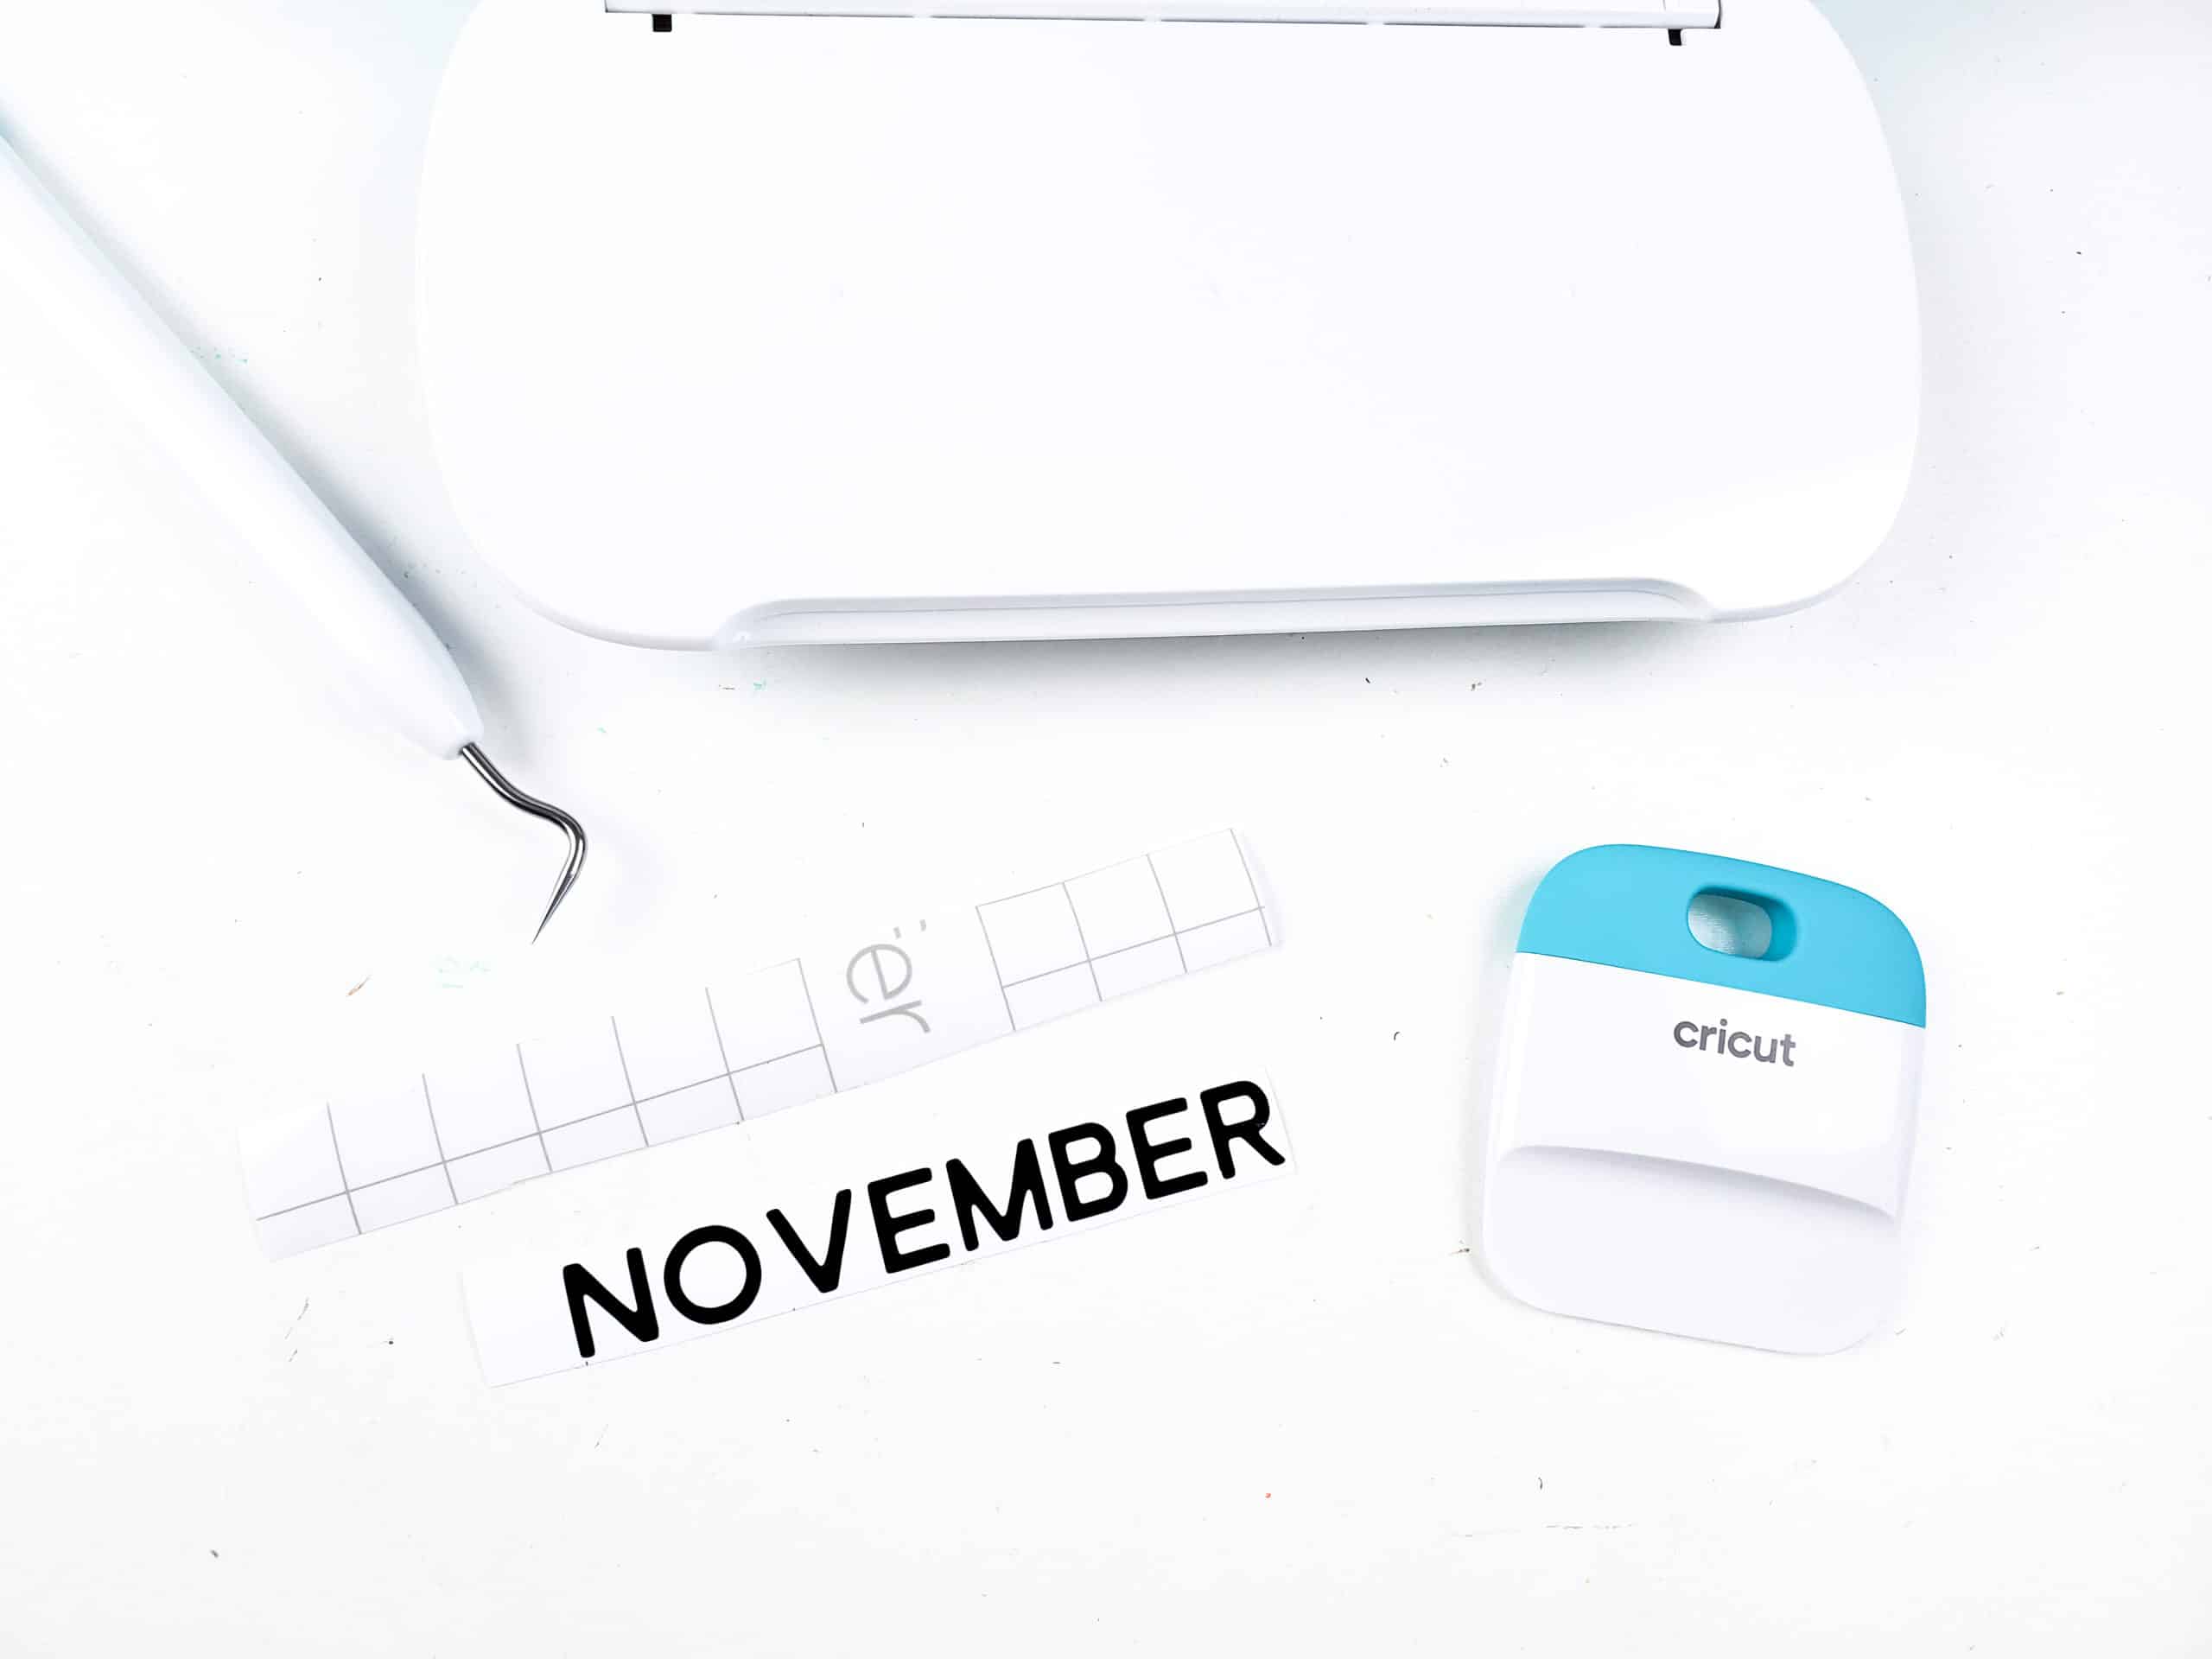
- Cricut Joy Permanent Smart Vinyl- Black
- Cricut Joy Transfer Tape
TOOLS NEEDED
- Paint Brush
- Cricut Joy
- Cricut Joy Standard Grip Mat
- Screwdriver
- Fine grit sandpaper
Step 1: Take everything apart and prep for paint and stain
All of the elements of my calendar were held in place with screws, so all I had to do was unscrew them to dismantle the calendar.
If you’re making over a similar one, chances are you can take yours apart with a screwdriver, too.
Once it’s apart, sand down any raised areas due to previous finishes with fine grit sandpaper. Wipe away any dust or residue.
Step 2: Paint and stain the wood calendar
After taping off any pre-existing hooks, I gave the body of my calendar a few coats of black spray paint with a satin finish.
I wanted the rails to contrast, so those got a coat of Espresso colored stain (my favorite).
I didn’t sand the rails beforehand because the wood felt pretty porous as it was. I was happy with how it took!
Next it was time to make over the month and date tiles.
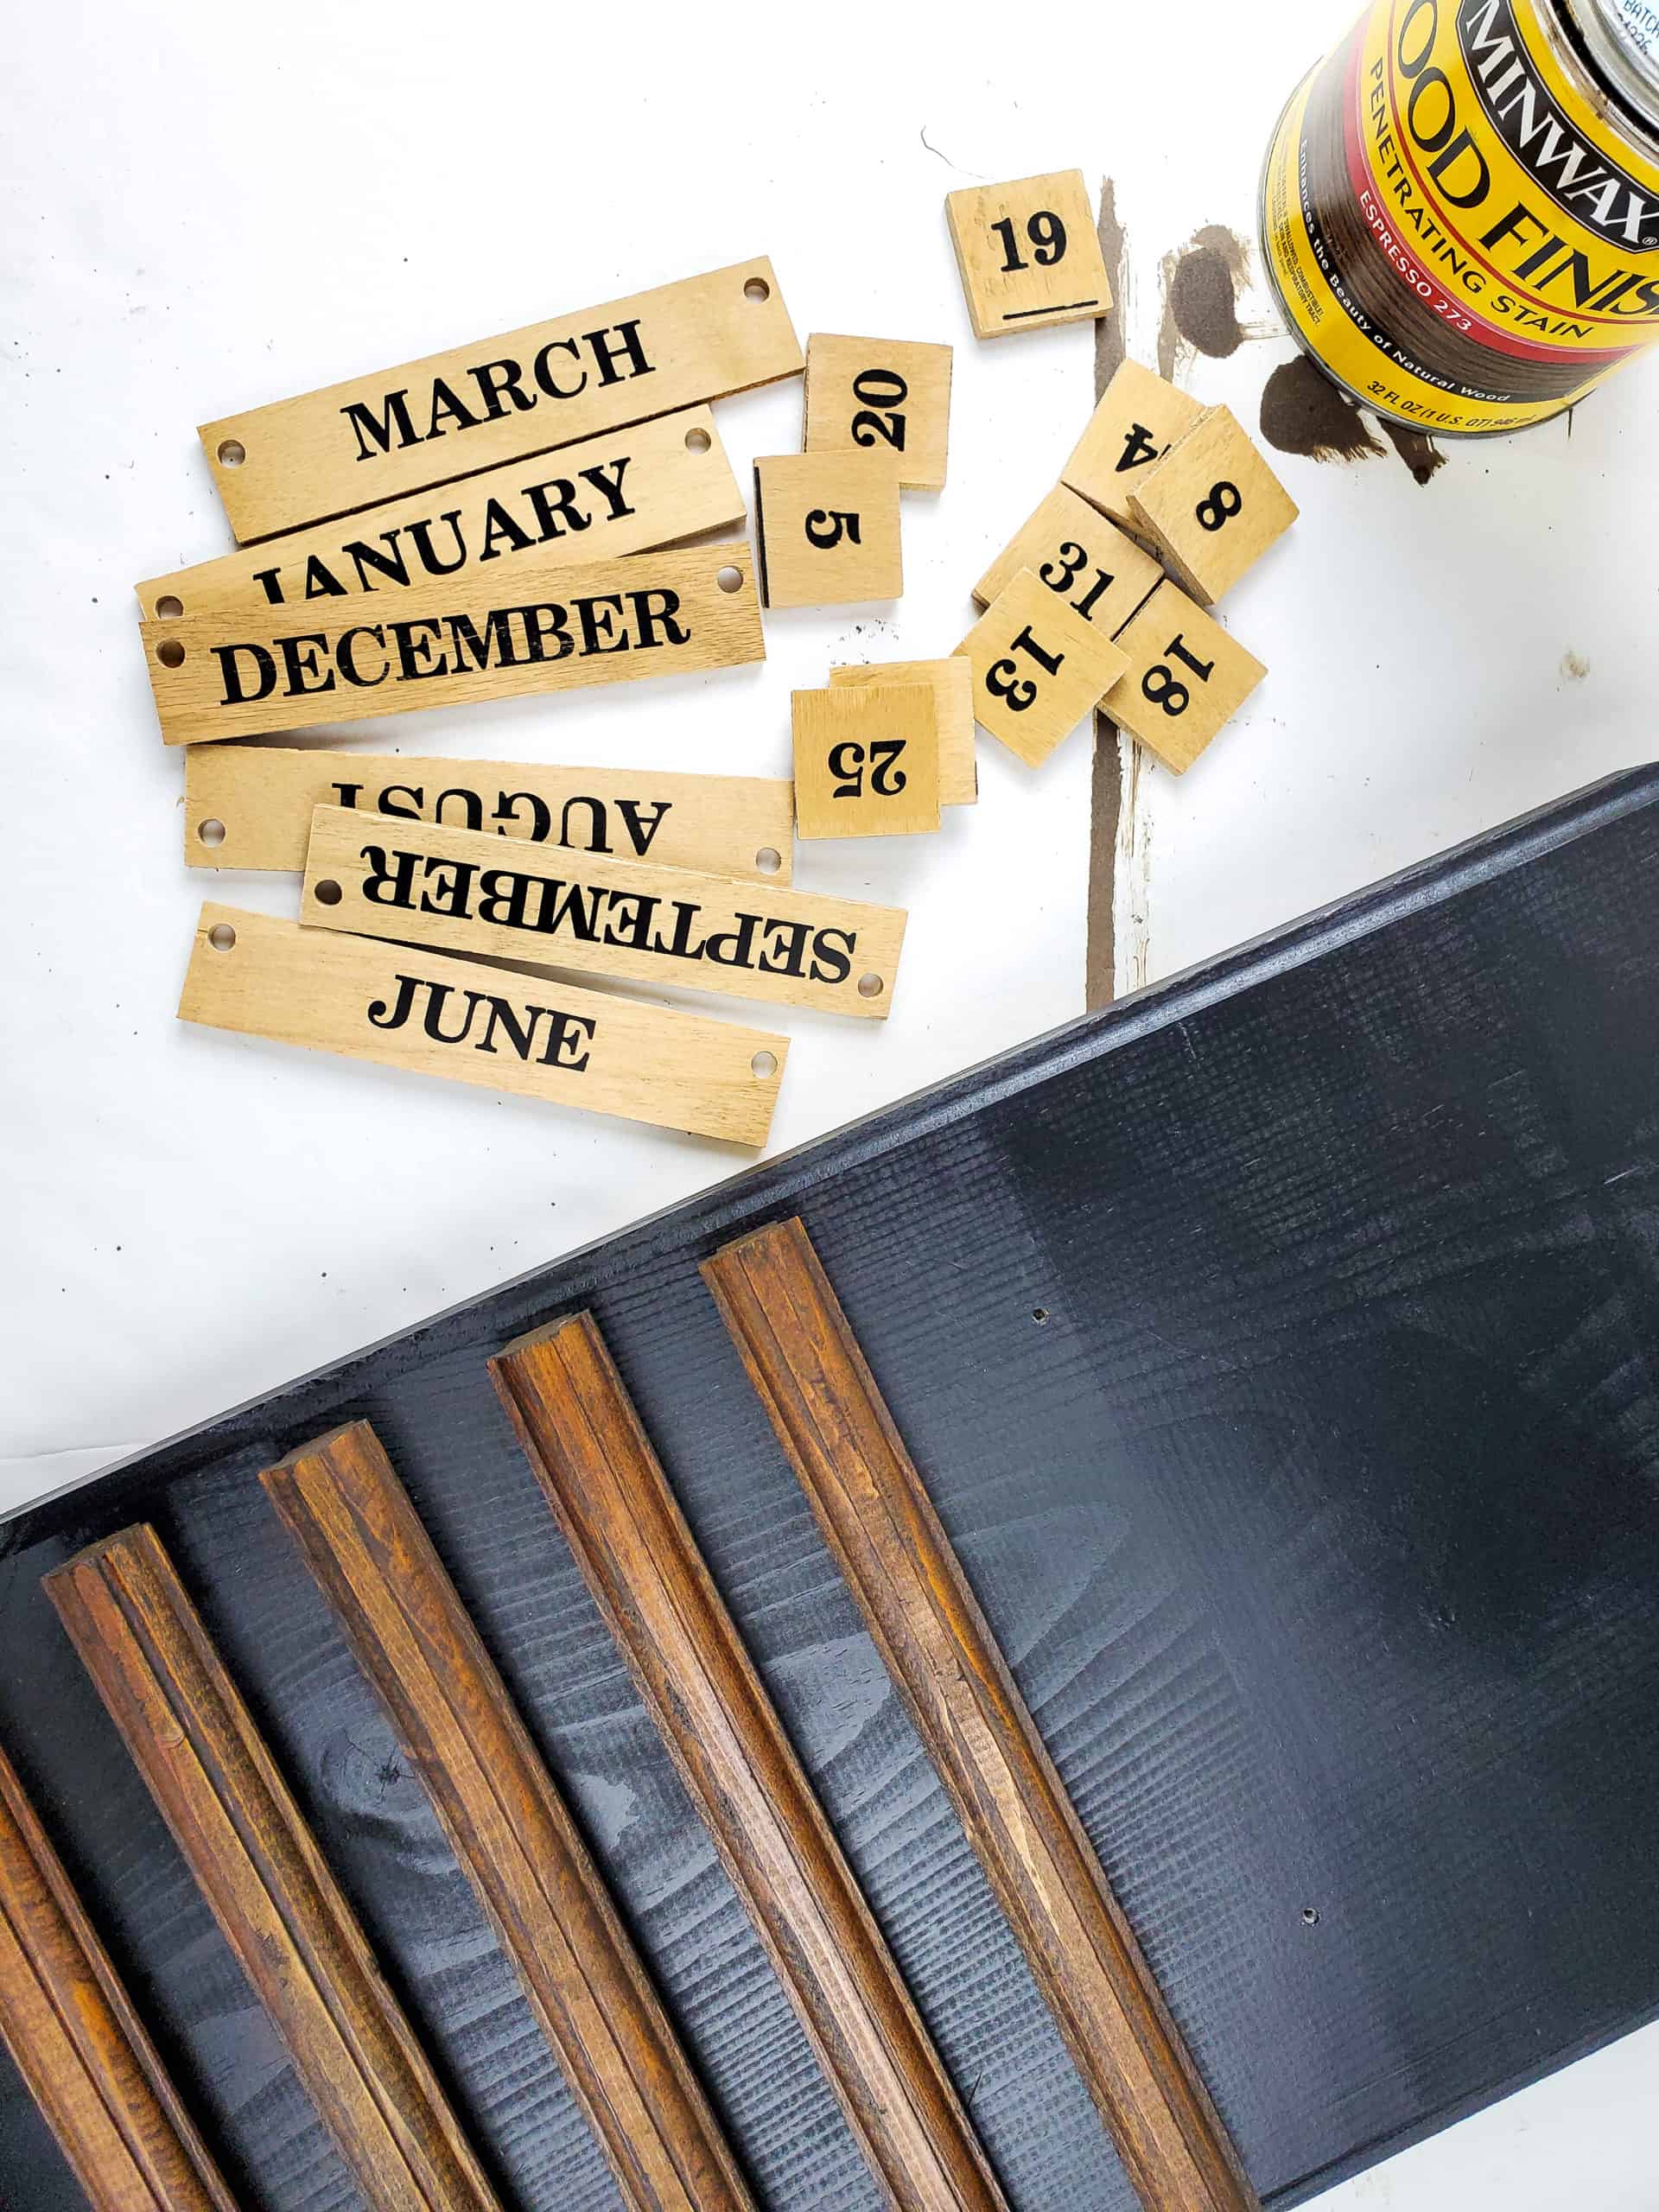
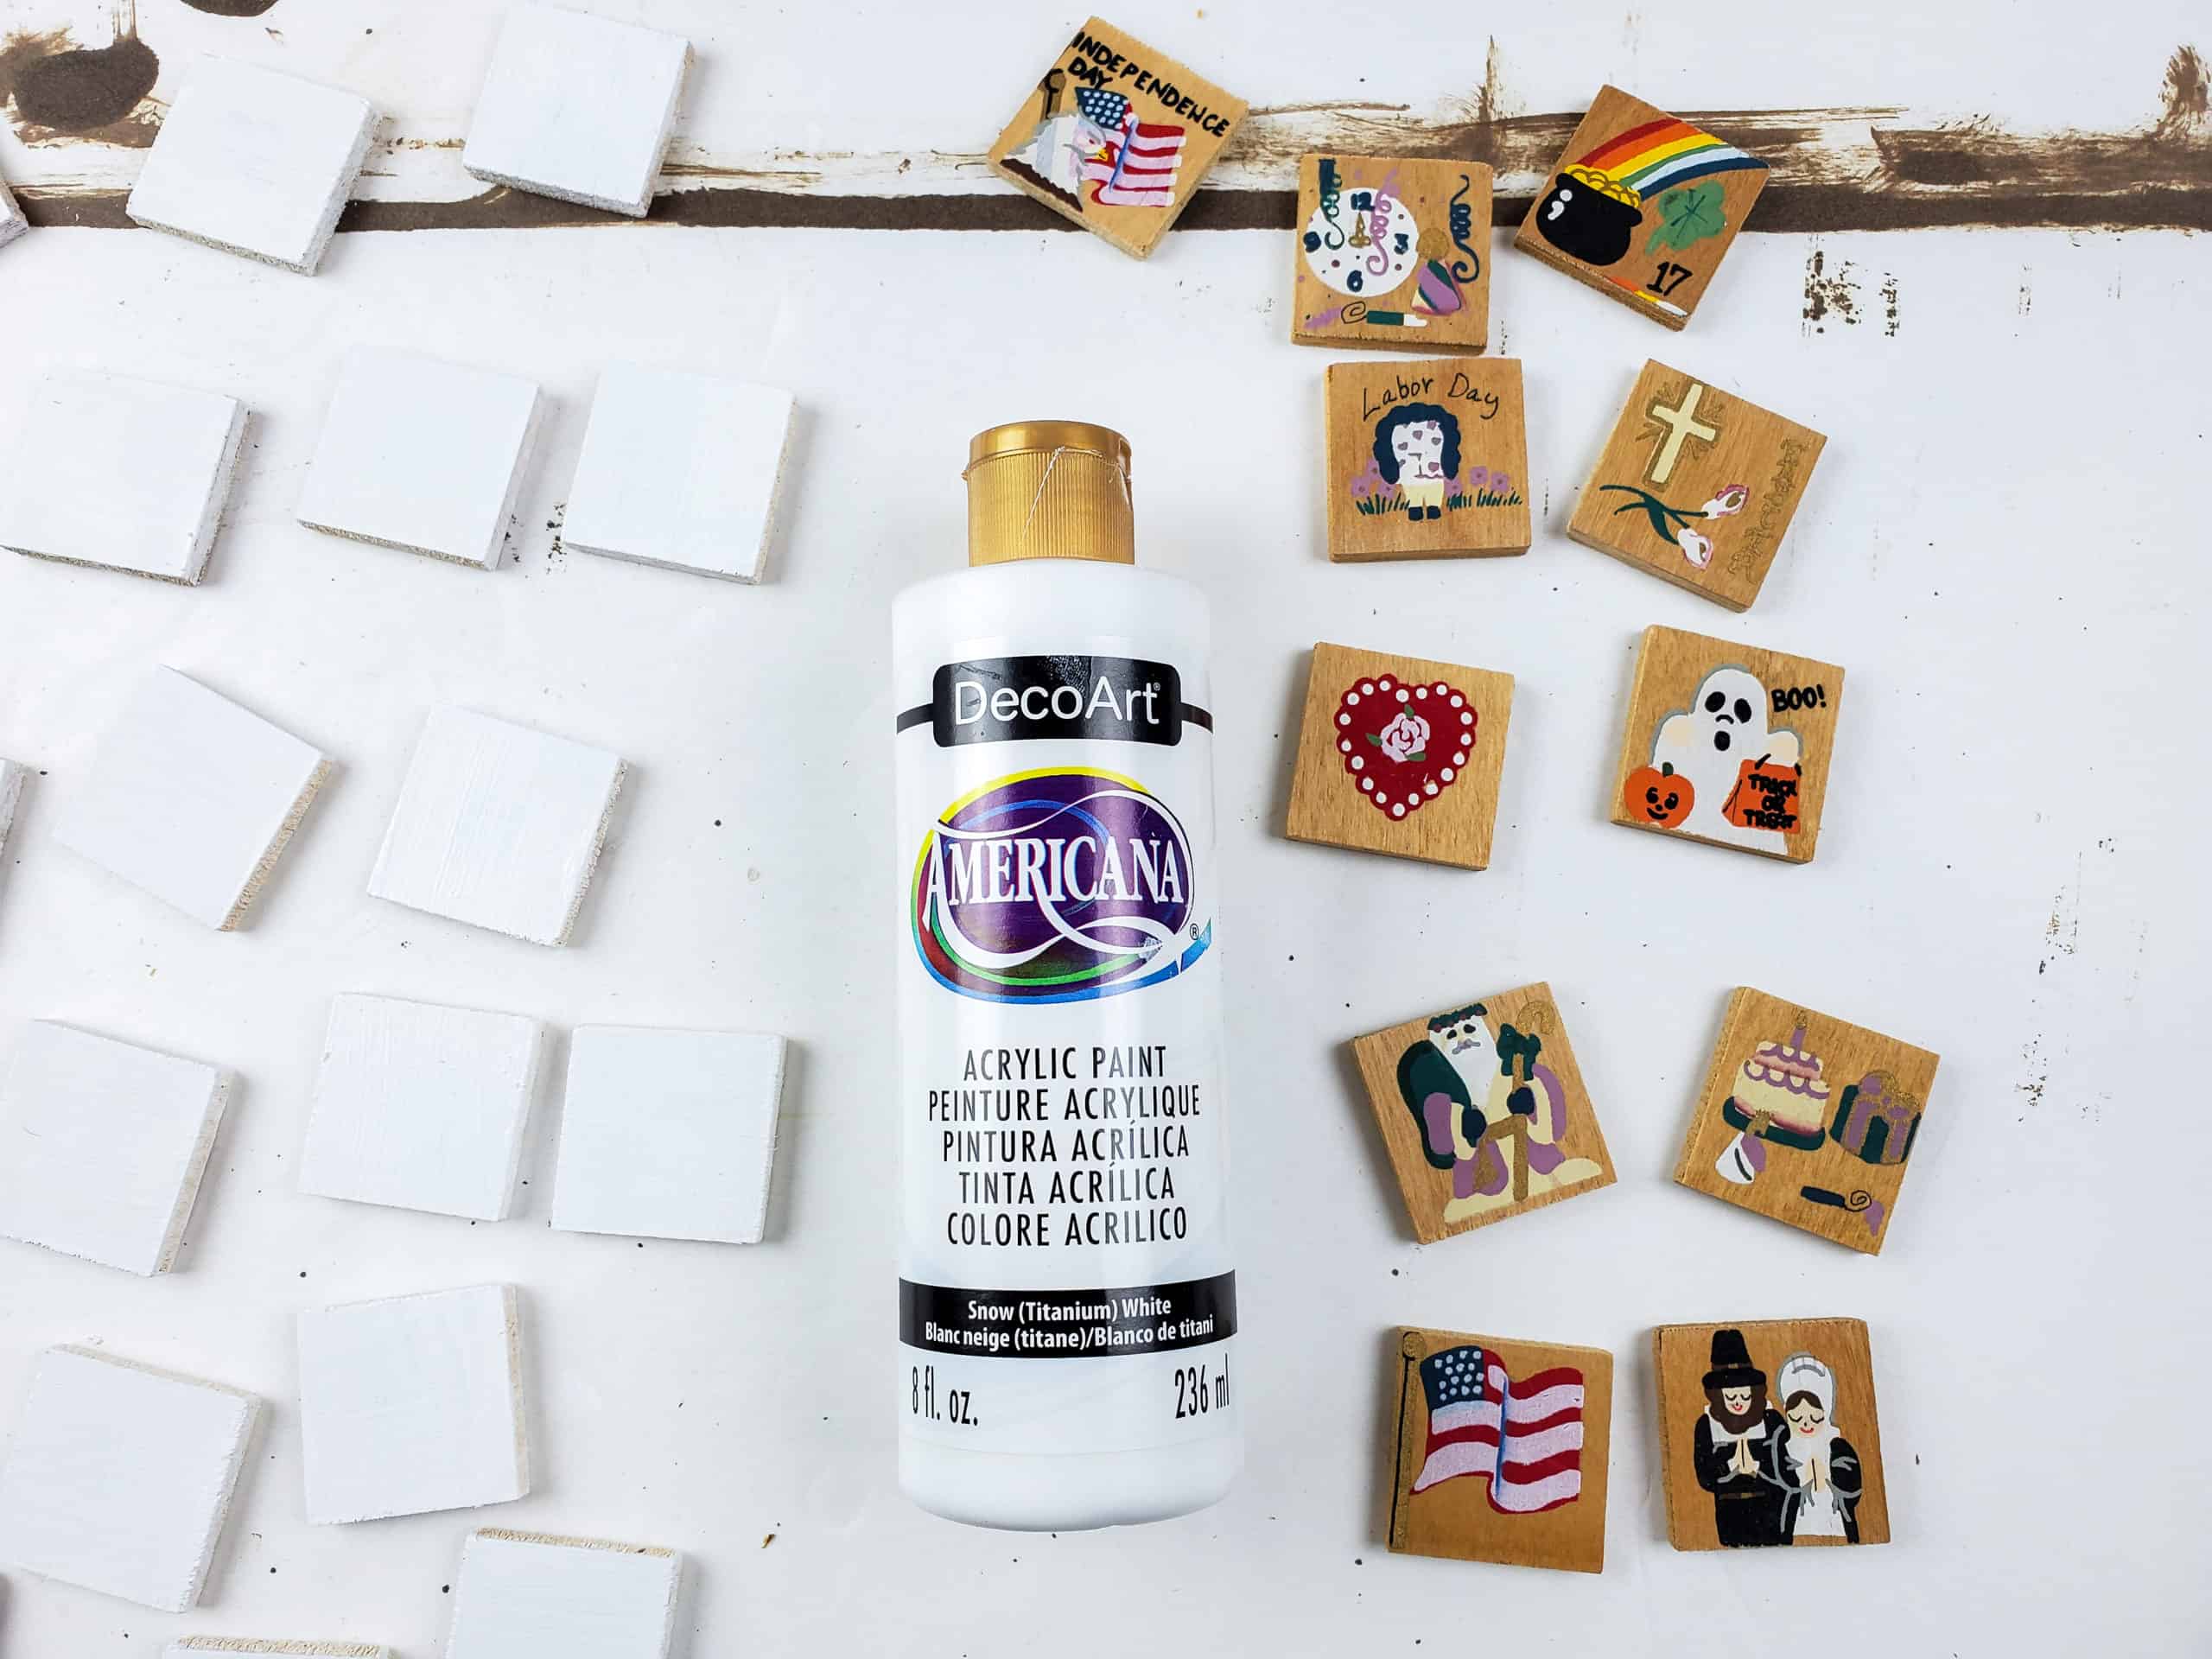
Step 3: Cover the month and date tiles with acrylic paint
I experimented by spray painting a few tiles and in the end I found that acrylic craft paint worked better (and had less fumes!)
Give each side (and edges) of your month and date tiles a few coats of acrylic craft paint.
I wanted the days and months tiles to stand out against the black back of the calendar, so I went with classic white.
Make sure you let the tiles dry thoroughly between coats.
My tiles took 2 coats to fully cover the old (although gloriously kitchy) designs.
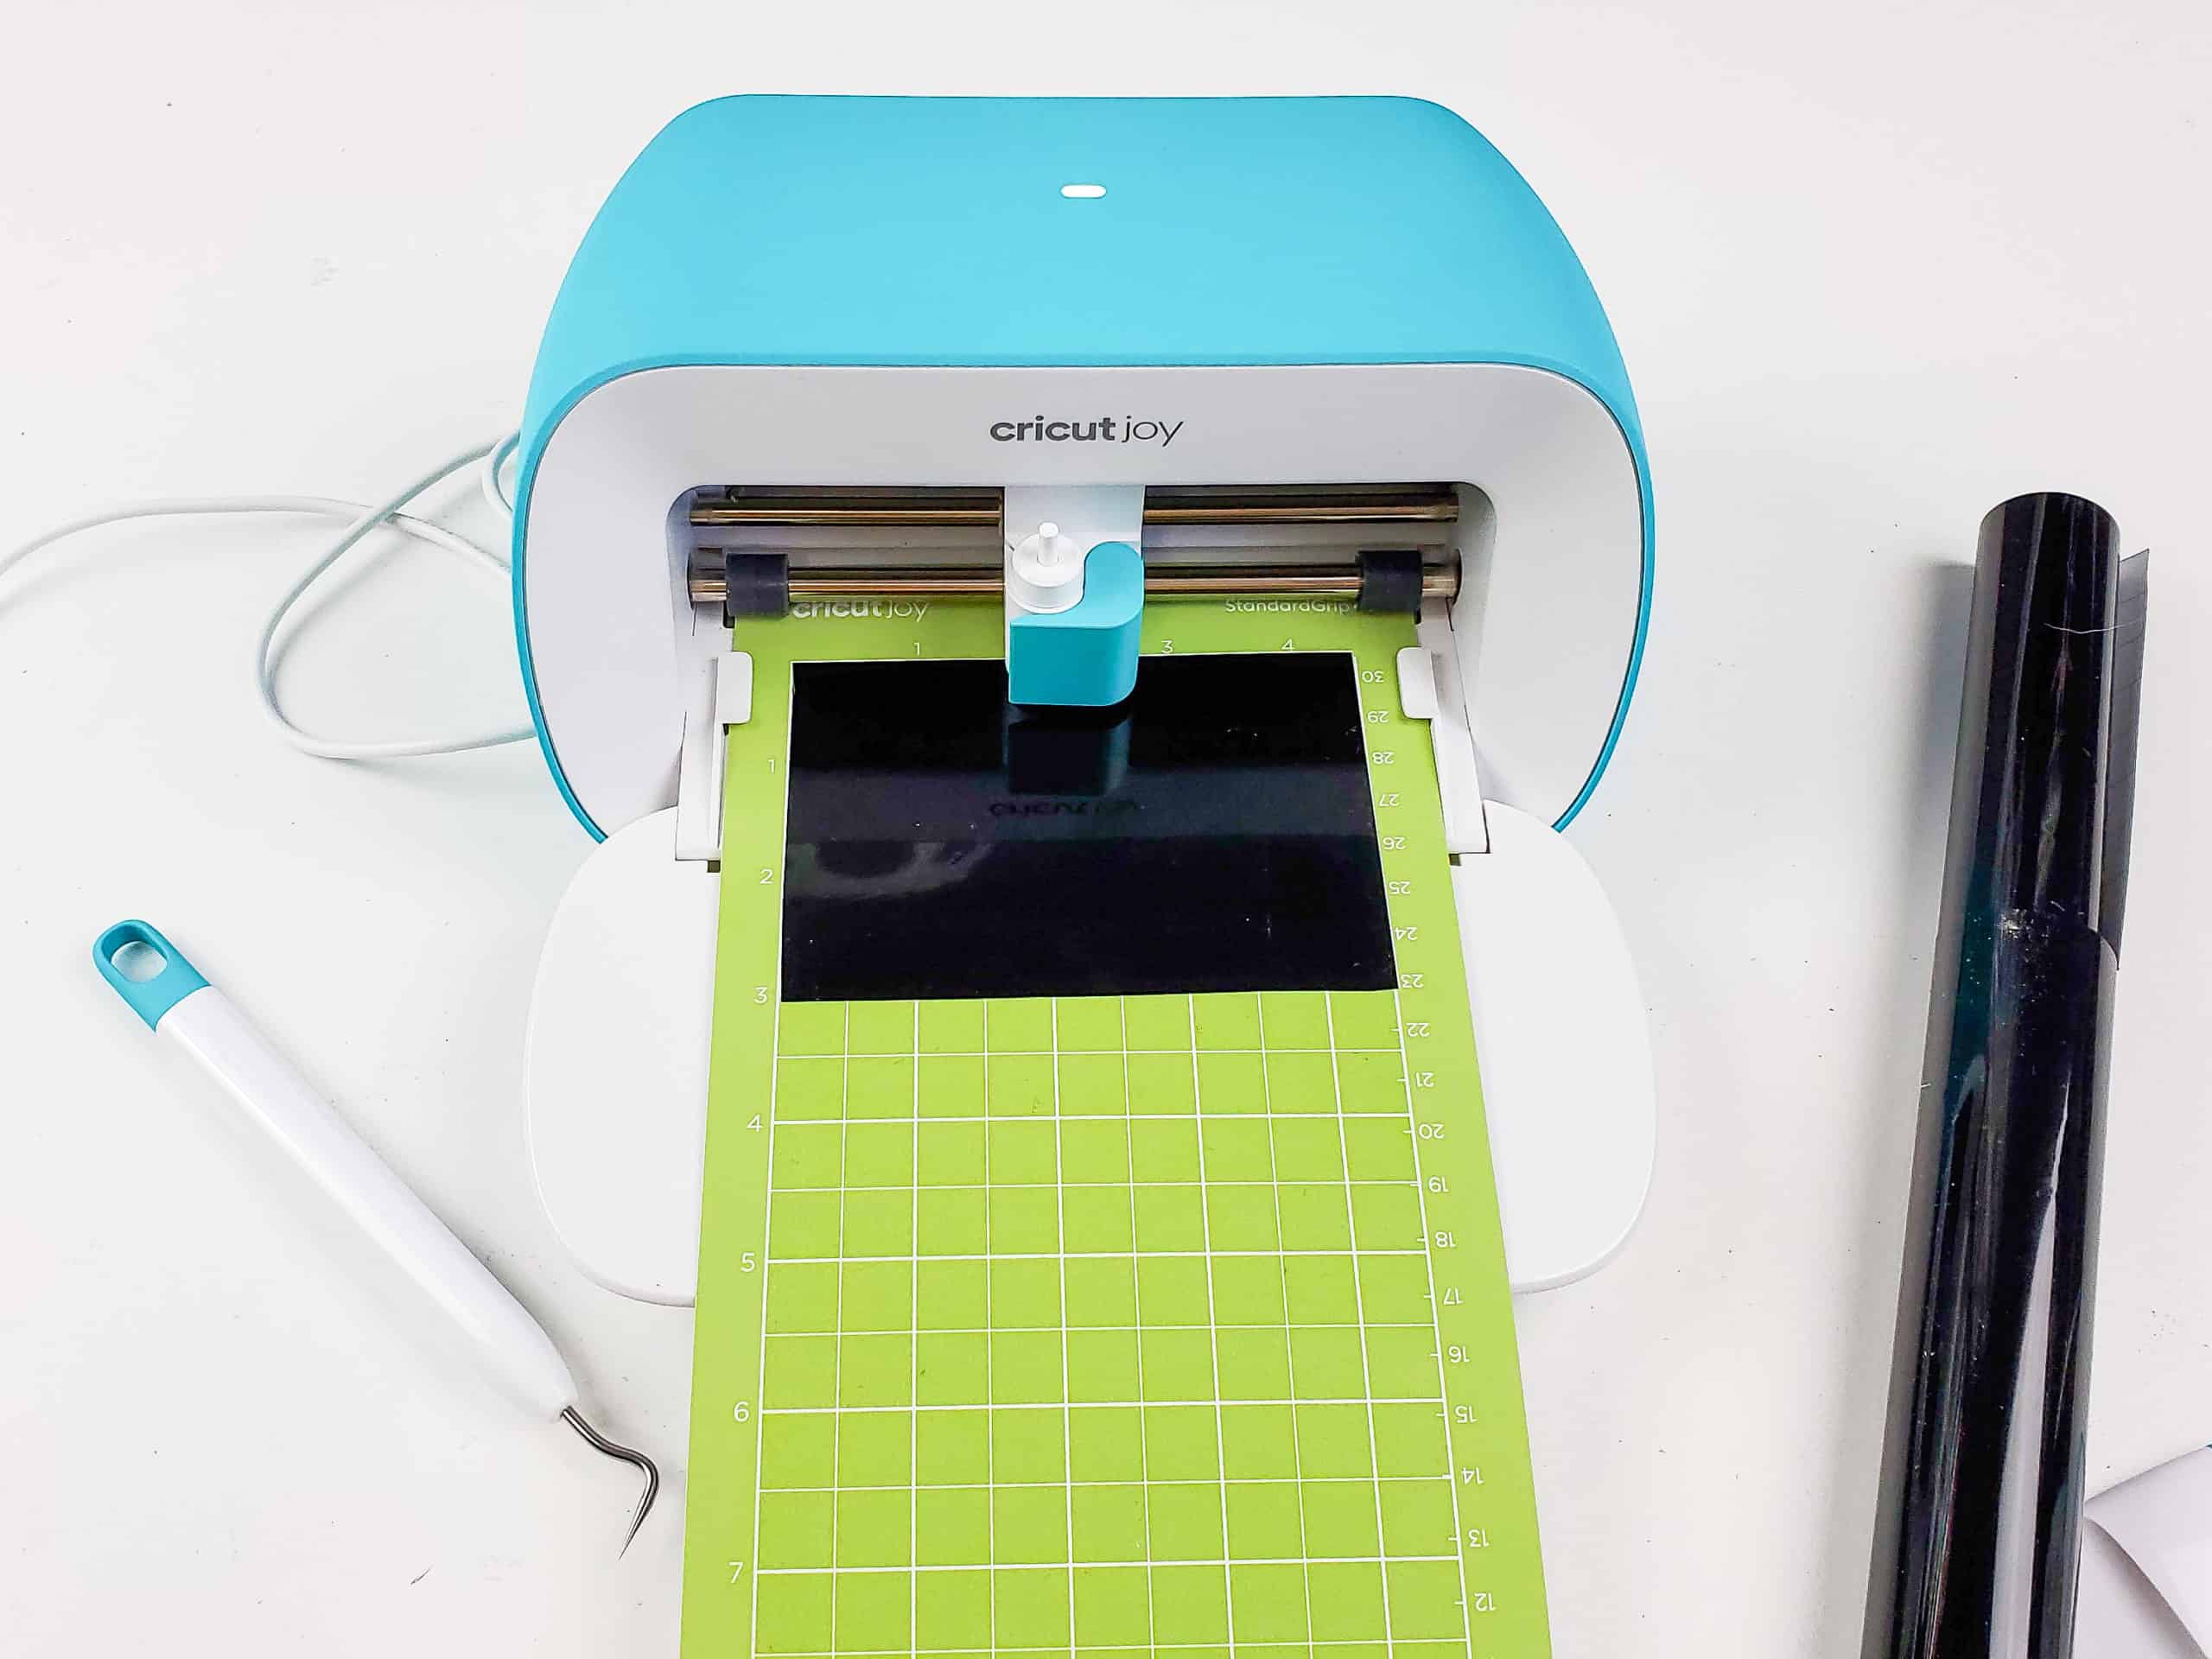
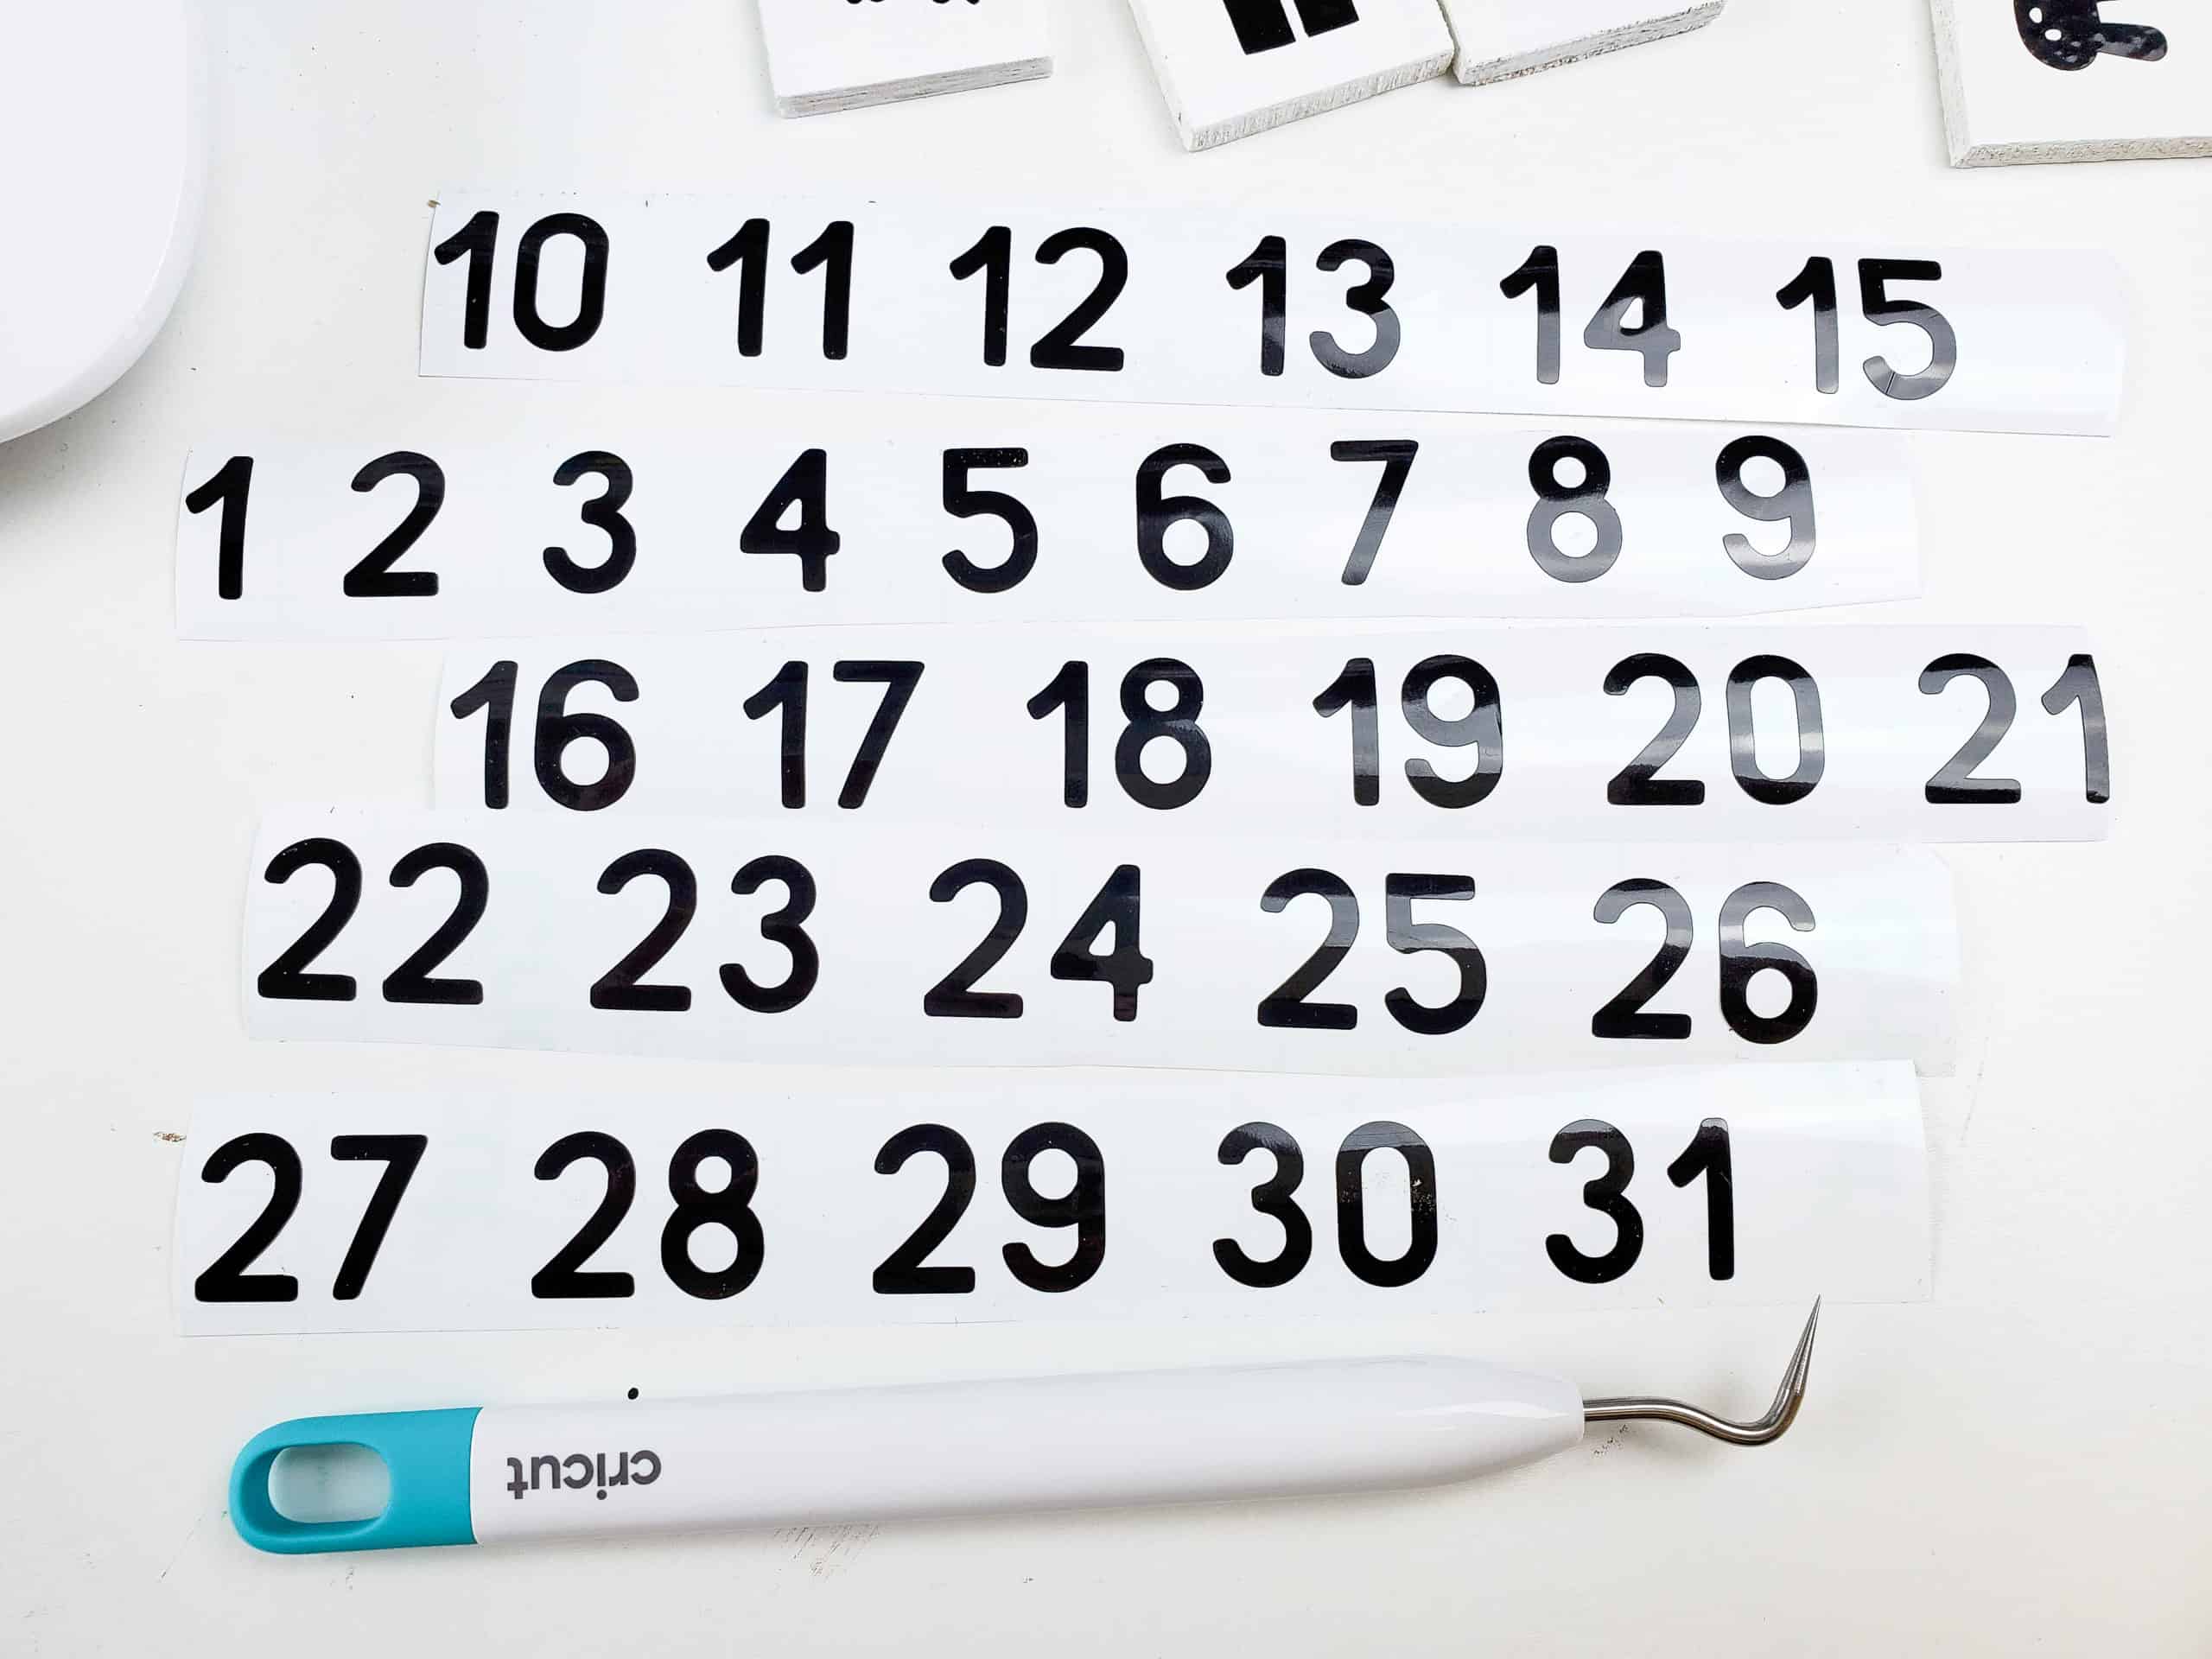
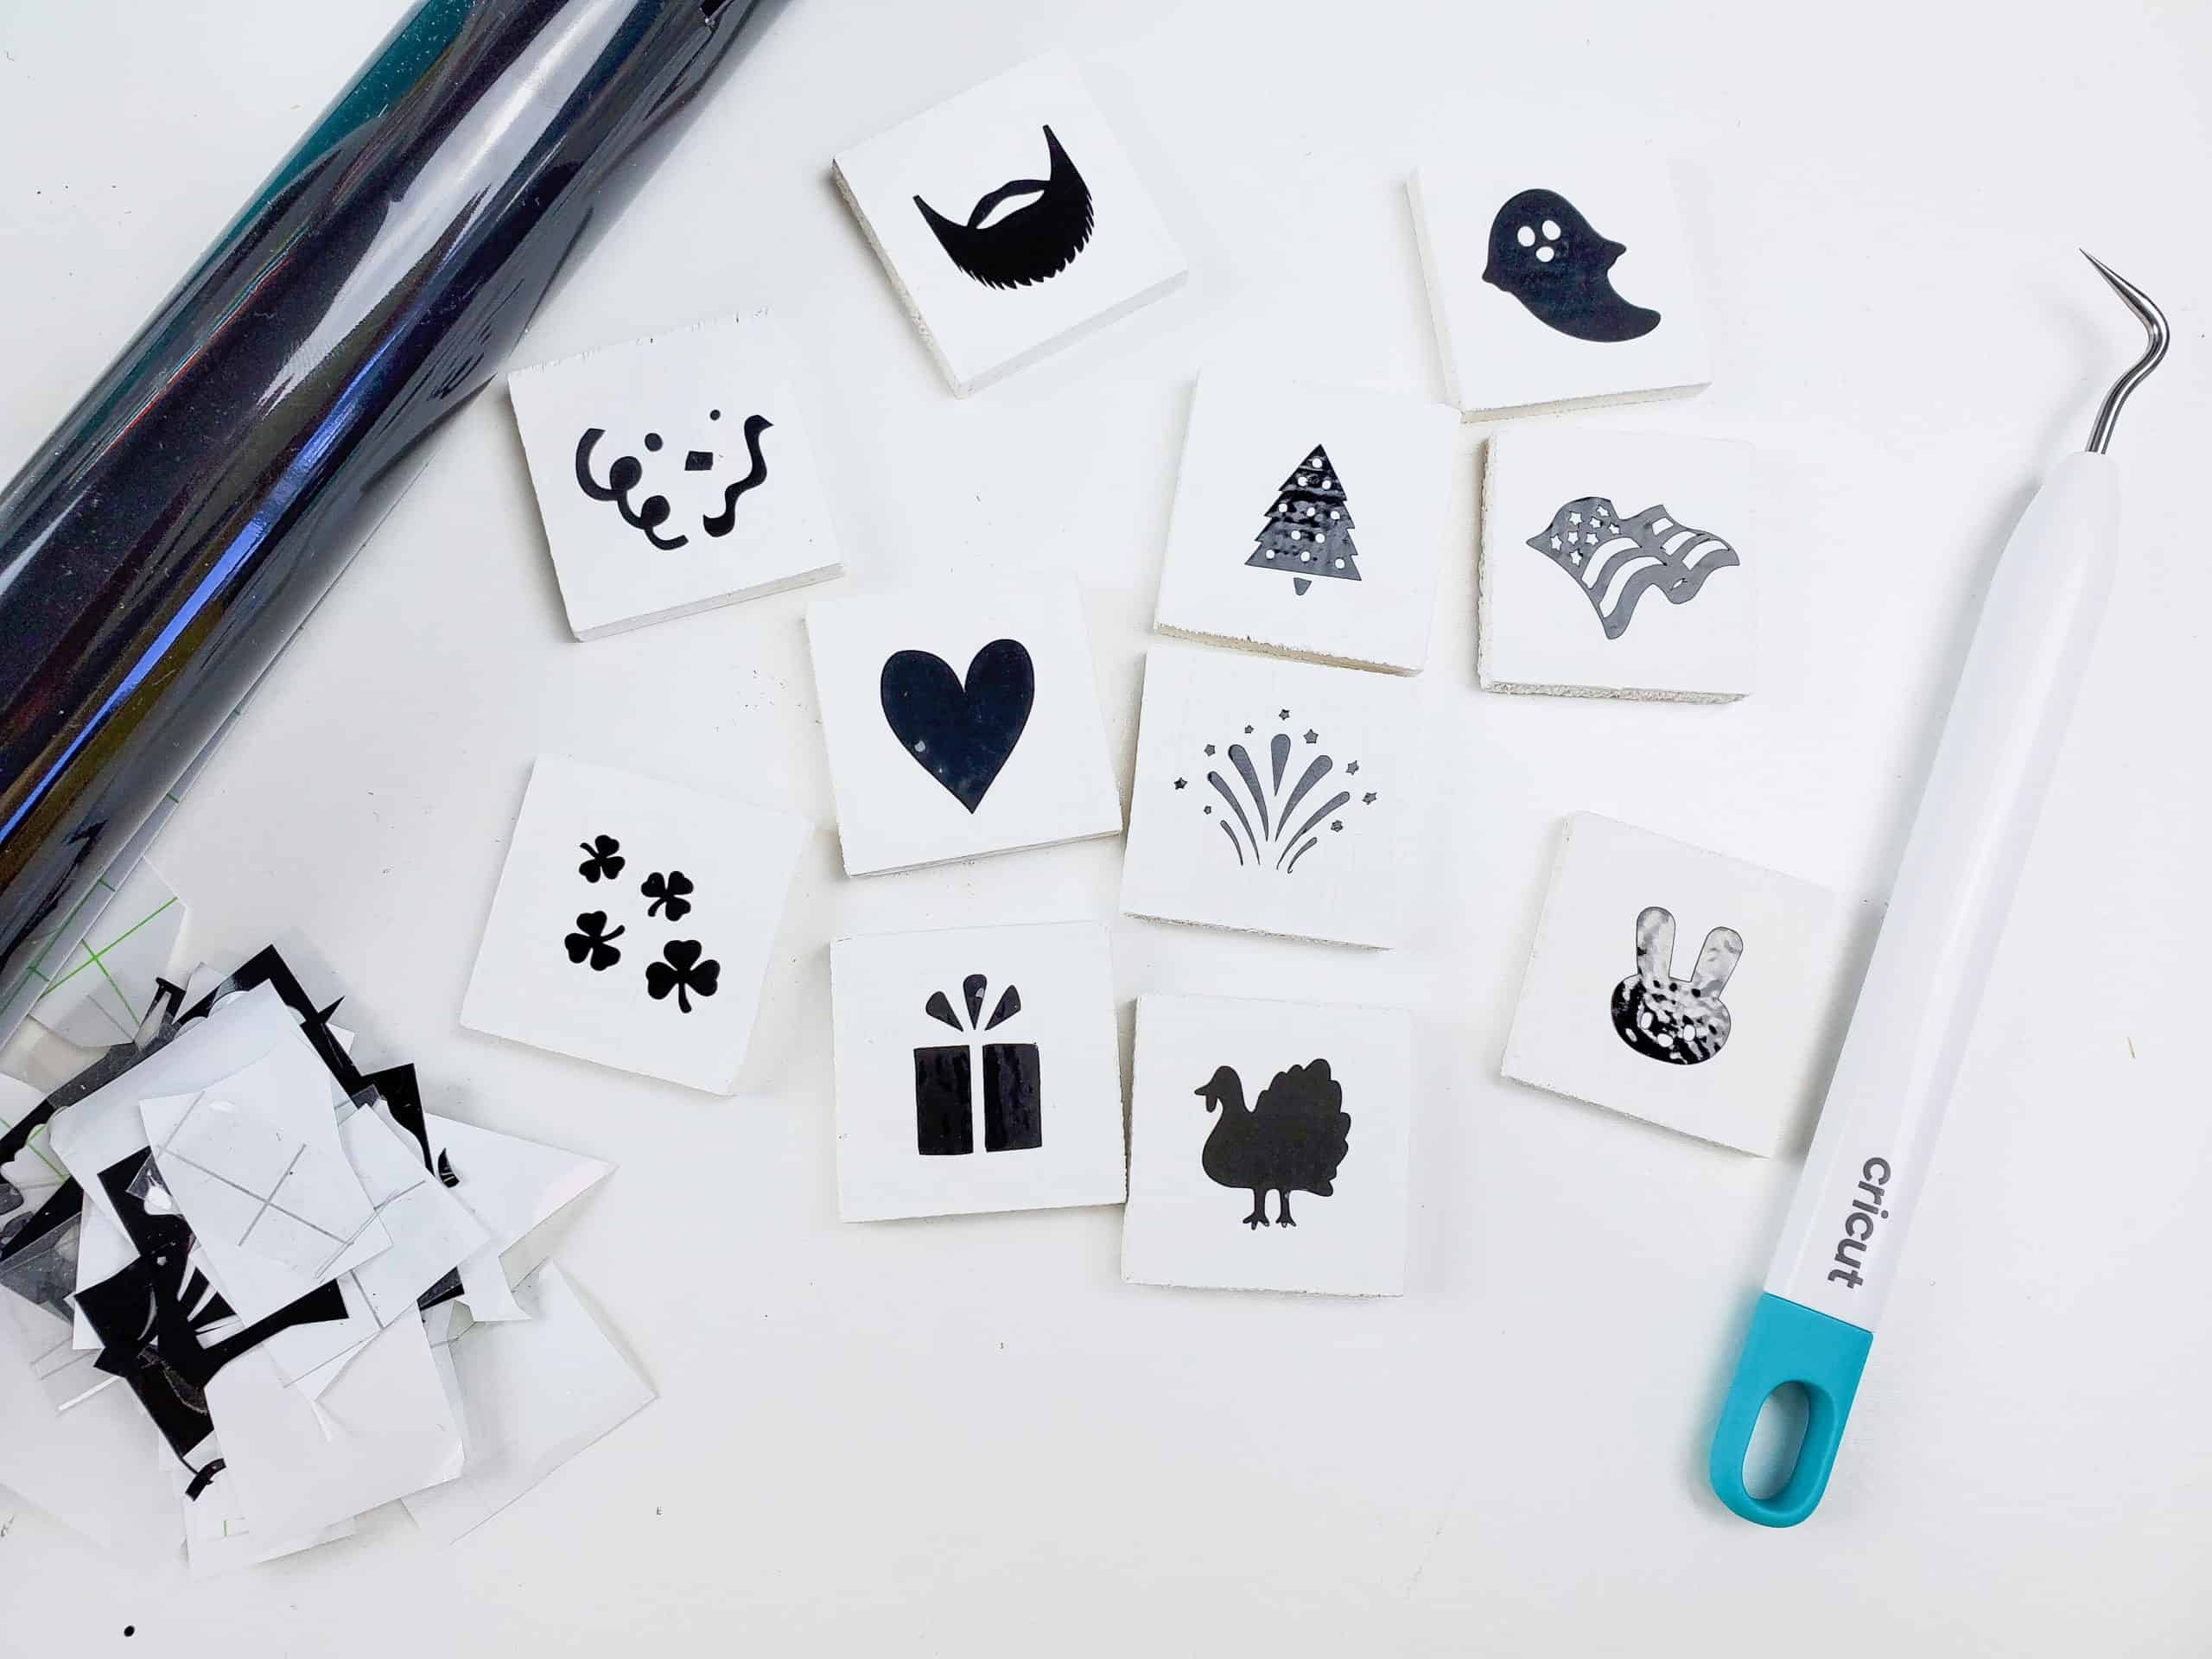
Step 4: Cut and apply the months, days, and holiday icons to the tiles using your Cricut
Although I own all 3 sizes of Cricut (yes, I’m obsessed), this project was perfectly sized for my Cricut Joy.
And no, this post is not sponsored.
I designed my tiles in Cricut Design Space and used my Cricut Access subscription to find the perfect icons for various holidays.
My tiles had a few holidays that I wanted to keep, and a few I wanted to add. In the end I made tiles for:
- Father’s/Mother’s Day (one on each side of same tile)
- Christmas
- Halloween
- New Year’s
- Memorial Day
- St Patrick’s Day
- 4th of July
- Birthday
- Thanksgiving
- Easter
- Valentine’s Day
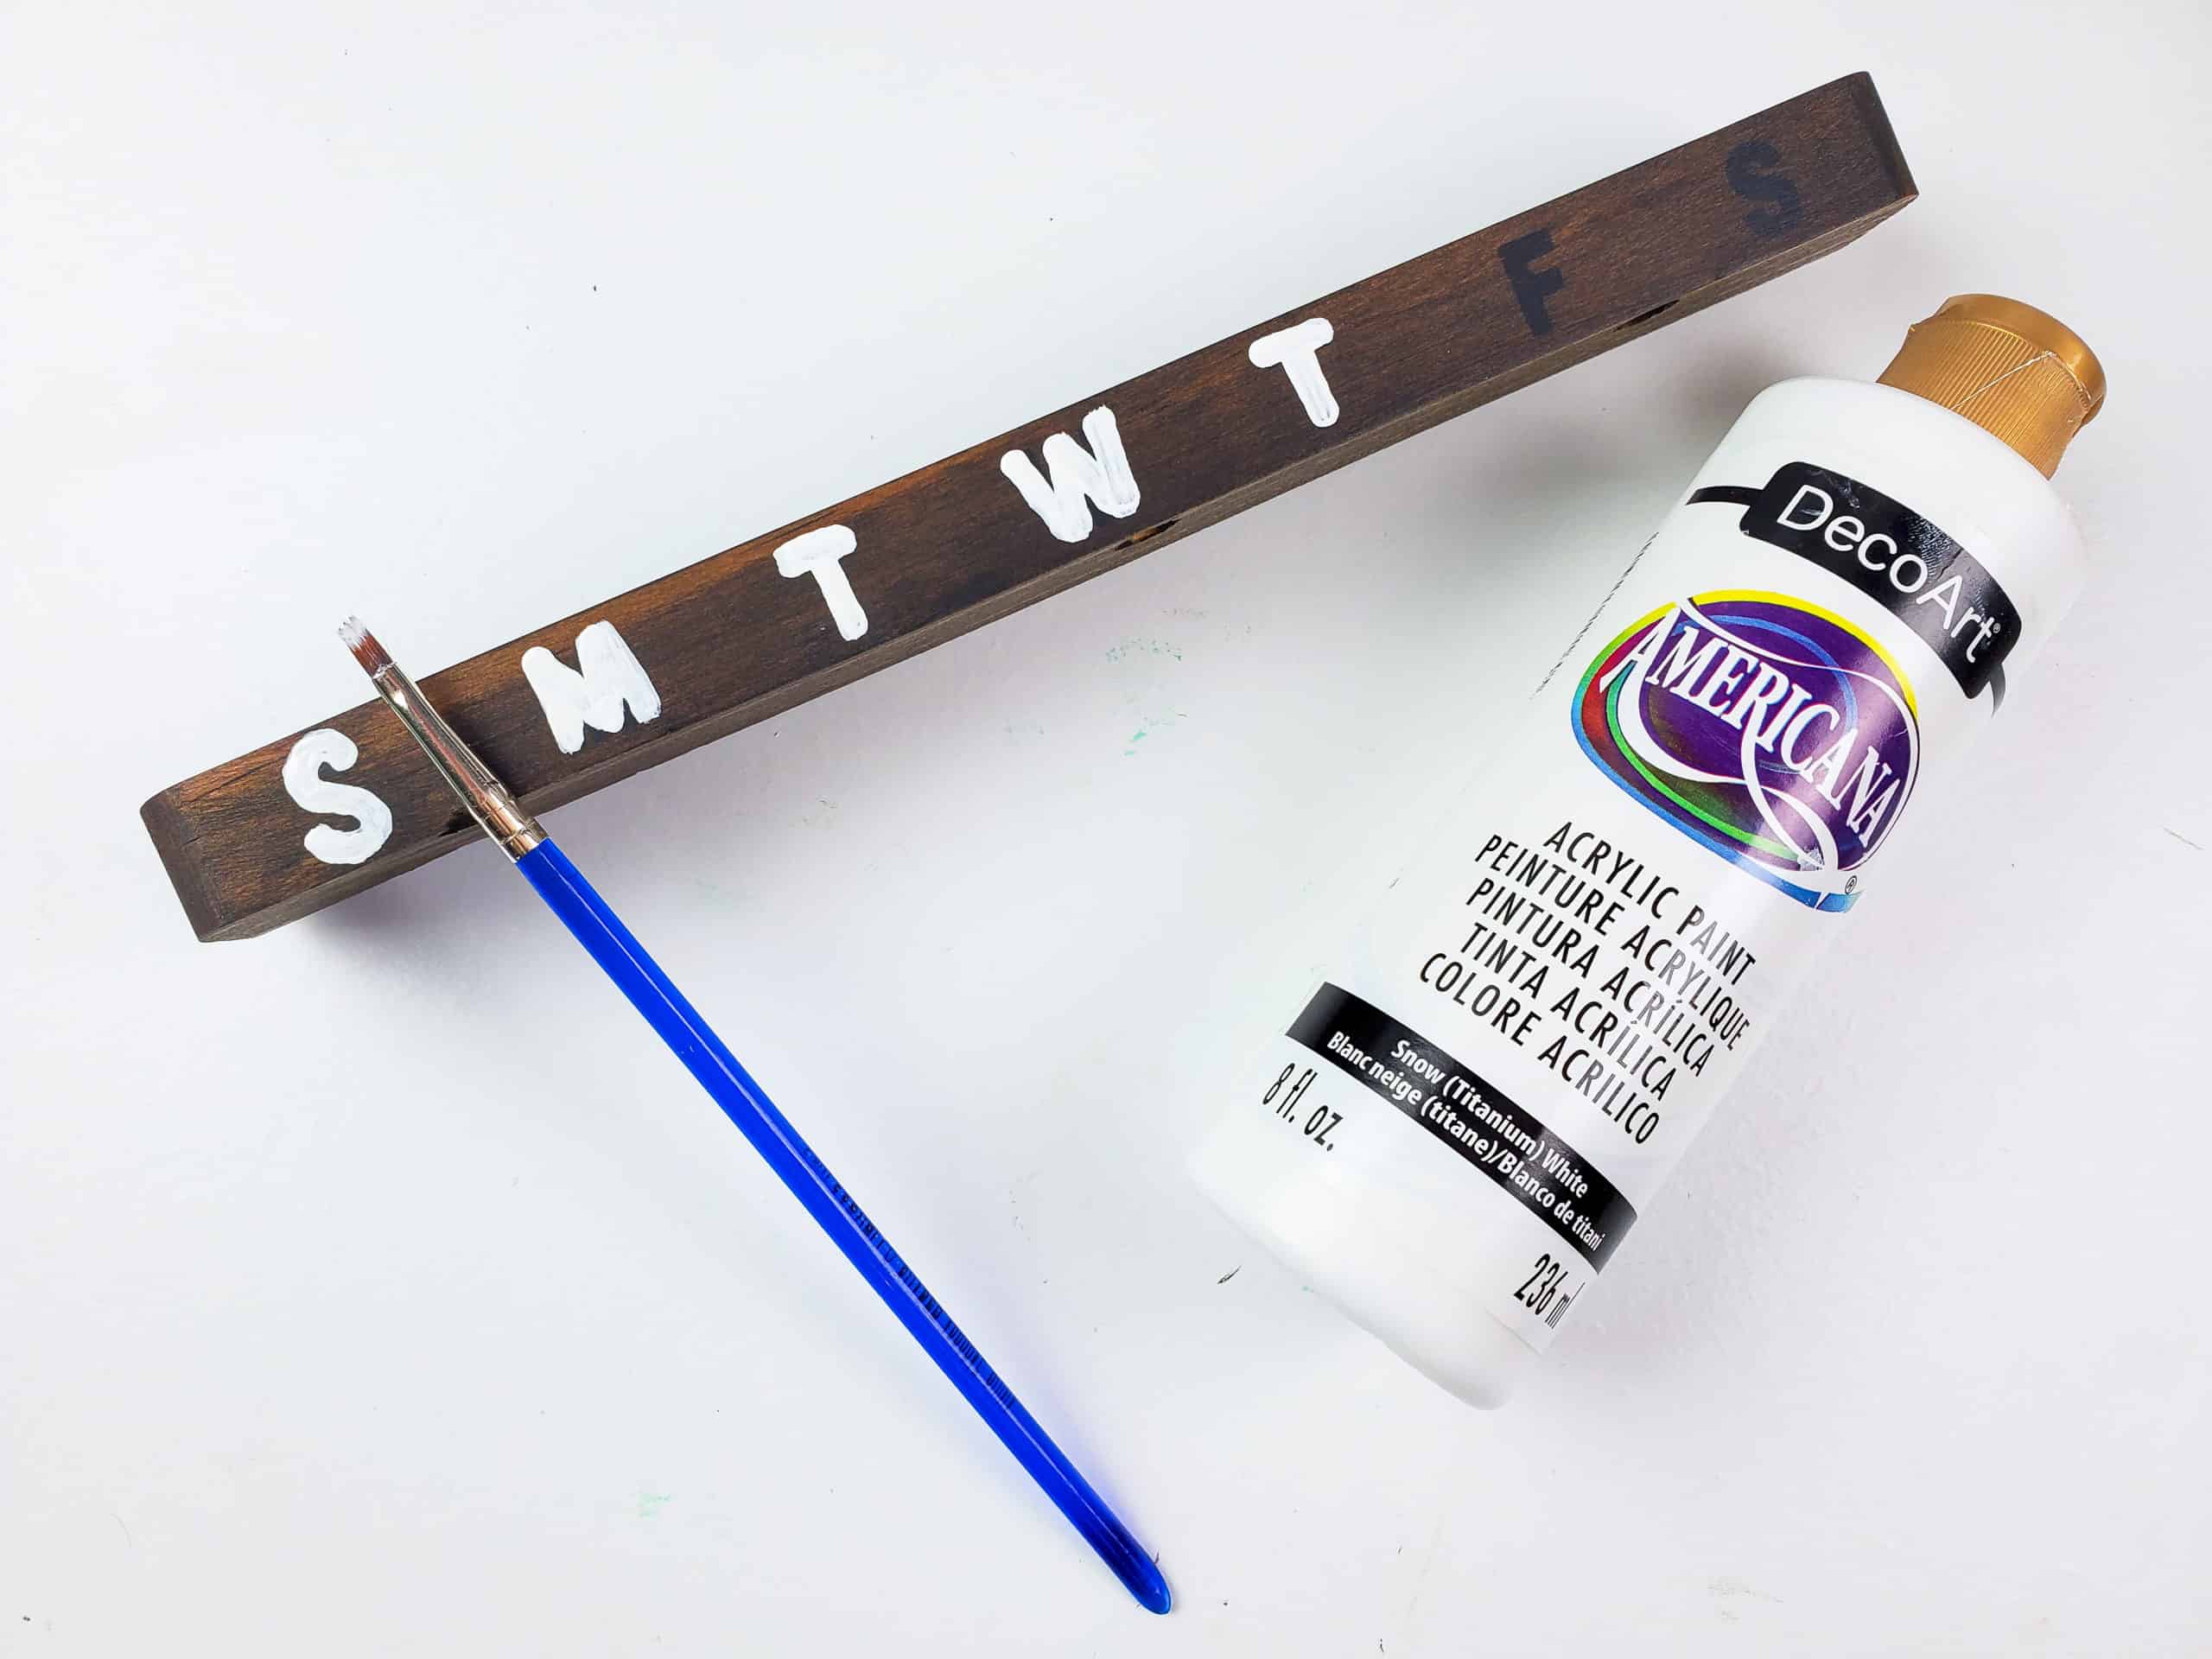
For the day of the week bar, I just used the same acrylic craft paint from before and a paint brush to follow the letters that were there before.
Once that’s dry, screw it back in place.
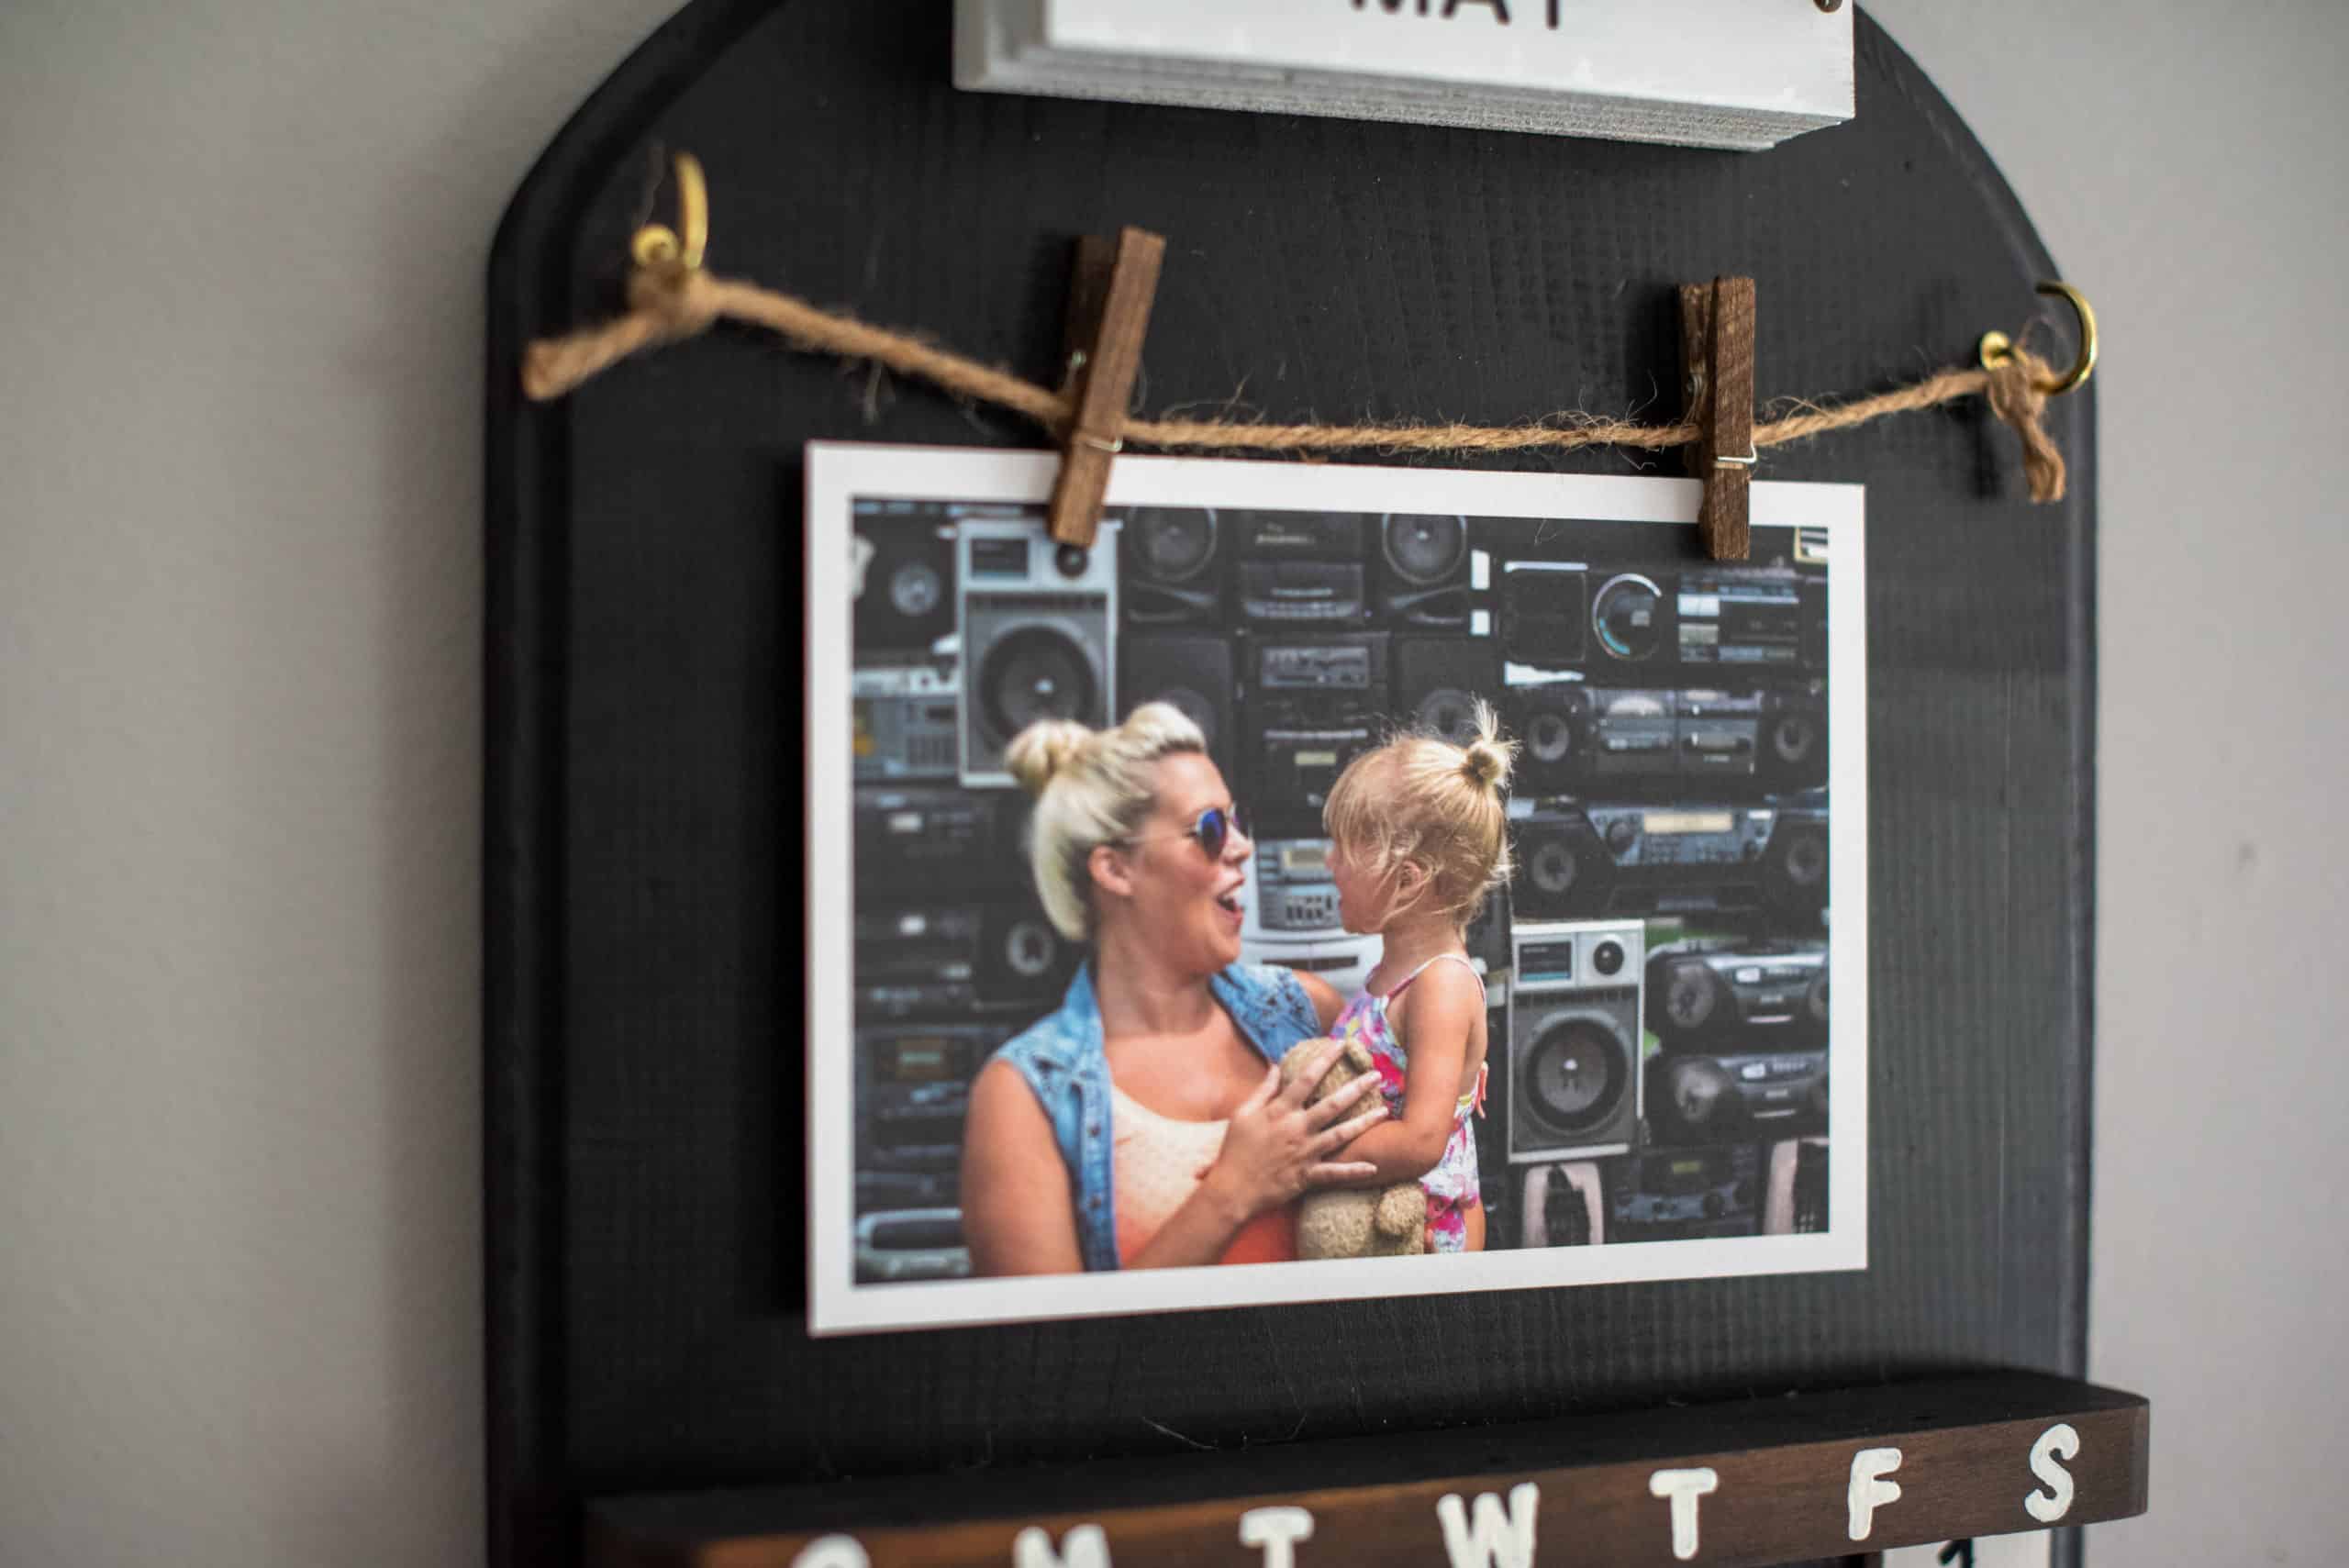
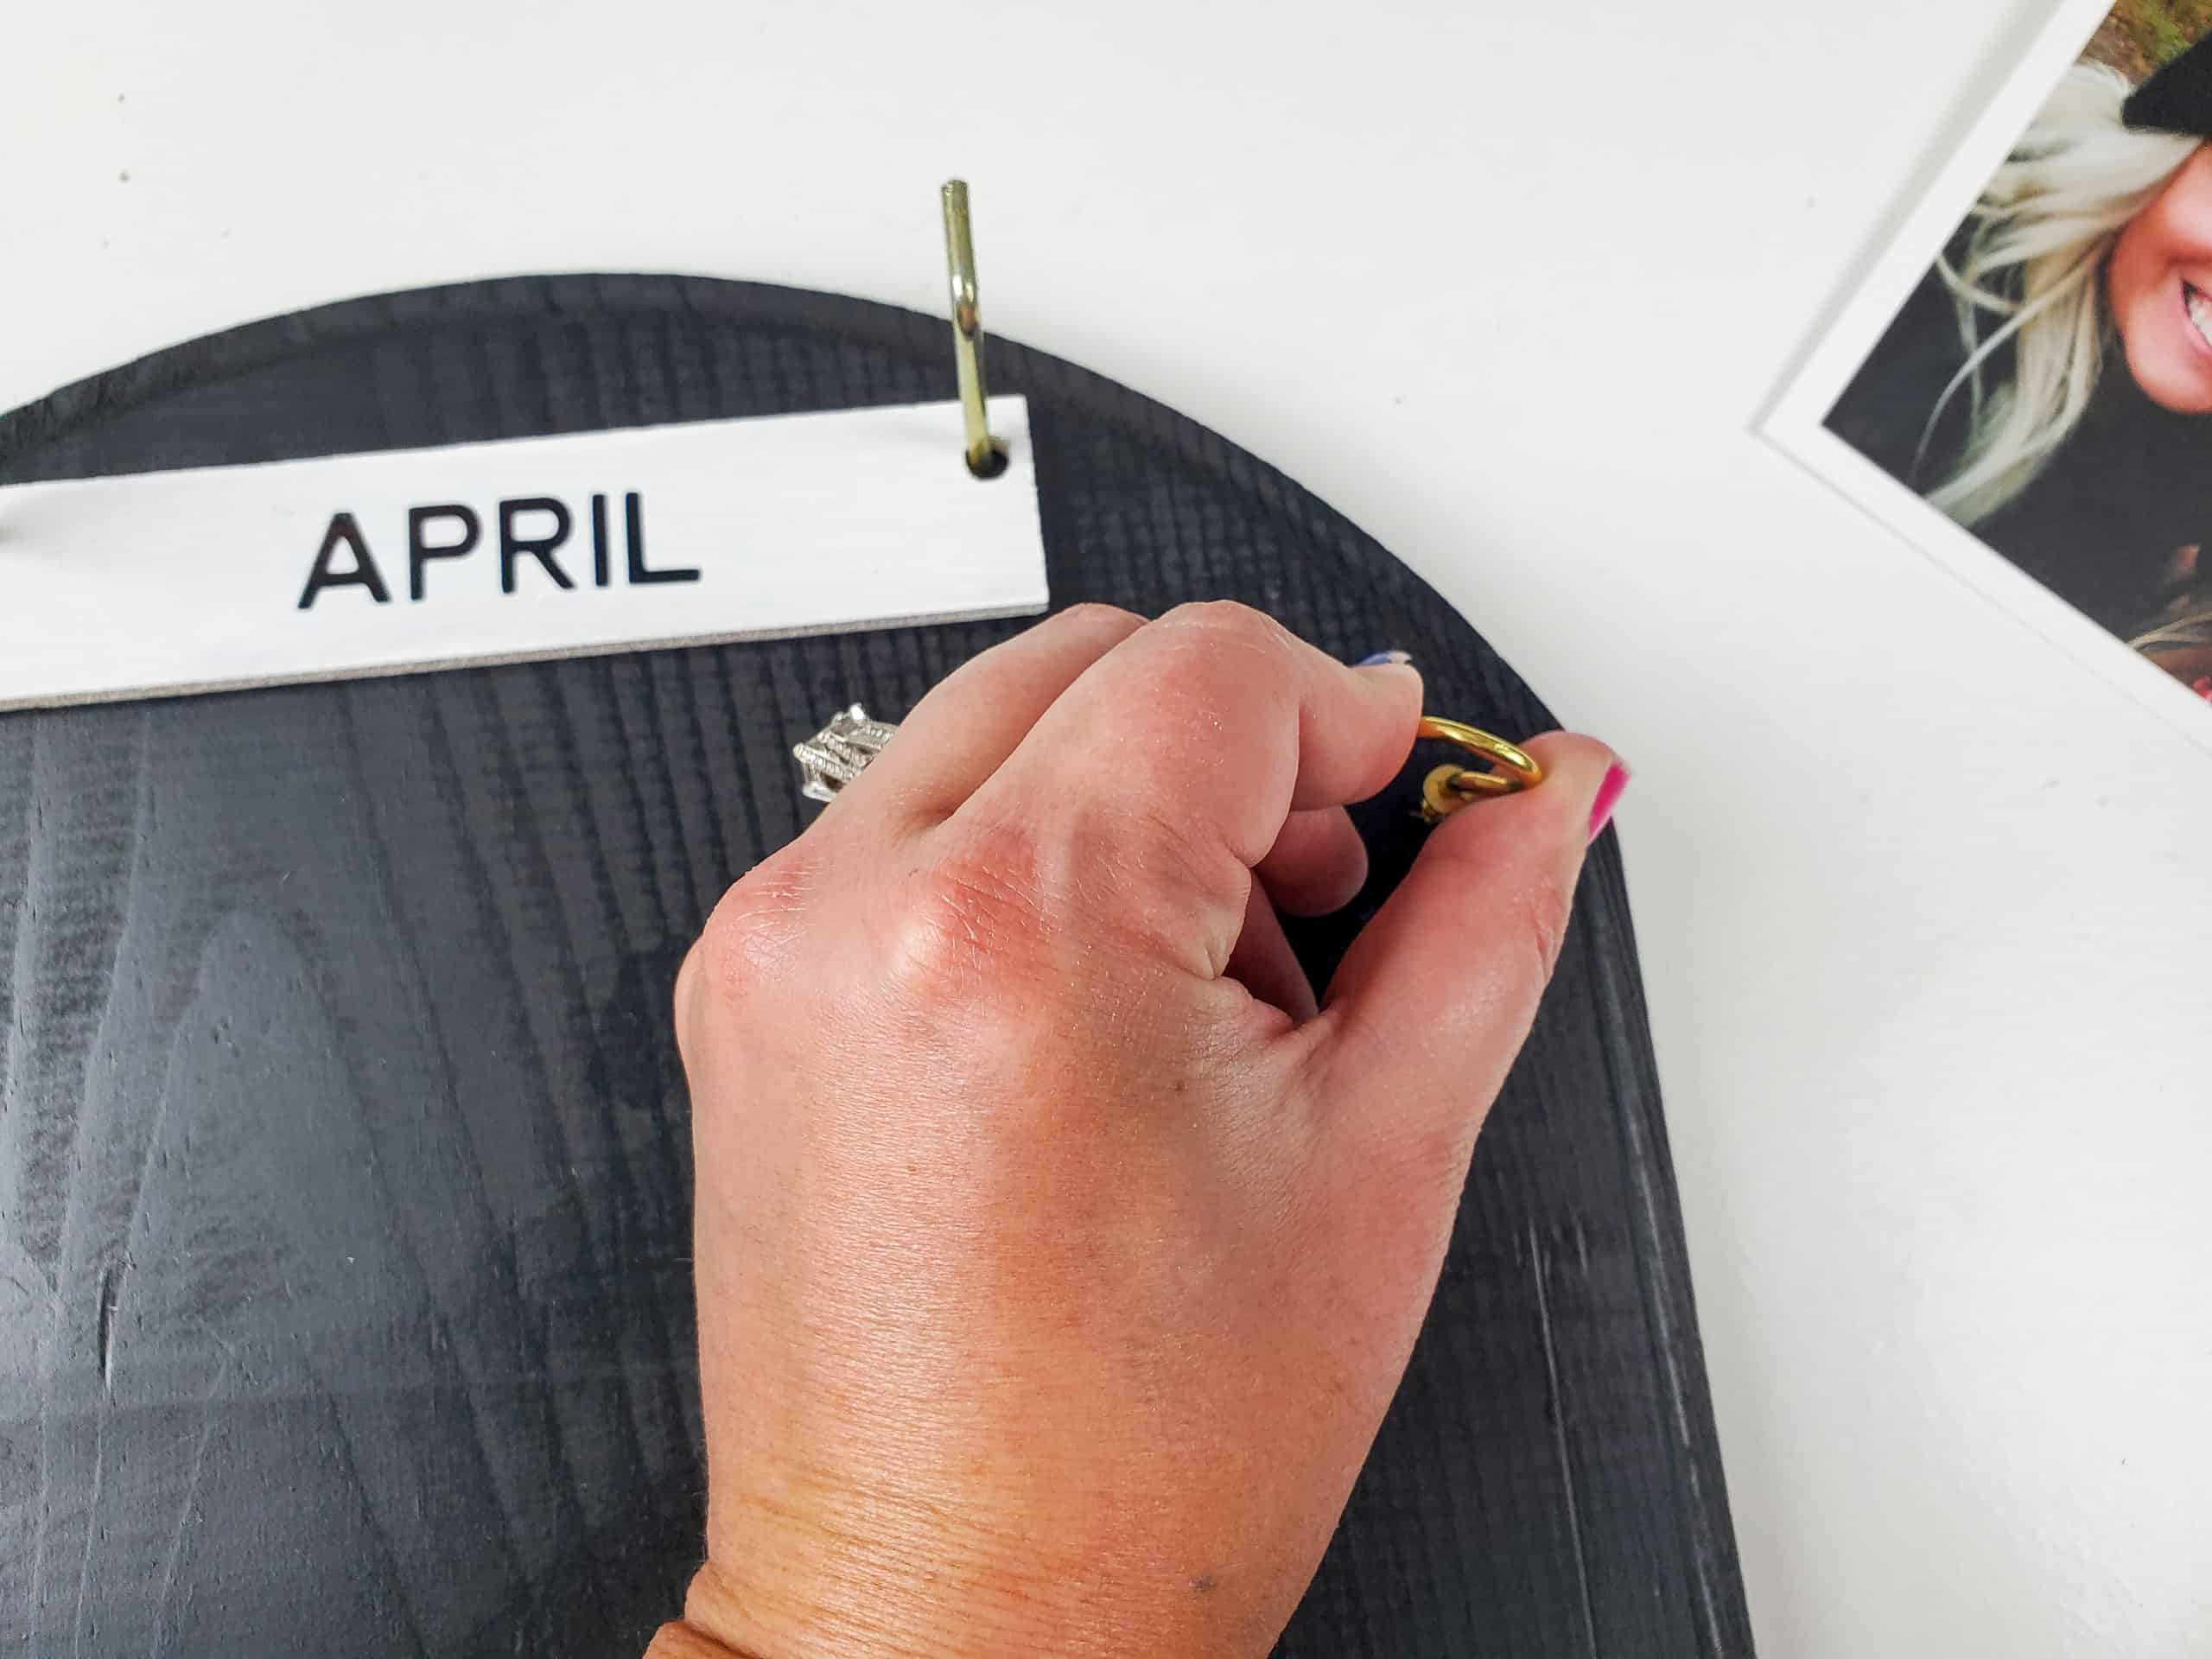
Step 5: Attach the photo string hooks and cord
To fill in the space that the houses that I removed left behind, I decided a rotating photo display would be so perfect!

I screwed in some small brass hooks by hand on either side of the calendar base and tied a string of twine between.
I stained 2 mini clothes pins with the same stain I used for the rails and used those to hold the photo in place.
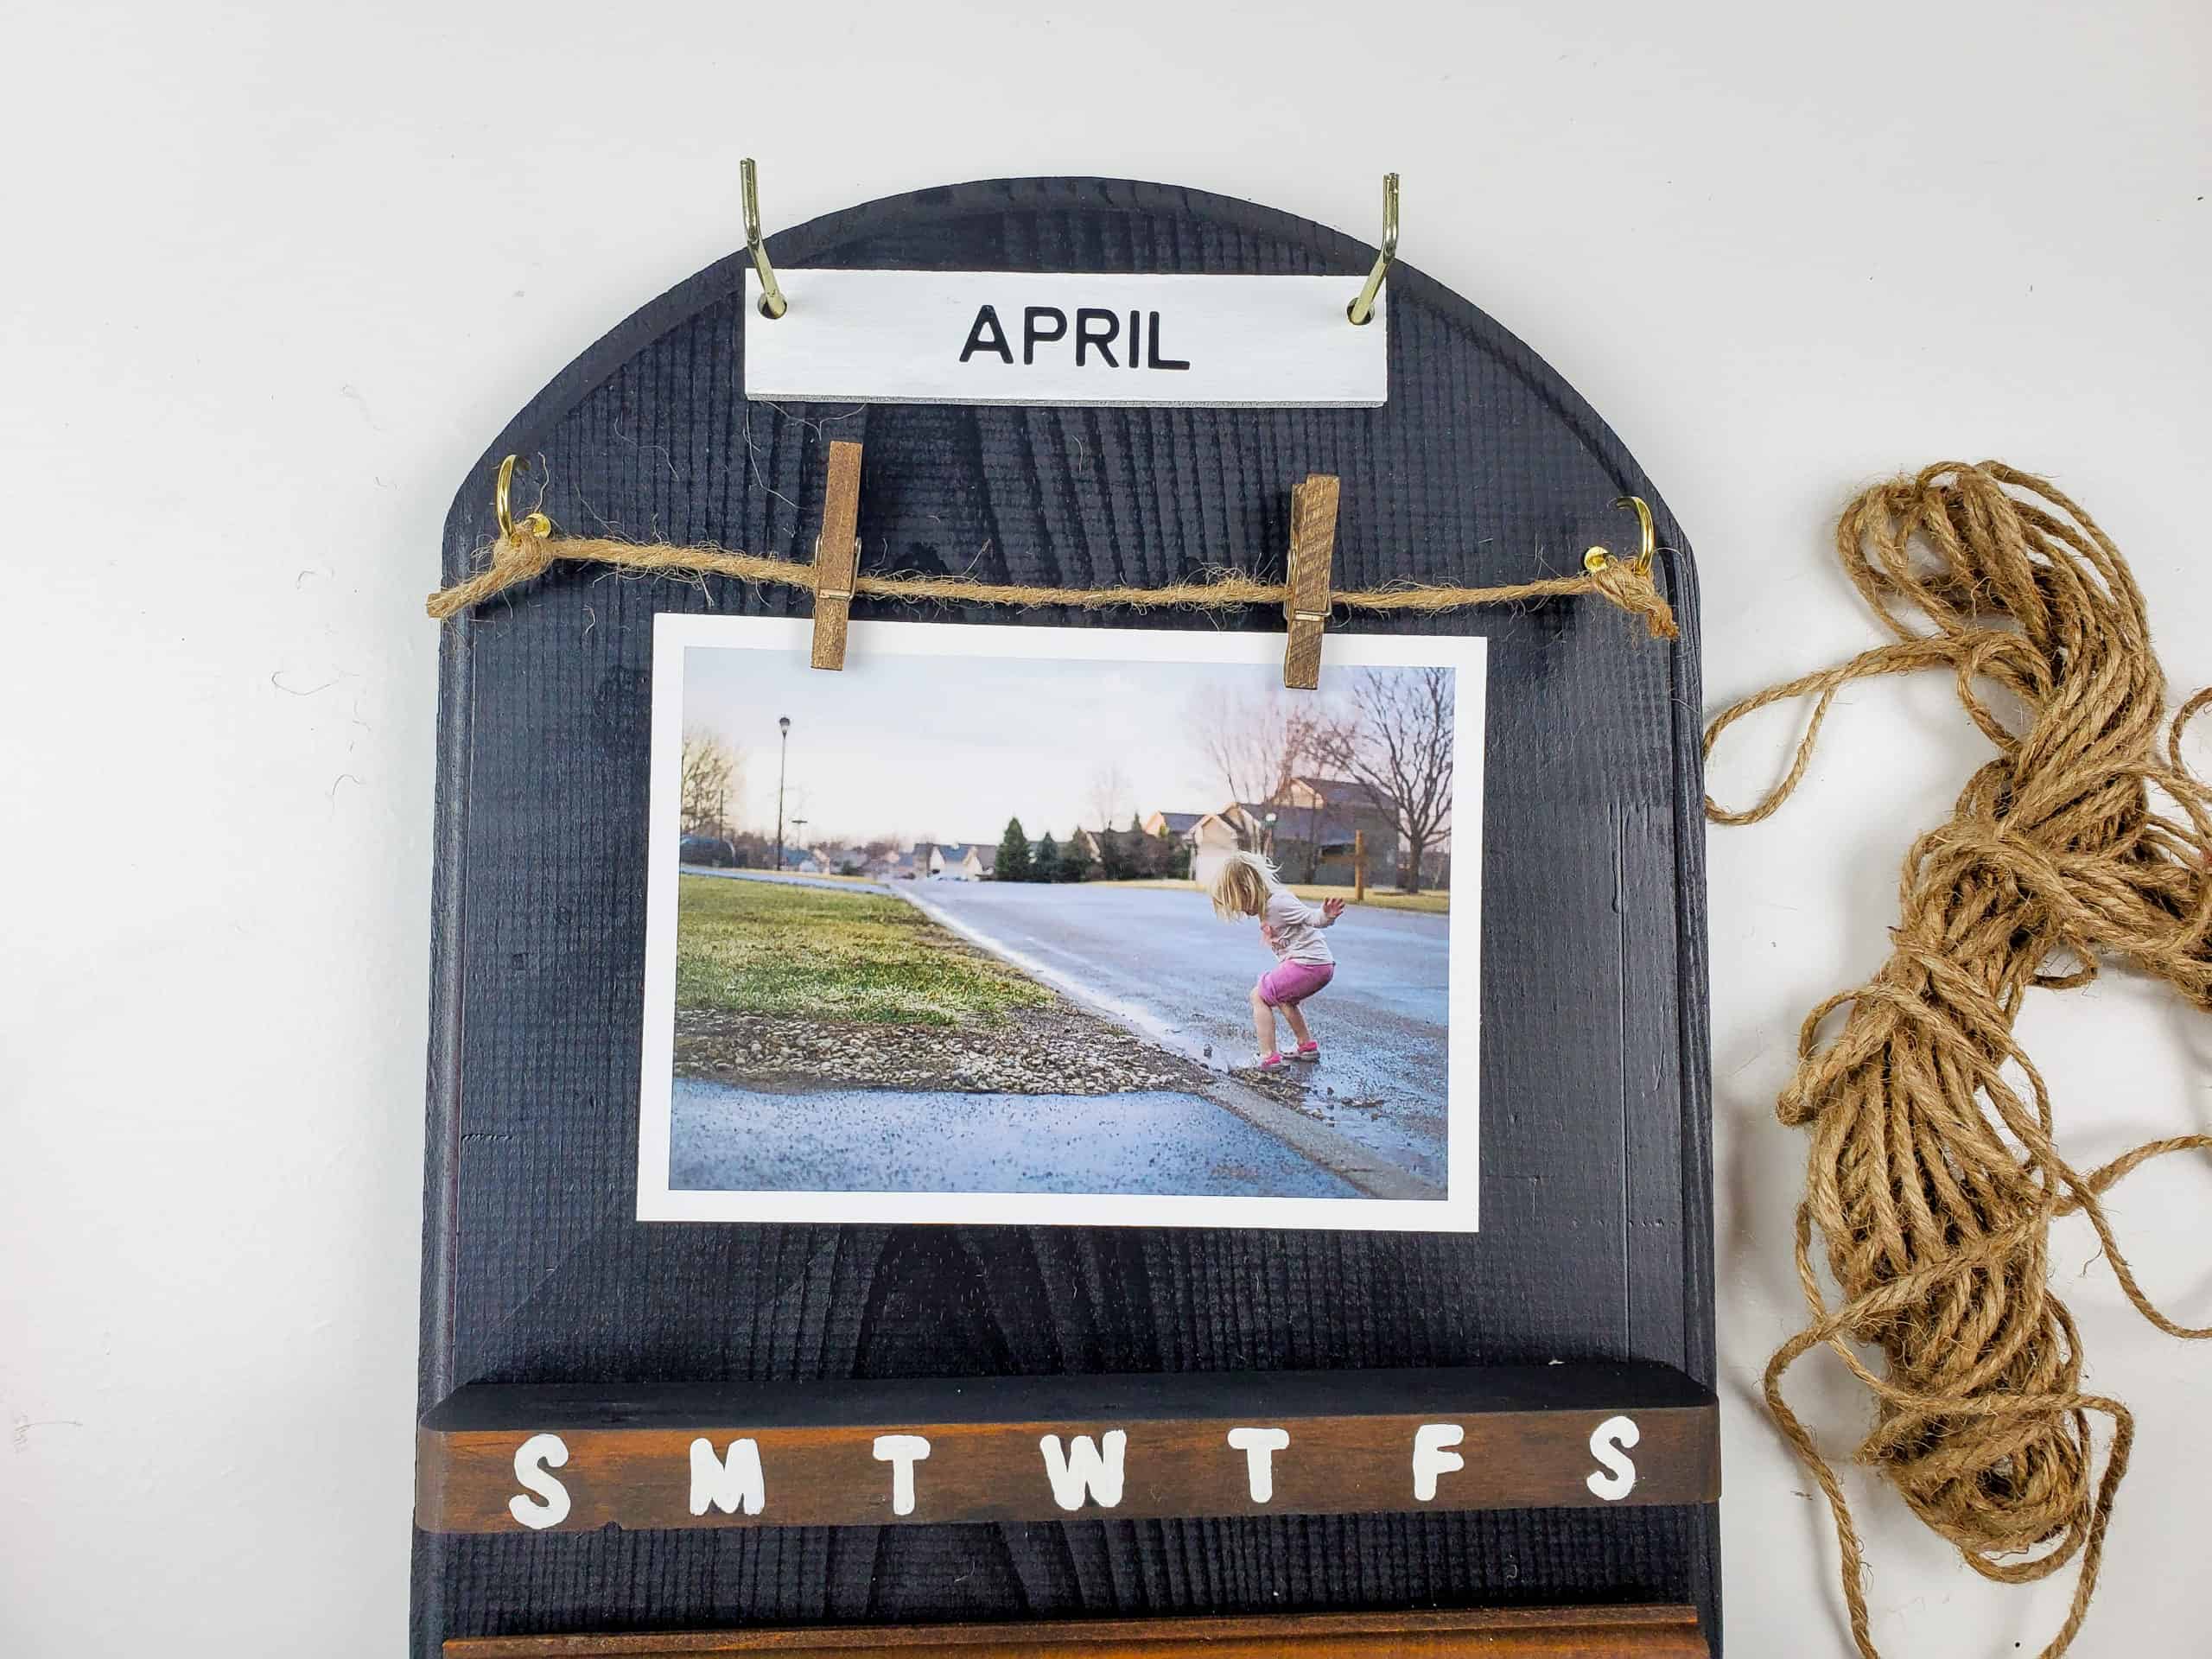
I printed my 5×7 photos through Parabo Press, I love how they’re printed on thick matte paper!
I picked a few classic photos to coordinate with each month of the year. It’s going to be fun to continue to print and display new ones throughout the years 😀

And now you have a perpetual wall calendar that you can keep updated for years to come!